The Genie Intellicode Garage Door Opener is a sophisticated device designed to enhance the security and convenience of your home.

This opener utilises advanced technology to ensure that only authorized users can gain access to your garage, reducing the risk of unauthorized entry. In this guide, we will walk you through how to set genie intellicode garage door opener, ensuring that you can enjoy seamless operation from the moment it’s installed. Whether you’re a first-time homeowner or an experienced DIY enthusiast, this process will empower you to take full advantage of your garage door’s capabilities.
Benefits of Setting Up Your Genie Intellicode Garage Door Opener
Setting up your Genie Intellicode Garage Door Opener provides numerous benefits that significantly enhance the functionality and security of your garage.
Firstly, the Intellicode technology uses a rotating code system that changes every time you open or close the door, making it nearly impossible for potential intruders to duplicate the access code. This added layer of security ensures that your garage and home remain protected from unauthorized access.
Additionally, the convenience of remote operation allows you to open or close your garage door from the comfort of your car or even from your smartphone, eliminating the hassle of stepping outside in inclement weather.
This feature is particularly beneficial for those with busy lifestyles, as it saves time and enhances overall accessibility to your garage. Furthermore, the system can often be integrated with home automation setups, allowing for seamless control alongside other smart home devices.
Ultimately, investing in the Genie Intellicode Garage Door Opener not only streamlines your daily routine but also significantly increases your home’s security.
Tools and Materials Needed

Before you start the installation and setup process of your Genie Intellicode Garage Door Opener, it’s essential to gather all the necessary tools and materials to ensure a smooth experience. Here’s a list of what you will need:
- Genie Intellicode Garage Door Opener Kit (includes opener unit, remote, and mounting hardware)
- Drill and Drill Bits (for attaching the opener and mounting brackets)
- Screwdriver (both Phillips and flathead)
- Level (to ensure proper alignment during installation)
- Measuring Tape (for precise measurements when installing the unit)
- Wire Stripper (if connecting the safety sensors)
- Safety Glasses (to protect your eyes during installation)
- Ladder (to reach high areas for installation)
- Pencil (to mark positions on walls and brackets)
Having these tools and materials on hand will help streamline the installation process and ensure that everything is set up correctly for optimal performance.
10 Methods How to Set Genie Intellicode Garage Door Opener
1. Familiarize Yourself with the Genie Intellicode System

Before beginning the programming process, it’s essential to understand the Genie Intellicode system and how it operates. The Intellicode system is a rolling code technology that automatically changes the access code each time you use your remote control, providing enhanced security by preventing code theft.
Unlike fixed-code systems, Intellicode ensures that your garage remains secure, as the code cannot be copied or intercepted. Reviewing the user manual for your Genie garage door opener will provide a clear understanding of the system’s components and functionality, which is crucial for successful programming.
2. Locate the Learn Button on the Garage Door Opener
The first physical step in setting your Genie Intellicode garage door opener is to locate the Learn button on the garage door opener unit. This button is usually found on the back or side of the motor unit, sometimes under a light cover. It may be labeled as “Learn,” “Set,” or “Program,” depending on the model.
The Learn button is the key to putting the garage door opener into programming mode, which allows it to accept the code from your remote control. Knowing where this button is located and how to access it is crucial for the next steps in the programming process.
3. Prepare the Remote Control

Before you start programming, ensure that your Genie remote control is in good working condition. Check that the battery is fresh and installed correctly, as a weak or improperly placed battery can interfere with the programming process.
If your remote control has multiple buttons, decide which button you want to use to operate the garage door. Preparing the remote control in advance helps prevent any issues during the programming process, ensuring that the remote is ready to send the correct signal to the garage door opener.
4. Enter Programming Mode on the Opener

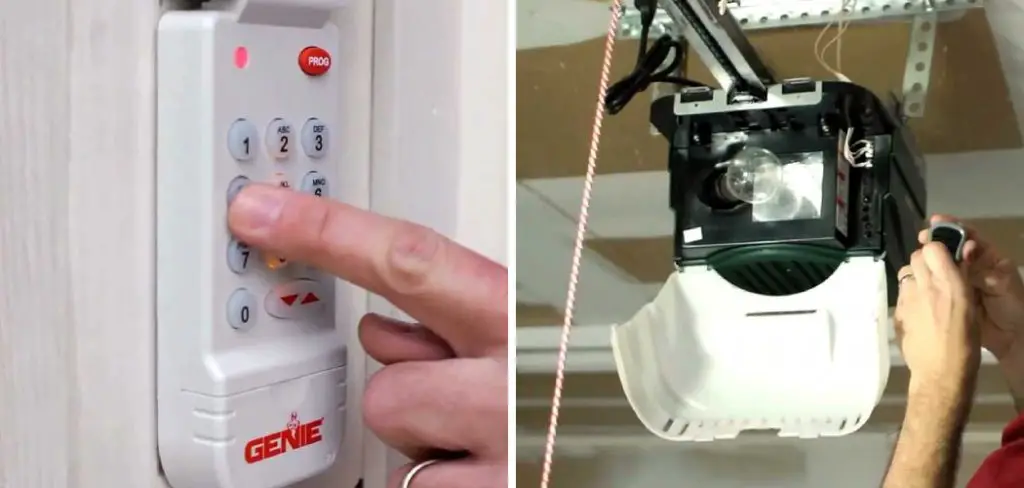
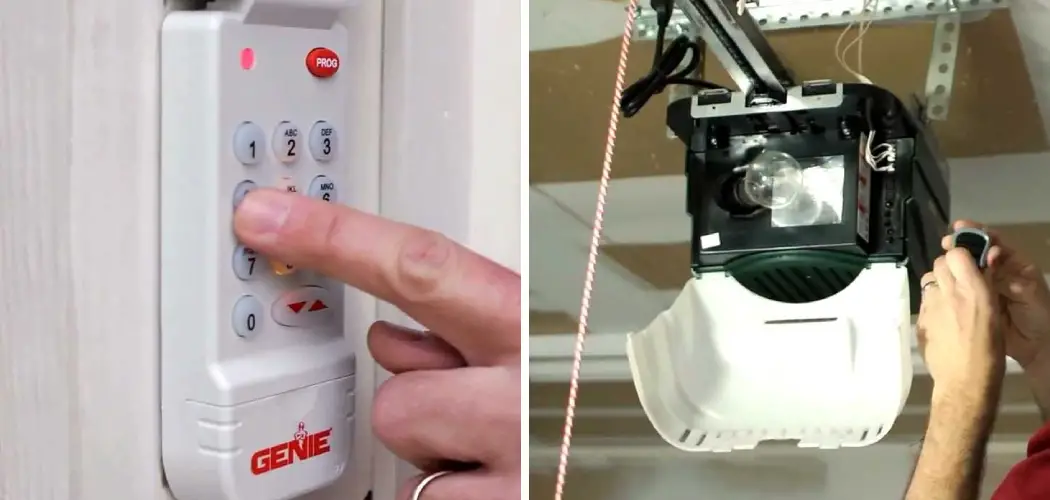
To begin the programming process, you’ll need to put the Genie garage door opener into programming mode. Start by pressing and holding the Learn button on the opener’s motor unit. Depending on the model, the indicator light next to the button may start flashing or remain steady.
Hold the button for a few seconds until the light either flashes or turns on, indicating that the opener is now in programming mode. Entering programming mode is essential for the opener to recognize and accept the signal from the remote control, so be sure to follow this step carefully.
5. Program the Remote Control
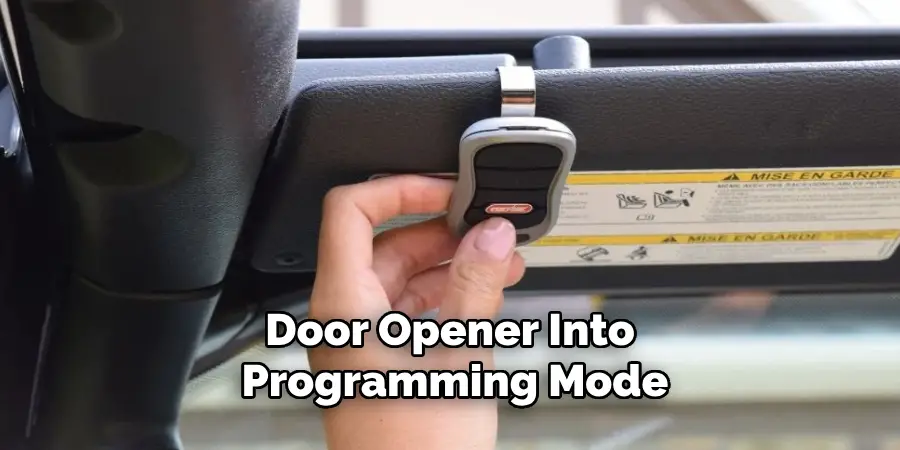
With the garage door opener in programming mode, you can now program the remote control. Stand within range of the opener and press the button on the remote that you want to use to operate the door. Hold the button down until the indicator light on the garage door opener blinks or turns off, which usually takes a few seconds.
This action signals that the opener has successfully learned the code from the remote control. Programming the remote control is a critical step, as it links the remote to the opener, allowing you to control the garage door with ease.
6. Test the Remote Control
After programming the remote, it’s important to test it to ensure that the setup was successful. Stand a short distance from the garage door and press the programmed button on the remote control. The garage door should respond by opening or closing, depending on its current position.
If the door does not respond, repeat the programming process, ensuring that the remote is within range and that the Learn button was pressed correctly. Testing the remote control confirms that the programming was successful and that the garage door opener is functioning as expected.
7. Program Additional Remote Controls
If you have multiple remote controls or want to program a wireless keypad, you can do so by repeating the programming process for each device. For each additional remote, press the Learn button on the garage door opener to enter programming mode, then press the desired button on the remote control.
This process allows you to sync multiple remotes with the same garage door opener, providing flexibility and convenience for different users. Programming additional remotes ensures that everyone in your household can operate the garage door without issue.
8. Program the Intellicode Keypad (if applicable)
If your Genie garage door opener includes an Intellicode keypad, you can program it to work with your system. Start by pressing the Learn button on the opener to enter programming mode. Next, on the keypad, enter your desired four-digit PIN, followed by the “Enter” button.
The opener’s indicator light should blink to confirm that the code has been accepted. Test the keypad by entering your PIN and pressing “Enter” to see if the garage door responds. Programming the keypad adds an extra layer of convenience, allowing you to open the garage door without a remote control.
9. Set Up the Genie Aladdin Connect App (if applicable)
For added convenience, some Genie Intellicode garage door openers are compatible with the Genie Aladdin Connect app, which allows you to control your garage door from your smartphone. To set up the app, download it from your device’s app store and follow the in-app instructions to connect it to your garage door opener.
This typically involves scanning a QR code on the opener and creating an account. Once set up, you can open, close, and monitor your garage door remotely. Setting up the Aladdin Connect app provides modern convenience and added security features for your garage door system.
10. Secure Your System and Finalize Setup
After programming all remotes and devices, it’s important to secure your Genie Intellicode system and finalize the setup. Ensure that all remote controls, keypads, and the Aladdin Connect app (if used) are functioning correctly.
Store your remote controls in a safe place to prevent unauthorized access. Additionally, if your garage door opener includes a lock or vacation mode, activate it when you won’t be using the door for an extended period. Securing your system ensures that your garage remains safe and that your Genie Intellicode garage door opener continues to operate reliably.
Conclusion
In conclusion, programming your Genie garage door opener and associated remote controls is a straightforward process that enhances both convenience and security.
By following each step carefully, from preparing your remote to securing your system, you ensure that your garage door operates smoothly and reliably. Thanks for reading, and we hope this has given you some inspiration on how to set genie intellicode garage door opener!
I am Rick. I grew up helping my dad with his handyman service. I learned a lot from him about how to fix things, and also about how to work hard and take care of business. These days, I’m still into fixing things- only now, I’m doing it for a living.
I’m always looking for new ways to help people grow and develop. That’s why I have created this blog to share all my experience and knowledge so
that I can help people who are interested in DIY repair.

