
Setting up a car garage door opener can seem like a daunting task, but with the right guidance, it becomes a straightforward process. Whether you’re programming a new remote or synchronizing your vehicle with a built-in system, understanding the steps involved ensures smooth and reliable operation. This guide will walk you through the necessary steps of how to set car garage door opener.

What You Need Before You Start
Before you begin the process of setting up your car garage door opener, it’s essential to gather the necessary tools and information. Here’s what you’ll need:
- Garage Door Opener Remote: Ensure the remote is compatible with both your garage door system and vehicle if you’re programming it to a built-in system.
- Vehicle Owner’s Manual: This will provide specific instructions for programming the garage door opener, tailored to your car’s make and model.
- Garage Door Opener Manual: Check this for any special requirements or codes needed for synchronization.
- Accessible Garage Door Opener Unit: Make sure you can easily access the opener mounted in your garage, as you’ll likely need to press a button on the unit.
- New Batteries (if applicable): If your remote or garage opener components use batteries, ensure they are fresh and fully functional.
- Adequate Lighting: Working with enough light will make the process much easier and safer.
Having these items ready before starting will save time and help the setup process go smoothly.
10 Methods How to Set Car Garage Door Opener
1. Identify the Type of Garage Door Opener System
The very first step to successfully setting your car’s garage door opener is to determine the type of garage door system you have. Most modern garage door openers operate on either a fixed code or rolling code system. Rolling code systems, such as those produced by Chamberlain, LiftMaster, or Genie, use a different code each time you operate the door, adding an extra layer of security. This distinction is crucial because the programming process differs slightly depending on which system you’re using. Check your garage door opener’s manual or the label on the motor unit in the garage to identify its model and coding method. Knowing this information ensures that you approach the programming process correctly from the start.
2. Clear Any Preexisting Codes in the Vehicle System
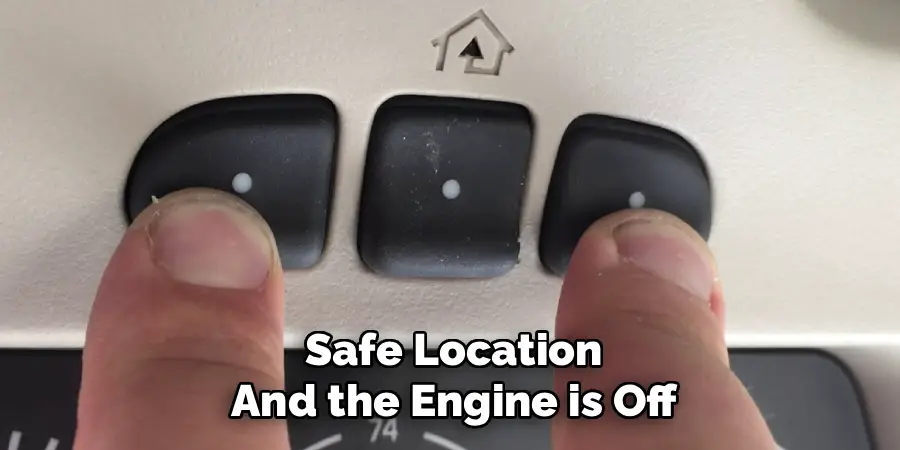
Before programming a new garage door opener to your car, especially if it’s a used vehicle or one with previous settings, it’s important to erase old codes from the system. Most cars equipped with built-in garage opener buttons—such as HomeLink—allow you to do this by pressing and holding the two outer buttons on the car’s control panel until the indicator light begins flashing rapidly, usually taking around 10 to 20 seconds. This action clears all stored codes from the system and prepares it for fresh programming. Be sure to do this step when the car is parked in a safe location and the engine is off.
3. Locate the Garage Door Opener Buttons in Your Vehicle
Most modern vehicles, especially those with the HomeLink system, come with built-in garage door opener buttons. These buttons are typically located on the sun visor, overhead console, or rearview mirror area. Your vehicle’s owner manual will indicate their exact location and explain how to operate them. Each button is programmable, and you can assign different functions to each one—for example, controlling separate garage doors or gates. Familiarizing yourself with these buttons before beginning the programming process makes it easier to follow the next steps without confusion.
4. Prepare the Handheld Garage Door Remote for Pairing
In order to program the car’s built-in garage opener, you usually need the original handheld garage door remote. This remote acts as a transmitter, and its signal is cloned into the car’s system during setup. Insert fresh batteries into the remote to ensure it transmits a strong signal. Stand close to the vehicle, usually within a few feet, to maintain a reliable connection. Hold the remote near the designated button inside the car that you wish to program, typically one to three inches away, as you begin the next method.
5. Program the Vehicle Button Using the Remote Control
With both the car and the handheld remote ready, you’ll now synchronize the two. Press and hold the desired button in your vehicle and the button on the garage remote simultaneously.
Continue holding both buttons until the indicator light in your vehicle begins flashing slowly, then quickly, and eventually becomes steady. This sequence may take 15–30 seconds. The steady light usually indicates a successful pairing. If the light doesn’t turn steady, repeat the process while adjusting the distance between the car’s button and the remote to improve signal reception.
6. Locate and Press the “Learn” Button on the Garage Door Opener Motor
For rolling code systems, programming is not complete after pairing the remote. You must now sync the vehicle to the garage motor using the “Learn” or “Program” button on the garage door opener itself. This button is usually located on the rear panel of the motor unit mounted in your garage ceiling. Press this button briefly—it should illuminate a small LED light and activate a 30-second pairing window. Within this time frame, you’ll move back to your vehicle to complete the final step of programming.
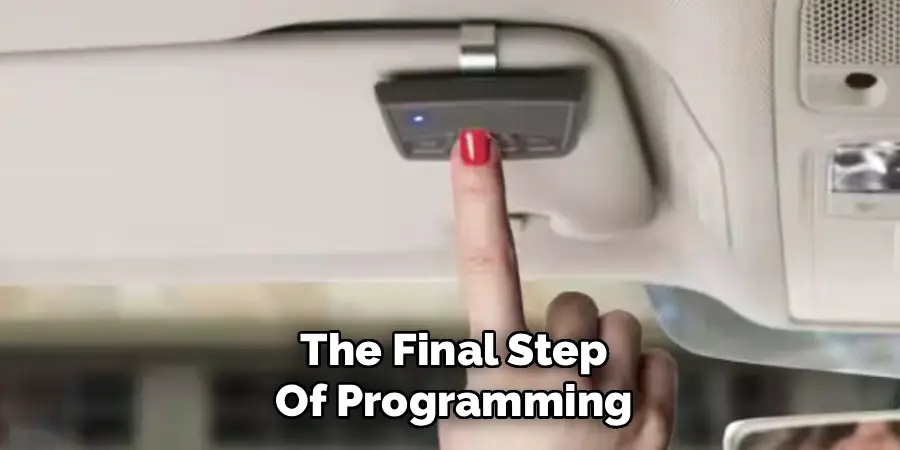
7. Complete the Rolling Code Programming from the Vehicle
After pressing the “Learn” button on the motor, return to your car and press the same in-car button you’ve been programming for about 2 seconds, then release it. Do this step again—press, hold briefly, and release. On the third attempt, the garage door should respond by opening or closing, confirming that the rolling code has been successfully programmed. If the door doesn’t move, try repeating the process. Timing is important here; you must perform these steps within the 30-second window activated by the Learn button.
8. Test the Garage Door Opener Button for Proper Operation
After successfully programming the garage opener, test the functionality by pressing the in-car button once to see if the garage door opens or closes. Try the button from various distances to ensure the range is adequate. Also, test it after turning your vehicle on and off to verify that the memory retains the programmed code. If the door responds consistently, the programming has been completed correctly. If not, repeat the programming steps or consult your vehicle and garage opener manuals for troubleshooting tips.
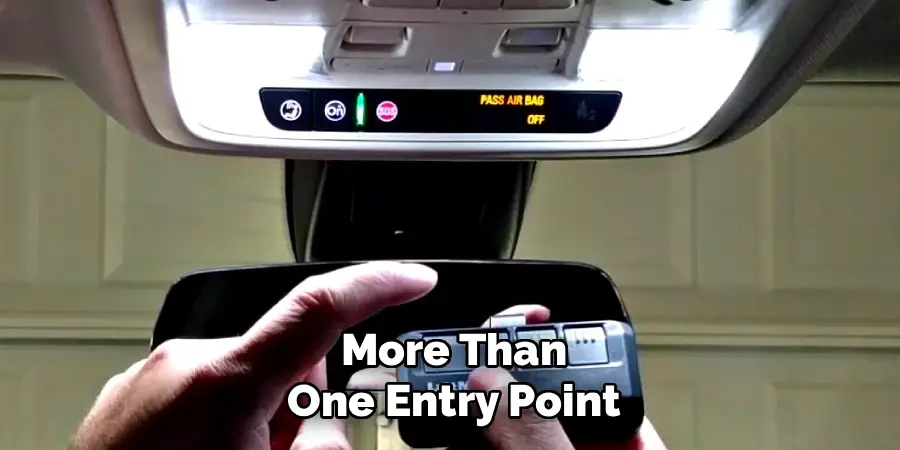
9. Program Additional Buttons for Other Doors or Gates
If your vehicle has more than one programmable button, you can use the remaining ones to control additional garage doors, gates, or even lighting systems. Follow the same programming procedure for each additional device: clear the button, use the corresponding remote, and sync it using the Learn button on the separate garage motor or receiver. Label or remember which button is assigned to which device to prevent confusion later. This setup is particularly useful in multi-car homes or properties with more than one entry point.
10. Maintain and Update Your System When Needed
Once your garage door opener is successfully set up, periodic maintenance ensures continued functionality. If the system stops responding, check for dead batteries in the handheld remote, reset the car’s button, or re-sync using the Learn button. Additionally, some newer garage door openers may require firmware updates or mobile app connectivity for advanced features. Always keep the instruction manuals handy for both your vehicle and garage door opener, and consider reprogramming your system after major power outages, electrical work, or if you change your garage equipment.
Maintenance and Upkeep
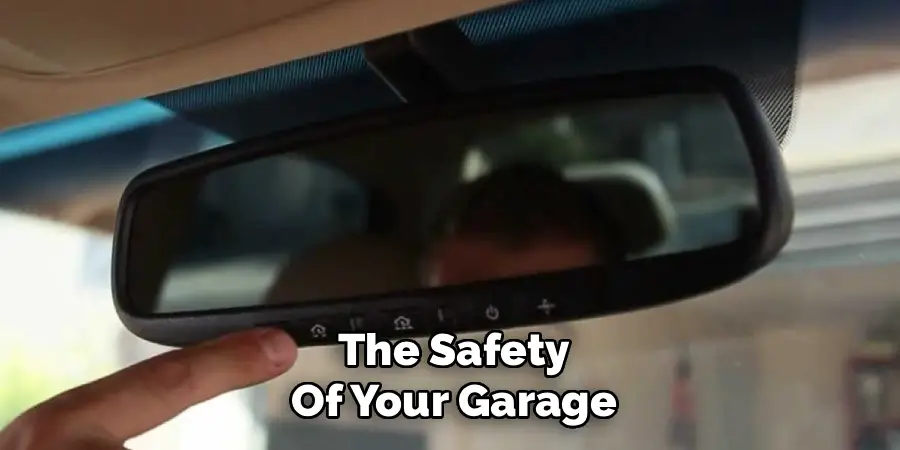
Proper maintenance of your garage door opener ensures its longevity and reliable functionality. Begin by routinely inspecting the moving parts, such as the chains, belts, and rollers, for signs of wear and tear. Lubricate these components with a recommended lubricant to minimize friction and noise during operation. Additionally, check the door’s balance to prevent unnecessary strain on the opener motor. Clean the photoelectric sensors regularly to ensure they remain free of dust and debris, which may interfere with the safety mechanism. It’s also a good practice to test the auto-reverse feature periodically to confirm it works as intended.
Lastly, replace the opener’s battery as advised by the manufacturer and address any unusual sounds or malfunctions promptly to avoid costly repairs down the line. Regular maintenance not only keeps your system running smoothly but also enhances the safety of your garage.
Conclusion
Proper maintenance and understanding of your garage door opener system are essential for ensuring its efficient and reliable performance. By following the steps outlined and staying proactive in addressing potential issues, you can prevent inconvenient malfunctions and extend the lifespan of your equipment. Whether it’s troubleshooting connectivity, performing regular updates, or reprogramming when necessary, these efforts contribute to a safer and more convenient home environment. Now that you know how to set car garage door opener, try it yourself today and feel good about completing such a big DIY job!
I am Rick. I grew up helping my dad with his handyman service. I learned a lot from him about how to fix things, and also about how to work hard and take care of business. These days, I’m still into fixing things- only now, I’m doing it for a living.
I’m always looking for new ways to help people grow and develop. That’s why I have created this blog to share all my experience and knowledge so
that I can help people who are interested in DIY repair.