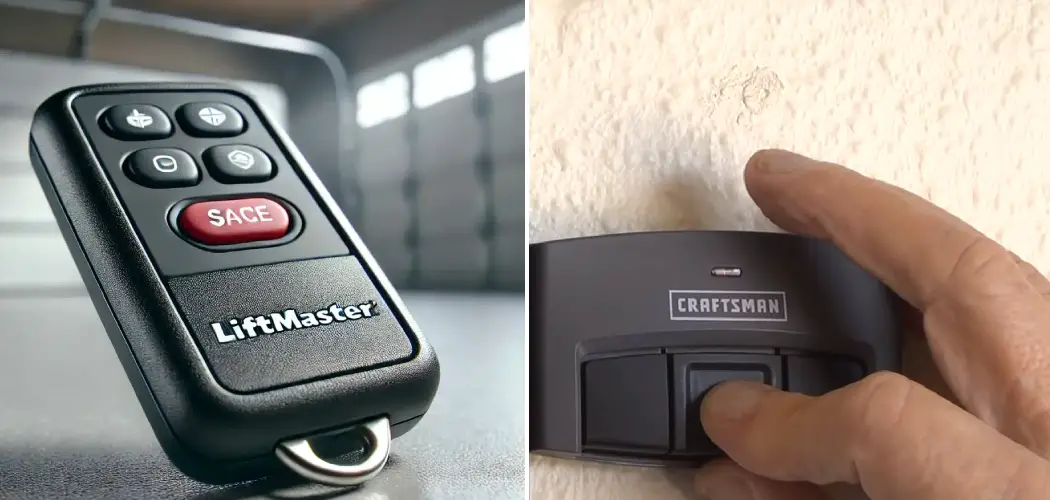
Resetting a garage door opener remote can be essential for various reasons, including lost or stolen remotes, security concerns, or troubleshooting connectivity issues. When a remote is lost, it opens the door for potential unauthorized access, making it crucial to reset the system to maintain home security. Additionally, if a remote is not functioning properly, resetting it can restore its effectiveness and ensure smooth garage door operation.
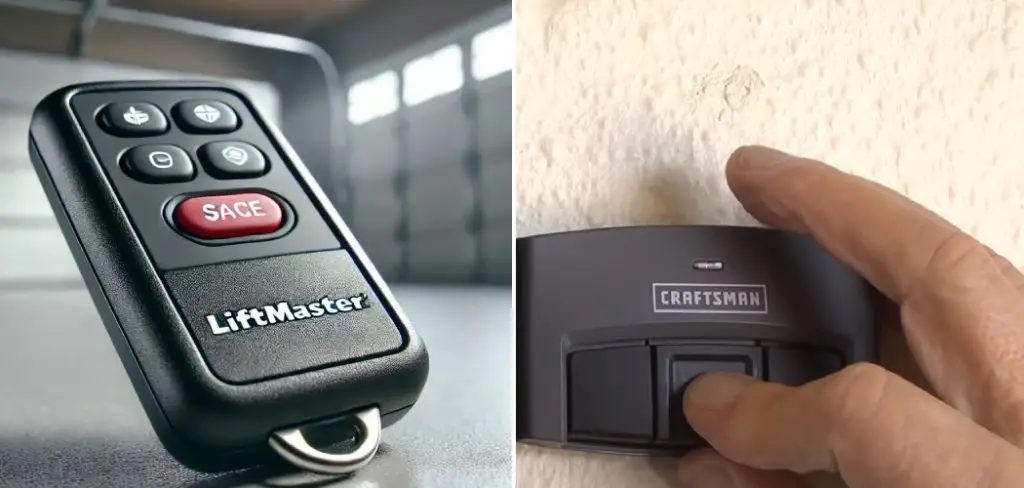
This article will provide a clear guide on how to reset the garage door opener remote, detailing the necessary steps involved in the process. We will discuss clearing existing codes, reprogramming the remote to sync with the opener, and testing for functionality. By following these steps, homeowners can enhance their security and ensure that their garage door operates seamlessly.
Understanding Garage Door Opener Systems
Types of Garage Door Opener Systems
Garage door openers come in various types, each designed to meet different needs and preferences. The most common systems include chain-drive, belt-drive, and screw-drive openers. Chain-drive openers utilize a metal chain to lift the door, making them robust and cost-effective, though they can be noisier. Belt-drive openers use a rubber belt, resulting in a quieter operation and being ideal for homes with attached garages.
Screw-drive openers operate using a threaded rod, requiring less maintenance but may be less common in residential settings. Regardless of the type, all garage door openers typically rely on a remote control system for convenient operation.
How Remote Programming Works
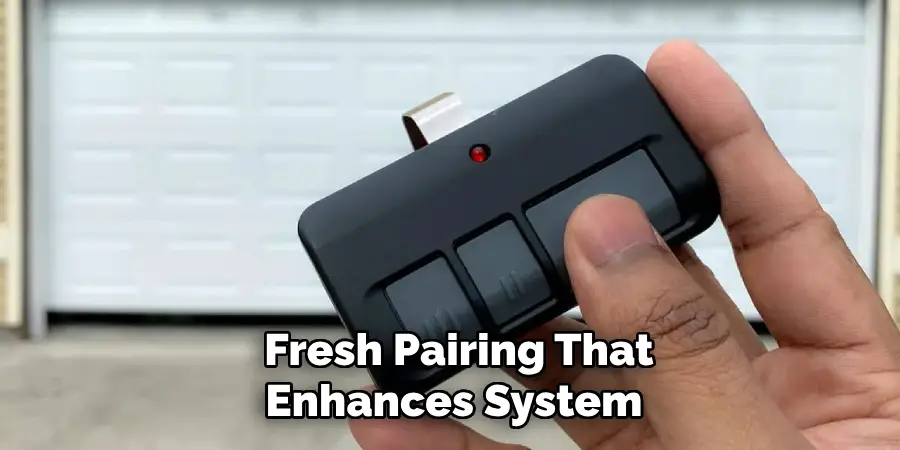
Garage door remotes communicate with the opener through specific codes or frequencies, allowing for seamless operation. Each remote sends out a unique code when activated, which the opener recognizes to grant access. This synchronisation is vital for security and convenience, as it ensures that only the programmed remote can operate the door. Resetting the remote is essential to clear outdated codes, allowing for a fresh pairing that enhances system reliability and security.
When to Reset Your Garage Door Opener Remote
Lost or Stolen Remotes
If a garage door opener remote is lost or stolen, resetting the system becomes crucial to prevent unauthorized access to your home. By clearing the existing codes through a reset, you ensure that any rogue remotes no longer have the ability to operate your garage door. This step helps maintain your property’s security, allowing only authorized remotes to function and effectively safeguarding your home.
Troubleshooting Non-Responsive Remotes
Several scenarios exist where a remote might stop functioning properly, such as interference from other devices, low battery power, or programming errors. In these cases, resetting the remote can often restore its functionality. By following the reset procedure, you can eliminate any previous codes that may be causing issues and allow for a fresh programming process, ensuring your remote is synced correctly with the garage door opener once again.
How to Reset the Garage Door Opener Remote: Locating the “Learn” or “Smart” Button on the Opener
Finding the Button on the Opener Unit
To reset your garage door opener remote, the first step is to locate the “Learn” or “Smart” button on the garage door opener unit. This button is typically found on the back or side of the motor unit, near the antenna. In some models, it may be covered by a small plastic door for protection. To access it, gently slide or lift the cover. Familiarising yourself with this button is crucial for initiating the reset process successfully.
Understanding Indicator Lights
The indicator light near the “Learn” button plays a vital role in resetting. When the button is pressed, the light illuminates to signify that it is in programming mode. Once the remote has been cleared and is ready to be reprogrammed, the light blinks or turns off after successful pairing. Monitoring these indicator lights is essential to ensure that the remote and the opener are synced properly, leading to effective garage door operation.
Clearing the Existing Codes
Pressing the “Learn” Button to Clear Codes
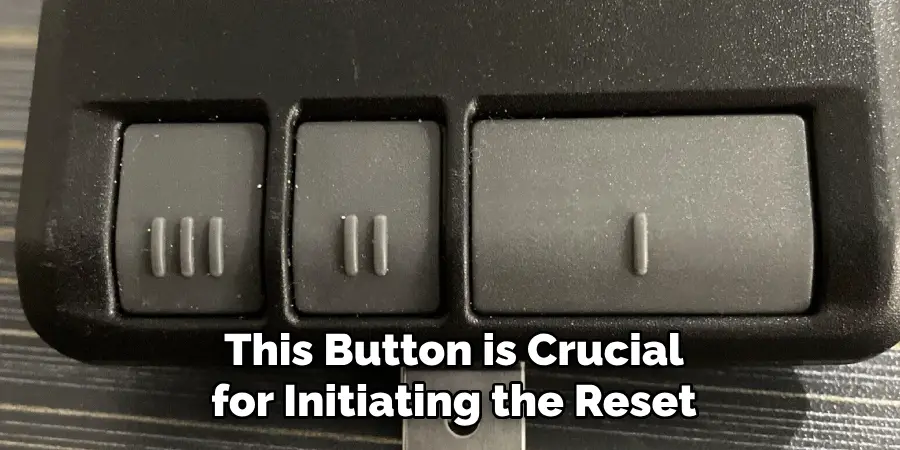
Start by pressing and holding the “Learn” button on the opener unit to clear the existing codes from your garage door opener’s memory. This action initiates the erasure process of all previously programmed remote controls. Typically, you will need to hold the button for about 6 to 10 seconds; during this time, you should observe the indicator light next to the button. Once you release the “Learn” button, the light will start to flash or may turn off, indicating that the old codes have been successfully erased.
Make sure to perform this step with care, as waiting for the right duration is crucial for ensuring complete code removal. This action effectively resets the opener, allowing you to reprogram it with new remote codes for enhanced security and functionality.
Confirming Code Erasure
After clearing the codes, confirming the process was successful is essential. One straightforward way to do this is by attempting to operate your garage door with the old remote. If the code has been properly erased, the remote should no longer function, and the garage door will remain closed. Additionally, keep an eye on the indicator light during this verification step; if the codes have been successfully cleared, the light will not respond when the old remote is activated.
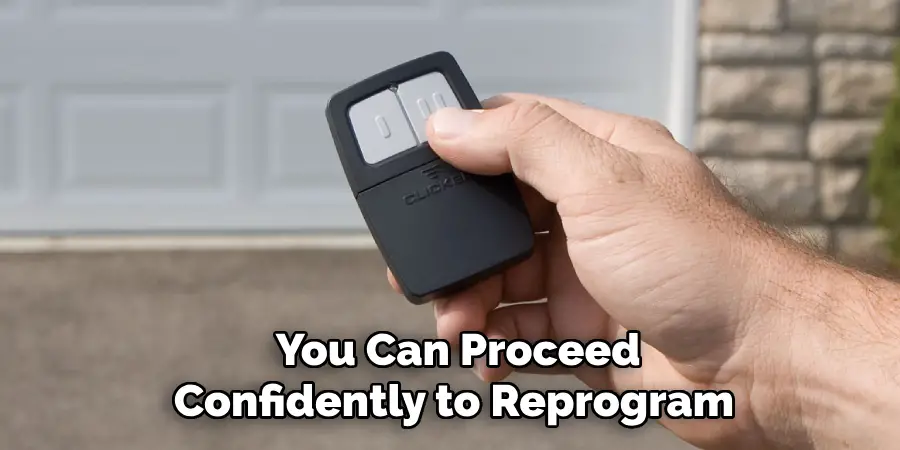
This confirmation is critical as it ensures that any potential unauthorized access through old remotes is effectively blocked. By confirming the erasure of old codes, you can proceed confidently to reprogram your garage door opener with new and secure remote controls, ultimately enhancing the safety of your home.
Reprogramming the Remote
Entering Programming Mode
To begin reprogramming, you must enter the programming mode on your garage door opener. First, locate the “Learn” or “Smart” button on the opener unit. Press this button again after clearing the existing codes. Upon pressing it, you should notice the indicator light near the illuminating button and begin blinking. This blinking pattern signals that the opener is now in programming mode and is ready to receive commands from a new remote control.
It is important to act quickly during this phase, as the programming mode is time-sensitive, typically offering only a few minutes in which to synchronise your remote.
Synchronizing the Remote
You can sync your remote control once the opener is in programming mode. Hold the remote near the garage door opener unit—ideally within a few inches for optimal signal strength. Next, press and hold the button you wish to use for opening the garage door on the remote. Maintain pressure on this button for several seconds while monitoring the indicator light on the opener.
If the remote is successfully synced, the indicator light will either turn off or stop blinking after a brief moment, confirming that the new code has been accepted. Should the light continue to blink without any change, it may indicate that the synchronization was unsuccessful, necessitating a repeat of the process.
Testing the Remote
After successfully programming your remote, it’s crucial to test it to ensure proper operation. Approach your garage door and press the button on the newly programmed remote. The door should respond by opening or closing smoothly. If the garage door does not operate as expected, several troubleshooting tips should be considered. First, ensure that the remote’s battery is fully charged or replace it if necessary.
If the issue persists, try repeating the programming steps: enter programming mode again by pressing the “Learn” button and then synchronise the remote once more. During this process, keep the remote close to the opener unit, as distance can sometimes hinder successful programming. If successful, you will enjoy the convenience of your newly programmed remote, enhancing the ease of access to your garage.
Resetting Multiple Remotes or Keypads
Programming Additional Remotes
To program additional remotes after clearing the codes, simply repeat the programming process for each device, ensuring that the opener remains in programming mode. It is important to program all remotes again to guarantee that they are synced with the garage door opener. Each remote should be programmed individually, and doing so helps avoid confusion and prevents any operational issues that may arise if some remotes are left unprogrammed. This extra step enhances security by ensuring that only authorized remotes can operate the garage door.
Reprogramming Wall-Mounted Keypads
Reprogramming wall-mounted keypads involves entering the correct PIN, which is necessary for syncing the keypad with your garage door opener. Begin by locating the keypad and entering the designated PIN following the manufacturer’s instructions. After entering the PIN, press the “Enter” button to confirm. The keypad should then enter programming mode, allowing you to connect it to your opener successfully. It’s crucial to refer to your specific model’s manual, as various keypads may have unique programming requirements.
Troubleshooting Common Issues
Remote Not Syncing with Opener
If your remote control is not syncing with the garage door opener, several factors could be at play. Interference from nearby electronic devices or physical obstructions can disrupt the signal. Additionally, a low battery in the remote may hinder successful communication.
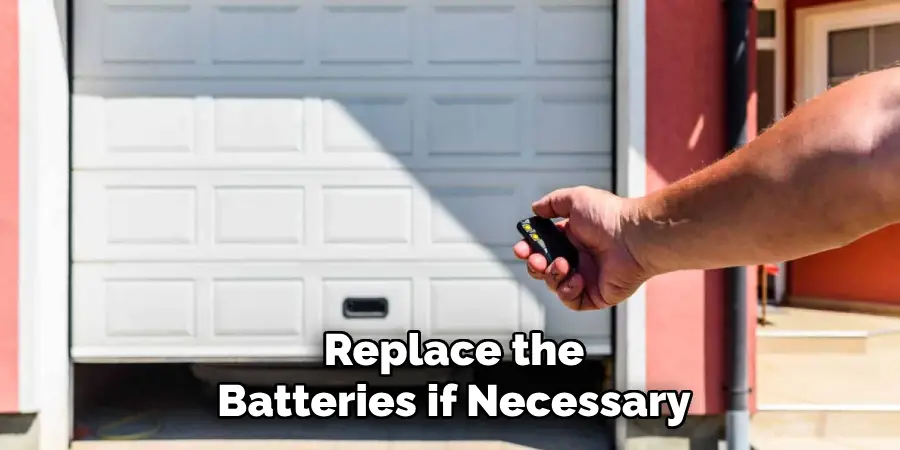
Ensure that the remote is within a close range during programming, and replace the batteries if necessary. If issues persist, try repeating the programming process and adjusting the time your button presses accurately, as any delay can prevent syncing.
Opener Not Responding to Remote
When the opener fails to respond to the remote, start by checking the opener’s power source; ensure it is plugged in and receiving power. If it appears to be powered but still unresponsive, consider resetting the opener by unplugging it for a few minutes before reconnecting. Lastly, consult the user manual for specific troubleshooting instructions related to your opener model, as this can provide additional guidance tailored to your device.
Conclusion
In summary, resetting a garage door opener remote involves several straightforward steps that enhance both convenience and security for your home. Begin by clearing existing codes to prevent unauthorized access, followed by entering programming mode and synchronizing each new remote or wall-mounted keypad. Testing each remote ensures that they work correctly after programming. It is essential to remember to reprogram all remotes and keypads after resetting, as this guarantees that each device with the garage door opener is fully functional.
By carefully following these instructions on how to reset the garage door opener remote, you can quickly restore your system’s functionality. This simple process not only brings ease to your daily routine but also reinforces the safety of your home, reminding you that maintaining your garage door opener is an important step in home security.
I am Rick. I grew up helping my dad with his handyman service. I learned a lot from him about how to fix things, and also about how to work hard and take care of business. These days, I’m still into fixing things- only now, I’m doing it for a living.
I’m always looking for new ways to help people grow and develop. That’s why I have created this blog to share all my experience and knowledge so
that I can help people who are interested in DIY repair.

