
MVP garage door openers are a popular choice for both residential and commercial properties due to their reliability and user-friendly features. These openers simplify garage access, providing convenience and security for everyday use. However, like any mechanical or electronic device, MVP garage door openers may occasionally experience malfunctions, connectivity problems, or improper operation.
Knowing how to reset mvp garage door opener is an essential skill for troubleshooting and ensuring smooth functionality. This article aims to provide you with clear, step-by-step instructions on resetting the MVP garage door opener safely and effectively, empowering you to address common problems without unnecessary stress or confusion. These steps will help maintain your garage door opener’s performance and extend its operational lifespan.
Understanding the MVP Garage Door Opener System
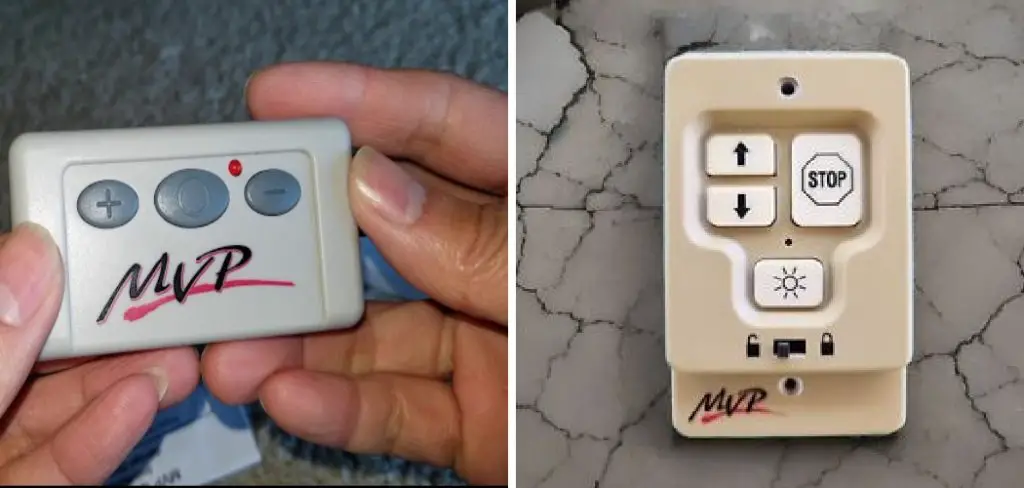
The MVP garage door opener system is renowned for its reliable performance and advanced features designed to simplify everyday use. These openers typically include several key components that work together seamlessly.
The motor unit is the powerhouse, ensuring smooth and consistent door operation. Remote controls provide convenient wireless access, while the wall console offers a fixed, easily accessible control point. Safety sensors are another critical feature, preventing the door from closing if an obstruction is detected, thus enhancing user safety.
Several common issues might necessitate a reset of your MVP garage door opener. For instance, you may encounter unresponsive remote controls, indicating a potential loss of signal or pairing. Other problems might include the door not closing or opening fully or displaying error codes that signal a malfunction. These issues can disrupt the functionality of your garage door system, leaving you frustrated.
Resetting the garage door opener can effectively address many of these challenges. By resetting, you clear temporary glitches, restore factory settings, and reestablish synchronization between the motor unit and other components like remotes or sensors. This simple troubleshooting step ensures your system regains optimal performance, extending its reliability and reducing the need for professional intervention.
Safety Precautions Before Resetting
Ensuring a Safe Environment
Before resetting your garage door opener, it is essential to create a safe environment. Start by clearing the garage area of any people, pets, or objects obstructing the door’s movement. This ensures no injuries or damage occur during the process.
Also, please disconnect the power to your garage door opener by unplugging it or flipping the circuit breaker. This step prevents accidental activation during the reset, safeguarding you and the equipment.
Reading the User Manual
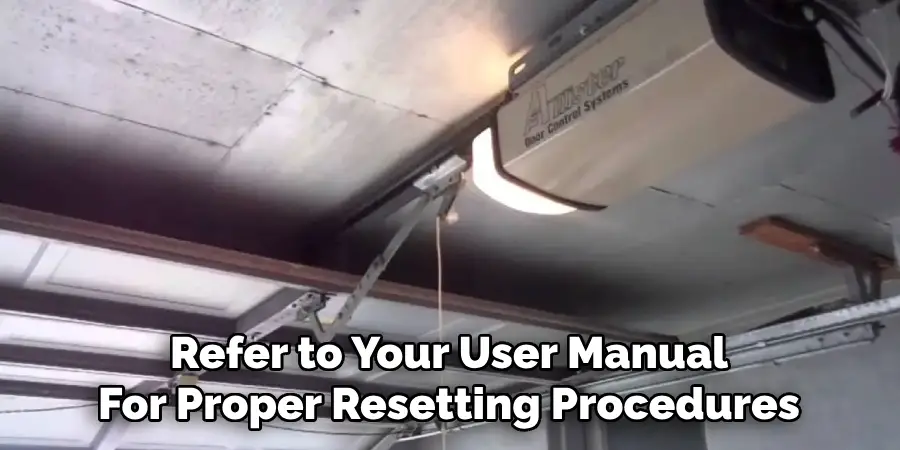
Each garage door opener model may have unique reset procedures, so it is vital to consult the user manual specific to your device. The manual provides critical guidelines, including the location of reset buttons, programming sequences, and troubleshooting tips. Understanding your model ensures a smooth and efficient reset process, minimizing potential errors.
Tools and Equipment Needed
Depending on your garage door opener, certain tools may be required to complete the reset safely. Common tools include a sturdy ladder to access the motor unit and a screwdriver to remove or tighten screws as needed. Have these tools ready to ensure the process is straightforward and efficient, reducing unnecessary delays.
How to Reset MVP Garage Door Opener: Perform a Basic Reset
Step 1: Locate the Reset Button
The first step in resetting your MVP garage door opener is to locate the reset button. This button is typically found on the motor unit, but it might also be located on the wall console in some models. If you are unsure of its exact location, check the user manual for your specific model. Identifying the reset button correctly is crucial to proceeding with the reset process.
Step 2: Press and Hold the Reset Button
Once the reset button has been located, hold it firmly for about 5 to 10 seconds, or until you notice the indicators signaling that the reset has started. Depending on your model, this could be lights blinking on the motor unit or specific beeps. These signals confirm that the system is resetting and will help avoid unnecessary confusion. Release the button once the indicators stop or you’ve held it for the recommended duration.
Step 3: Power Cycle the Opener
After pressing the reset button, unplug the garage door opener from the power source. Wait for about 30 seconds to allow the system to power down completely. Then, plug the unit back in to restore power. This step allows the reset to take effect fully and clears any lingering settings or errors that may have been causing issues.
Step 4: Test the Opener
Finally, use the remote control or wall-mounted control panel to test the garage door opener. Open and close the garage door to ensure it operates smoothly. If the reset has been successful, the opener will respond correctly to your commands. If issues persist, you may need to repeat the process or consult a technician for further assistance.
Resetting Remote Controls and Keypads
Properly resetting and syncing your garage door remote controls and keypads ensures seamless operation and optimal security. Follow the instructions below to clear old codes, program new ones, and troubleshoot any issues.
Syncing Remote Controls
- Clear Old Codes
Start by locating the “Learn” button on your garage door opener unit, typically found near the antenna wire or the control panel on the motor. Press and hold the button for approximately 10 seconds until the indicator light turns off. This erases all previously programmed codes from the system, ensuring no unauthorized remotes can access your garage.
- Program New Codes
Press the “Learn” button to program a new remote until the indicator light blinks. Within 30 seconds, press and hold the desired button on the remote until the light on the opener flashes or clicks, confirming successful syncing. Test the remote to verify functionality. Repeat the process for any additional remotes.
Resetting Wireless Keypads
- Erase Previous Codes
Locate the “Learn” button and hold it until the indicator light turns off, clearing all existing keypad codes.
- Enter a New Security Code
Press the “Learn” button once more and input your new desired security code on the keypad, followed by the “Enter” button. The opener light will blink to confirm the reset is complete. Test the new code by entering it to open or close the garage door.
Troubleshooting Remote Issues Post-Reset
If the remote or keypad does not work after resetting, check the following:
- Batteries: Replace batteries if they are low or depleted.
- Signal Interference: Ensure there are no obstructions or devices nearby causing interference.
- Range: Test the remote closer to the garage door opener to rule out range limitations.
Properly resetting and troubleshooting remote controls and keypads will ensure smooth and secure operation of your garage door opener.
Advanced Reset Procedures
Factory Reset Option
A factory reset restores the garage door opener, remote, or keypad to its original settings, erasing all programmed connections and codes. This option is beneficial when troubleshooting persistent issues that standard resets cannot resolve or when transferring ownership of the device. Use the factory reset as a last resort and consult the user manual for specific instructions, as this process varies by model.
Using the MVP App or Control Panel (if applicable)
For garage door openers equipped with smart technology, resetting or reprogramming can often be done conveniently through the MVP App or control panel. The app typically provides an intuitive interface for erasing existing codes, reconnecting remotes or keypads, and managing smart home integrations. Ensure your garage door opener is connected to Wi-Fi, and follow the app’s detailed prompts to reset or modify settings as needed.
Resetting via Smart Home Integrations
Many modern garage door openers integrate with smart home systems, such as Alexa, Google Assistant, or similar platforms. If the connected device malfunctions, consider unlinking and re-pairing it through the respective smart home app. This often resolves connectivity or operational issues without requiring a full reset.
When to Call Professional Help
Certain problems, such as unresponsive sensors, hardware malfunctions, or complex circuitry issues, may require the expertise of a professional technician. If a reset does not remedy the situation or if you encounter error codes you cannot diagnose, contact the manufacturer’s support team or a certified technician to avoid further complications.
Tips for Maintaining Your MVP Garage Door Opener
Regular Testing and Resetting
To ensure optimal performance, regularly test your MVP garage door opener by opening and closing the door to check for smooth operation. Performing periodic resets can also help prevent connectivity and operational issues before they arise. Refer to your user manual for proper resetting procedures.
Battery and Sensor Maintenance
Check the batteries in your remote control frequently and replace them as needed to maintain reliable communication with your opener. Additionally, clean the sensors located near the bottom of your garage door to remove dirt or debris that could interfere with functionality. Keeping these components in good working order ensures safe and efficient operation.
Lubrication and Mechanical Checks
Inspect the mechanical parts of your garage door, such as tracks, rollers, and hinges, and apply a suitable lubricant to reduce friction. Regular lubrication prevents wear and tear on the system and reduces strain on the opener, ensuring long-lasting performance.
Common Mistakes to Avoid During Reset
Skipping Safety Steps
One of the most common errors during a garage door opener reset is neglecting essential safety precautions. Failing to disconnect power from the unit before beginning poses a significant safety risk, potentially leading to electrical hazards. Additionally, not clearing the workspace around the garage door can result in accidents or damage during the reset process. Always prioritize safety by following these preliminary steps.
Pressing Buttons Too Quickly or Incorrectly
Hastily pressing buttons on the opener or remote control without understanding the process can disrupt the reset procedure. This approach may lead to further confusion or even unintended system settings changes. Carefully follow the reset instructions, pressing buttons deliberately and in the correct sequence to avoid unnecessary complications.
Ignoring Model-Specific Instructions
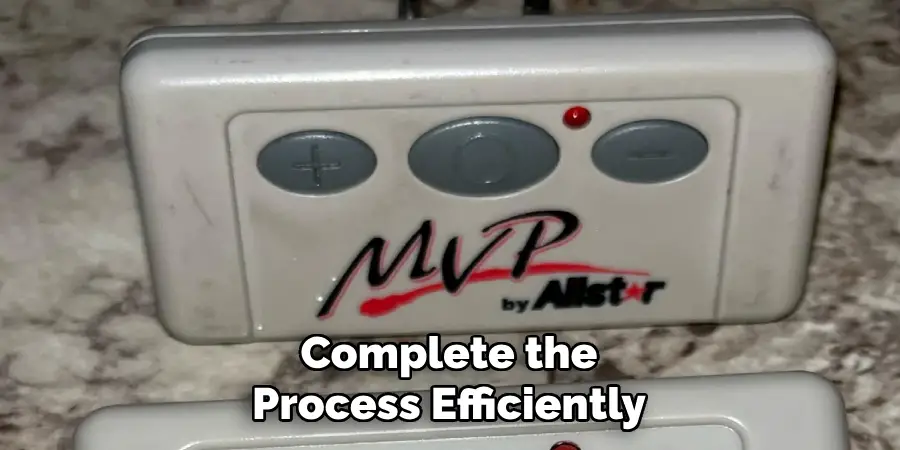
Not all garage door openers are the same, and failing to consult the manual for your specific MVP opener model can lead to missteps. The manual contains crucial details tailored to your unit, ensuring the reset is performed correctly. Always refer to the manufacturer’s guide to avoid potential issues and complete the process efficiently.
Conclusion
Proper resetting procedures for MVP garage door openers are essential to maintaining their functionality and ensuring safety. Understanding how to reset MVP garage door opener models correctly prevents unnecessary complications and extends the lifespan of your unit. Always follow safety guidelines and consult the manufacturer’s instructions for best results. Additionally, routine maintenance is crucial in complementing resets, keeping your garage door opener in optimal condition over time. By adhering to these practices, you can ensure reliable and secure operation, providing peace of mind for years to come.
I am Rick. I grew up helping my dad with his handyman service. I learned a lot from him about how to fix things, and also about how to work hard and take care of business. These days, I’m still into fixing things- only now, I’m doing it for a living.
I’m always looking for new ways to help people grow and develop. That’s why I have created this blog to share all my experience and knowledge so
that I can help people who are interested in DIY repair.