Do you need help with your legacy garage door opener? Is it not working as expected or are you looking to reset it for security reasons? Whatever the reason may be, resetting a legacy garage door opener can be a simple process if you follow the right steps.
How to reset legacy garage door opener can seem daunting, but it is often a straightforward process that can restore functionality and security to your garage. Whether you’ve recently moved into a new home, changed the garage door opener’s battery, or simply wish to clear old codes, understanding the reset procedure is essential.
This guide will walk you through the necessary steps to reset your legacy garage door opener effectively, ensuring that you regain control over your garage access with ease and confidence.
What Will You Need?
To reset your legacy garage door opener, you will need the following materials:
- A ladder
- Screwdriver (depending on the type of garage door opener)
- The instruction manual for your specific garage door opener (in case of model-specific steps)
Once you have these materials, you can begin resetting your legacy garage door opener.
10 Easy Steps on How to Reset Legacy Garage Door Opener
Step 1. Locate the Reset Button
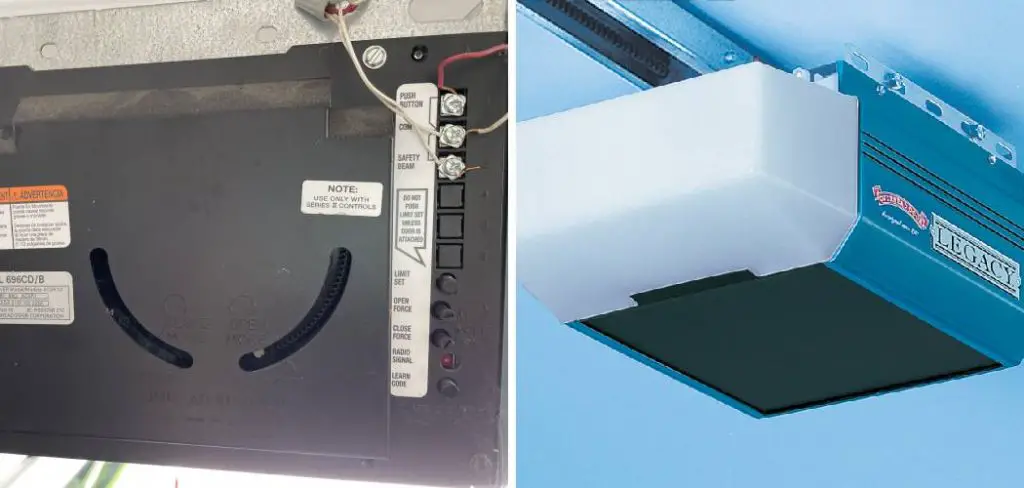
The first step in resetting your legacy garage door opener is to find the reset button. This button is typically located on the motor unit of the opener, which is mounted on the ceiling of your garage. Depending on the model, a small, red, or yellow button may be easily identifiable.
If you have difficulty locating it, refer to your instruction manual for the precise location based on your model. Once you’ve found the reset button, ensure the power to the opener is disconnected before proceeding to the following steps to avoid any accidental activation during the reset process.
This is a necessary safety precaution that will help prevent any untoward incidents while you work on your garage door opener.
Step 2. Press and Hold the Reset Button
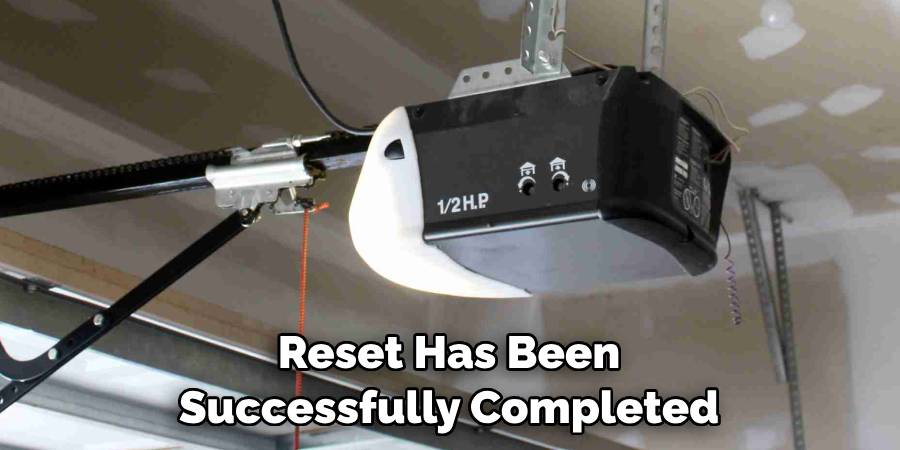
Once you’ve located the reset button, the next step is to press and hold it. You will typically need to hold this button down for approximately 10-15 seconds. During this time, you may notice the indicator light on the motor unit blinking or changing colors, which indicates that the reset process is in motion.
Keep holding the button until the light remains steady, indicating that the reset has been successfully completed. Release the button afterward, being cautious to keep your hands clear of any moving parts as you proceed to the next step.
Step 3. Reconnect Power
After successfully holding the reset button and ensuring the indicator light remains steady, the next step is to reconnect the power to your garage door opener. Locate the power cord that you previously disconnected and plug it back into the electrical outlet.
Wait for a moment to allow the opener to initialize. You should see the indicator light on the motor unit illuminate, confirming that power has been restored. It’s essential to ensure no obstructions or loose wires around the opener to avoid any potential hazards during operation.
Step 4. Reprogram the Remote Control
Once the power is reconnected and the opener has initialized, the next step is to reprogram your remote control. Start by pressing the “learn” button (often near the motor unit’s reset button). The indicator light should blink, signaling the opener is ready to receive new codes.
Within 30 seconds, press and hold the button you wish to program on your remote control. The indicator light on the motor unit will either blink or stay on, confirming that the remote has been successfully paired.
Repeat this process for any additional remotes or keypads that must be reprogrammed, ensuring you keep track of the order in which you program each device for future reference.
Step 5. Test the Garage Door Opener
After reprogramming your remote control, it’s essential to test the garage door opener to ensure that everything is functioning properly. Start by pressing the button on your remote to open the garage door. Observe how it responds; it should open smoothly and without hesitation.
Once the door is fully open, press the button again to close it, checking for a secure and controlled descent. If you notice any unusual sounds or if the door does not operate as expected, double-check the previous steps to ensure everything was completed correctly. Addressing any issues promptly will help maintain the longevity and security of your garage door system.
Step 6. Check Safety Sensors
The next step is to check the safety sensors to ensure they function correctly. Safety sensors are typically located near the bottom of the garage door tracks and are crucial for preventing the door from closing on objects or people.
Begin by examining the sensors for any dirt or obstructions that may be hindering their operation. If they appear dirty, gently clean them with a soft cloth. Then, test the alignment of the sensors; they should face each other directly.
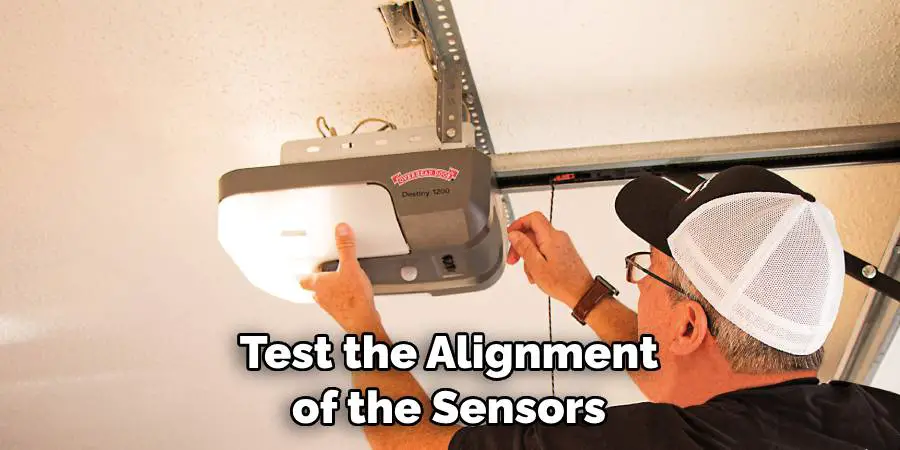
To test the functionality, temporarily block one sensor and attempt to close the garage door. The door should reverse if the sensors are working correctly. If the door doesn’t respond as expected, recheck its alignment and connections and consult the instruction manual for troubleshooting tips specific to your model.
Step 7. Adjust the Garage Door Opener Settings
Once you’ve confirmed that the safety sensors are functioning correctly, the next step is to adjust the settings on your garage door opener if necessary. Most legacy garage door openers have adjustable settings for the door’s travel limits and force sensitivity.
To begin, locate the adjustment screws or knobs on the motor unit; these may be labeled for ease of identification. Using a screwdriver, turn the screws slowly to modify the open and close limits according to your preferences or the manufacturer’s recommendations, noting that minor adjustments can have a significant effect.
After making adjustments, run the garage door through several cycles to ensure it operates smoothly and without any issues. If the door does not open or close fully, revisit the adjustment process as needed.
Step 8. Perform Regular Maintenance
Establishing a routine maintenance schedule is crucial to ensure the longevity and optimal performance of your garage door opener. Inspect all moving parts, including the rollers, hinges, and tracks, for signs of wear or damage. Lubricate these components with an appropriate garage door lubricant to minimize friction and noise during operation.
Additionally, check the integrity of the garage door, looking for any detached sections or loose hardware that may need tightening. Regularly cleaning the door and sensors will also help maintain functionality and safety. It’s advisable to perform these maintenance tasks every few months and seek professional help if any significant repairs or complications arise.
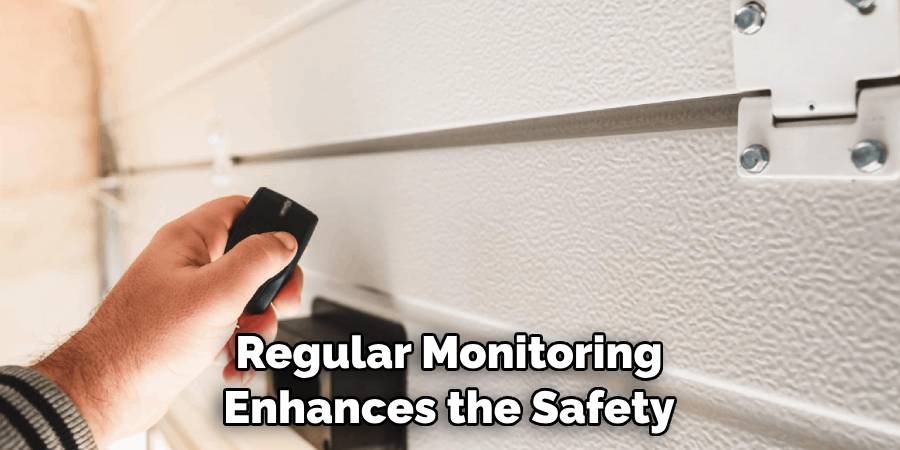
Step 9. Monitor Performance
After performing regular maintenance, it’s essential to monitor the performance of your garage door opener over time. Pay attention to any changes in the door’s operation, such as unusual noises, slow movement, or failure to open/close fully. If you notice any irregularities, it may indicate a need for further inspection or repair.
Logging any issues encountered can help track patterns and inform decisions about necessary services or adjustments. Regular monitoring enhances the safety and functionality of your garage door system and enables you to identify potential problems before they escalate into more significant issues.
Step 10. Consult a Professional
If you’ve followed all the previous steps and are still experiencing issues with your garage door opener or are uncertain about performing any adjustments or repairs, it’s advisable to consult a professional.
A qualified technician can provide a comprehensive inspection and diagnose more complex problems that may not be apparent through regular maintenance. When selecting a service provider, ensure they have experience with your specific garage door model and check for customer reviews or recommendations.
Regular professional servicing can help extend the lifespan of your garage door system and ensure it operates safely and efficiently.
By following these steps and regularly maintaining your garage door opener, you can ensure this essential household feature’s safety, security, and functionality.
5 Things You Should Avoid
- Bypassing Safety Features: Avoid disabling or bypassing safety sensors, as these are crucial for preventing accidents and injuries. Always ensure these features are functioning correctly before proceeding with resets.
- Ignoring Manufacturer Guidelines: Do not disregard the specific instructions provided in your garage door opener’s manual. Each model may have unique reset procedures to be followed for optimal performance.
- Using Incorrect Tools or Methods: Don’t attempt to reset your garage door opener using makeshift tools or unapproved methods. Use the appropriate tools recommended by the manufacturer to avoid damaging the unit.
- Neglecting Power Sources: Before performing a reset, check the power sources. Avoid resetting your opener if there are issues with your electrical supply, as this can lead to repeated failures.
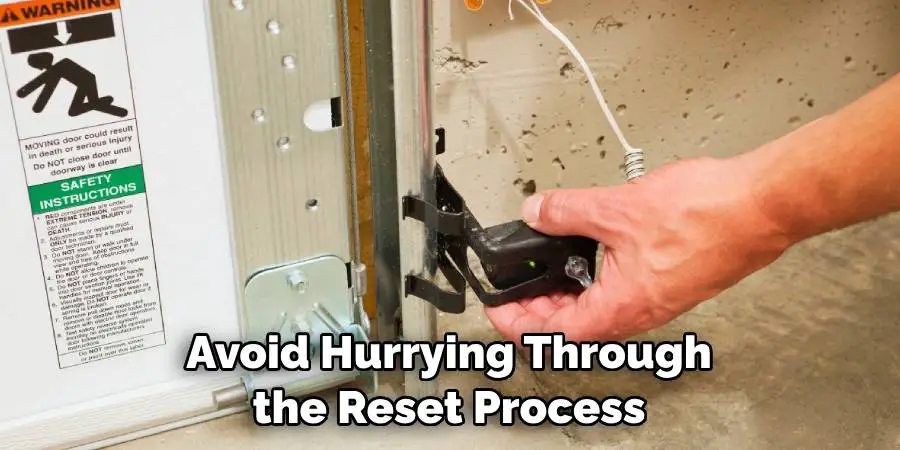
- Rushing the Process: Lastly, avoid hurrying through the reset process. Take your time to carefully follow each step to ensure that all functions are operating correctly. Rushing can lead to missed steps or mistakes, which may complicate the situation.
Conclusion
In summary, how to reset legacy garage door opener requires a methodical approach to ensure safety and functionality.
By understanding the components involved and systematically verifying each aspect—from the safety sensors to the adjustments and maintenance—you can effectively identify and resolve common issues. Regular monitoring and professional consultations further enhance the overall operation, ensuring your garage door functions smoothly and safely.
Adhering to the outlined steps and avoiding common pitfalls will not only streamline the reset process but also extend the longevity of your garage door opener, providing peace of mind and reliability for your household.
I am Rick. I grew up helping my dad with his handyman service. I learned a lot from him about how to fix things, and also about how to work hard and take care of business. These days, I’m still into fixing things- only now, I’m doing it for a living.
I’m always looking for new ways to help people grow and develop. That’s why I have created this blog to share all my experience and knowledge so
that I can help people who are interested in DIY repair.