Resetting the garage door opener on your Kia vehicle is a straightforward process that can save you time and effort. Whether you’ve just moved into a new home or need to pair your Kia with a different garage door, knowing how to reset and reprogram the system ensures seamless operation.
This guide on how to reset Kia garage door opener will walk you through the steps required to reset your Kia garage door opener and help you avoid common issues during the process.
Why Reset Your Kia Garage Door Opener?
There are several reasons why you may need to reset your Kia garage door opener. The most common reasons are:
Moving to a New Home:
When you move into a new home, it’s likely that the previous owners have programmed their garage door openers to work with their vehicles. In order for your Kia vehicle to be able to open and close your garage door, you’ll need to reset the system.
Changing Garage Door Opener Remote:
If you’ve purchased a new garage door opener remote or have lost your old one, you’ll need to reset the system in order for the new remote to work with your Kia vehicle.
Malfunctioning System:
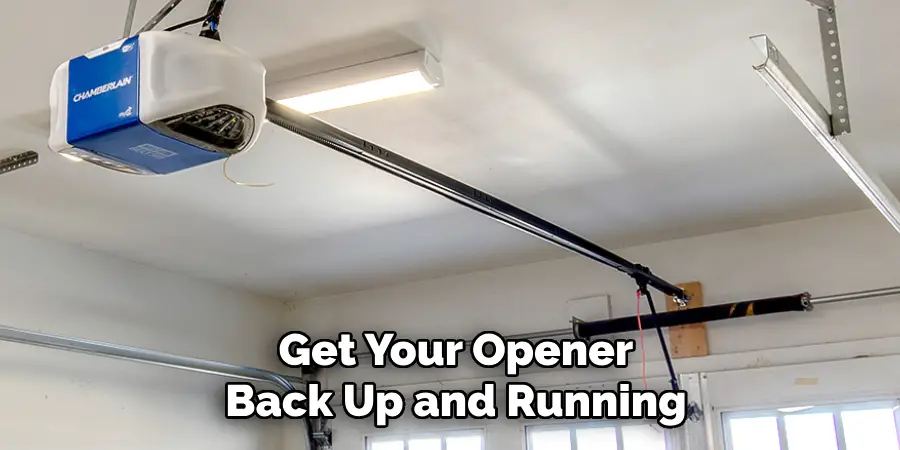
In some cases, your Kia garage door opener may malfunction and stop working properly. If this happens, resetting the system can help resolve any technical issues and get your opener back up and running.
Needed Materials
To reset your Kia garage door opener, you’ll need the following materials:
- Your Kia Vehicle’s Manual
- Your New or Replacement Garage Door Opener Remote
- A Ladder (if Needed)
8 Step-by-Step Guidelines on How to Reset Kia Garage Door Opener
Step 1: Consult Your Kia Vehicle’s Manual
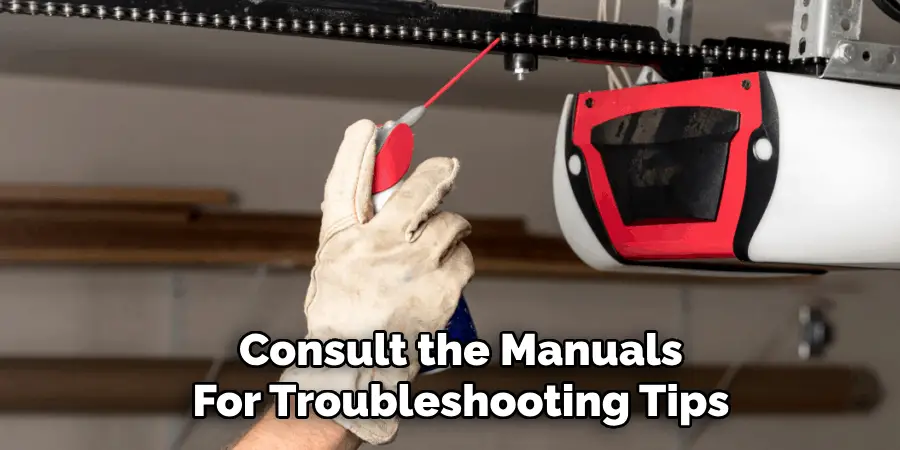
Begin the process by referring to your Kia vehicle’s manual. Locate the section dedicated to the garage door opener system, which provides specific instructions and diagrams tailored to your vehicle model. Familiarizing yourself with this information is crucial to ensure you follow the correct steps and avoid any unnecessary errors.
The manual typically includes details about programming the system, resetting it, and troubleshooting common issues. Having the manual on hand will serve as a reliable guide throughout the process.
Step 2: Locate the Garage Door Opener Button on Your Vehicle
The next step is to identify the garage door opener button inside your Kia vehicle. Typically, these buttons are part of the overhead console, near the interior lights or sunroof controls. Depending on your vehicle model, there may be one, two, or even three programmable buttons available.
Look for small icons or markings that indicate their purpose, such as a house symbol or a garage door icon. Once located, take note of these buttons, as you will use them during the programming process. If you’re unsure of their location, refer to your vehicle’s manual for additional guidance.
Step 3: Clear Any Stored Codes
Before programming your garage door opener, it’s important to clear any previously stored codes from the system to avoid interference. To do this, press and hold the first programmable button for about 10 seconds until the indicator light begins to blink or turns off, depending on your vehicle model.
This process ensures the button is reset and ready to be paired with the new garage door opener. If the light doesn’t behave as expected, consult your vehicle’s manual for model-specific instructions. Clearing stored codes is a necessary step to ensure the new programming works correctly.
Step 4: Press and Hold the Opener Button
Once the button has been cleared, locate the garage door opener’s “Learn” or “Program” button. Press and hold this button until the garage door opener’s indicator light either blinks or stays illuminated, signifying readiness for programming. Next, quickly return to your vehicle and press the programmable button you are pairing for two seconds, then release. Repeat this step up to three times or until the garage door responds.
This process establishes the connection between the vehicle and the opener, allowing seamless operation. If pairing is unsuccessful, double-check the steps and consult the manuals for troubleshooting tips.
Step 5: Press and Hold the Remote’s Program Button
Locate the program button on your garage door opener’s remote control. Press and hold this button until the indicator light on the remote begins to blink or stays solid, depending on the model of your remote. This step signals the remote to communicate with the garage door opener and complete the pairing process.
Be sure to keep the remote within range of the garage door opener for a strong connection. Once the light indicates successful programming, test the remote by pressing its button to ensure the garage door operates correctly. If the door does not respond, refer to your product manual for additional guidance.
Step 6: Wait for Confirmation
After pressing the designated button on the garage door opener and your remote, wait for the confirmation signal. This is typically indicated by a flashing or solid light on the garage door opener or remote, depending on the model.
The confirmation signal indicates that the programming process is complete and the remote is successfully paired with the garage door opener. If no signal is observed within a minute, repeat the previous steps or consult your user manual for troubleshooting tips.
Step 7: Test Your Remote Control
Once programming is complete, test your remote control to ensure it is functioning properly. Stand a few feet away from the garage door and press the button on the remote. The garage door should respond by opening or closing smoothly.
If the door does not operate as expected, double-check the programming steps and ensure the batteries in the remote are working correctly. Refer to your user manual for additional troubleshooting advice if necessary.
Step 8: Repeat for Additional Remotes (Optional)
If you have multiple remotes, you can repeat this process for each one to program them all to work with your garage door opener. Simply press and hold the program button on each remote while still holding down the opener button in your vehicle.
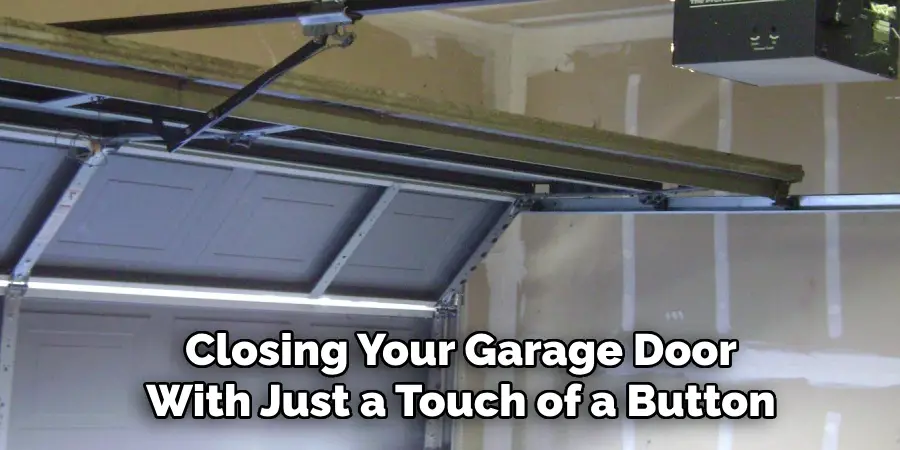
Following these steps on how to reset kia garage door opener, you can easily program your remotes and enjoy the convenience of opening and closing your garage door with just a touch of a button. Additionally, it is recommended to test the remote periodically to ensure it is still working correctly.
Additional Tips and Considerations
- Make sure to follow the specific instructions provided by your manufacturer for programming your particular model of garage door opener.
- If you are having trouble programming your remote control, try resetting both the remote and the garage door opener. Refer to your manufacturer’s manual for specific instructions on how to reset.
- Some remotes have a learn button that needs to be pressed in order to program them. This is usually located on the back or side of the garage door opener. Consult your manual or contact your manufacturer for more information.
- If you have multiple remotes, make sure they are all programmed correctly and that their codes do not interfere with each other.
- Keep spare batteries on hand for your remote control in case they run out of power unexpectedly.
- It is important to handle your remote carefully as dropping it or exposing it to extreme temperatures can damage its functionality.
- If you no longer use a remote, be sure to dispose of it properly and securely so that no one else can access your garage.
- Some newer garage door openers come with smart technology that allows you to control and monitor your garage door remotely through a smartphone app. Make sure to set up proper security measures for this feature to prevent hackers from gaining access. Additionally, if you plan on selling your house or moving in the future, be sure to remove your access from the app.
- Consider installing a garage door monitor so that you can receive notifications whenever your garage door is opened. This is especially useful if you have children who may forget to close the door or if you want to keep track of when contractors or delivery drivers come and go.
Frequently Asked Questions
Q1: Can I Control My Garage Door Remotely?
A: Yes, with a smart garage door opener and a compatible app, you can open and close your garage door from anywhere using your smartphone or tablet. The app will also allow you to check the status of your garage door and receive notifications when it is opened or closed.
Q2: Is It Safe To Control My Garage Door Remotely?
A: Yes, as long as you have a secure internet connection and use a trusted app for remote control. It is important to choose a reputable smart garage door opener and follow any security measures recommended by the manufacturer.
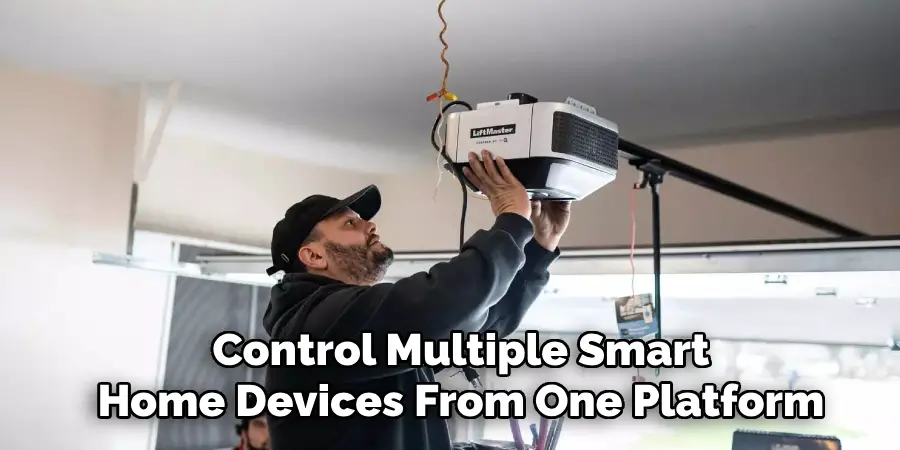
Q3: Can I Integrate My Smart Garage Door Opener with Other Smart Home Devices?
A: Many smart garage door openers are compatible with popular home automation systems like Amazon Alexa, Google Assistant, and Apple HomeKit. This allows you to control your garage door using voice commands or through a central hub that connects all of your smart home devices. Some models also come with their own app, which allows you to integrate and control multiple smart home devices from one platform.
Conclusion
Smart garage door openers offer a convenient and secure way to manage access to your home while seamlessly integrating with your smart home ecosystem. Whether through voice commands, mobile apps, or automation systems, these devices enhance your daily life with functionality and peace of mind.
By choosing a model that suits your specific needs and ensuring compatibility with your other smart devices, you can create a streamlined, modern home experience. Thanks for reading this article on how to reset Kia garage door opener.
I am Rick. I grew up helping my dad with his handyman service. I learned a lot from him about how to fix things, and also about how to work hard and take care of business. These days, I’m still into fixing things- only now, I’m doing it for a living.
I’m always looking for new ways to help people grow and develop. That’s why I have created this blog to share all my experience and knowledge so
that I can help people who are interested in DIY repair.