Your Hormann garage door opener is a sophisticated piece of equipment, engineered for smooth, reliable operation. But like any smart device, it can sometimes experience glitches. A power surge, a change in remotes, or simple operational errors can cause it to stop working correctly, leaving you stuck.
When your door won’t open, close properly, or seems to have a mind of its own, a factory reset is often the simplest and most effective solution. This process clears the opener’s memory, erases old travel limits, and allows you to reprogram it for a fresh start. While it might sound technical, learning how to reset hormann garage door opener models is a straightforward task that most homeowners can handle without calling a technician.
This guide will walk you through the entire process, ensuring you can get your system back in perfect working order safely and efficiently.
A malfunctioning garage door opener can be a major inconvenience, disrupting daily routines and causing unnecessary stress. Fortunately, resetting your Hörmann garage door opener is a simple process that can help resolve many common issues. By following a few straightforward steps, you can restore functionality to your system and ensure smooth and reliable operation.
Whether you’re troubleshooting connection problems or reprogramming after a power outage, this process provides an effective solution without needing professional assistance.
How to Reset Hormann Garage Door Opener: A Step-by-Step Guide
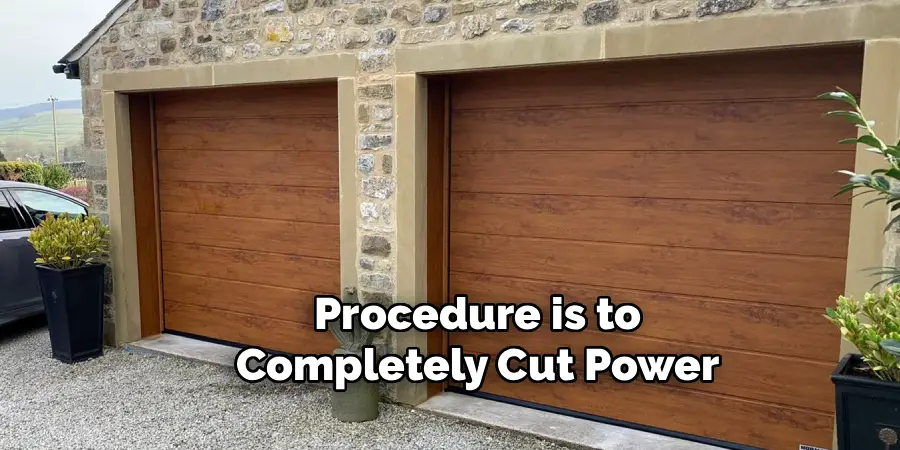
Step 1: Disconnect the Opener from Power
The first and most critical step in any reset procedure is to completely cut power to the garage door opener unit. This is a non-negotiable safety measure that prevents any accidental activation while you are working. Locate the power cord for the motor unit, which is typically mounted on the ceiling of your garage, and unplug it from the outlet.
If the opener is hardwired, you will need to go to your home’s main circuit breaker panel and flip the breaker that supplies power to the garage. Waiting for about 60 seconds after disconnecting the power ensures that any residual charge in the opener’s internal capacitors has fully dissipated, allowing for a true and complete system reboot when power is restored.
Step 2: Locate the Programming Button (PRG Button)
With the power off, you can safely access the opener’s control panel to find the programming button. On most Hormann models, like the SilentDrive or ProMatic series, this button is located on the motor housing. It is often labeled “PRG” for program, or it might be a small, sometimes recessed button accompanied by an LED light.
You might need a stepladder to get a clear view of the unit. On some models, you may need to remove a plastic cover to expose the control buttons and display screen. Familiarizing yourself with the location of this button is essential, as it is the key to initiating the factory reset sequence in the following steps.
Step 3: Initiate the Reset
This is the core action for resetting the unit’s memory. While the opener is still unplugged, press and hold down the “PRG” button you located in the previous step. Keep this button firmly depressed. While you are still holding the button down, you need to restore power to the unit. Have a helper plug the power cord back into the outlet, or if you can do so safely, plug it in yourself while maintaining pressure on the button.
It is crucial that you continue to hold the PRG button throughout this entire power-up sequence. This action signals to the opener’s firmware that you are not performing a standard startup but are intentionally initiating a factory reset.
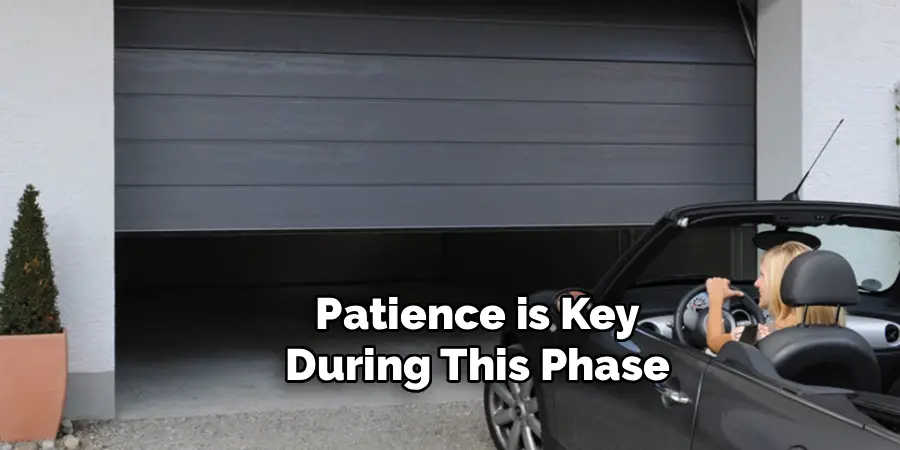
Step 4: Wait for the Confirmation Signal
Patience is key during this phase. Continue holding the PRG button down for approximately 5 to 10 seconds after the power has been restored. During this time, the opener’s control board is actively erasing all stored data, including remote control codes and the previously learned open and close travel limits.
Your Hormann opener will provide a clear signal to confirm that the reset is complete. You may see the internal LED light flash rapidly, hear a distinct click, or see a specific code appear on the digital display if your model has one. Once you observe this confirmation signal, you can release the PRG button. The opener’s memory is now cleared.
Step 5: Reprogram Your Handheld Remotes
With the factory settings restored, the opener has forgotten all previously paired remote controls. You must now re-teach the system to recognize your remotes. To do this, press the PRG button on the motor unit once, briefly. The LED light should begin to flash, indicating it is in pairing mode.
Now, take your handheld remote and press and hold the button you wish to use to operate the door. The LED light on the motor unit should flash faster and then become solid, confirming that it has learned the remote’s code. Release the button on your remote. Repeat this process for any additional remotes or wireless keypads you use.
Step 6: Relearn Travel Limits
After a reset, the opener does not know how far to travel to open or close the door. You must reteach it these limits. Press and hold the “Up” arrow button on the motor unit, and the door will begin to travel upwards. Release the button when the door reaches the desired fully open position. Then, press and hold the “Down” arrow button, and the door will travel downwards.
Release it when the door is fully closed. Aftersetting both limits, press the PRG button again to save the positions. The opener will then automatically run one or two full cycles to measure the force required and calibrate its safety reversal system.
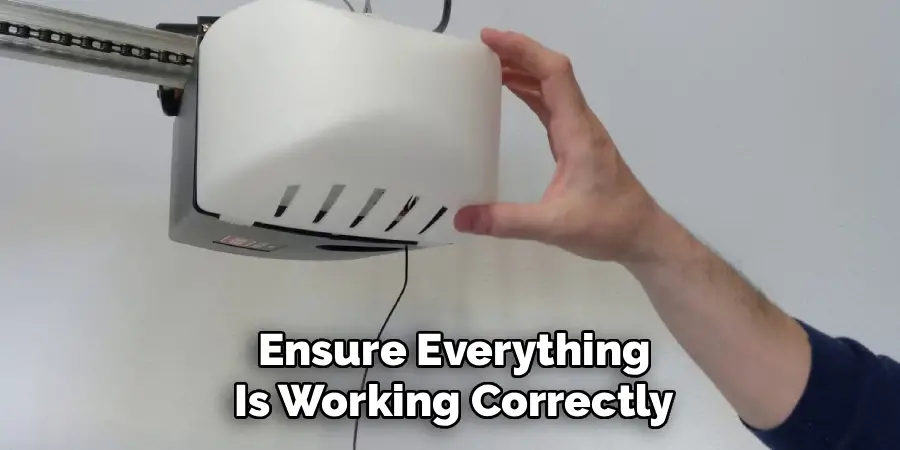
Step 7: Test the System and Safety Features
The final step is to ensure everything is working correctly and safely. Use your newly programmed remote control to open and close the door several times. The door should travel smoothly between the new limits you have set. Next, you must test the safety reversal system. Place a block of wood (a 2×4 laid flat works well) on the ground in the door’s path.
When the closing door touches the wood, it should immediately stop and reverse to the open position. Also, test the photo-eye sensors by waving an object through the infrared beam while the door is closing. The door should immediately reverse. If these safety features work, your reset is complete
Frequently Asked Questions
Why Would I Need to Reset My Hormann Garage Door Opener?
A reset is a useful troubleshooting step for several issues.
- Operational Glitches: If the door stops at random points or reverses for no reason.
- Remote Issues: When your remotes stop working, and changing the batteries doesn’t help.
- After a Power Surge: Electrical storms can scramble the opener’s logic board.
- Security: To erase all previous codes if you’ve lost a remote or are moving into a new home.
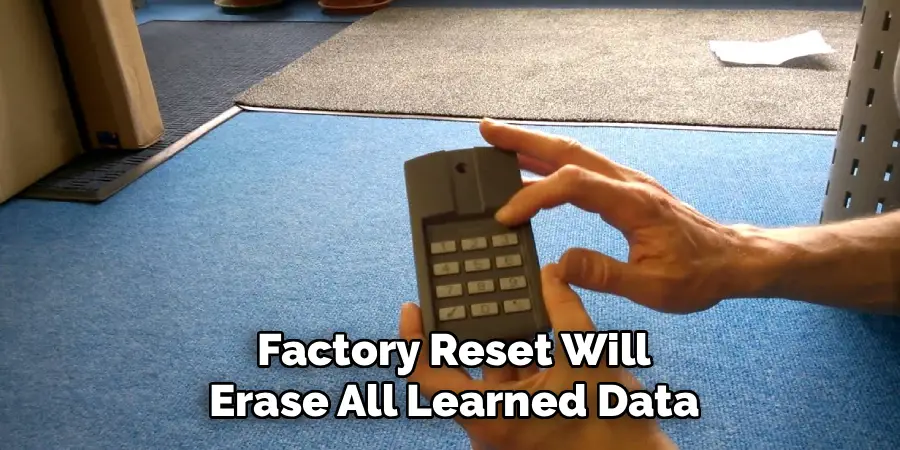
Will Resetting Erase My Remote Controls?
Yes, a full factory reset will erase all learned data, including the codes for all your handheld remotes and wireless keypads. After performing the reset, you will need to reprogram each remote individually by putting the opener into pairing mode and pressing the remote button until the unit recognizes it. This is a crucial step to regain control of your door.
What Is the Difference Between a Power Cycle and a Full Reset?
A power cycle is simply unplugging the unit, waiting a minute, and plugging it back in. This can resolve minor temporary glitches without erasing any settings. A full factory reset, as described in this guide, is a more drastic step that involves holding the PRG button while restoring power. It wipes the opener’s memory completely, including travel limits and remote codes, restoring it to its “out-of-the-box” state.
What if My Door Still Doesn’t Work After a Reset?
If a full reset and recalibration do not solve your problem, it may indicate a more serious issue. The problem could be mechanical, such as a broken spring or misaligned track. It could also be an issue with the logic board on the motor unit itself, a faulty photo-eye sensor, or a problem with the wall control wiring. In these cases, it is best to contact a qualified Hormann service technician for a professional diagnosis.
How Do I Find the Manual for My Specific Hormann Model?
Hormann has a comprehensive website with a support section. You can typically find the owner’s manual for your specific model by searching for its name (e.g., “SilentDrive 7500” or “ProMatic 4”) on their official site. The manual will provide detailed diagrams and instructions tailored precisely to your unit, which can be invaluable for troubleshooting.
Conclusion
Your garage door opener is a workhorse that provides daily convenience and security, and knowing how to troubleshoot it is a valuable skill for any homeowner. A factory reset is a powerful tool for resolving frustrating electronic glitches and restoring your system to peak performance.
By carefully following the steps of disconnecting power, initiating the reset, and then methodically reprogramming your remotes and travel limits, you can often fix problems yourself and avoid a costly service call. The key is to work safely and patiently, ensuring all safety features are re-tested at the end. Now that you have this guide on how to reset hormann garage door opener systems, you can confidently tackle the task and get your door running smoothly again.
I am Rick. I grew up helping my dad with his handyman service. I learned a lot from him about how to fix things, and also about how to work hard and take care of business. These days, I’m still into fixing things- only now, I’m doing it for a living.
I’m always looking for new ways to help people grow and develop. That’s why I have created this blog to share all my experience and knowledge so
that I can help people who are interested in DIY repair.