
How to reset garage door safety sensors are crucial components that ensure the safety of your family and property by preventing the garage door from closing on objects, people, or pets in its path. These sensors create an invisible infrared beam across the base of your garage door, immediately halting its motion if an obstruction is detected.
Before resetting the safety sensors, it’s important to ensure that they are not misaligned or blocked by debris. Start by inspecting both sensors located on either side of the garage door frame. Clean the lenses gently with a soft cloth to remove any dirt or dust. Next, verify that the sensors are properly aligned by checking that their LED indicator lights are steady and not blinking. Misalignment can often be corrected by adjusting the brackets until the lights remain solid. Once these steps are complete, you can proceed with the reset process if needed.
However, like any technology, garage door safety sensors can occasionally malfunction due to misalignment, dirt buildup, or electrical issues. Learning how to reset garage door safety sensors is an essential skill for homeowners to restore their functionality quickly and ensure a smooth and safe operation. This guide provides a step-by-step breakdown, aimed especially at beginners, on how to diagnose issues and reset these sensors effectively.
Why Resetting Garage Door Safety Sensors is Important
Resetting your garage door safety sensors is more than just a technical fix—it’s a vital safety measure that protects your family, pets, and belongings. When the sensors are misaligned or dirty, it disrupts their ability to detect obstructions, which can lead to accidents or damage. Resetting them restores the proper functioning of the infrared beam and ensures the safety mechanism works as intended every time the garage door operates.
Functioning safety sensors also extend the life of your garage door opener by reducing unnecessary wear and tear caused by improper operation. Additionally, they ensure compliance with modern safety standards, especially if you’re using a newer model garage door system. Understanding the process to reset them keeps your system in good working order and avoids the need for professional repairs.
Step-by-Step Guide: How to Reset Garage Door Safety Sensors
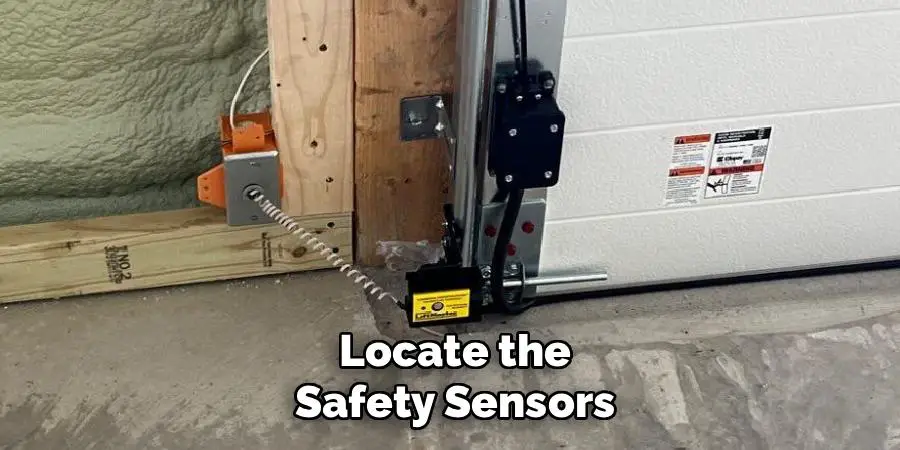
Step 1: Locate the Safety Sensors
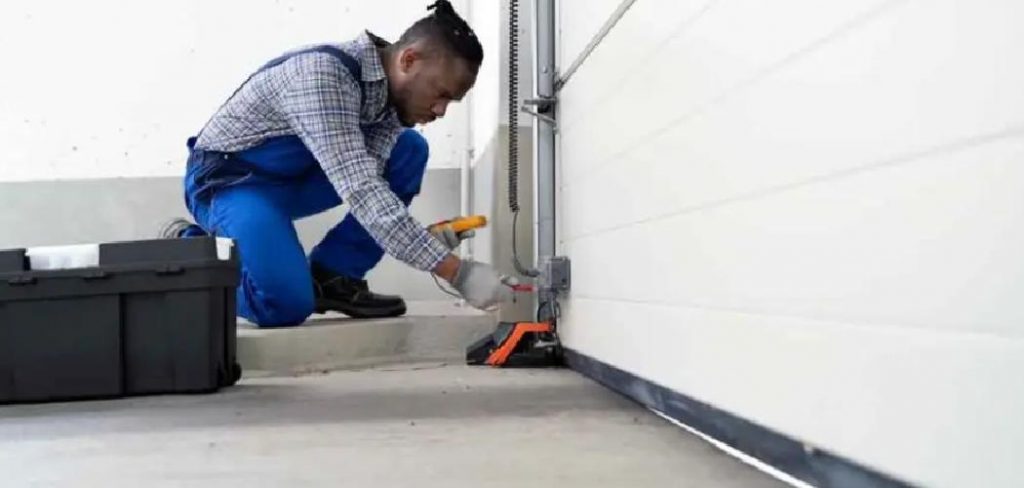
Begin by examining both sides of your garage door to locate the safety sensors. These are typically mounted near the bottom of the door tracks, a few inches off the ground. One sensor emits the infrared beam (the sender), while the opposite sensor (the receiver) detects it.
Inspect the sensors closely for any visible signs of damage, such as cracks or loose wiring. Familiarize yourself with their physical appearance and placement since proper alignment is crucial for functionality. Keep in mind that external factors like dirt or obstructions often contribute to misalignment issues, making a visual inspection a logical first step in the reset process.
Step 2: Turn Off the Power to the System
For your safety, always begin by turning off the garage door opener’s power to avoid any unexpected movement while resetting the sensors. Locate the electrical outlet powering your garage door opener and unplug it.
Alternatively, if the system is hardwired, use the breaker panel to switch off the corresponding circuit. Powering down the unit prevents electrical hazards and ensures all adjustments to the sensors can be made safely. Take care to inform family members not to operate the garage door during this time.
Step 3: Clean the Sensors
One of the simplest reasons sensors stop working is dirt or debris collecting on their lenses. Use a soft, dry cloth to gently wipe the surfaces of both the sender and receiver units. Avoid using abrasive materials or liquid cleaners that could scratch or damage the lenses.
Even a thin layer of dust can interfere with the infrared beam’s transmission, so perform a thorough check to ensure the lenses are spotless. Cleaning the sensors regularly, even when they appear functional, helps maintain their efficiency and prevents future malfunctions.
Step 4: Inspect and Realign the Sensors
Misalignment between the sender and receiver units is a common cause of malfunction. To check alignment, look for indicator lights on the sensors—these lights are usually green or red, depending on the model. If one or both lights are off or blinking, the sensors are likely out of alignment.
Loosen the mounting brackets and gently adjust the sensor units until the lights glow steadily. The goal is to ensure both sensors face each other directly, allowing the infrared beam to connect without obstruction. Once aligned, tighten the brackets securely to prevent movement during regular use.
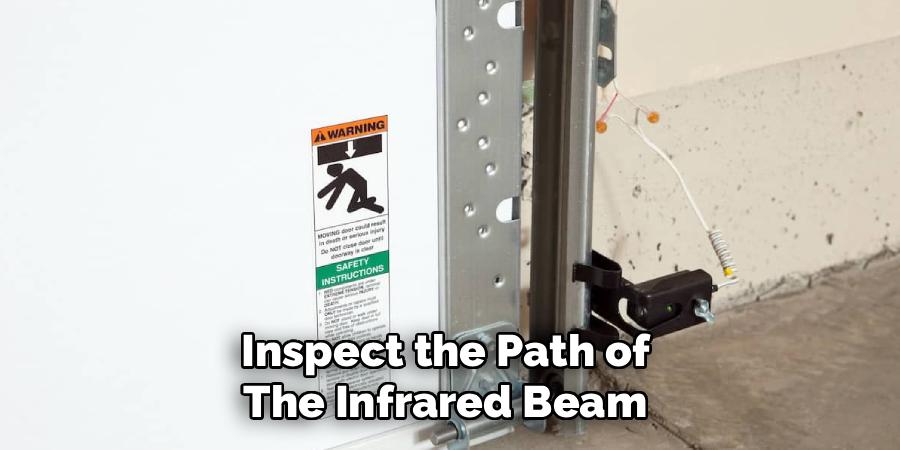
Step 5: Check for Obstructions
Inspect the path of the infrared beam between the two sensors for any physical obstructions. Common culprits include toys, garden tools, or debris. Remove any items blocking the beam and verify that the sensors have a clear line of sight.
Additionally, ensure that the surrounding area isn’t prone to frequent obstructions, particularly if the garage is used for storage. Establishing a clutter-free zone around the sensors helps maintain their functionality in the long term.
Step 6: Secure the Wiring
Loose or disconnected wires can cause intermittent sensor failures. Examine the wiring connected to each sensor for fraying, damage, or disconnection. Ensure that all connections are secure and that the wires lead back to the garage door opener without tangles or kinks.
If you discover any damaged wiring, consider calling a professional to handle the repairs safely. For minor adjustments, carefully reconnect the wiring and use electrical tape to stabilize any loose ends.
Step 7: Perform a Reset
After completing the cleaning, alignment, and wiring checks, it’s time to reset the sensors. For most systems, simply restoring power to the garage door opener will automatically reset the sensors. Plug the opener back into the electrical outlet or flip the breaker switch to restore functionality.
Once powered, test the system by operating the garage door. Observe the sensors’ response during operation—if the door stops and reverses when the beam is interrupted, the reset was successful. If the sensors still malfunction, repeat the alignment process or consult the manufacturer’s manual for troubleshooting steps specific to your model.
Step 8: Test the Safety Features
To confirm the sensors are functioning correctly, perform a safety test. Place an object, such as a broomstick, in the path of the infrared beam and attempt to close the garage door. The door should immediately reverse or stop upon detecting the obstruction.
Conducting this test ensures that the reset process restored the safety mechanisms to working order. Repeat the test periodically to maintain confidence in your garage door’s reliability.
Regular Maintenance Routine
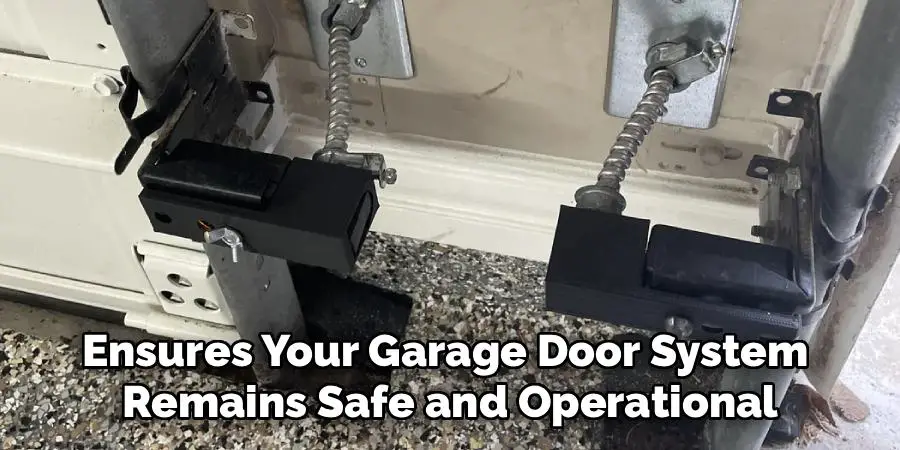
Establish a habit of checking and maintaining the sensors monthly. Clean the lenses, verify alignment, and inspect the wiring during routine garage cleanings to prevent future issues.
Staying proactive in sensor upkeep ensures your garage door system remains safe and operational, reducing the likelihood of inconvenient breakdowns.
Additionally, perform visual inspections on the overall condition of your garage door system. Look for any signs of wear and tear, such as frayed cables or worn out rollers. If you notice any potential issues, address them promptly to prevent further damage and maintain the safety and functionality of your garage door.
Frequently Asked Questions
1. How do I know if my garage door safety sensors are faulty?
Faulty sensors often display symptoms such as blinking indicator lights or a garage door that won’t close properly. Additionally, if the door closes but immediately reverses, it’s a sign that the sensors are misaligned or malfunctioning. Start by inspecting the sensors for dirt, damage, or loose wiring.
2. Can weather conditions affect garage door safety sensors?
Yes, extreme weather conditions like heavy rain, snow, or intense sunlight can disrupt the infrared beam between sensors. Ensure proper alignment and clean the sensors after severe weather to maintain performance. Using a protective cover or positioning adjustments can help mitigate weather-related issues.
3. What should I do if I’ve realigned the sensors but they still don’t work?
If alignment doesn’t resolve the problem, check the wiring for damage or disconnection. Additionally, ensure the garage door opener is powered and the sensors’ lenses are clean. Persistent issues may require professional repair or replacement.
4. How often should I clean my garage door safety sensors?
Cleaning the sensors once a month is typically sufficient. However, if your garage is prone to dust accumulation or debris, consider more frequent cleaning to prevent interference with the infrared beam.
5. Are all garage door safety sensors universal?
No, safety sensors vary by manufacturer and model. Ensure any replacement parts or components are compatible with your current garage door opener to avoid functionality issues. Always consult the user manual for guidance.
Conclusion
Knowing how to reset garage door safety sensors is an essential skill that ensures the safety and efficiency of your garage door system. By following these simple steps—cleaning, aligning, and testing the sensors—you’ll prevent accidents and maintain smooth operation.
Take a proactive approach to sensor maintenance and enjoy peace of mind knowing your garage door is equipped to protect your family and property. Regular care ensures your system remains reliable and effective for years to come.
I am Rick. I grew up helping my dad with his handyman service. I learned a lot from him about how to fix things, and also about how to work hard and take care of business. These days, I’m still into fixing things- only now, I’m doing it for a living.
I’m always looking for new ways to help people grow and develop. That’s why I have created this blog to share all my experience and knowledge so
that I can help people who are interested in DIY repair.