The Chamberlain garage door opener keypad has become a cornerstone of modern home security, providing an easy way to manage and protect access to your garage and home. Whether your PIN has slipped your mind, persistent error messages are bothering you, or it’s simply time to update your access code, knowing how to reset Chamberlain garage door opener keypad systems can bring both peace of mind and restored convenience.
You might also find yourself resetting the keypad after moving into a new home, updating devices, or following a power outage. Fortunately, the process is straightforward and within reach for anyone, regardless of technical experience. In this comprehensive article, we’ll guide you through common reasons for a reset, every detail of the process, and best practices to keep your system secure and reliable.
Understanding Chamberlain Garage Door Opener Keypads
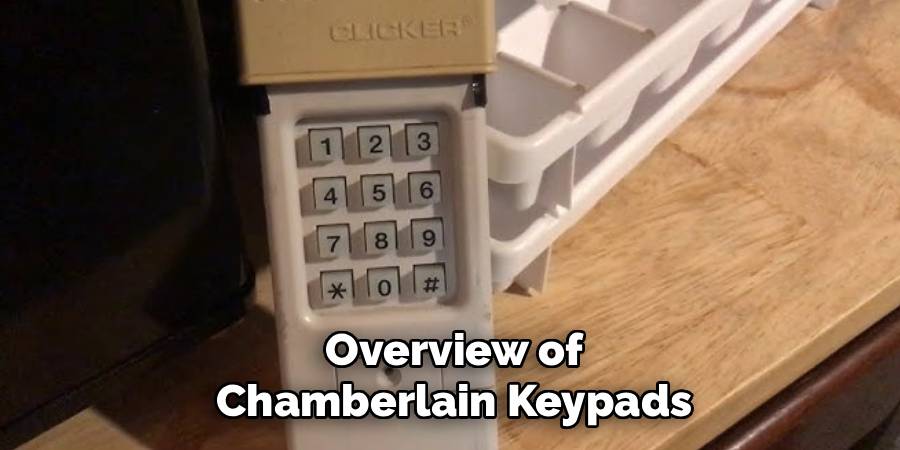
Overview of Chamberlain Keypads
Chamberlain keypads are designed for wireless access and ease of use. Installed just outside your garage, they let users enter a secure PIN instead of keeping track of physical remotes or keys. Most models come equipped with features like backlit keys for night visibility, weather-resistant casings, and rolling code technology, which helps prevent unauthorized entry by generating a new code each time you use the keypad. In some cases, advanced models even allow for the generation of temporary codes—useful for visitors or deliveries—and offer vacation modes for added security when you’re away.
Importance of Resetting Your Keypad
Resetting is more than a fix for forgotten PINs; it’s a crucial maintenance step to ensure continued security. Over time, access codes might be shared with guests, previous homeowners, babysitters, or contractors. Electronic glitches can also lead to unresponsive buttons or codes that no longer operate the door. Regularly resetting your keypad and updating your PIN reestablishes control over who has access, clears out outdated codes or errors, and maintains the reliability of your security system.
Common Reasons for Resetting a Chamberlain Keypad
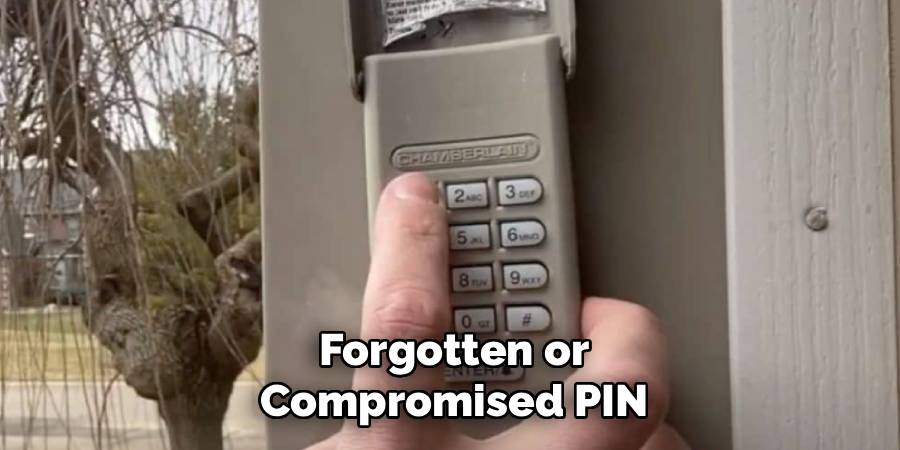
Forgotten or Compromised PIN
Forgetting your entry code is a common scenario, especially if you haven’t changed it in a while or use multiple security codes throughout your home. There may also be instances when you suspect your PIN has been compromised or is too widely known. Resetting clears out the old—the perfect opportunity for you to choose a new, more memorable code known only to trusted individuals.
Troubleshooting Issues
Electronic devices can become unresponsive for various reasons, including battery failure or software glitches. If your keypad stops working, cannot pair with the opener, or continually flashes error codes, resetting is often the first troubleshooting step. This typically resolves most basic problems and restores proper functionality without the need for technical expertise.
New Home or Device Integration
It’s best practice to reset the keypad if you’ve moved into a new home or are integrating new wireless devices into your Chamberlain system. This clears out any remaining codes—ensuring previous residents or users no longer have access—and ensures that all components are speaking the same “language” for trouble-free operation.
Tools and Preparations
What You Need Before Starting
Preparation helps avoid missteps. Have your Chamberlain keypad manual handy to reference model-specific steps. You’ll also need a ladder if your keypad or motor unit is mounted high. Ensure the area around both devices is clean and accessible. Most importantly, locate the “Learn” button on the motor unit—it plays a central role in the reset process.
Pre-Reset Checklist
Double-check that the garage door opener motor is powered on and that your keypad is clean and free of dirt or moisture. Clear away any obstacles from your path to both the keypad and opener, and familiarize yourself with the positions of all relevant buttons.
5 Step-by-Step Guide on How to Reset Chamberlain Garage Door Opener Keypad
Step 1 – Locate the Learn Button on the Garage Door Opener
Climb your ladder or step stool to find the garage door opener’s motor unit, usually mounted to the ceiling. The “Learn” button is typically colored (yellow, orange, or purple) and positioned near the antenna or behind a light cover. This button enables you to erase old codes and enter programming mode for a new setup.
Step 2 – Clear the Current PIN
Press and hold the “Learn” button until its indicator light goes out—this usually takes six seconds or so. Doing this erases all previously stored codes, ensuring only new codes will be recognized.
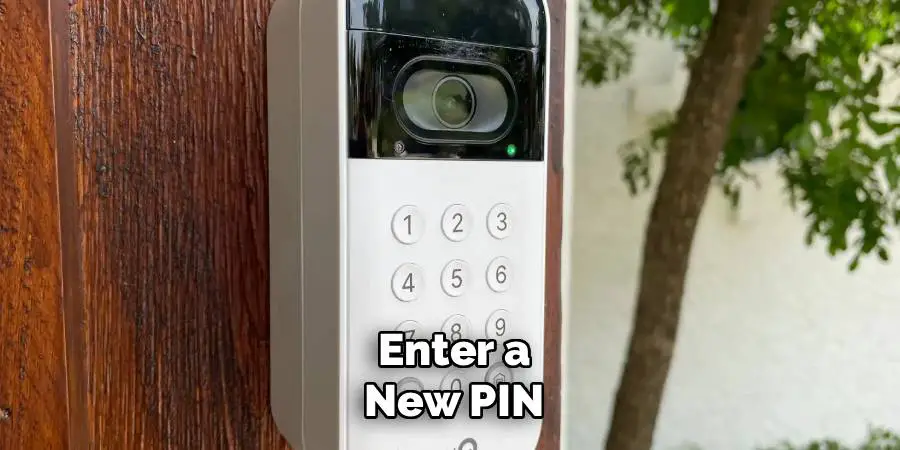
Step 3 – Enter a New PIN
With the opener cleared, immediately press and release the “Learn” button again. Move to your keypad (you have about 30 seconds), enter your chosen four-digit code, and press and hold “Enter.” The opener’s light should blink or you’ll hear a click, confirming successful programming.
Step 4 – Sync the Keypad to the Garage Door Opener
After confirming your new PIN, test it at the keypad. Press the code and “Enter.” The door should activate, signaling effective syncing. If not, repeat the process—sometimes a missed timing window or button press can disrupt programming.
Step 5 – Test the System
Try your new code several times. If possible, have other garage users test as well. Make sure all expected opener behaviors work as intended—such as safety reversals and interior lights—before putting everything away.
Troubleshooting Common Issues During Reset
Keypad Not Responding to Programming
If the keypad fails to respond or won’t retain the new code, check the batteries first—this is the most common cause of keypad malfunction. Ensure the keypad is mounted within effective range, and try moving closer to the opener when programming. If problems persist, consult your manual for instructions on resetting the keypad to its factory settings before repeating the programming steps.
Issues Syncing with the Opener
An unsuccessful sync could be due to entering codes too slowly or missing the programming window. Clear any physical obstructions between the keypad and opener, confirm both are powered up, and try the process again. If necessary, power cycle the motor unit by unplugging it for a few moments.
Best Practices for Maintaining Your Chamberlain Keypad
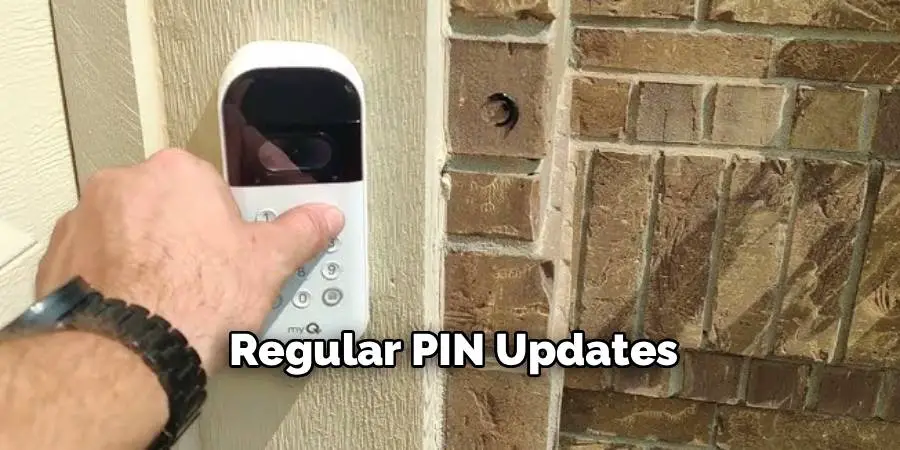
Regular PIN Updates
Treat your garage PIN like any other sensitive password—update it every six months, or whenever someone who knows the code no longer requires access. Doing so prevents unwanted or unauthorized access and strengthens your home security.
Cleaning and Maintenance Tips
Maintain clarity and performance by wiping the keypad with a dry cloth every so often. Look for signs of wear, sticking buttons, or moisture that could cause problems. An unobstructed, clean keypad is easier for everyone to use and less likely to fail when you need it.
Benefits OF Resetting the Chamberlain Garage Door Opener Keypad
Enhanced Security
Being able to reset and update your keypad on your own is a key component of home security. It means you can immediately respond to lost remotes, shared or suspected-compromised codes, or changes in residents.
Easy Problem-Solving
A reset is often enough to clear up common malfunctions, saving you from the inconvenience and expense of a service call.
Improved System Integrity
Regular resets and PIN updates help ensure consistent communication between all your system’s components, keeping your entire entry system running smoothly.
FAQ on Resetting Chamberlain Garage Door Opener Keypads
How Often Should I Reset My Keypad?
Whenever the code is forgotten, shared, or you have reason to believe it’s no longer secure. As a rule, plan to update at least every six months, especially in busy households.
What if the Keypad Still Doesn’t Work After Reset?
Install new batteries and repeat programming. Check the opener’s power supply. If there’s still no response, consult the manual or consider replacing a damaged keypad.
Can I Program Multiple Keypads with One Opener?
Yes, most Chamberlain openers can handle multiple keypads and remotes—but remember that a full reset wipes all connected devices, so you’ll need to reprogram each one after resetting.
When to Call a Professional
Recognizing Complex Issues Beyond DIY
Persistent failures, flashing error lights, or indications of internal wiring problems are best handled by professional technicians. Obvious damage to the keypad, opener circuit board, or power supply also calls for expert evaluation.
Benefits of Professional Assistance
A certified technician brings in-depth knowledge, specialized tools, and all necessary replacement parts. They can quickly pinpoint less common issues, restore full access, and make further recommendations for keeping your system secure and well-maintained.
Final Thoughts
Learning how to reset Chamberlain garage door opener keypad devices empowers you to respond quickly to forgotten codes, lost remotes, or changing security needs. The process is designed to be accessible to every homeowner or renter, regardless of technical background. By following the simple steps outlined above, you can handle resets, restore convenience, and ensure the ongoing safety of your property—without the hassle of waiting for an expert. When in doubt or facing persistent issues, don’t hesitate to reach out to a professional. Either way, mastering these steps puts peace of mind and effective access control right at your fingertips.
I am Rick. I grew up helping my dad with his handyman service. I learned a lot from him about how to fix things, and also about how to work hard and take care of business. These days, I’m still into fixing things- only now, I’m doing it for a living.
I’m always looking for new ways to help people grow and develop. That’s why I have created this blog to share all my experience and knowledge so
that I can help people who are interested in DIY repair.

