One of the most convenient features of the modern Ford Bronco is its built-in ability to communicate with your home. The integrated universal garage door opener, often powered by the HomeLink system, allows you to open gates and garage doors with the touch of a visor button, eliminating the need for those clunky, battery-draining plastic remotes.
However, whether you have just purchased a pre-owned vehicle, are moving into a new house, or are simply troubleshooting a glitchy connection, there comes a time when you need to wipe the slate clean. Clearing out old codes is the essential first step to ensuring a secure and reliable link between your vehicle and your home.
While the process involves a specific sequence of button presses that can feel like a secret code, it is actually quite straightforward. This guide is designed to walk you through the entire procedure, providing clear, beginner-friendly instructions on how to reset bronco garage door opener buttons so you can program your new devices with confidence and ease.
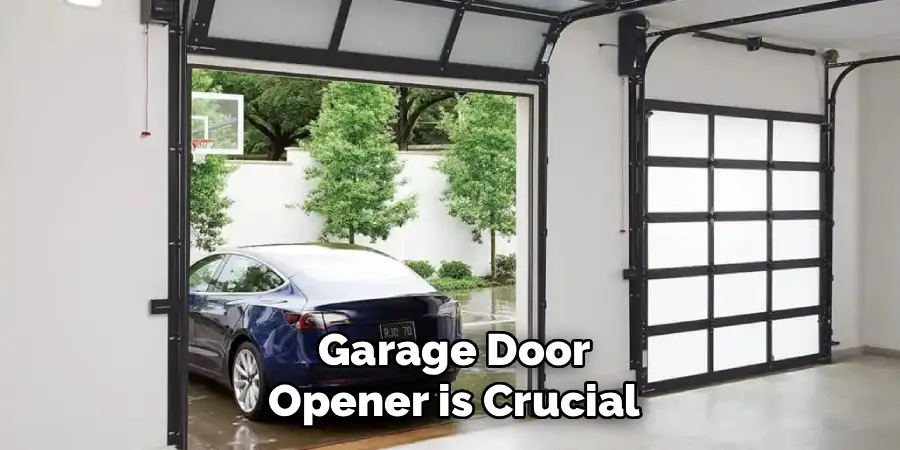
Why Resetting Your Garage Door Opener is Important
Resetting your garage door opener is crucial for both security and functionality. Over time, access codes can become outdated or compromised, especially if they have been shared with multiple users or if you’ve recently moved into a new home.
By resetting the system, you ensure that only your programmed devices are capable of accessing the garage, protecting your home from unauthorized entry. Additionally, a reset allows for the seamless addition of new devices, eliminating potential interference or conflict with old codes.
Taking this step not only enhances your peace of mind but also ensures your garage door opener operates efficiently with the latest configurations.
Step-by-Step Guide on How to Reset Bronco Garage Door Opener
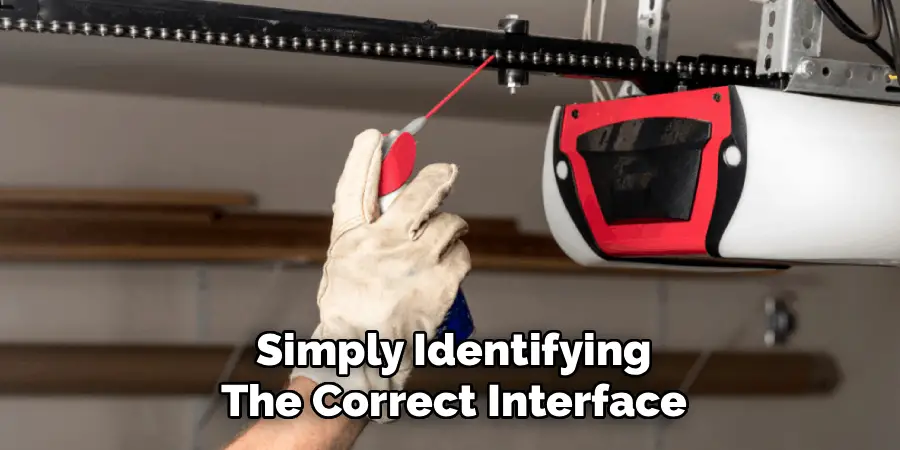
Step 1: Locate the HomeLink Buttons on the Visor
The first step in this process is simply identifying the correct interface within your vehicle. In most Ford Bronco models, the universal transmitter buttons are conveniently located on the driver’s side sun visor. You will typically see three distinct buttons arranged in a row, often marked with small dots (one, two, or three) or a simple house icon.
These buttons are part of the HomeLink system, which is the industry standard for vehicle-to-home communication. Before you begin pressing anything, ensure you are parked safely, preferably outside of the garage to prevent the door from opening or closing unexpectedly during the process.
Make sure your vehicle is turned on to the accessory mode or the engine is running to ensure the system has adequate power to perform the reset function.
Step 2: The Two-Button Hold
To initiate the factory reset, you need to perform a specific clearing maneuver that wipes all three channels simultaneously. You cannot erase just one button at a time; this step clears the entire unit. Position your fingers over the two outer buttons—that is button number one (on the far left) and button number three (on the far right).
Do not touch the middle button. Press both outer buttons down at the exact same time and hold them there. It is vital that you maintain constant pressure on both buttons without letting go. This action sends a signal to the internal processor that you intend to wipe the memory, preparing the system for a fresh start free of any previous programming.
Step 3: Wait for the Indicator Light to Change
Patience is the key to success during this phase of the operation. You must continue holding those two outer buttons for approximately ten to twenty seconds. Do not release them early, or the reset will fail, and you will have to start over. While you are holding the buttons, keep your eyes on the small indicator light located near the buttons on the visor.
Initially, this light will likely be solid. As you continue to hold, the light will eventually change its behavior. You are waiting for the LED to start flashing rapidly. This rapid flashing is the visual confirmation from the system that the clearing process is complete and the memory has been successfully scrubbed.
Step 4: Release the Buttons and Verify the Clear
Once you see that rapid flashing light, you can finally release your grip on the two outer buttons. The hard part is now over. To ensure that the process actually worked, press any one of the three buttons individually. If the reset was successful, the indicator light should blink slowly and steadily when you press a button.
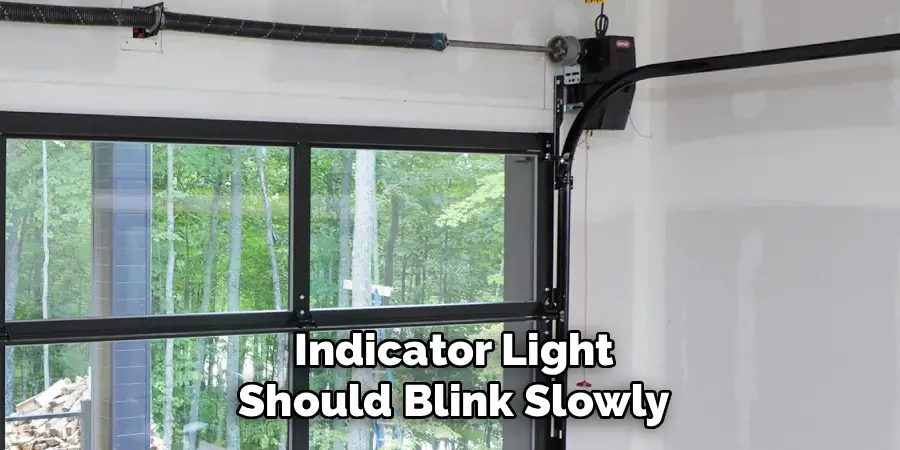
This slow blink indicates that the button is now in “training mode” and is not currently programmed to any device. If the light immediately turns solid green or red when you press a button, it means the old code is still stored, and you will need to repeat the previous steps. Verifying this now saves you frustration later when you attempt to program your specific door.
Step 5: Prepare Your Handheld Transmitter for Programming
Now that the Bronco’s system is wiped clean, you need to introduce it to your specific garage door opener. To do this, you need the original handheld remote that came with your garage door. Check that the batteries in this remote are fresh, as a weak signal can cause the programming to fail.
Hold the handheld remote within one to three inches of the visor buttons in your Bronco. You need to keep the remote close enough for the car’s sensors to pick up the radio frequency signal, but not so close that it physically blocks your view of the indicator light, which you will need to monitor throughout the next step.
Step 6: Sync the Remote to the Chosen Button
Decide which of the three visor buttons you want to use for your main garage door. Simultaneously press and hold both the chosen button on your visor and the button on your handheld remote. Hold them both down together. The indicator light on the visor will likely flash slowly at first, acknowledging that it is trying to learn the signal.
Continue holding both buttons until the visor light changes from a slow flash to a rapid flash or a solid light, depending on your specific model year. This change in the light pattern indicates that the Bronco has successfully captured and stored the frequency from your handheld remote. You can now release both buttons.
Step 7: Rolling Code Synchronization
If you have a modern garage door opener manufactured after 1996, it likely uses “rolling code” security technology. The previous steps might not be enough to open the door yet; you have one final handshake to perform. Go to your garage door motor unit hanging from the ceiling and locate the “Learn” or “Smart” button, usually found near the antenna wire.
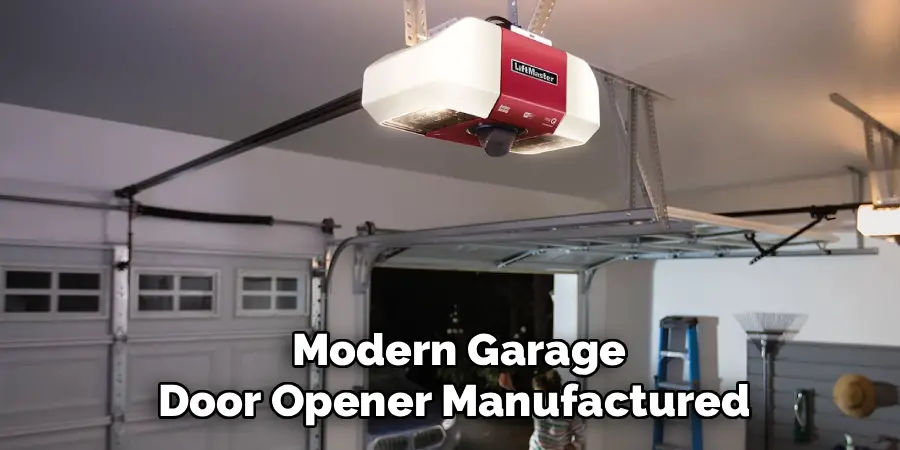
Press and release this button quickly—do not hold it. You now have about 30 seconds to return to your Bronco. Press and hold the visor button you just programmed for two seconds, then release. Repeat this press-hold-release sequence up to three times. This synchronizes the rolling code, and your garage door should now activate, completing the setup.
Frequently Asked Questions
What If the Indicator Light Never Flashes Rapidly?
If you hold the outer buttons for over 30 seconds and the light never flashes rapidly, the system has not reset.
- Power Issue: Ensure the vehicle is in “Accessory” mode or the engine is running. The HomeLink system needs power to operate.
- Button Contact: Make sure you are pressing the buttons firmly. Sometimes the contacts can be stiff, especially in a new vehicle.
- Fuse Check: If there is no light at all, check your vehicle’s fuse box to ensure the fuse for the visor or overhead console is intact.
Can I Reset Just One Button Without Erasing the Others?
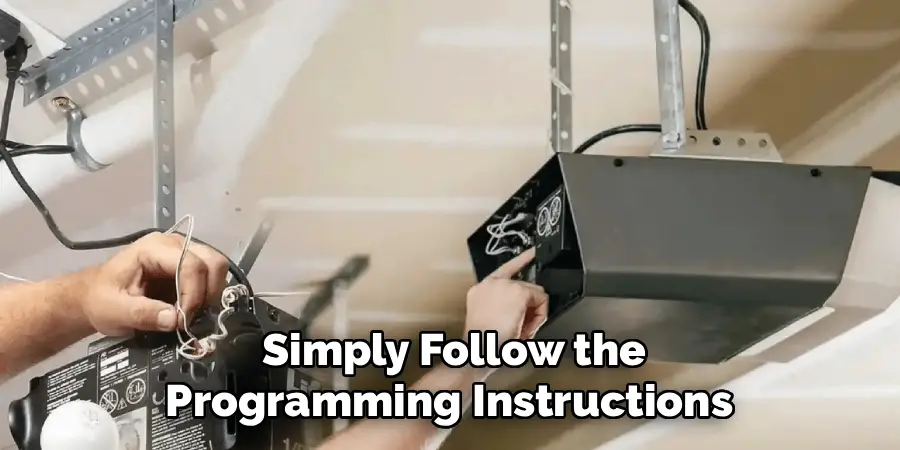
No, you typically cannot “reset” or clear a single button to a blank state without wiping the entire system using the two-outer-button method. However, you can overwrite a single button. If you want to change what button #2 does, simply follow the programming instructions (Steps 5-7) for that specific button. The new signal will automatically replace the old one, leaving buttons #1 and #3 unaffected.
Why Is My Garage Door Opening During Programming?
This is a very common occurrence. During the programming phase where you hold the handheld remote and the visor button simultaneously, your handheld remote is actively transmitting a signal. This will naturally trigger your garage door to open or close.
This is why it is recommended to park your Bronco outside the garage but within range, so the door does not accidentally hit the vehicle while it is moving during your setup process.
Does This Process Work for Gate Openers Too?
Yes, the HomeLink system in your Ford Bronco is a universal transmitter designed to work with garage door openers, automatic gate operators, and even some home lighting systems and security alarms. The reset procedure (clearing the codes) is exactly the same for all devices.
The programming steps are also generally the same, though some gate operators require a “cycling” technique where you press the handheld remote button every two seconds during Step 6.
Where Is the “Learn” Button on My Garage Door Motor?
Finding the “Learn” or “Smart” button is crucial for rolling code systems.
- Location: It is usually located on the back or side of the motor unit attached to your garage ceiling. It is often near where the floppy antenna wire hangs down.
- Color: The button is typically colored red, orange, purple, yellow, or green.
- Lens Cover: You may need to pop off the plastic light lens cover to find it. Consult your garage door opener’s manual if it is not immediately visible.
Conclusion
Taking the time to properly configure your vehicle’s integrated technology transforms your driving experience from merely functional to truly seamless. While dealing with rolling codes and flashing LEDs might seem like a technical headache at first, the process is logical and manageable once broken down.
By wiping the slate clean, you ensure that your vehicle is secure and that no previous owner has access to your home. You also clear the path for a frustration-free programming experience with your current devices. Whether you are setting up a single door or a complex system of gates and lights, mastering this simple reset procedure puts you in control.
Now that you understand how to reset bronco garage door opener systems, you can enjoy the convenience of rolling into your driveway and accessing your home with just the simple tap of a visor button.
I am Rick. I grew up helping my dad with his handyman service. I learned a lot from him about how to fix things, and also about how to work hard and take care of business. These days, I’m still into fixing things- only now, I’m doing it for a living.
I’m always looking for new ways to help people grow and develop. That’s why I have created this blog to share all my experience and knowledge so
that I can help people who are interested in DIY repair.