
Resetting a Chamberlain garage door remote can seem like a daunting task, but it is actually a straightforward process when you follow the correct steps. Whether you’re troubleshooting a malfunctioning remote or simply want to reprogram it for added security, this guide will walk you through the necessary steps of how to reset a chamberlain garage door remote. With a few simple actions, you’ll have your remote functioning smoothly in no time.
What Are Chamberlain Garage Door Remotes?
Chamberlain garage door remotes are handheld devices designed to operate garage door openers wirelessly. These remotes use radio frequency signals to communicate with your garage door opener, allowing you to open and close your garage door effortlessly from a distance. Chamberlain remotes are known for their reliability, ease of use, and compatibility with a variety of Chamberlain products. They are typically small and portable, making them convenient to keep in your car, on a keychain, or within easy reach at home. Many models also offer advanced security features, such as rolling code technology, which changes the access code with every use to prevent unauthorized access.
Importance of Resetting a Remote
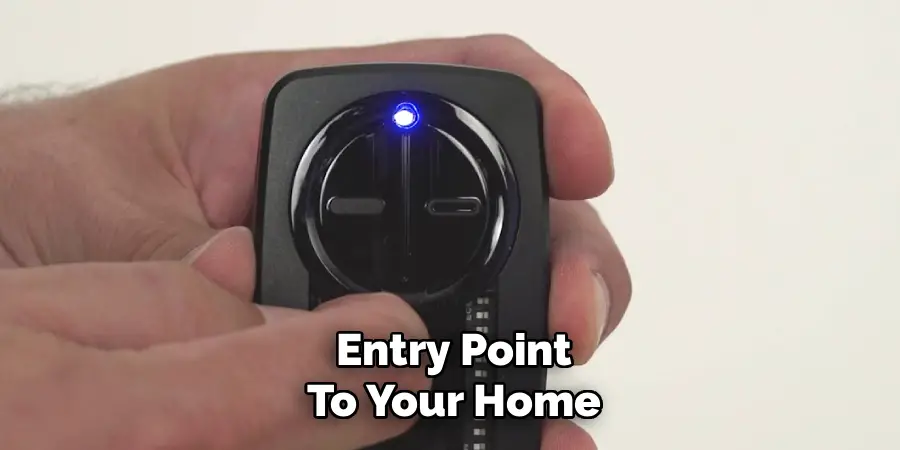
Resetting a remote is an essential maintenance step that ensures the security and seamless operation of your garage door system. Over time, you may need to reset your Chamberlain remote to pair it with a new opener, remove old codes, or address connectivity issues. This process prevents the risk of unauthorized access by erasing previous configurations and limiting control to updated, trusted devices. Regularly resetting your remote can also safeguard against technical glitches and improve its overall functionality, giving you peace of mind and a secure entry point to your home.
10 Methods How to Reset a Chamberlain Garage Door Remote
1. Identify the Model of Your Chamberlain Garage Door Opener
Before attempting to reset a Chamberlain garage door remote, the first and most crucial step is identifying the exact model of your garage door opener. Chamberlain has manufactured a wide variety of openers over the years, and the reset procedure may differ slightly depending on the model and the technology it uses.
Look for a sticker or printed label on the motor unit, typically mounted on the ceiling of your garage, to find the model number. You’ll also want to note the color of the “Learn” button, which is usually near the antenna wire or under a light cover. This button’s color—yellow, red, purple, green, or orange—indicates the system’s frequency and memory style, both of which influence how the remote is reset.
2. Locate the “Learn” Button on the Motor Unit
The “Learn” button is the gateway to programming or resetting your Chamberlain remote. It is typically situated on the back or side panel of the garage door opener’s motor housing. You may need a ladder to access it safely. Once located, remove the protective light cover if necessary to expose the button. The Learn button is often labeled and may be recessed or accompanied by a small LED light. This button plays a central role in most reset and reprogramming methods, so becoming familiar with its location and function is essential before proceeding to the actual reset process.
3. Erase All Existing Remote Codes
To perform a complete reset, especially if you’ve lost a remote or suspect unauthorized access, you’ll want to erase all stored remote codes. Press and hold the Learn button for approximately 6 to 10 seconds, depending on your model. The LED light next to it will illuminate steadily, then go out—signaling that all programmed remotes and keypads have been wiped from memory. This action is irreversible, so be sure you have your remotes on hand to reprogram afterward. Resetting in this way restores factory settings and offers a fresh start for setting up your remote devices securely.

4. Reprogram the Remote Control to the Opener
After erasing previous settings, you must reprogram your remote to the opener. Begin by pressing and releasing the Learn button (do not hold it this time), which will activate the unit’s programming mode for about 30 seconds. While the LED indicator is blinking, press the button on your Chamberlain remote that you wish to link. Hold the remote button for a second or two until the garage door opener’s light blinks or clicks, confirming the programming is successful. Repeat this step for each remote you want to pair with the opener.
5. Perform a Soft Reset by Power Cycling the Opener
If the remote is unresponsive and reprogramming doesn’t work, a soft reset of the motor unit may help. Start by unplugging the garage door opener from the electrical outlet and waiting for about 60 seconds.
Plug it back in and wait for the system to fully reboot. This method resets the internal circuitry without erasing stored codes. After rebooting, test the remote to see if it regains function. While this won’t clear any saved remotes from memory, it often resolves temporary software glitches that might be preventing communication between the remote and opener.
6. Replace the Remote Battery and Reset
Sometimes, a non-responsive remote may simply need a new battery. Chamberlain remotes typically use small coin-cell batteries, such as CR2032 or CR2016. Open the battery compartment carefully, usually by sliding or prying open the back cover. Replace the battery with a fresh one, ensuring correct polarity. After battery replacement, it’s a good idea to reprogram the remote, as some models require fresh syncing after a power loss. With the new battery installed and the remote reprogrammed, test it to confirm functionality. Always use high-quality batteries to avoid future issues.
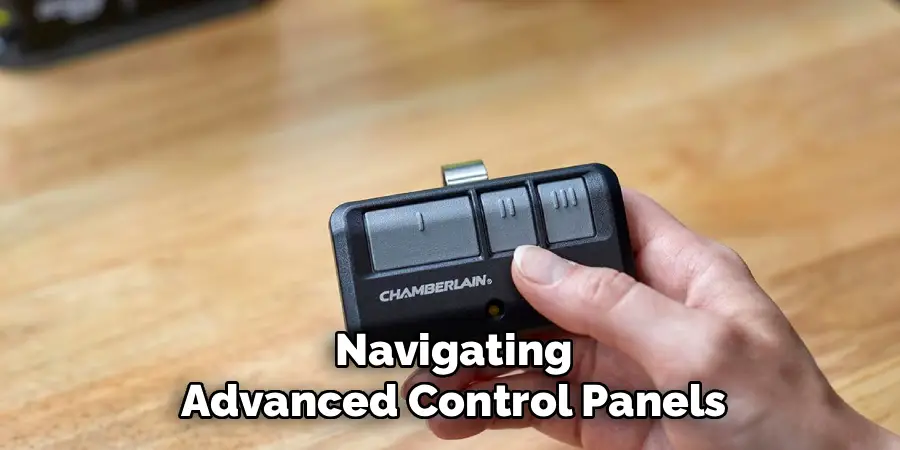
7. Reset Using the Control Panel (Smart Models)
If your Chamberlain opener features a Smart Control Panel or wall-mounted display panel, you can often reset remote connections using the menu options. Navigate to the “Program” or “Remote” settings using the panel interface. From there, you can select options to erase all remote codes or reprogram specific remotes. This digital method is more intuitive than using the Learn button for some users, especially in newer, Wi-Fi-enabled models. Follow the on-screen prompts to complete the reset and pairing process. Always consult your model-specific user manual for navigating advanced control panels.
8. Use the MyQ App for Wi-Fi Enabled Openers
For Chamberlain garage door openers equipped with MyQ smart technology, you can manage and reset remote access through the MyQ mobile app. Log into your account, select the appropriate device, and navigate to the “Users” or “Device Settings” tab. Here, you can remove or reassign virtual remotes, reset passcodes, or disable access for other users. While this method doesn’t directly reset physical remotes, it offers cloud-based control over your garage system. Resetting MyQ access is particularly useful for households using multiple devices or for managing access while away from home.
9. Check and Reset Sensor Alignment if Remote Fails to Work
Although not a reset in the traditional sense, misaligned safety sensors can prevent the garage door from responding to remote commands. Located at the base of each door track, the sensors must be properly aligned and free of debris. If the sensors are not working correctly, the system may ignore remote signals for safety reasons. Check for blinking lights or obstructions and clean or adjust the sensors as needed. Once the sensors are properly aligned, test the remote again. Sometimes a “reset” just means resolving a physical barrier rather than a memory issue.
10. Contact Chamberlain Support for Advanced Reset Needs
If all reset methods fail or if you’re using an older or discontinued model, the final step should be to contact Chamberlain’s customer support. They can provide model-specific instructions or troubleshoot hardware issues that might not be resolved through DIY methods. Be prepared to share your model number and describe the steps you’ve already taken. Chamberlain support may offer firmware updates, replacement part recommendations, or remote compatibility guides that help you reset or replace faulty equipment. Reaching out to the manufacturer ensures that you’re taking the most accurate and safe approach to maintaining your garage door system.
Maintenance and Upkeep
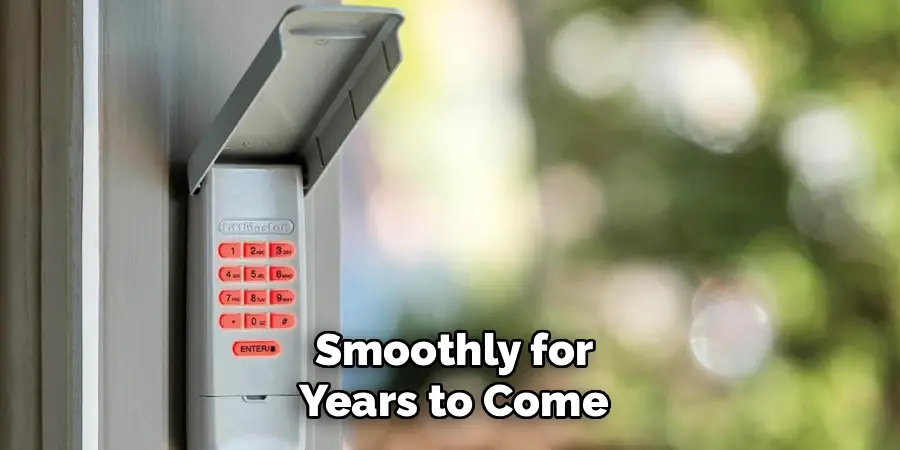
Proper maintenance of your garage door system is essential to ensure its longevity and reliable performance. Start by regularly inspecting the moving parts, such as the rollers, hinges, and tracks, for any signs of wear or damage. Lubricating these components with a silicone-based lubricant helps reduce friction and prevent unnecessary strain on the system.
Check the balance of the door by disconnecting it from the opener and manually lifting it halfway; it should stay in place if it’s balanced correctly. Additionally, clean the photo-eye sensors to ensure they’re free from dust or debris that might obstruct their functionality. Performing these simple upkeep tasks on a regular basis can reduce the risk of costly repairs and keep your garage door operating smoothly for years to come.
Conclusion
In conclusion, regular maintenance of your garage door is essential to ensure its longevity and smooth operation. By taking proactive steps such as inspecting components, keeping parts clean, and addressing minor issues promptly, you can avoid unnecessary repairs and improve overall functionality. Now that you know how to reset a chamberlain garage door remote, try it yourself today and feel good about completing such a big DIY job!
I am Rick. I grew up helping my dad with his handyman service. I learned a lot from him about how to fix things, and also about how to work hard and take care of business. These days, I’m still into fixing things- only now, I’m doing it for a living.
I’m always looking for new ways to help people grow and develop. That’s why I have created this blog to share all my experience and knowledge so
that I can help people who are interested in DIY repair.