Reprogramming a Raynor garage door opener may seem like a daunting task, but with the right guidance, it can be a straightforward process. Whether you’re resetting the remote, syncing a new opener, or troubleshooting connectivity issues, understanding the steps involved will save you time and ensure your garage door operates smoothly.
This guide on how to reprogram raynor garage door opene will walk you through the process step-by-step, making it easy to reprogram your Raynor garage door opener without complications.
Why Reprogram Your Raynor Garage Door Opener?
There are a few reasons why you may need to reprogram your Raynor garage door opener. One of the most common reasons is if you have recently moved into a new home and want to reset or change the access code for security purposes. Another reason could be that your remote is no longer functioning properly and needs to be reset.
Additionally, reprogramming your Raynor garage door opener can also help troubleshoot any connectivity issues you may be experiencing. It ensures that all components are synced correctly, allowing for smooth operation.
Things You Will Need
Before beginning the reprogramming process, there are a few things you will need:
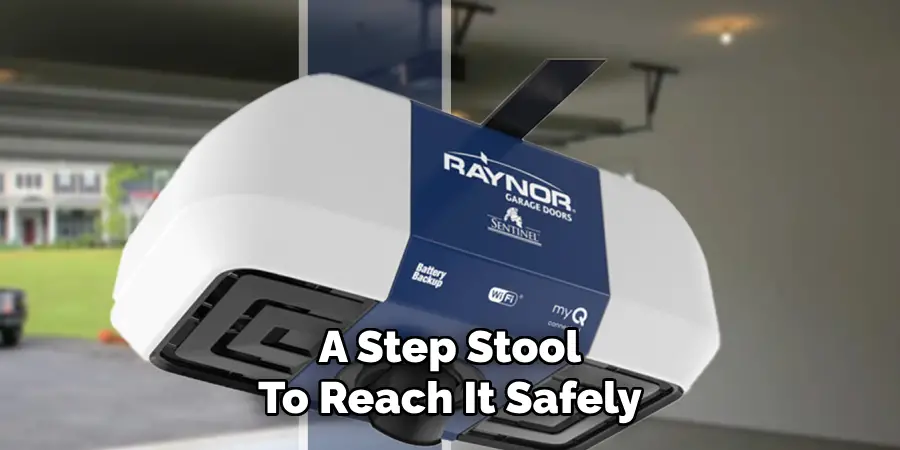
- A Ladder or Step Stool to Access the Motor Unit of Your Garage Door Opener.
- The Owner’s Manual for Your Specific Model of Raynor Garage Door Opener.
- A New, Four-digit Access Code That You Would Like to Use. This Can Be Any Combination of Numbers.
- A Person to Assist You in the Reprogramming Process, as It Involves Pressing Buttons on Both the Motor Unit and the Remote Control.
10 Steps on How to Reprogram Raynor Garage Door Opener
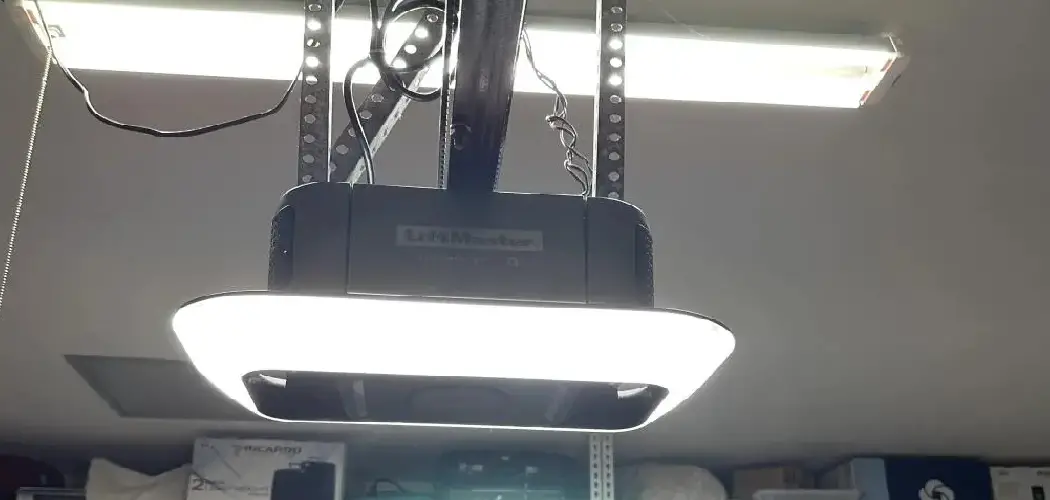
Step 1: Locate the “Learn” Button
Begin by identifying the “Learn” button on your Raynor garage door opener’s motor unit. This button is typically located on the rear or side of the unit, near the antenna wire. You may need to use a ladder or a step stool to reach it safely.
The “Learn” button is usually colored red, yellow, or purple and may be labeled for easy identification. Refer to your owner’s manual if you have trouble finding it.
Step 2: Clear the Memory
Before programming a new remote or keypad, it is important to clear the memory of your Raynor garage door opener. This will prevent any interference from previous codes and ensure a successful reprogramming.
To clear the memory, press and hold the “Learn” button for at least 6 seconds. The LED indicator light on the motor unit will turn off, indicating that the memory has been cleared.
Step 3: Program Your Remote
Once the memory has been cleared, you can now program your remote control. To do this, press and release the “Learn” button on your Raynor garage door opener’s motor unit.
The LED indicator light will begin to blink within 30 seconds, indicating that the opener is ready to receive a new code.
Next, press and hold the button on your remote control that you wish to program. The LED indicator light on your motor unit will blink once, indicating that the new code has been successfully programmed. Repeat this process for each button on your remote control that you would like to program with different codes.
Step 4: Test Your Remote
Once you have successfully programmed your remote control, it is important to test it to ensure it functions properly. Stand a safe distance away from your garage door and press the programmed button on your remote.
The garage door should respond by opening or closing. If the door does not respond, repeat the programming process to ensure the code was set correctly. Additionally, check that the remote’s battery is functioning and properly installed. Testing your remote after programming ensures that your garage door opener system is ready for reliable use.
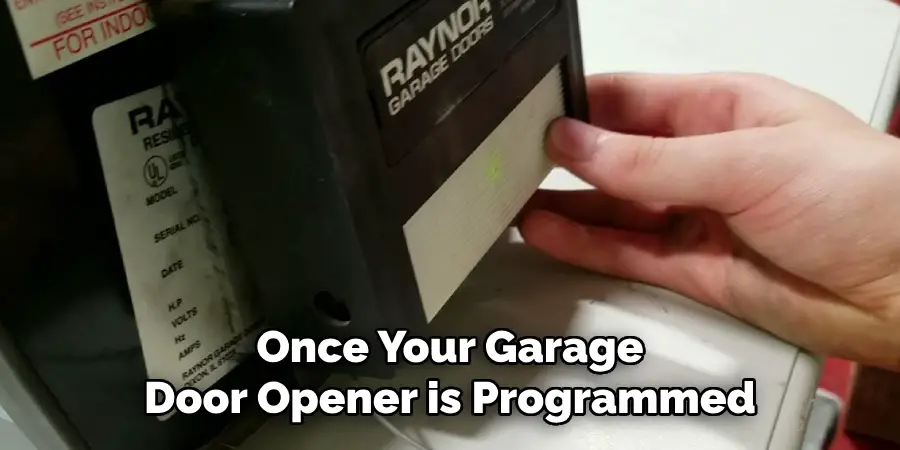
Step 5: Regular Maintenance and Troubleshooting
Once your garage door opener is programmed and functioning properly, it’s important to regularly maintain and troubleshoot any issues that may arise. Performing routine maintenance can prevent costly repairs in the future.
Some basic maintenance tasks include lubricating the moving parts of your garage door, such as the springs, hinges, and rollers. This will help keep them functioning smoothly and prolong their lifespan. It’s also important to regularly inspect the cables, pulleys, and tracks for any wear or damage. If you notice any issues, it’s best to address them promptly before they worsen.
Step 6: Inspect and Replace Weatherstripping
Weatherstripping is the rubber seal around your garage door that helps keep out drafts, debris, and moisture. Over time, it can become cracked or torn, compromising its effectiveness. Inspect the weatherstripping regularly and replace it as needed to ensure a tight seal.
Step 7: Check the Balance of Your Garage Door
A properly balanced garage door should be able to stay in any position without falling or rising on its own. To check the balance, disconnect the opener by pulling the release handle and manually lift the door about halfway. If it stays in place, then your door is balanced. If it falls down or rises up on its own, then it is unbalanced and needs to be adjusted.
To adjust the balance, consult your owner’s manual or contact a professional for assistance. An unbalanced garage door can cause excessive strain on the opener and potentially lead to damage or malfunction.
Step 8: Lubricate Moving Parts
To keep your garage door functioning smoothly and prevent unnecessary wear and tear, it’s important to regularly lubricate all moving parts. Use a silicone-based lubricant on metal rollers, hinges, tracks, springs, and bearings. Avoid using grease or oil as they can attract dirt and grime.
Lubrication not only helps in keeping your door operating properly but also extends its lifespan.
Step 9: Check and Adjust Weather Stripping
Weather stripping is an important component of your garage door system. It keeps out drafts, moisture, and pests from entering your garage. Over time, weather stripping can become worn or damaged, which compromises its effectiveness.
Inspect the weather stripping around your garage door regularly and replace any damaged sections to maintain proper insulation.
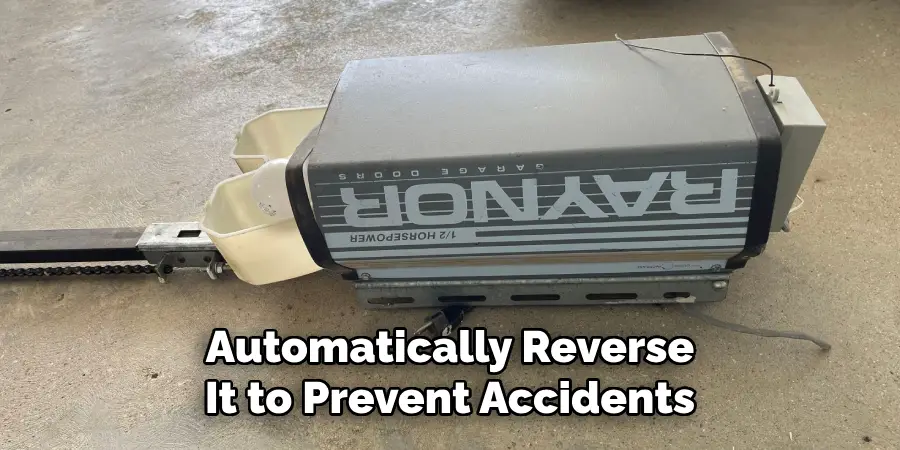
Step 10: Test Safety Features
Modern garage doors come equipped with safety features such as photo-eye sensors that detect objects in the path of the closing door and automatically reverse it to prevent accidents.
Following this steps on how to reprogram raynor garage door opene can help you to keep your garage door opener functioning safely and efficiently.
However, it is important to test these safety features at least once a month to ensure they are working properly.
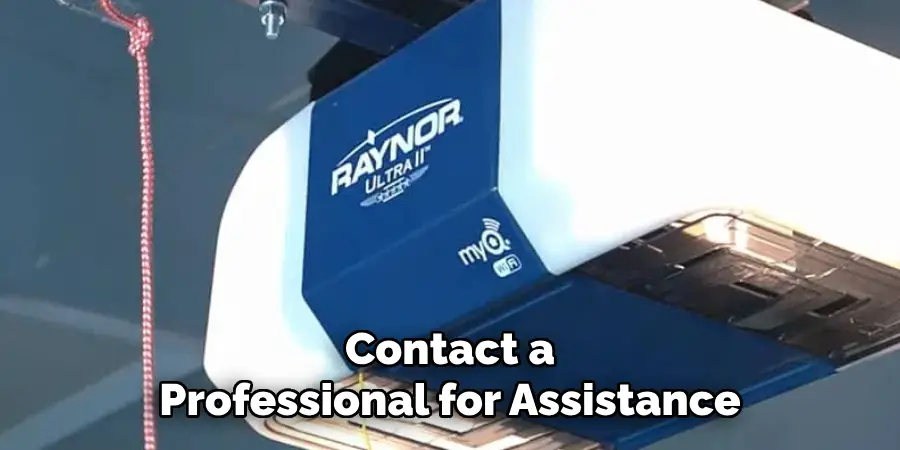
Simply place an object in the path of the closing door and see if it stops and reverses. If not, consult your owner’s manual for troubleshooting steps or contact a professional for assistance.
Regularly testing these safety features can prevent accidents and ensure that your garage door opener is working as intended.
Frequently Asked Questions
Q: How Often Should I Test the Safety Features of My Garage Door Opener?
A: It is recommended that the safety features be tested at least once a month to ensure they are functioning properly. You should also test them after any maintenance or repairs have been done on the opener.
Q: What Should I Do if My Garage Door Opener Fails a Safety Feature Test?
A: If your garage door opener fails a safety feature test, you should consult your owner’s manual for troubleshooting steps. If the issue cannot be resolved, it is best to contact a professional for assistance.
Q: Why Are Safety Features Important for Garage Door Openers?
A: Safety features are important because they help prevent accidents and injuries while using your garage door. They also ensure that the opener is functioning correctly and can alert you if there are any issues that need to be addressed.
Q: Can I Disable Safety Features on My Garage Door Opener?
A: It is not recommended to disable safety features on your garage door opener. These features are designed to keep you and your family safe, and disabling them can put you at risk for accidents or injuries.
Q: What Should I Do If the Safety Features on My Garage Door Opener Are Not Working Properly?
A: If you notice that the safety features on your garage door opener are not functioning properly, it is important to address the issue immediately. First, check if any sensors or other components are damaged or misaligned. If so, try fixing them according to the manufacturer’s instructions. If the issue persists, consult your owner’s manual for troubleshooting tips or contact a professional for assistance.
Conclusion
Regular maintenance and prompt attention to issues are essential for ensuring the safe and efficient operation of your garage door opener. By routinely checking the safety features and addressing any malfunctions quickly, you can prevent potential accidents and extend the life of your equipment. When in doubt, always consult a professional to ensure the problem is resolved effectively and safely. Thanks for reading this article on how to reprogram raynor garage door opene.
I am Rick. I grew up helping my dad with his handyman service. I learned a lot from him about how to fix things, and also about how to work hard and take care of business. These days, I’m still into fixing things- only now, I’m doing it for a living.
I’m always looking for new ways to help people grow and develop. That’s why I have created this blog to share all my experience and knowledge so
that I can help people who are interested in DIY repair.