In today’s fast-paced world, convenience is key, and having reliable technology at our fingertips makes life easier. For Honda Pilot owners, the built-in garage door opener offers a seamless way to access your garage without the hassle of traditional remotes.
Whether you’re returning home after a long day or heading out for an adventure, knowing how to reprogram your garage door opener can be invaluable. This guide on how to reprogram honda pilot garage door opener will walk you through the steps to ensure your Honda Pilot’s garage door system functions smoothly, providing you with the confidence and peace of mind to operate it effortlessly.
Benefits of a Built-in Garage Door Opener
A built-in garage door opener in your Honda Pilot provides numerous advantages that enhance both convenience and safety. First and foremost, it eliminates the need to carry an additional remote, streamlining your entry and exit process. With just the press of a button, you can open your garage door from the comfort of your vehicle, making it particularly useful during inclement weather.
Additionally, built-in systems often feature rolling code technology, which enhances security by changing the access code after each use, preventing unauthorized entry. Furthermore, having the opener integrated into the vehicle reduces clutter and simplifies your daily routine, allowing you to focus on what’s important while ensuring that your garage is easily accessible.
Needed Materials
Before we begin, make sure you have the following materials on hand:
- Your Honda Pilot Vehicle
- The Garage Door Opener Remote
- A Ladder (if Your Garage Door Opener is Mounted High)
- A Helper (Recommended)
8 Step-by-step Guides on How to Reprogram Honda Pilot Garage Door Opener
Step 1: Clear the Existing Codes
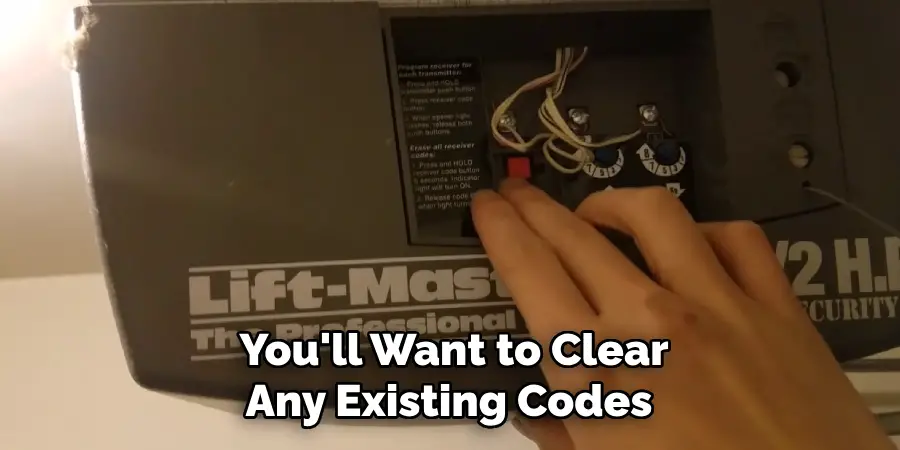
To start the reprogramming process, you’ll want to clear any existing codes from your Honda Pilot’s garage door opener. This step ensures that you can program a new code without interference from previous settings.
Turn on Your Vehicle:
Begin by sitting in your Honda Pilot and turning the ignition to the “On” position, but do not start the engine.
Locate the Garage Door Opener Buttons:
Find the garage door opener buttons on your vehicle’s overhead console. These are typically labeled as “HomeLink” or may be marked with specific icons.
Press and Hold the Two Outer Buttons:
Press and hold the two outer buttons on the garage door opener until you see the indicator light start to blink slowly and then rapidly. This may take about 20 seconds.
Release the Buttons:
Once the light blinks rapidly, all buttons are released. You have successfully cleared the existing codes, and your vehicle is now ready for new programming.
Completing this step will pave the way for seamless reprogramming of your garage door opener with the new code.
Step 2: Preparation for Programming
Now that you have cleared the existing codes, it’s time to prepare your vehicle and garage door opener for programming.
Locate Your Garage Door Opener’s “Learn” Button:
Find the “Learn” button on your garage door opener. This is usually located near the motor unit or in the control panel.
Press and Release the “Learn” Button:
Press and release the “Learn” button. You’ll see its indicator light turn on, indicating that it has entered programming mode.
Get Ready to Program Your Vehicle:
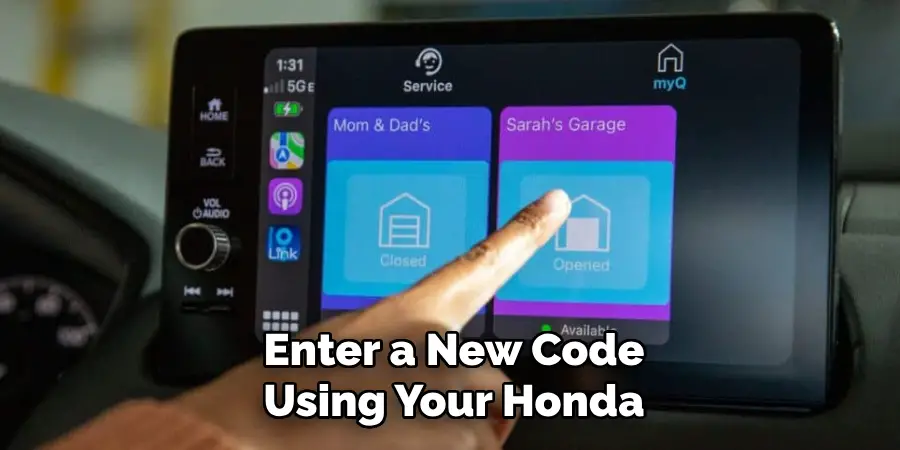
With your garage door opener now in programming mode, you will need to enter a new code using your Honda Pilot’s opener buttons.
Step 3: Choose Which Button to Program
You have the option of programming one, two, or all three of the garage door opener buttons on your vehicle. It is recommended to program only one button for simplicity and ease of use.
Choose a Button:
Decide which button you want to program and designate it as “Button 1,” “Button 2,” or “Button 3.” You will need this information in the next step.
Step 4: Programming Your Vehicle’s Garage Door Opener Buttons
Now that you have everything set up and ready let’s start programming your vehicle’s garage door opener buttons.
Press and Hold the Desired Button:
Choose the button you want to program and press and hold it. You’ll see its indicator light turn on.
Hold Your Garage Door Opener Remote Near the Vehicle’s Overhead Console:
With your helper standing close by, press and hold your garage door opener remote near the vehicle’s overhead console.
Wait for the Light to Blink:
As you’re holding down both buttons, wait for the indicator light on your garage door opener remote to blink rapidly. This may take about 20 seconds.
Release Both Buttons:
When the light on your remote is blinking rapidly, release both buttons simultaneously. The light should stop blinking, indicating that the programming was successful.
Step 5: Test Your Garage Door
It’s always a good idea to test your newly programmed garage door opener button to ensure it is functioning correctly.
Press and Release the Programmed Button:
Press and release the button you just programmed. You should see your garage door open or close, depending on what you’ve set it up for.
Repeat if Necessary:
If the door does not respond as expected, repeat steps 4 and 5 until the programming is successful.
Step 6: Repeat for Additional Buttons (Optional)
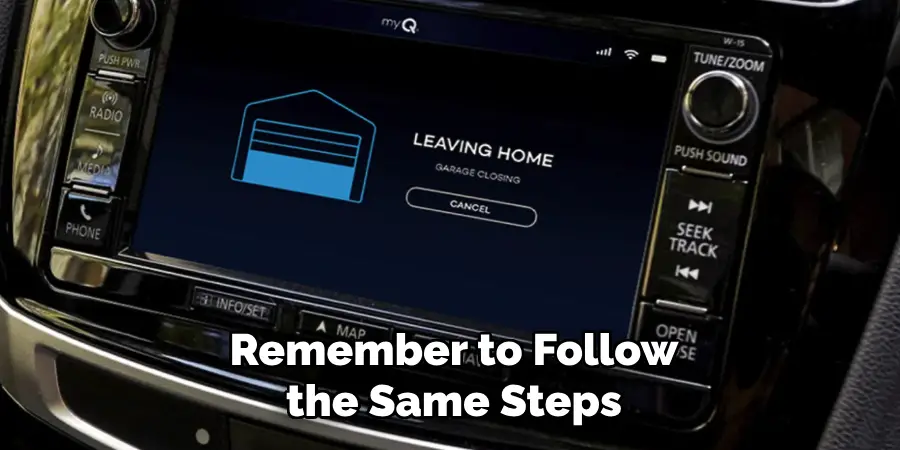
If desired, you can now repeat this process for any additional buttons you want to program on your vehicle. Remember to follow the same steps and designate each button with its corresponding number.
Step 7: Confirm Programming
After programming all desired buttons, confirm that they are working correctly by testing them again.
Press and Release Each Programmed Button:
Test each programmed button to make sure they open or close your garage door as intended.
If Necessary, Reprogram Buttons Again:
If any of the buttons do not work correctly, repeat steps 4-6 until all buttons are functioning as desired.
Step 8: Finish Up
Congratulations! You have successfully reprogrammed your Honda Pilot’s garage door opener. Now it’s time to finish up and enjoy the convenience of having your garage door opener integrated into your vehicle.
Delete Your Old Remote Codes:
To avoid any potential interference, it is recommended that you delete any old codes from your remote control.
Secure and Store Your Remote:
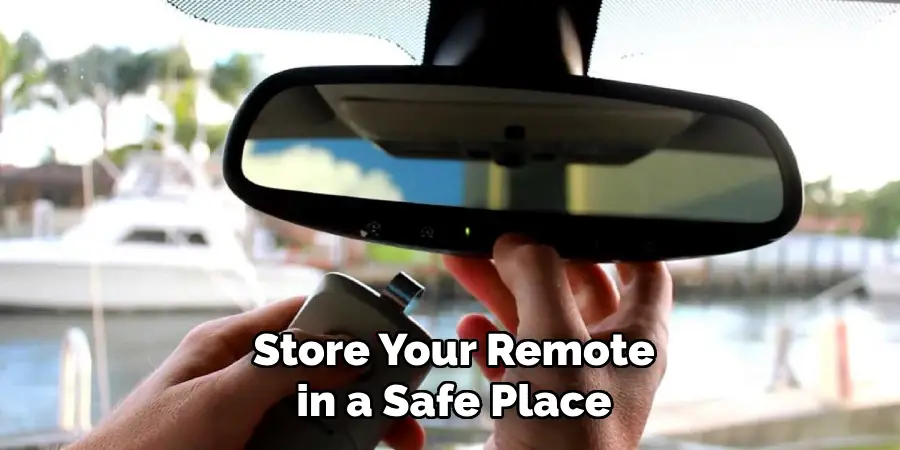
After successfully programming your vehicle’s opener buttons, secure and store your remote in a safe place for future use. If you have multiple remotes, label them for easy identification.
Following these steps on how to reprogram honda pilot garage door opener will ensure that your Honda Pilot’s garage door opener is programmed and ready for use whenever you need it. Enjoy the convenience and security of having easy access to your garage with just a touch of a button from your vehicle. Happy driving!
Additional Tips
- Make sure to read the manual instructions that come with your overhead console before attempting to reprogram.
- Have someone assist you during the process for better coordination and ease of use.
- If you’re having trouble finding the “Learn” button on your garage door opener, consult the manufacturer’s website or contact their customer service for assistance.
- It is recommended that you reprogram your opener buttons whenever you change your garage door remote or move to a new residence. This ensures that only you and those with authorized access have control over your garage door.
Frequently Asked Questions
Q: Can I Program My Garage Door Opener Even if It’s From a Different Brand?
A: Yes, as long as your garage door opener has a “Learn” button and is compatible with the programming instructions for your vehicle, you can reprogram it. It is recommended to consult your garage door opener’s manual or manufacturer for specific instructions.
Q: Can I Program Multiple Garage Door Openers on My Honda Pilot?
A: Yes, you can program up to three different garage door openers on your vehicle. Just make sure to follow the designated steps and assign each button with a corresponding number.
Q: Do I Need to Reprogram My Opener Buttons if My Car Battery Dies?
A: In most cases, no. The programmed codes are stored in the vehicle’s memory and should not be affected by a dead car battery. However, it is recommended to test the buttons after replacing the battery to ensure they are still functioning correctly.
Q: Can I Program My Opener Buttons Without Using a Garage Door Remote?
A: Yes, you can program your opener buttons manually by following the steps outlined in the instruction manual for your overhead console. However, using a garage door remote is the most convenient and recommended method for programming opener buttons.
Conclusion
In conclusion, programming your Honda Pilot’s garage door opener is a straightforward process that enhances the convenience of accessing your garage directly from your vehicle. By following the detailed steps on how to reprogram honda pilot garage door opener outlined above, you can ensure that your garage door opener is set up correctly and functions seamlessly.
Regularly testing and reprogramming your system, as needed, will maintain its efficiency and security. With the ability to integrate multiple garage door openers, your Honda Pilot is equipped to provide you with reliable access to your home, making your daily routine a little easier. Enjoy the simplicity that comes with having everything at your fingertips!
I am Rick. I grew up helping my dad with his handyman service. I learned a lot from him about how to fix things, and also about how to work hard and take care of business. These days, I’m still into fixing things- only now, I’m doing it for a living.
I’m always looking for new ways to help people grow and develop. That’s why I have created this blog to share all my experience and knowledge so
that I can help people who are interested in DIY repair.

