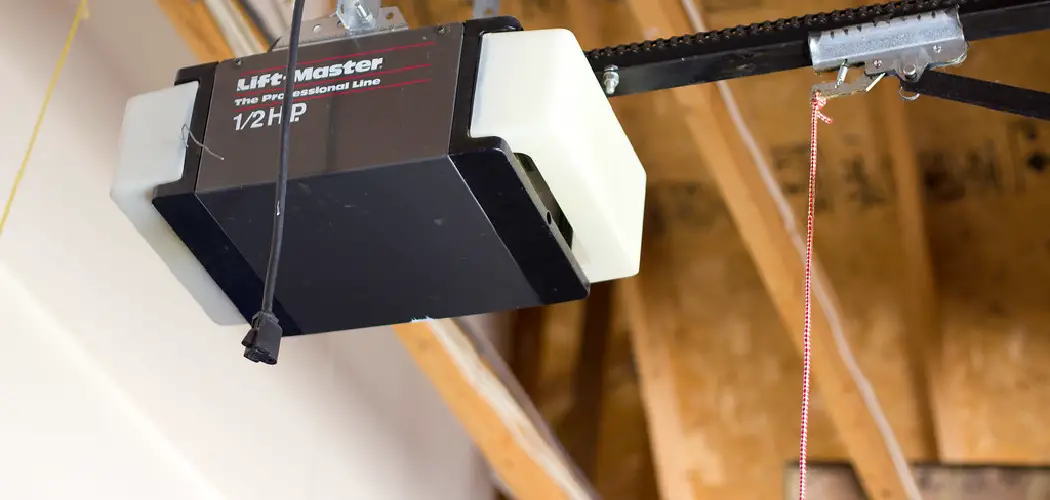
When your current LiftMaster garage door opener no longer functions properly, knowing how to replace it can save you the hassle and expense of hiring a professional. Despite what it may seem, the replacement process is straightforward, and with the right tools and a step-by-step guide, even beginners can handle it themselves.

Before starting, gather all necessary tools and equipment. You will need a screwdriver, a wrench set, a ladder, and the new LiftMaster garage door opener. Ensure the replacement opener is compatible with your garage door system by checking the manufacturer’s specifications. Additionally, it’s essential to disconnect the power supply to the existing opener to ensure safety during the process. Once you have all the tools and preparations in place, you can begin the replacement.
This guide will walk you through everything you need to know about how to replace LiftMaster garage door opener, from removing the old unit to installing the new one. Whether you’re dealing with a broken motor or an outdated model, these steps will help you get your garage door opener up and running in no time.
Why Replace Your LiftMaster Garage Door Opener?
There are several reasons why you might consider replacing your LiftMaster garage door opener. Older models may lack modern safety features, such as auto-reverse sensors, which are critical for preventing accidents. Additionally, upgrading your opener can improve convenience with advanced functionalities like smartphone integration, battery backup, and quieter operation. If your existing unit is showing signs of wear, like inconsistent performance or unusual noises, replacing it can save you time and frustration in the long run. Ensuring your garage door opener is reliable and up-to-date is not only a matter of convenience but also safety and efficiency.
7 Step-by-Step Guide: How to Replace LiftMaster Garage Door Opener
Master the process with these seven easy-to-follow steps to replace your LiftMaster garage door opener successfully.
Step 1: Disconnect Power to the Existing Garage Door Opener
Your first priority when tackling how to replace LiftMaster garage door opener is safety. Start by unplugging the old opener from the electrical outlet to eliminate any risk of electric shock. If the opener is hardwired into your garage’s electrical system, turn off the power at the breaker box.

Once the unit is powered down, disconnect the wall-mounted controls and remote receivers, noting how each wire is attached for later reference. Carefully detach the safety sensors and wiring along the rail system. Marking the wires with tape may help you remember where everything goes when connecting the new opener. This ensures you can safely and confidently proceed with the installation process.
Step 2: Detach the Old Garage Door Opener
To remove the outdated opener, begin by disengaging the garage door from the trolley system. Pull the emergency release cord—usually a red rope dangling from the trolley—to temporarily disconnect the door. This prevents accidental movement during removal.
Unscrew the bolts securing the opener to the ceiling brackets, supporting the unit with one hand as you loosen it to avoid it falling. Next, detach the rail from the wall bracket above the garage door, ensuring safe removal. Place the old opener and its components aside for proper disposal or recycling. With the previous system out of the way, you’re now ready to install your new LiftMaster opener.
Step 3: Prepare the New LiftMaster Garage Door Opener for Installation
Before mounting your new unit, take the time to assemble the LiftMaster garage door opener according to the manufacturer’s instructions. This typically involves attaching the rail, trolley, and motor housing. Ensure all components are secured tightly to avoid issues during operation.
Inspect the provided mounting hardware and verify the compatibility of the unit with your garage door. Lay out the parts in an organized manner to make the installation process smoother. Test the trolley system by sliding it along the rail to ensure it moves freely. A well-prepared opener will minimize complications as you progress.
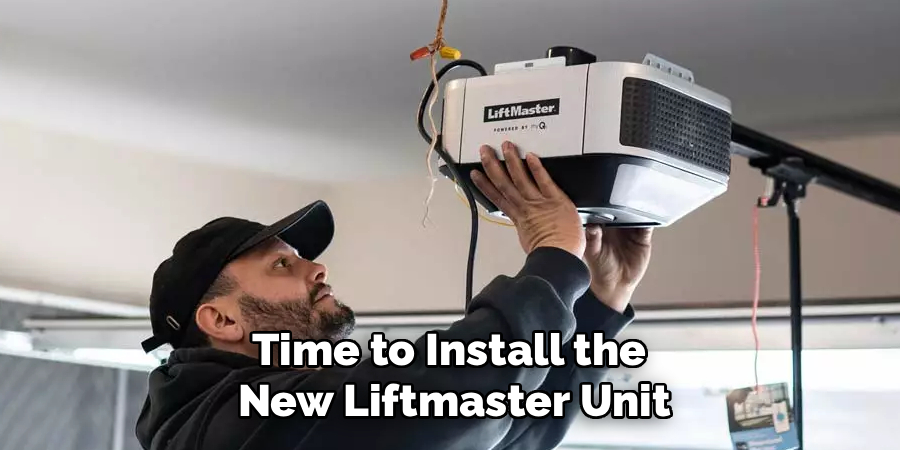
Step 4: Mount the New Opener to the Ceiling
Now it’s time to install the new LiftMaster unit. Start by fixing the ceiling brackets in place. These brackets should align with the holes on the motor housing for a secure fit. Attach the opener to the ceiling using the provided bolts and hardware, making sure it hangs level and sturdy.
Next, connect the rail to the wall bracket above the garage door, ensuring it is perfectly aligned with the door’s center. Double-check all screws and bolts for tightness, confirming that none of the components are loose or unstable. A securely mounted opener is critical for smooth and safe operation.
Step 5: Reconnect the Electrical Components
Rewiring is a key step in how to replace LiftMaster garage door opener. If the unit plugs into a standard outlet, simply connect the power cord. For hardwired systems, carefully reconnect the wires using your earlier notes or labels as a guide.
Attach the wall-mounted control panel and safety sensors, ensuring the wiring is routed properly along the rail and secured with clips. Align the safety sensors on either side of your garage door so their infrared beams connect uninterrupted. Proper wiring ensures your opener and safety systems function correctly.
Step 6: Program the Remote and Test the Opener
Once the new LiftMaster is installed and powered, program the remote control using the instructions in the user manual. Typically, this involves pressing a “Learn” or “Program” button on the motor housing and syncing it with your remote.
Test the opener to ensure everything is functioning as intended. Open and close the garage door several times, observing for smooth motion and proper alignment. Look for issues like jerky movement or unusual noises, which could indicate loose hardware or misalignments that need adjustment.
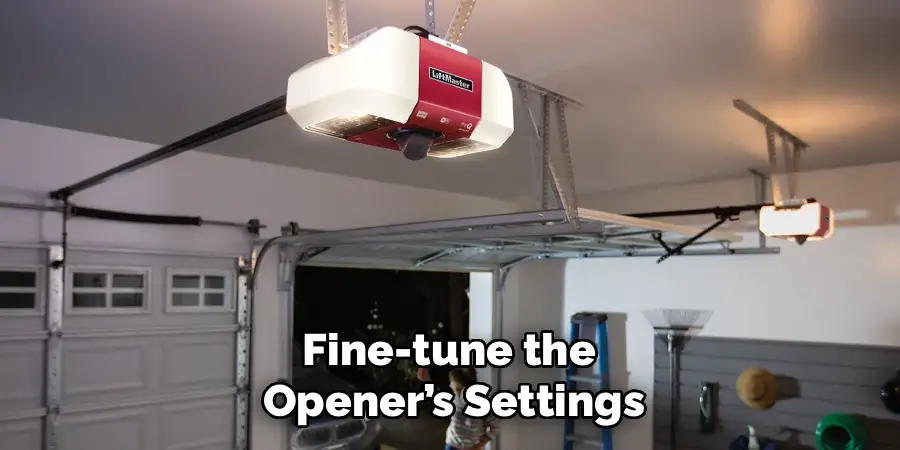
Step 7: Fine-Tune and Secure the Components
Finally, fine-tune the opener’s settings for optimal performance. Adjust the door’s travel limits to ensure it fully closes without leaving gaps and opens to the desired height. Most LiftMaster models include dials or digital settings to modify these limits effectively.
Inspect all bolts, brackets, and rails one last time, tightening anything that appears loose. Double-check the safety systems, such as the sensors and auto-reverse feature, to ensure they respond correctly. Once everything is secure and tested, your LiftMaster garage door opener replacement is complete. Enjoy the convenience of smooth, reliable garage door operation.
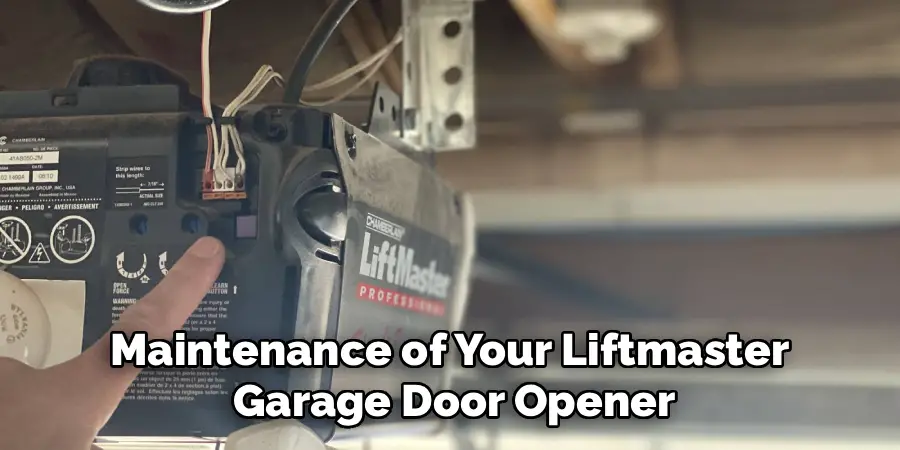
Benefits Regular Maintenance
Regular maintenance of your LiftMaster garage door opener is essential to ensure its longevity and efficient operation. By performing routine checks and adjustments, you can prevent minor issues from developing into costly repairs. Regular maintenance enhances safety by ensuring critical features like sensors and the auto-reverse mechanism function properly, reducing the risk of accidents. Additionally, well-maintained garage door openers operate more quietly and reliably, providing convenience and peace of mind. Consistent care also helps to maximize energy efficiency, saving on power consumption over time. Overall, investing in regular maintenance prolongs the life of your system while maintaining optimal performance.
Frequently Asked Questions
How long does it take to replace a LiftMaster garage door opener?
Replacing a LiftMaster garage door opener typically takes about 3–4 hours for someone with basic DIY skills. The process involves disconnecting the old unit, mounting the new opener, wiring the controls, and testing the system. Additional time may be required if you encounter complications like hardwired electrical systems or misaligned rails.
Do I need special tools to replace a LiftMaster garage door opener?
No specialized tools are required. Most homeowners will already have the necessary items, such as a screwdriver, wrench, pliers, and power drill. A ladder and level are also crucial for mounting the opener securely. Check your replacement kit for any specific tools recommended by the manufacturer.
What should I do if my garage door doesn’t align properly after installation?
Misalignment can often be fixed by adjusting the opener’s rail system or travel limits. Use the adjustment controls on the motor housing to fine-tune the door’s movement. Ensure all bolts and brackets are tight to prevent the rail from shifting during operation. Seek professional help if alignment issues persist.
Can I reuse parts from my old LiftMaster opener?
Some components, like mounting brackets or rails, may be reusable if they remain in good condition and are compatible with the new model. However, it’s generally recommended to use the parts provided in your replacement kit to ensure compatibility and safety.
How do I dispose of my old garage door opener responsibly?
Discarding your old LiftMaster opener should be done thoughtfully. Many recycling centers accept electronic and metal components. Alternately, check if the store where you purchased your new opener offers a trade-in or recycling program for old devices.
Conclusion
Knowing how to replace LiftMaster garage door opener can save you time and money while providing the satisfaction of a DIY accomplishment. From safely removing the old unit to programming the new one, this straightforward guide ensures you can tackle each step with confidence.
By learning to handle such home improvement tasks, you’re not only maintaining the functionality of your property but also gaining valuable experience that can be applied to other projects. Always prioritize safety, consult the user manual for your specific model, and take your time to ensure everything is installed and functioning properly.
Completing the process not only restores the functionality of your garage door but also enhances the security and convenience of your home. With proper installation and testing, your LiftMaster opener will deliver reliable, long-term performance. Don’t hesitate to get started—your garage (and peace of mind) will thank you!
I am Rick. I grew up helping my dad with his handyman service. I learned a lot from him about how to fix things, and also about how to work hard and take care of business. These days, I’m still into fixing things- only now, I’m doing it for a living.
I’m always looking for new ways to help people grow and develop. That’s why I have created this blog to share all my experience and knowledge so
that I can help people who are interested in DIY repair.