Are you struggling with a broken garage door torsion spring? Don’t worry, you’re not alone. Garage door torsion springs are one of the most common components that break on a garage door.
How to replace garage door torsion springs is an essential maintenance task that every homeowner should be aware of. These springs play a crucial role in the operation of your garage door, aiding in lifting and lowering the heavy door with ease.
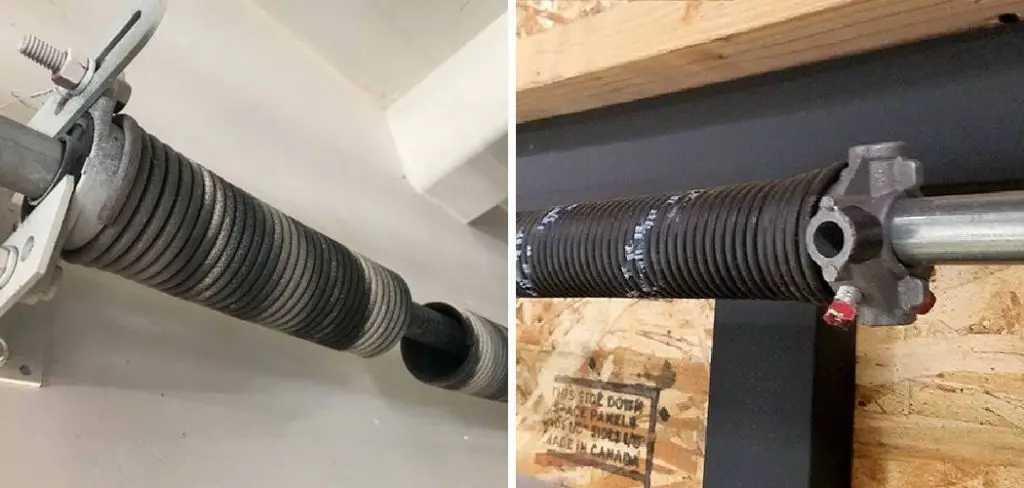
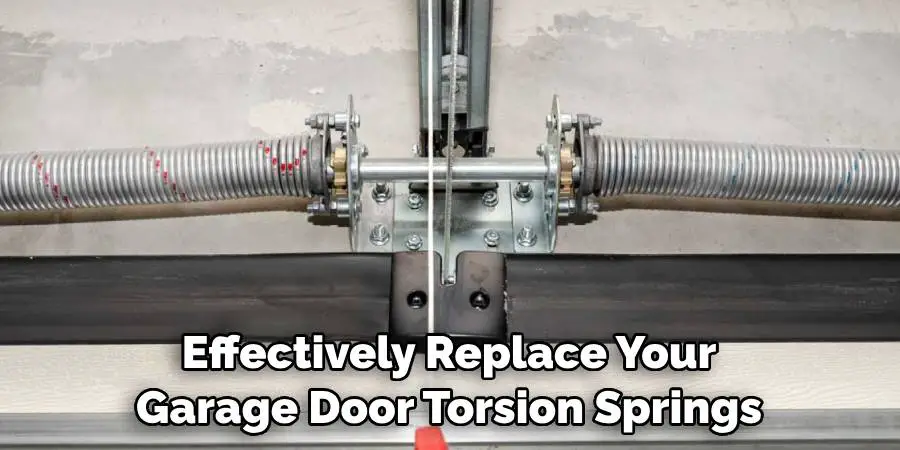
Over time, torsion springs can wear out or break due to repeated use, leading to a door that is difficult to operate and potentially hazardous. This guide will provide step-by-step instructions on safely and effectively replacing garage door torsion springs, ensuring that your garage door functions smoothly and efficiently.
Always remember that safety is paramount—using the correct tools and taking precautions will make the process easier and mitigate any risks involved.
What Will You Need?
Before you begin replacing your garage door torsion springs, gathering all the necessary equipment and tools is important. Here are some items that you will need for this task:
- Safety glasses or goggles
- Leather gloves
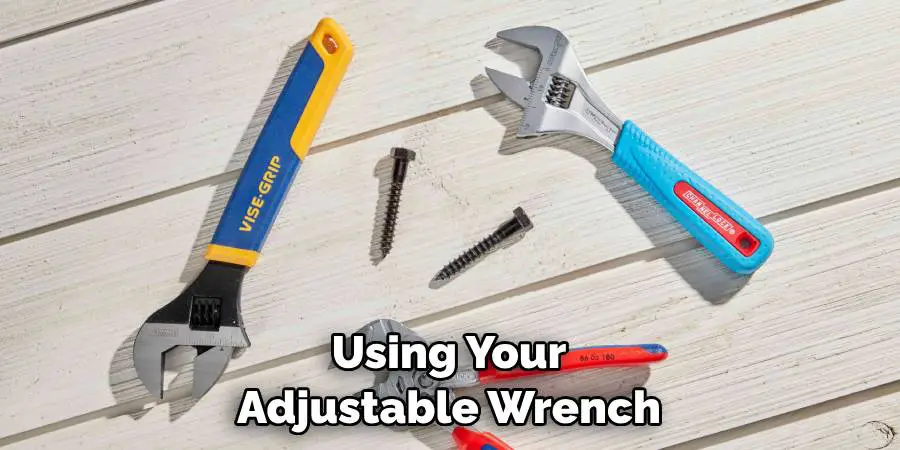
- Adjustable wrench
- Vice grips or locking pliers
- Ladder (if required)
- Two winding bars (for standard torsion springs)
- Tape measure
- New garage door torsion springs
Make sure to have all these items readily available before working on your garage door.
10 Easy Steps on How to Replace Garage Door Torsion Springs
Step 1: Disconnect the Garage Door Opener
Before beginning the replacement process, ensure your safety by disconnecting the garage door opener from the power source. If your garage door has a manual release, pull the release cord to disengage the door from the opener. This will prevent any accidental operation during the replacement.
Step 2: Release the Tension from the Old Springs
Releasing the tension from the old torsion springs is a critical step that must be performed with caution. Start by securing your ladder in a stable position under the torsion spring assembly. Using your adjustable wrench, carefully loosen the set screws on the winding cone of the spring.
It is essential to note that springs are under significant tension, and even a tiny mistake can lead to serious injury. Once the set screws are loosened, insert one of the winding bars into the winding cone, ensuring it is seated properly. Slowly and with controlled force, rotate the winding bar in the direction that unwinds the spring, typically clockwise.
You will hear a slight “pop” as the tension releases—this is normal. Continue this process while being mindful of sudden movements, and ensure you have a firm grip on the winding bar.
Repeat this for each spring as necessary until all tension is released. Once complete, securely remove the winding bars and ensure the springs are no longer under tension before proceeding to the next step. Safety should remain your top priority at all times.
Step 3: Remove the Old Springs
Once the tension has been released, you can safely remove the old torsion springs. Begin by ensuring that your workspace is clear and you have a safe footing on the ladder if needed. Use your adjustable wrench to loosen further and remove the set screws on the winding cone while supporting the spring with your other hand to prevent it from falling.
Carefully slide the torsion spring off the stationary cone and remove it from the mounting brackets on both sides of the garage door. If there are multiple springs, repeat this process for each one.
Once all the old springs are removed, take a moment to inspect the spring assembly for any signs of wear or damage, as this may indicate other issues that need addressing before installing the new springs.
Step 4: Install the New Springs
Now that the old springs have been removed, it’s time to install the new torsion springs. Begin by positioning the new spring onto the stationary cone attached to the bracket on one side of the garage door.
Ensure that the spring is oriented correctly, with the winding cone facing away from the door. Carefully slide the spring into the mounting brackets, ensuring it fits snugly within them. Once the spring is in place, insert the end of the spring into the stationary cone on the opposite side, securing it firmly.
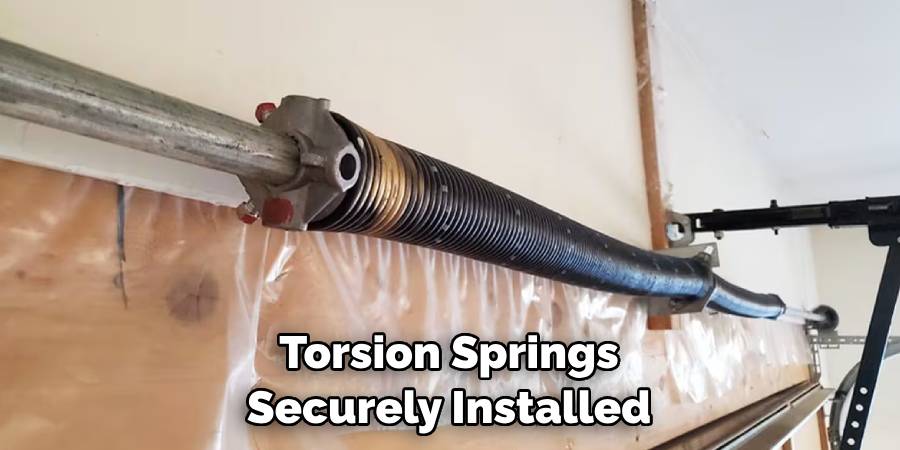
Ensure that both ends of the spring are securely fixed in their respective cones before proceeding. After installation, double-check to ensure the springs are aligned and adequately seated to prevent any issues during operation.
Step 5: Wind the New Springs
With the new torsion springs securely installed, the next step is to wind them to store the necessary tension. Begin by inserting one of the winding bars into the winding cone of the spring.
Make sure it is firmly seated and that you have a solid grip. Carefully rotate the winding bar in the appropriate direction, usually clockwise, to wind the spring. Refer to the manufacturer’s specifications for the recommended number of turns, as this can vary based on the weight and size of your garage door.
As you wind the spring, ensure you maintain control of the winding bar and avoid sudden movements. Once you’ve reached the correct number of turns, insert a second winding bar into the cone to hold the tension while you secure the set screws.
Step 6: Secure the Set Screws
After winding the new springs to the recommended tension, the next crucial step is to secure the set screws on the winding cone. Begin by using your adjustable wrench to tighten the set screws firmly against the winding cone. Ensure that the screws are tightly fastened to prevent any movement once the springs are under tension.
It is advisable to tighten each screw incrementally, alternating between the two, to evenly distribute pressure. Once the set screws are secure, gently remove the winding bars, being cautious as the springs will remain under tension.
It’s essential to make sure that everything is aligned correctly and that no tools are left in the vicinity of the springs before proceeding to the next step.
Step 7: Reconnect the Garage Door Opener
With the new torsion springs securely installed and tensions set, you can now safely reconnect your garage door opener. Start by ensuring the area around the door is clear of any tools or obstructions.
Plug the garage door opener back into the power source. If you have a manual release mechanism, re-engage it by pulling the release cord back into position. Test the opener by using the remote or wall switch to operate the garage door.
Observe the movement to ensure it opens and closes smoothly without unusual noises or resistance. This step confirms that the garage door system is functioning correctly and that the newly installed springs are adequately supporting the door’s weight.
Step 8: Test the Garage Door Functionality
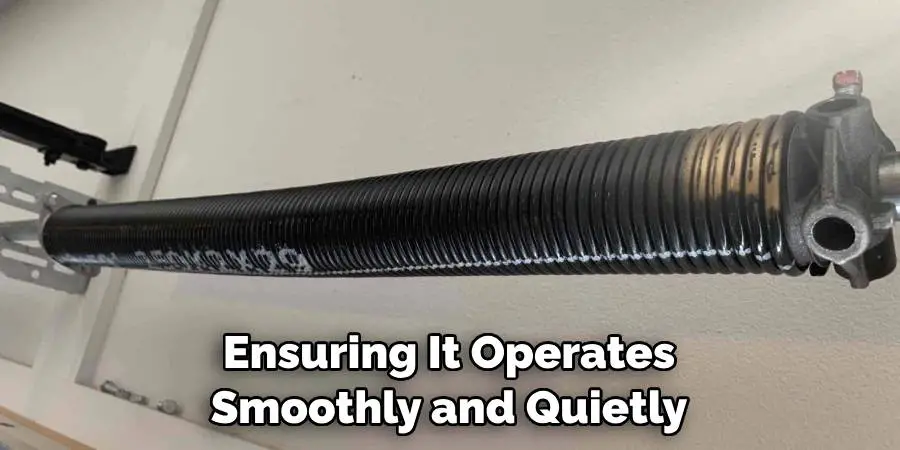
After successfully reconnecting the garage door opener, it is essential to thoroughly test the garage door’s functionality. Begin by performing several open and close cycles using the remote control or wall switch.
Pay close attention to the door’s movement, ensuring it operates smoothly and quietly. Stop the operation immediately and inspect the springs and door alignment if you notice any jerking motions or unusual noises.
Additionally, check the safety reversal mechanism by placing a soft object in the door’s path and observing if the door reverses upon contact. This test is crucial for ensuring the proper operation and the safety of the garage door system.
Step 9: Final Safety Checks
Once the garage door has been tested for functionality, performing a final round of safety checks is critical to ensure everything is in proper working order. Start by inspecting all connections, ensuring that the springs, set screws, and brackets are securely fastened. Check for any signs of wear or unusual tension on the springs.
Additionally, verify that the door’s balance is correct by manually lifting it halfway; it should remain in position without assistance. Finally, ensure that the safety features, such as the auto-reverse mechanism and emergency release cord, are functioning correctly. Completing these checks guarantees the optimal performance of your garage door and the safety of anyone using it.
Step 10: Maintain Your Garage Door Springs
Regular maintenance is essential to ensure the longevity and proper functioning of your newly installed torsion springs. Start by routinely checking for any wear or rust on the springs and their components.
Apply a light spray of garage door lubricant to the springs and all moving parts, including hinges and rollers, every six months to prevent rust and ensure smooth operation. Additionally, inspect the garage door’s balance periodically; an unevenly balanced door can place additional strain on the springs.
If you notice abnormal noises or difficulty opening or closing, it may signify an adjustment is needed. Keeping an eye on these factors will help maintain the performance and extend the life of your garage door system.
By following these ten straightforward steps, you can safely and effectively replace your garage door torsion springs.
Conclusion
How to replace garage door torsion springs may seem daunting, but by following these outlined steps meticulously, you can achieve this task safely and effectively.
Ensuring the correct installation, winding, and tensioning of the springs is paramount for the smooth operation of your garage door. Regular maintenance and safety checks post-installation will further enhance the durability of your garage door system, preventing potential issues down the line.
Remember that if you feel uncertain or uncomfortable with the process at any point, it is always wise to consult a professional to guarantee both your safety and the optimal performance of your garage door.
I am Rick. I grew up helping my dad with his handyman service. I learned a lot from him about how to fix things, and also about how to work hard and take care of business. These days, I’m still into fixing things- only now, I’m doing it for a living.
I’m always looking for new ways to help people grow and develop. That’s why I have created this blog to share all my experience and knowledge so
that I can help people who are interested in DIY repair.