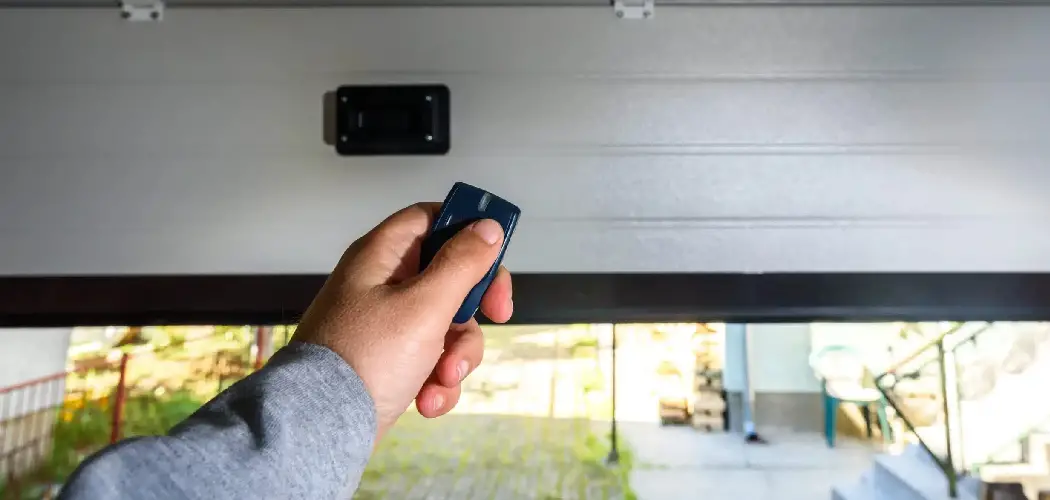
A functioning garage door remote is an essential part of modern home convenience and security. With a simple press of a button, you can open or close your garage, making daily routines smoother—whether you’re hurrying out on a busy morning or returning home at night. But garage door remotes, like all devices, are subject to wear and tear, accidental damage, or even loss. Technology also shifts rapidly; older remotes may become obsolete, unreliable, or incompatible with updated opener systems. When your remote fails, it disrupts easy access, often leaving you searching for alternatives or stuck entering your garage manually.

If you’re wondering how to replace garage door remote devices, you’re not alone—and the good news is, the process is clear, affordable, and something most homeowners can tackle themselves. In this comprehensive guide, we’ll take you through every stage, from identifying what you need and selecting the proper replacement, to programming the new remote and troubleshooting any snags along the way. With minimal tools and know-how, you’ll be able to restore—or even improve—your garage’s accessibility and security in less time than you think.
Understanding Garage Door Remotes
How Garage Door Remotes Work
At the heart of every garage door remote system lies a simple but effective technology: radio frequency (RF) communication. When you press your remote, it sends a coded RF signal to the garage door opener’s receiving unit. This signal instructs the opener to either lift or lower the door. Modern remotes often use rolling code technology, which changes the transmitted code every time the button is pressed. This greatly improves security by making it almost impossible for someone else to intercept or duplicate the signal.
Compatibility plays a central role as well—each opener system operates on specific frequencies, often varying between brands and models. The remote and opener must speak the same “language” to function together. Understanding this connection helps you see why replacing a remote is usually about matching, then programming, the right control for your make and model.
Reasons You May Need to Replace a Remote
There are a variety of reasons why you might need to replace your garage door remote. Accidents happen: remotes get dropped, stepped on, or left behind on car roofs and lost for good. Over time, internal electronics may simply fail, leaving the remote unresponsive despite fresh batteries. Sometimes, newer garage door openers are introduced—making old remotes incompatible or lacking new security features and extended range. In households with several vehicles, adding extra remotes for other drivers is also common. No matter the reason, prompt replacement ensures you retain reliable and secure access to your home.
Choosing the Right Replacement Remote
Identifying Your Garage Door Opener Brand and Model
The first step in how to replace garage door remote units is to identify your opener’s brand and model. Most openers have a label or sticker located on the motor housing, typically mounted to the garage ceiling. This label usually lists the make (such as Chamberlain, LiftMaster, Genie, Craftsman, or another brand), model number, and sometimes the manufacturing date or frequency information. Take a photo or jot this information down—it will be essential when purchasing your new remote.
Understanding Compatibility
It’s imperative that the new remote is compatible with your existing garage door opener. Original equipment manufacturer (OEM) remotes are the easiest choice, as they’re designed specifically for your brand and model. Information about compatible remotes is usually found in your opener’s user manual or on the manufacturer’s website. Pay close attention to the frequency (measured in megahertz or MHz) and any special features, like rolling code or “learn button” pairing.
Options for Universal Remotes
If your original remote is discontinued, lost, or your opener’s model is older, universal remotes present a viable alternative. These remotes are designed to work with multiple brands and frequencies, giving you flexibility in replacement. However, successful use depends on your opener’s age and features—very old openers (especially pre-1990s) may not pair with universal options, while newer ones generally will. Always double-check the packaging or product literature to confirm your model is supported before purchasing.
Tools and Preparations
Items You’ll Need for the Replacement
Replacing a garage door remote is refreshingly simple in terms of tools. Most homeowners will only need a few readily available items: the new replacement remote, which often comes with batteries included; a small screwdriver if battery installation is required; and your garage door opener manual for reference. Having the manual on hand can help with programming instructions or troubleshooting if you hit a roadblock.
Preparing Your Workspace
Before beginning, create a clear, well-lit workspace in your garage. Organize your tools and make sure you have easy access to the opener’s motor unit (often ceiling-mounted). Remove any obstacles that could make it difficult to reach the opener or the “learn” button area. Good lighting helps prevent mistakes during both installation and testing. By preparing properly, you ensure a hassle-free replacement process from start to finish.
5 Step-by-Step Guide on How to Replace Garage Door Remote
Step 1 – Purchase the Correct Replacement Remote
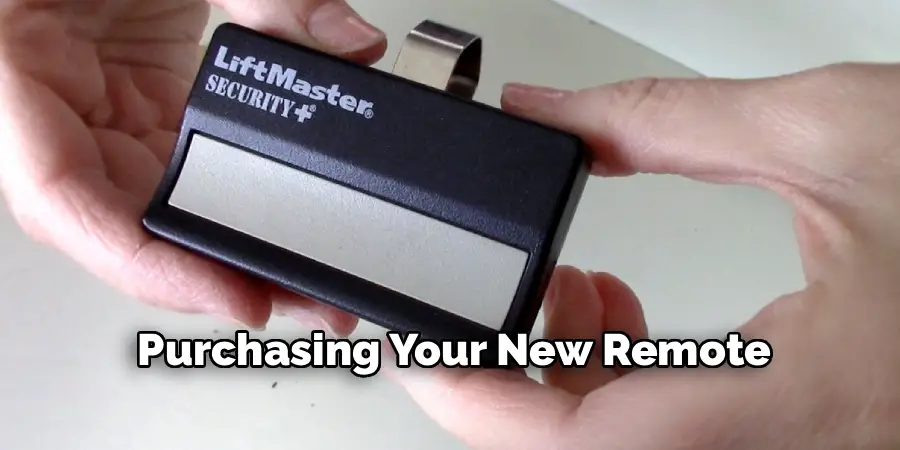
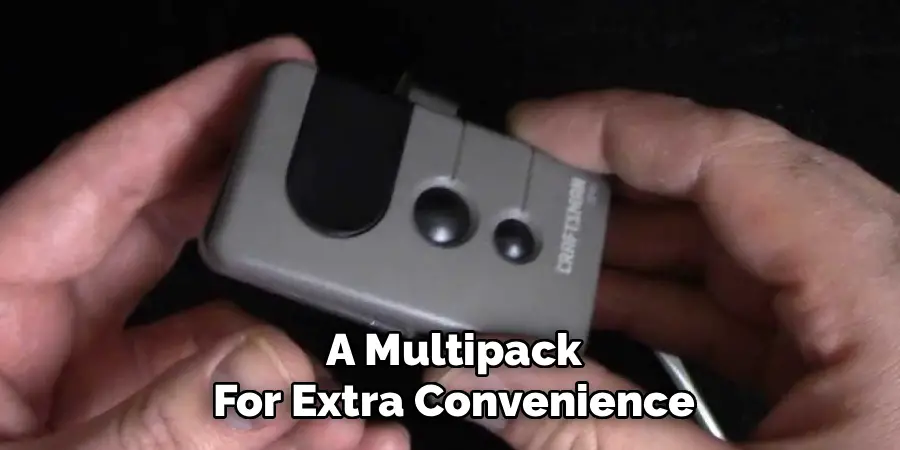
With your opener brand and model information handy, search for a compatible replacement. This can be done at a local hardware store, home improvement center, or via reputable online retailers. When comparing options, consider whether you want a direct replacement, an OEM remote, or a universal model. Double-check details like number of buttons (for multi-door garages), frequency compatibility, and any extra features (like backlighting or keychain size). If you own more than one vehicle, you might want to buy a multipack for extra convenience.
Step 2 – Open and Power On the Replacement Remote
Unpack your new remote. If it doesn’t have a battery already installed, open the battery compartment using the small screwdriver and insert the battery as shown in the directions. Double-check that the battery is positioned correctly and close the compartment. Most remotes signal power is available with a small LED light when a button is pressed. Test for a light before moving on—if there’s no indicator, check the battery orientation or try a fresh battery.
Step 3 – Access the Learn Button on the Garage Door Opener
The “learn” button is central to pairing most contemporary remotes. On the motor unit (usually attached to your garage ceiling), look for a small button, sometimes labeled “learn,” “program,” or simply marked with a color (yellow, red, purple, or green, depending on the manufacturer). The exact location varies—sometimes it’s beneath a light cover that needs to be flipped up or removed.
Before pressing the button, ensure you’re ready, as you typically only have 30 seconds to complete the next steps. It may help to have a second person assist or to plan your moves in advance.
Step 4 – Synchronize the Remote with the Opener
With your new remote ready and the learn button located, press the learn button on your garage door opener. An indicator light will usually start blinking, signaling programming mode is active. Immediately press and hold the main button on your replacement remote. After a few seconds, you should hear a click from the opener, see the light blink, or receive another signal confirming successful programming. In most systems, a single press is enough—but check your manual just in case your model requires an extra step.
Repeat this process for each additional remote you want to program. If your opener supports multiple remotes, you can sync them one after another, following the same procedure for each.
Step 5 – Test the New Remote
With pairing complete, move a few steps away and test your new remote. Press the button to open or close the garage door. Observe the door’s response—there should be no lag, hesitations, or errors. Stand farther back (even outside your garage) to test the effective range. If something doesn’t work, go through the programming steps again, ensuring the batteries are fresh and buttons are being pressed in the correct sequence.
Completing these steps means you now have a fully functional replacement, returning ease and security to your garage entry.
Troubleshooting Programming Issues
Remote Fails to Sync
If your new remote fails to program with the opener, don’t panic. Start with the basics: confirm the battery works and is installed correctly. If your opener’s learn indicator light doesn’t blink or respond, unplug the opener for a minute and restart the pairing process. Sometimes distance is the issue—move closer to the motor unit during programming. Press buttons firmly and steadily. Review your manual for brand-specific nuances, and ensure you’re using the right sequence. If the issue persists, confirm that your remote and opener are actually compatible.
Signal Interference
Modern garages are technology-rich places, and other devices—like LED lights, Wi-Fi routers, or cordless tools—can sometimes interfere with remote programming or operation. Signal interference can cause inconsistent responses or failed programming attempts. Try turning off nearby electronics when pairing your remote, and avoid programming near large metal objects, which can block or distort the radio signal. In some homes, shifting the opener’s antenna or relocating signal blockers can resolve persistent issues.
Benefits of Replacing Your Garage Door Remote
Enhanced Functionality
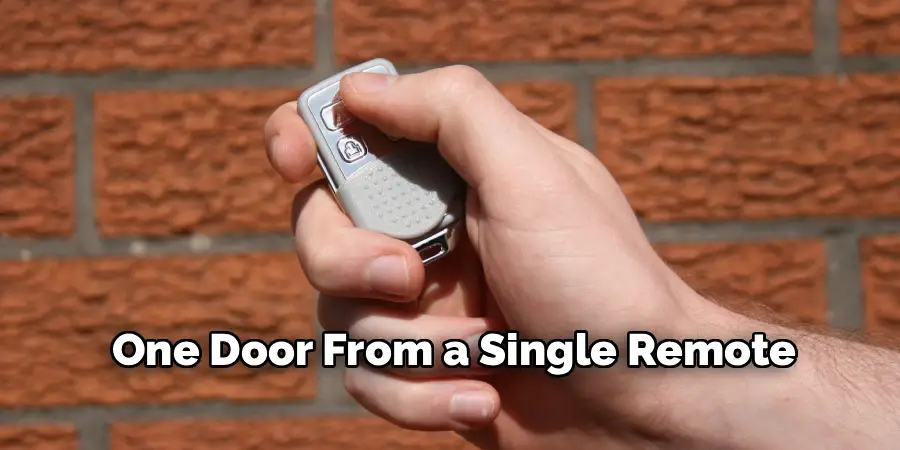
A new garage door remote often brings tangible improvements over old models, even beyond simple restoration of access. Newer remotes typically offer longer signal ranges, improved reliability, and advanced safety features like rolling-code encryption or multi-door control. Some replacements include features like keychain attachments, backlighting, or the ability to operate more than one door from a single remote.
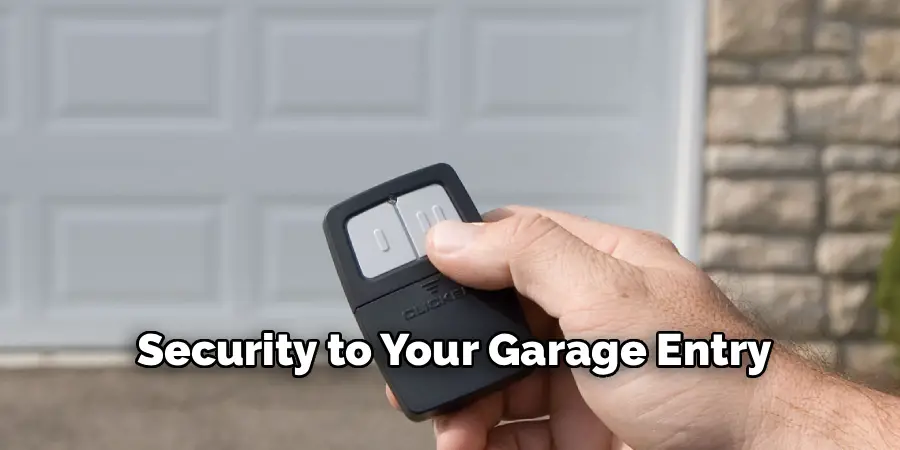
Improved Convenience and Security
Replacing a damaged, malfunctioning, or lost remote restores seamless convenience to your daily routine—a benefit you’ll notice every time you enter or leave home. For busy households or multi-driver families, new remotes decrease confusion, reduce lockouts, and enhance overall peace of mind. Modern remotes are also less vulnerable to hacking or code theft, boosting your garage’s—and your home’s—security.
Maintenance Tips for Garage Door Remotes
Regular Battery Checks
Reliable access requires a remote that always responds. Make it a habit to check remote batteries a few times a year—many remotes start to lose range or respond slowly when power is low. Replace batteries annually or whenever you notice performance changes. Keep spares in a convenient spot so you can make quick swaps when needed.
Cleaning and Protecting the Remote
Dust, grime, and pocket lint can accumulate on remotes, eventually interfering with button movement or damaging internal circuits. Wipe down your remote regularly with a soft, dry cloth. Don’t use harsh cleaners or immerse it in water. Keep it out of direct sunlight and avoid rough handling or dropping—protective silicone sleeves are available for some brands and can extend your remote’s lifespan significantly.
Alternatives to Traditional Garage Door Remotes
Smart Garage Door Apps
Thanks to advancements in smart home technology, many modern garage door openers (and some retrofitted units) can be operated directly from a smartphone or tablet. Dedicated apps connected via Wi-Fi allow remote opening, closing, scheduling, and even status monitoring—no matter where you are. With these systems, losing a remote no longer means losing access. Setting them up typically involves connecting the opener to your home’s Wi-Fi network, downloading the manufacturer’s app, and following the guided pairing process.
Keypads or Wall Consoles
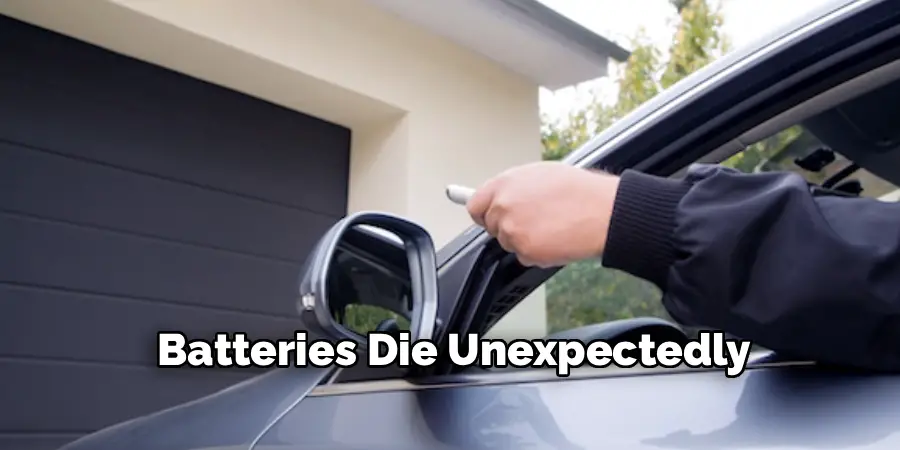
For added flexibility, consider installing an exterior keypad or additional wall-mounted console. Keypads let you open your garage with a PIN code—ideal for teens, visitors, or when you’re out for a walk without your remote. Wall consoles inside the garage offer easy open/close control from an accessible spot, providing a handy backup if your remote is lost or batteries die unexpectedly.
Frequently Asked Questions
Can I Replace My Remote Myself?
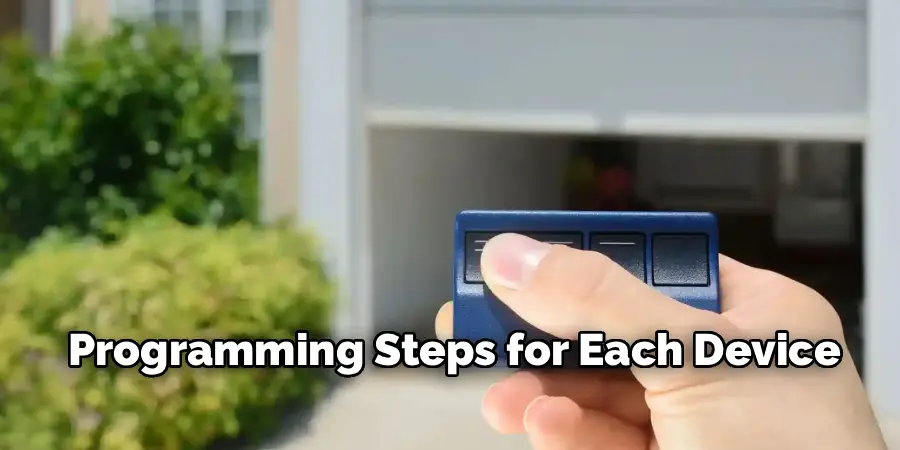
Absolutely! For most systems, how to replace garage door remote devices is a straightforward, do-it-yourself task requiring only basic tools and a bit of attention to instructions. Even if you’re not particularly handy, following the manufacturer’s programming steps will see you through the process. If you do encounter a model-specific complication, customer support from the manufacturer or local hardware store often provides quick help.
How Much Does a Replacement Remote Cost?
Replacement costs vary based on brand, features, and whether you choose an OEM replacement or a universal remote. Basic models can range from $20 to $40, while more advanced or multi-button remotes designed for several doors or added features may cost $40 to $70 or more. Universal remotes tend to sit in the $30 to $50 range. Smart tech-enabled options may cost more but offer significant extra value. It’s wise to check whether your opener’s warranty or original purchase package includes replacement options.
Can Multiple Remotes be Programmed for One Door?
Yes. Most modern garage door openers allow for several remotes to be programmed and used simultaneously. Whether you need one for each vehicle, an extra for a family member, or a backup for emergencies, simply follow the same “learn button” programming steps for each device. Most openers support at least two to four remotes, and some can pair with additional remotes or even smart devices.
Final Thoughts
Replacing a garage door remote is a simple and effective way to regain control and convenience in your daily life. By following the approach outlined in this guide—from identifying your opener’s make and buying the right replacement, to carefully programming and troubleshooting as needed—you can tackle the task with confidence. The process not only restores the everyday ease of automatic garage access, but also presents an opportunity to upgrade your system for better security and smart-home integration.
Making the decision to replace a remote rather than struggle with a malfunctioning device is also cost-effective, helping extend the life and enjoyment of your existing garage opener. Most importantly, learning how to replace garage door remote puts you in charge of your home’s accessibility, so you can focus less on getting in—and more on where you’re going next. If your remote isn’t working, don’t wait: follow these steps, pick up a compatible replacement, and enjoy the renewed peace of mind and comfort that automatic access brings.
I am Rick. I grew up helping my dad with his handyman service. I learned a lot from him about how to fix things, and also about how to work hard and take care of business. These days, I’m still into fixing things- only now, I’m doing it for a living.
I’m always looking for new ways to help people grow and develop. That’s why I have created this blog to share all my experience and knowledge so
that I can help people who are interested in DIY repair.
Hello! I’m at work surfing around your blog from my new apple iphone! Just wanted to say I love reading through your blog and look forward to all your posts! Keep up the great work!