A properly functioning garage door motor is essential for the smooth operation of your garage door. Over time, however, these motors may wear out or stop working entirely. Learning how to replace garage door motor on your own can save you both time and money. While the process might appear daunting at first glance, with the right tools and a clear guide, even beginners can handle it efficiently. This article will walk you through the entire process, step by step, ensuring a safe and successful motor replacement.

Before beginning, it’s crucial to gather all the tools and materials you’ll need. These typically include a ladder, screwdriver, adjustable wrench, socket set, and the new garage door motor. Additionally, ensure you have safety equipment such as gloves and safety glasses. Start by disconnecting the power supply to the garage door opener to prevent any accidents while working. Once the power is off, locate the motor assembly and carefully detach it from the rest of the opener system, following the manufacturer’s instructions. Take note of how the motor is connected to ensure reassembly goes smoothly.
Whether your motor has failed completely or is simply underperforming, understanding the procedure will empower you to take charge of your home’s maintenance needs. Let’s explore why this is such a useful skill to learn and how you can confidently tackle the task.
Why Replacing a Garage Door Motor is Important
Replacing a malfunctioning garage door motor as soon as issues arise is critical for multiple reasons. A damaged motor does not just compromise the convenience of automated door operation; it can also pose safety risks. A struggling motor may fail to lift the door properly or might cause it to stop midway, leaving your car and belongings vulnerable to theft or weather damage.
Additionally, a failing motor often consumes more electricity as it works harder to complete its job, increasing utility bills. Replacing it ensures your system remains energy-efficient. Lastly, addressing motor problems promptly helps prevent further wear-and-tear on other parts of the garage door mechanism, potentially saving hundreds of dollars in more extensive repairs later. Staying proactive with your garage door helps to maintain a secure, functional, and efficient household.
Step-by-Step Guide on How to Replace Garage Door Motor
Replacing the motor of your garage door may sound complicated, but by breaking it into manageable steps, you’ll find it easier than expected. Below is a thorough step-by-step guide to successfully completing the job.
Step 1: Disconnect the Garage Door Opener
Before beginning, ensure safety by disconnecting the garage door opener from its power source. Unplug the motor from the outlet and, if your opener includes backup batteries, remove them as well. This precaution prevents accidental activation during the replacement process. Additionally, pull the emergency release cord so the door can operate manually.
By disengaging the opener, you’ll avoid potential injuries or damage as you work. Take a moment to inspect the opener’s components at this stage, as other parts like the rail or trolley mechanism might require attention during installation. Having a clear starting point ensures the process runs smoothly.
Step 2: Identify and Prepare the Motor for Removal
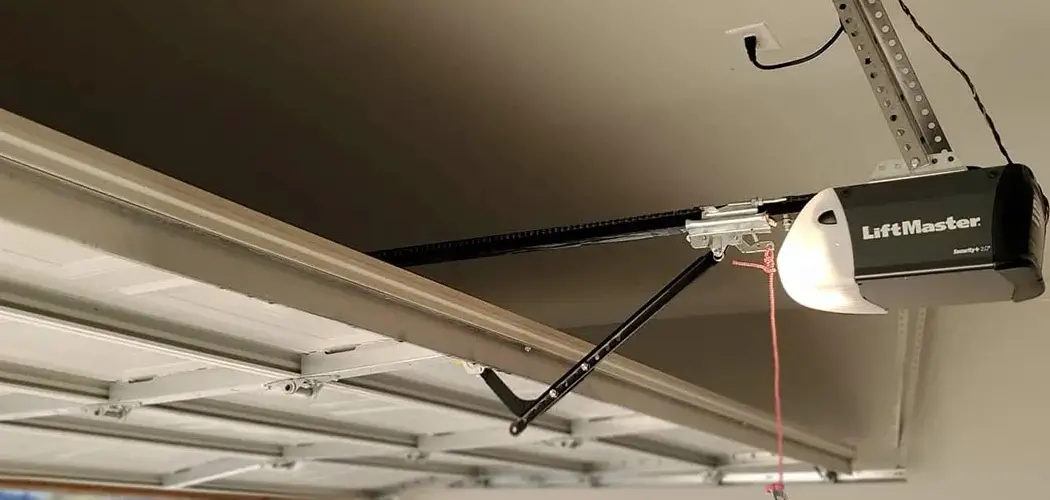
Locate the motor housing mounted on the ceiling or overhead beams of your garage. Typically, the motor connects to the trolley track and is secured by brackets and bolts. Take note of the existing wiring—photograph it or label wires for reference during reinstallation.
Using a wrench or socket set, loosen and remove the bolts securing the motor. Keep these bolts handy since they may be reused when installing the replacement motor. Carefully detach the device from the ceiling mounts, paying attention to its heavy weight. At this point, you’ll have an unobstructed view of the rail system and chain or belt drive.
Step 3: Remove the Trolley Rail System
With the motor removed, focus on disconnecting the rail system, which connects the opener to the garage door. This step makes it easier to align the new motor and ensures the replacement process goes smoothly. Unfasten the brackets or screws securing the rail to both the motor and the door hinge.
While detaching the rail, inspect it for damage or wear, particularly near the chain or belt drive. If the rail assembly looks worn or rusted, consider replacing it at the same time as the motor. A well-maintained rail system is crucial for the opener’s smooth operation.
Step 4: Install the New Motor Unit
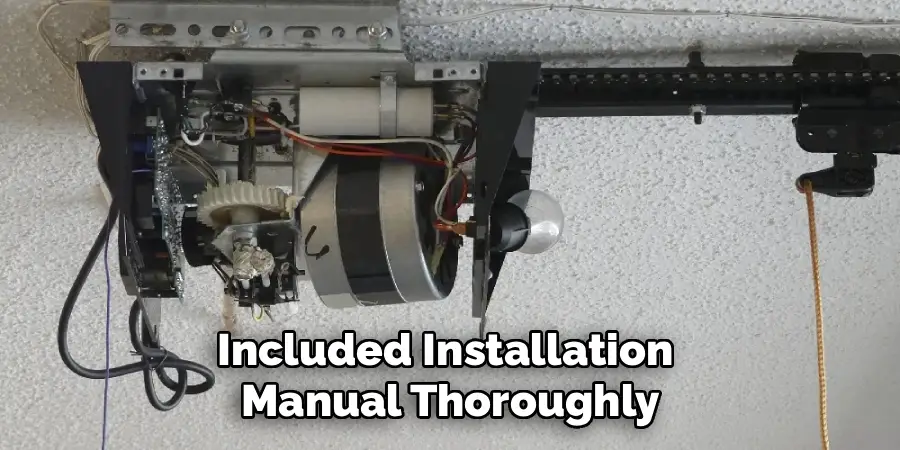
Unbox the new motor and read the included installation manual thoroughly. Lift the motor into position, carefully aligning it with the ceiling mounts. Secure it using the bolts or screws removed earlier, ensuring the unit is firmly in place. Check its stability by gently nudging it—there should be no movement.
Modern garage door motors often come with customizable settings or advanced features like Wi-Fi connectivity. Before proceeding, ensure all new settings are configured according to the user manual. Properly positioning your motor and understanding its features will make subsequent steps easier.
Step 5: Reattach the Trolley Rail
Reinstall the trolley rail by aligning it with the door hinge and the motor’s drive mechanism. Secure the rail at both ends, ensuring it aligns evenly with the motor’s gear sprocket. Tighten all screws and bolts to prevent shifting or instability during operation.
Remember to reconnect the chain or belt onto the motor’s drive gear while ensuring it has proper tension. Over-tightened belts can wear out prematurely, so follow the manufacturer’s specifications for optimal tension levels. A properly attached trolley rail is key to your garage door opener working efficiently.
Step 6: Reconnect the Wiring
Using the photographs or labels created earlier, reconnect the wires to the appropriate terminals on the motor. Follow the unit’s wiring diagram found in the manual to ensure accuracy. Pay extra attention to connections for the power source, wall switch, and any safety sensors.
If your motor requires ground lines, secure them to a grounded terminal for safe operation. Incorrect wiring can lead to malfunction or electrical hazards, so double-check each connection. Once all wiring is in place, your motor installation is nearly complete.
Step 7: Test and Adjust the System
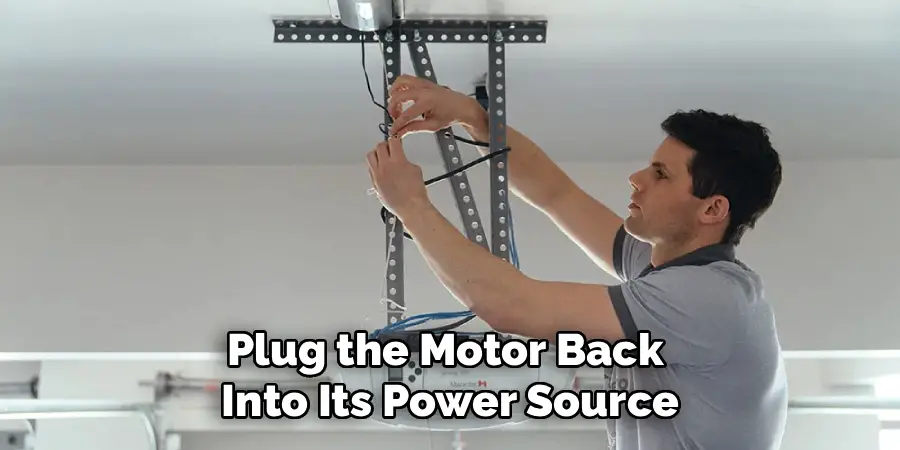
Plug the motor back into its power source and reinstall any backup batteries. Re-engage the emergency release cord, allowing the new opener to connect with the garage door. Run a few test cycles using the remote or wall switch to determine if the motor operates smoothly.
Observe how the door opens and closes, checking for uneven movement, excess noise, or jerky transitions. If adjustments are needed, tweak the motor’s force and speed settings. Ensuring proper alignment and function at this stage guarantees smooth day-to-day operation.
Step 8: Calibrate the Safety Sensors
Modern garage door motors include sensors that stop the door from closing if it detects objects or movement in its path. Position these sensors on either side of the door’s bottom track, ensuring they face each other.
Use a level to align the sensors accurately. Once installed, test the system by placing an object in the sensor’s path during operation. Calibration ensures the garage door remains safe for use, especially in households with children or pets.
Step 9: Secure and Store Tools
After confirming the system works seamlessly, secure all loose wiring and tighten any remaining screws or bolts. Gather your tools and clean the work area. This step prevents future tripping hazards and keeps your garage neat.
Take pride in your work knowing you’ve successfully replaced the garage door motor!
Safety Precautions
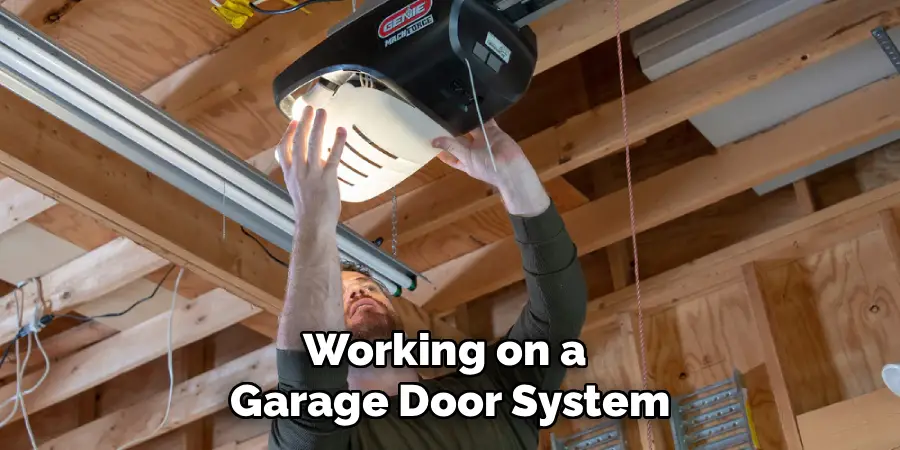
When working on a garage door system, it is crucial to prioritize safety to avoid accidents or injuries. Always disconnect the power to the garage door opener before beginning any work to prevent electrical shocks or unintended door movement. Wear protective gloves and safety goggles to shield your hands and eyes from sharp edges or debris. Use the proper tools for each task to ensure precision and reduce the risk of slipping or damage.
Additionally, be cautious of the tension in the garage door springs as they can release a significant amount of force if mishandled. If you are unsure about any step or encounter a complex issue, consult a professional to ensure both your safety and the door’s proper function.
Frequently Asked Questions
What tools are needed to replace a garage door motor?
Replacing a motor requires basic tools, including a wrench or socket set, screwdriver, pliers, and a level for sensor alignment. Other helpful items include a ladder, voltage tester, and safety goggles. Having all tools on hand makes the job efficient and safe.
How long does it take to replace a garage door motor?
The entire process usually takes 2–4 hours, depending on your experience level and the complexity of your setup. Beginners may take longer due to the additional time needed to familiarize themselves with the instructions.
Can I use my old rail system with the new motor?
Often, the existing rail system can be reused if it’s in good condition. However, check the compatibility guidelines in the motor’s manual. If the rail shows wear or damage, replacing it alongside the motor ensures better performance.
Is replacing a garage door motor a DIY-friendly task?
Yes, most homeowners can manage the task with basic tools and clear instructions. However, if the motor is part of a complex system or if you encounter wiring issues, consulting a professional is recommended.
What are common signs of a failing garage door motor?
Signs include unusual noises, inconsistent movement, or complete failure to open or close the door. Slow operation or higher-than-usual energy bills may also indicate the motor is struggling and requires replacement.
Conclusion
Replacing a garage door motor on your own is entirely achievable with the right tools, patience, and guidance. By following this detailed step-by-step process, you can save money, maintain your garage’s security, and ensure your home’s functionality. Now that you know how to replace garage door motor efficiently, why not give it a try? With practice and diligence, you’ll master this essential skill, giving you confidence to tackle other home improvement projects as well!
Always remember to prioritize safety when working on any home improvement project. Wear protective gear, double-check your tools, and follow all instructions carefully to avoid accidents. Taking these precautions not only ensures your well-being but also helps achieve professional-quality results that stand the test of time.
I am Rick. I grew up helping my dad with his handyman service. I learned a lot from him about how to fix things, and also about how to work hard and take care of business. These days, I’m still into fixing things- only now, I’m doing it for a living.
I’m always looking for new ways to help people grow and develop. That’s why I have created this blog to share all my experience and knowledge so
that I can help people who are interested in DIY repair.