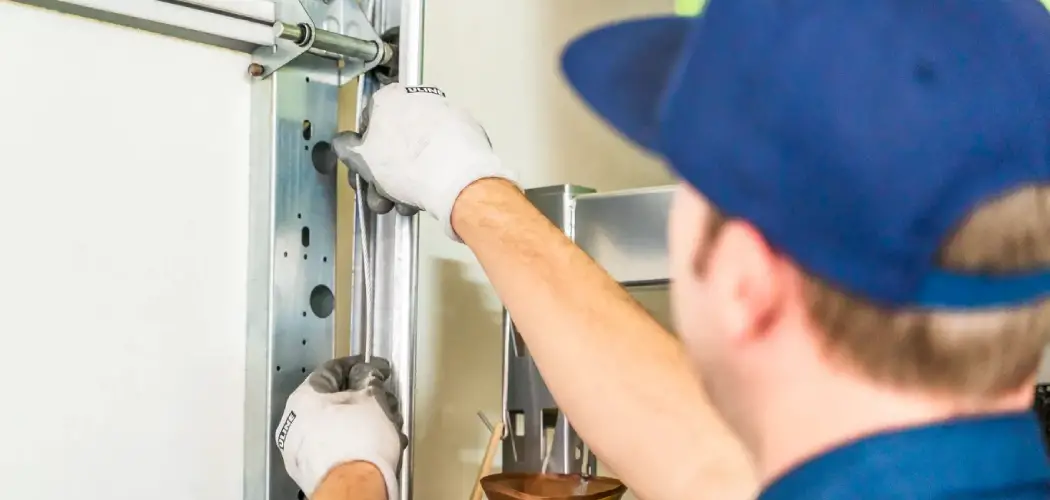
A properly functioning garage door is crucial for the safety and convenience of your home. Over time, the garage door chain, a key component of the system, might wear out or become damaged. Knowing how to replace garage door chain not only keeps your garage door running smoothly but also saves you the cost of hiring a professional.

For beginners, the idea of replacing a garage door chain can seem intimidating. The good news? With the right guidance, this is a task you can handle yourself. This article will walk you through the process step-by-step, providing you with all the essential details to get the job done confidently.
Whether you’re dealing with a noisy chain or one that’s starting to fail outright, replacing it now will prevent further issues and potential safety hazards. Follow along as we guide you through why this repair matters, the tools you’ll need, and an easy-to-understand step-by-step guide that anyone can follow.
Why Learning How to Replace Garage Door Chain Is Important
Your garage door chain plays a vital role in controlling the movement of your garage door. If this chain is damaged, it impacts the alignment and functionality of the door, leading to bigger repairs down the road. Chains can also get noisier as they wear, disturbing the peace in your home.
When you take the time to replace a faulty chain, you’re ensuring the longevity of your garage door opener system. On top of that, knowing how to tackle this essential maintenance task empowers you to maintain other working parts of your garage door. For budget-conscious homeowners, this can save hundreds of dollars in service fees.
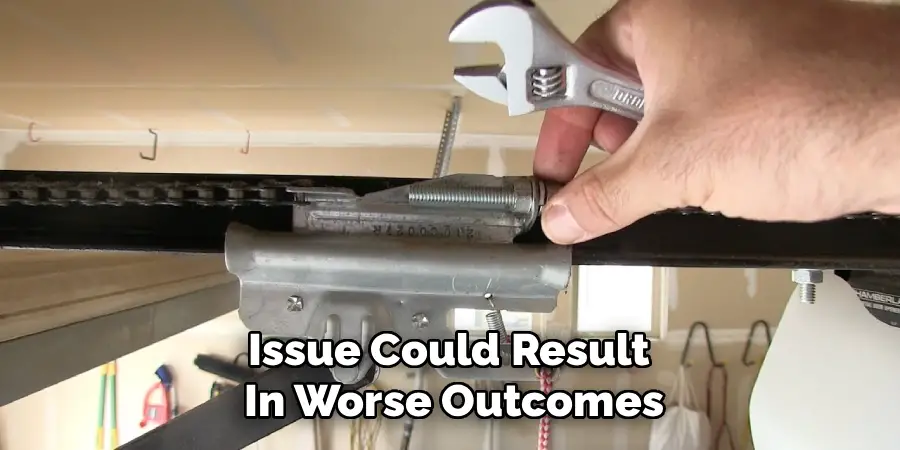
Additionally, ignoring this issue could result in worse outcomes, such as the door suddenly malfunctioning or even halting completely. Safety risks also come into play, as a chain that snaps can cause damage to your property or create a hazardous situation for anyone nearby.
Addressing a worn chain early can keep your garage door system quiet, safe, and operating like new. Next, we’ll move into the detailed steps to help you replace the chain yourself.
10 Step-by-Step Guide on How to Replace Garage Door Chain
Replacing a garage door chain may sound technical, but with precise instructions, it’s an achievable task. Below, we break it all down into actionable steps to help you replace the chain without unnecessary hassle.
Step 1: Gather the Necessary Tools
Before starting, prepare all the tools and materials. Common items include safety gloves, a wrench set, a ladder, and, of course, the replacement chain. Having everything at hand prevents unnecessary interruptions.
Step 2: Disconnect the Garage Door Opener
To begin, ensure that your garage door opener is off and unplugged. This step is crucial for your safety while working on the chain. Also, disconnect any emergency release cords to stop the door from moving unexpectedly.
Step 3: Open the Drive Chain Access Panel
Locate the drive chain access panel on your garage door opener. Use a screwdriver to open this panel carefully. This step provides access to the tensioning mechanism, an area you’ll need to work on to remove the old chain.
Step 4: Release Tension From the Existing Chain
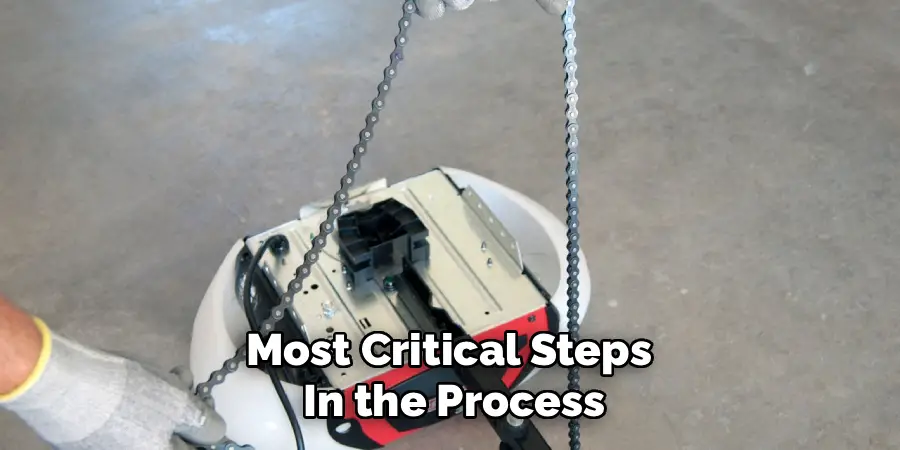
One of the most critical steps in the process is relieving the existing tension in the worn-out chain. Adjust the tensioning screw using your wrench to loosen the chain. Make sure the chain becomes slack and easy to remove.
Carefully slide the old chain off the sprockets and remove it entirely from the opener system. Ensure you keep track of any washers or spacers that might be in place, as these will need to be reinstalled with the new chain. Inspect the sprockets and surrounding components for any signs of wear or damage before proceeding with the replacement. Cleaning these parts at this stage can help ensure smooth operation once the new chain is installed.
Step 5: Remove the Old Chain
Now it’s time to completely detach the old chain. Slide it off from the sprockets and remove it from the garage door opener entirely. Ensure you keep some order by noting how components are connected as you’ll replicate this setup with the new chain.
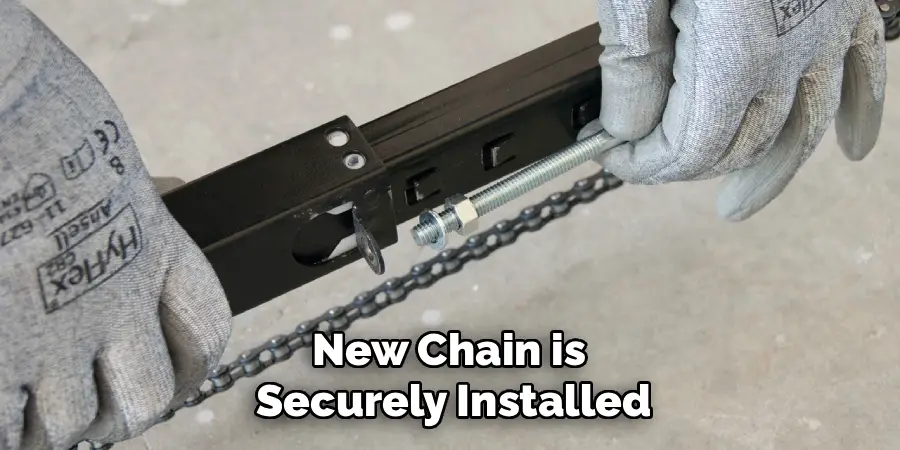
Step 6: Install the New Chain
Using the old chain’s positioning as a reference, place the new chain into the garage door opener system. Align it with the top sprocket and guide it through the tensioning mechanism. Be sure the chain enters the correct grooves so it remains functional once tensioned.
Next, adjust the tension on the new chain by using the tensioning mechanism. Turn the adjustment nut slowly while ensuring the chain has just the right amount of tension—not too tight or too loose. Proper tension is critical for the smooth operation of the garage door opener and to prevent unnecessary wear on its components. Double-check the alignment of the chain throughout this step to avoid future issues.
Step 7: Adjust Chain Tension
Next, tighten the chain to the appropriate tension without overdoing it. Over-tightening can damage the chain, whereas a loose chain won’t function properly. To check, press lightly on the chain; it should have a slight give but remain firm overall.
Once the chain is properly tensioned, reconnect the garage door opener to the power source and test its functionality. Operate the opener to ensure the chain moves smoothly and the door opens and closes without any issues. Listen for any unusual noises or observe any irregular motion, as these could indicate a problem requiring further adjustment. If necessary, fine-tune the tension or recheck the alignment to ensure optimal performance.
Step 8: Reattach the Drive Chain Access Panel
Once the new chain is securely installed and tensioned, close the drive chain access panel and fasten the screws. This step ensures everything stays in place during operation.
Finally, test the chain’s functionality by manually rotating the chain drive. Ensure that the movement is smooth and consistent, with no unusual noises or resistance. If any irregularities are detected, recheck the chain alignment and tension before proceeding. Regular maintenance and lubrication will help extend the lifespan of the chain and ensure optimal performance over time.
Step 9: Reconnect and Test the System
Plug the garage door opener back into its power source. Run the door up and down several times to ensure everything runs smoothly. Listen for any unusual sounds and watch closely for proper alignment of the chain during operation.
Step 10: Final Inspection
After successfully testing, perform one last inspection. Confirm all screws are tight, and the chain moves efficiently without excessive noise or strain. Congratulations! You’ve just replaced your garage door chain successfully.
Common Garage Door Issues
Even with proper maintenance, garage doors can encounter various issues over time. One common problem is a misaligned or unbalanced door, which can cause uneven movement or put extra strain on the opener. Worn-out springs or cables are another frequent issue, often leading to difficulty in lifting the door, or in severe cases, preventing it from opening entirely.
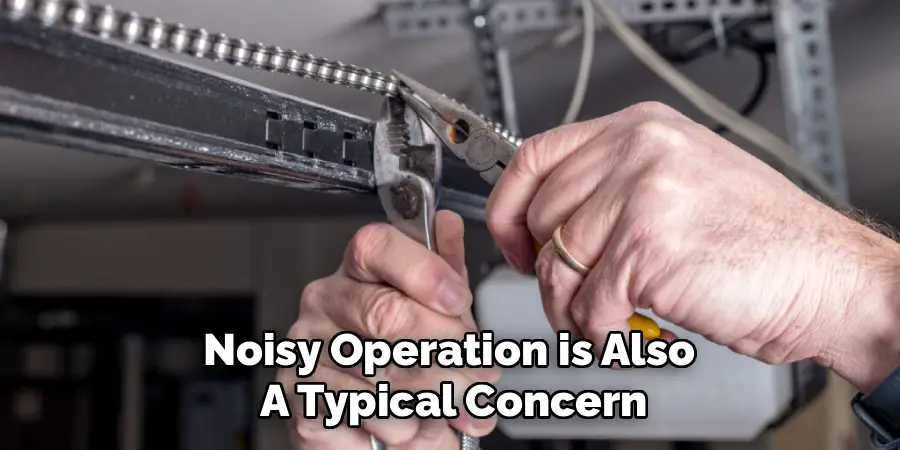
Noisy operation is also a typical concern, usually stemming from a lack of lubrication or worn-out rollers. Additionally, problems with the garage door opener, such as a malfunctioning remote control or sensor misalignment, can disrupt smooth operation. Regular inspections and timely repairs can help address these problems before they escalate.
Frequently Asked Questions
1. How Do I Know If My Garage Door Chain Needs Replacing?
Signs include visible wear on the chain, excessive noise during operation, or your garage door failing to open or close smoothly. If tightening the chain doesn’t resolve these issues, replacement is likely necessary.
2. Can I Replace Just Part of the Chain?
Partial replacements are often not recommended, as varying levels of wear between old and new chain segments can cause operational issues. It’s best to replace the entire chain to ensure uniform performance and longevity.
3. How Long Should a Garage Door Chain Last?
Garage door chains can last anywhere from 10–15 years with regular maintenance. Factors like daily usage, quality of the material, and climate conditions can influence their lifespan.
4. What If My Garage Door Still Doesn’t Work After Replacing the Chain?
If the issue persists, check for other factors such as misaligned tracks, broken springs, or electrical malfunctions in the opener itself. Sometimes, additional components may need attention alongside the chain replacement.
5. Can a Worn Chain Cause Safety Issues?
Yes, a worn or damaged chain can cause the door to operate erratically or even fail completely, posing serious safety risks. Addressing chain wear promptly is essential to avoid accidents or property damage.
Conclusion
Replacing the chain on your garage door doesn’t have to be a daunting task. With the right tools and a clear understanding of each step, you can handle this repair easily and keep your garage door functioning smoothly.
Regular maintenance of your garage door and its components can significantly extend the lifespan of the system. By inspecting the chain periodically and addressing any signs of wear or damage promptly, you can prevent costly repairs and ensure the safety and reliability of your garage door.
By learning how to replace garage door chain, you not only save money but also ensure your home’s safety and convenience. Give it a try and take pride in mastering this practical skill!
I am Rick. I grew up helping my dad with his handyman service. I learned a lot from him about how to fix things, and also about how to work hard and take care of business. These days, I’m still into fixing things- only now, I’m doing it for a living.
I’m always looking for new ways to help people grow and develop. That’s why I have created this blog to share all my experience and knowledge so
that I can help people who are interested in DIY repair.