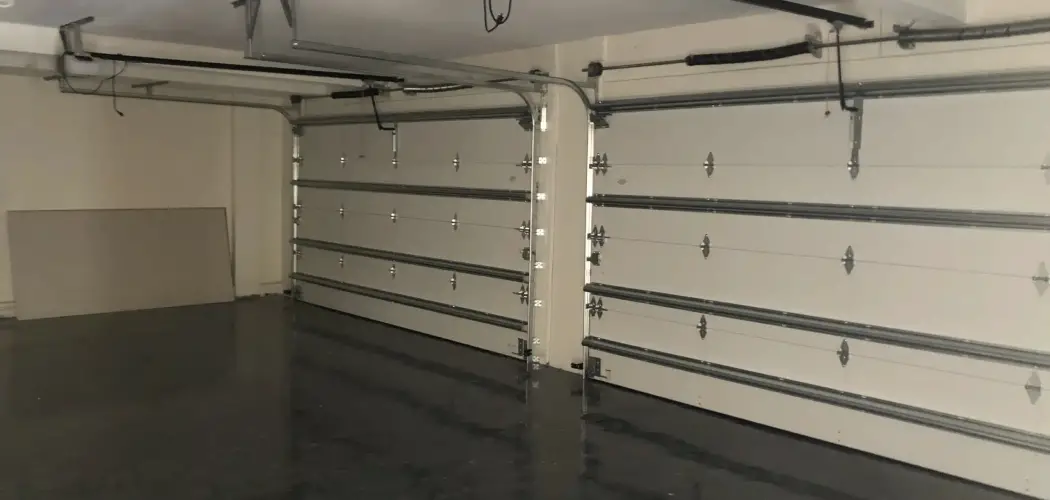
A fully functioning garage door opener is more than a mere convenience—it’s a fundamental part of your everyday safety and security. Modern homes rely on these devices to provide easy access, reliable protection against the elements, and an additional layer of security from unwanted entry. Craftsman garage door openers, widely regarded for their durability and innovation, have been a household staple for generations. Yet even the most reliable system can eventually show its age or develop problems. Whether you’re noticing troublesome breakdowns, beeping signals for service, or longing for an upgrade to a quieter, smarter system, it’s only natural to seek out how to replace Craftsman garage door opener units yourself.

This comprehensive guide is designed for DIY enthusiasts who want to take control of their home improvements. By following the process step by step, you will not only save money but also gain the satisfaction of successfully updating a crucial aspect of your home’s infrastructure. From understanding your current system to choosing a replacement, carrying out the installation, and enjoying the latest features, you’ll see that replacing a Craftsman garage door opener can be both approachable and rewarding.
Overview of Craftsman Garage Door Openers
What Makes Craftsman Garage Door Openers Unique
Craftsman has built its reputation on a foundation of sturdy, high-quality products. Their garage door openers are admired for their longevity, reliable performance, and user-friendly features. Available in chain-driven and belt-driven options, Craftsman openers cater to a broad range of needs and preferences. The chain-driven models are celebrated for their toughness and ability to handle heavy or oversized doors without strain. Belt-driven Craftsman openers, on the other hand, focus on quiet operation—ideal for garages adjacent to bedrooms or living areas, where minimizing noise matters.
Smart technology is another hallmark of the brand. Many new Craftsman openers feature compatibility with home automation systems, allowing for remote monitoring and smartphone control. Craftsman’s focus on security, such as rolling code encryption and automatic lock mechanisms, is designed to deter unauthorized access while keeping operation straightforward for homeowners. The sturdy construction, easy-to-follow manuals, and ready availability of parts contribute to the brand’s enduring popularity.
Understanding the Common Causes for Replacement
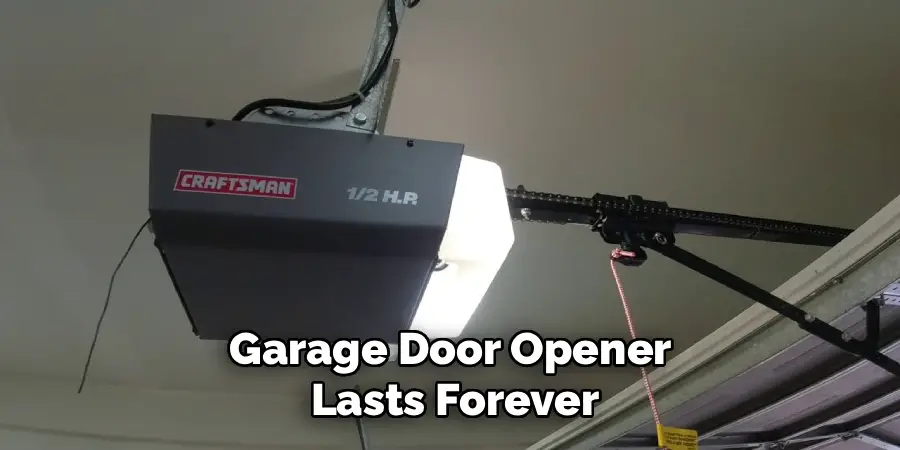
Despite Craftsman’s reliability, no garage door opener lasts forever. Frequent or sudden malfunctions are strong indicators that the internal mechanisms are failing or electrical components have reached the end of their lifespan. Modern households may also outgrow older models as new technology becomes available, favoring systems with smart features or ultra-quiet operation.
In addition, repeated repairs, increasing noise, sluggish response times, or visible wear and tear on critical parts (such as drive chains, rails, or the opener motor) suggest it’s time to replace your opener. Physical damage from storms, electrical surges, or accidental impact also often means a full replacement is safer and more economical than patchwork repairs.
Preparing for the Replacement
Tools and Equipment You’ll Need
Preparation forms the backbone of any successful DIY project, especially something as integral as a garage door opener installation. Most homeowners already possess many of the required tools, including a set of flathead and Phillips screwdrivers, adjustable and socket wrenches, a pair of pliers, and a sturdy ladder. A drill helps secure mounting brackets and other hardware. Gloves and safety glasses are highly recommended to protect against debris or pinched fingers. Of course, the replacement opener kit should be on hand, complete with all manufacturer-supplied instruction manuals, mounting hardware, rails, and controls.
Safety Measures to Take Before Starting
Before beginning work, prioritize safety. Disconnect the power to the garage door opener at your main circuit breaker or by unplugging it directly, eliminating the risk of accidental activation or electrical shock. Make sure the garage door itself is completely closed before starting any work—this stabilizes the system and prevents sudden movements. Remove clutter or obstacles from your working area, especially if mounting hardware above head height. If your opener is attached to a particularly heavy or large door, consider having a helper on standby. Most accidents in garage door replacement involve either unexpected door movement or dropped hardware, so take time to secure your environment properly.
Removing the Existing Craftsman Garage Door Opener
Step 1 – Disconnecting Power and Accessories
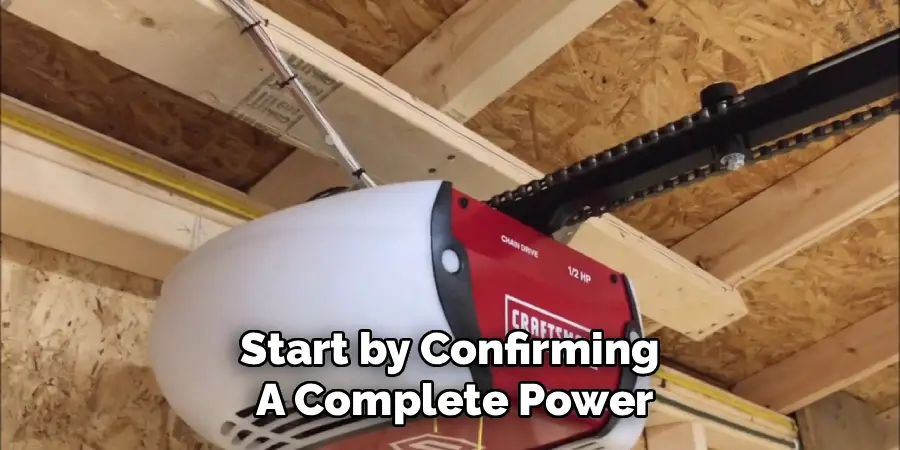
Start by confirming a complete power cut to your opener. Test the wall button and remote; neither should activate the motor. Unplug the unit or ensure the circuit breaker is off. Next, detach all accessories. This typically means removing the wall control panel, safety sensors (often mounted near the base of the door tracks), and any remote-control receivers attached to the opener. Set these aside for review—some may be compatible with your new model, while others will need replacing.
Step 2 – Detaching the Opener from the Garage Door
The next focus is separating the opener from the garage door itself. Locate the opener arm or bracket linking the motor’s trolley to the garage door. This usually involves a pin or cotter-style fastener, which you can remove with pliers. Once detached, the opener is mechanically free from the door, allowing for safe removal of the mounting system.
Step 3 – Dismantling the Mounting System
Most Craftsman openers are ceiling-mounted via steel brackets, with the rail attached to a header bracket above the garage door. Loosen, then remove, the bolts or screws holding these pieces in place. Take care as you lower the opener unit and rail to the ground—they can be heavier than expected, especially on older systems. Work methodically; set aside brackets and fasteners as some may be reused, depending on the design of your replacement model and their condition. After removal, give the mounting area a quick inspection for structural damage or missing anchors, making any necessary repairs before proceeding with your new opener.
Selecting the Right Craftsman Garage Door Opener Replacement
Key Features to Look For in Craftsman Models
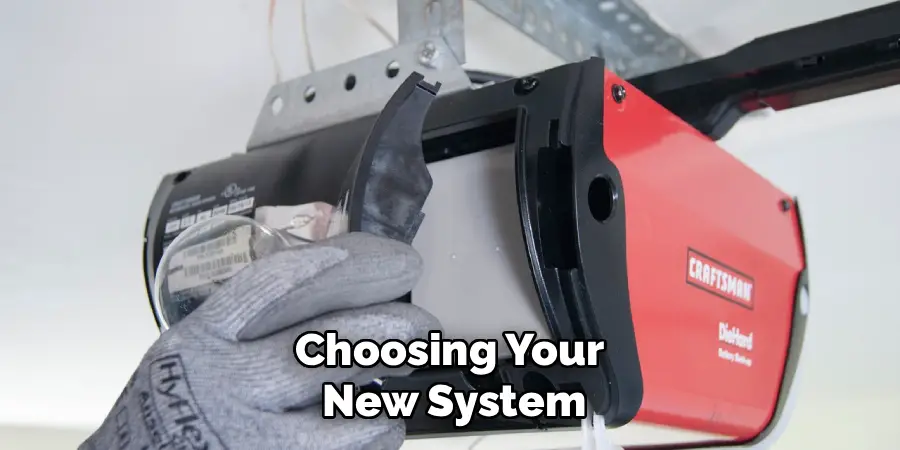
Now comes the exciting part: choosing your new system. Evaluate what matters most to you and your household—is low noise a priority? Do you want smart features, like remote operation via a smartphone? Is the opener equipped with battery backup for power outages? Consider whether a belt-drive or chain-drive system best fits your daily needs. Check that the opener can supply enough horsepower for your door’s size and weight. Craftsman’s newest products offer improved energy efficiency, longer-lasting LED lighting, and built-in Wi-Fi, delivering value far beyond basic opening and closing.
Ensuring Compatibility with Your Garage System
Compatibility is key. Before purchasing, consult both the manufacturer’s specifications and your door’s measurements. Heavier or oversized garage doors require stronger motors, typically rated at ¾ HP or more, while lighter single doors can operate fine with lower ratings. Also, evaluate the available clearance above your door and within your garage—some models require extra space for rail and motor installation. Finally, check that your home’s electrical supply matches the new opener’s requirements, and verify that existing controls, sensors, and remotes will pair with the new unit, or be prepared to update them as part of the project.
How to Replace Craftsman Garage Door Opener: Installing the New Door Opener
Step 1 – Assemble the Opener Unit
Lay out all parts on a clean workspace, referencing the manufacturer’s manual at every stage. Begin by assembling the main rail, trolley, and motor head, ensuring all connectors are firmly tightened. Many kits provide pre-packaged hardware and clear diagrams to prevent confusion. Position the trolley along the rail and attach the required brackets for later ceiling mounting. Pre-assemble any parts that are easier to manage on the ground rather than at height, such as connecting the opener arm or attaching mounting straps.
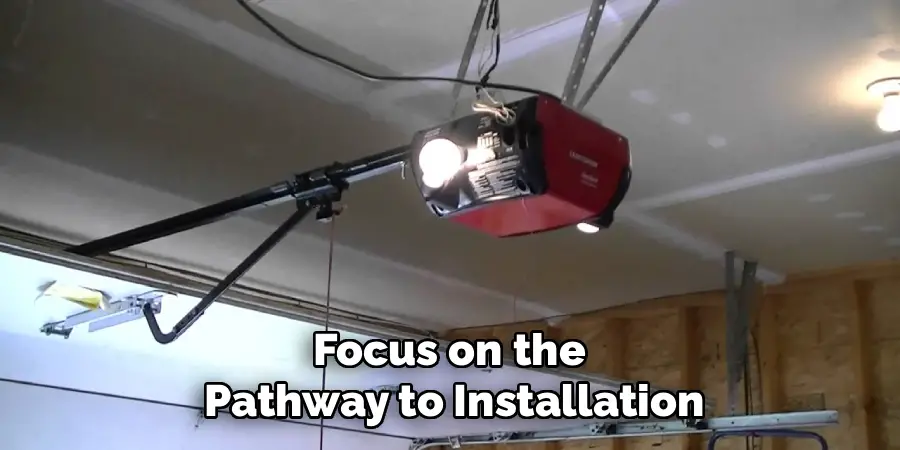
Step 2 – Position and Install the Mounting Hardware
With the opener assembled, focus on the pathway to installation. Fix the header bracket above the center of the garage door, aligning it with the opener rail. Attach the opener’s rear mounting bracket to the ceiling joist or beam, ensuring a strong, stable connection. Use lag bolts or appropriate anchors for your garage material—wood, masonry, or steel. The rail should be perfectly level or have a very gentle pitch toward the motor unit, guided by your instruction manual’s recommendation. Do not overtighten—firm but not excessive pressure is best to avoid bending the hardware or rail.
Step 3 – Attach the Opener to the Garage Door
With the rail and motor in place, connect the opener arm to the garage door bracket installed previously. Adjust the arm for slight flexibility while opening and closing—there should be a little give, but no slack that could hinder movement or cause uneven travel. Fasten all the arm’s hardware securely, double-checking the door’s ability to move freely through its full range of motion without binding.
Step 4 – Wire and Connect the System
At this stage, install all sensors and controls. Mount the safety sensors at the base of the door tracks on either side, keeping them in perfect alignment so their indicator lights remain steady. Install the wall control panel inside the garage at an easily accessible height. Run all wires neatly along walls and ceilings, securing them with included fasteners and ensuring connections are tight at both control panel and opener terminals. Only plug in or restore power once all connections are triple-checked for proper seating and wire orientation.
Step 5 – Test the Installation
The final step in installation is a thorough series of tests. With power restored, use the wall control or remote to initiate opening and closing cycles. Watch and listen for irregular movement, strange noises, or sensors failing to trigger as the door passes. The auto-reverse feature should activate if any object (such as a broom or block of wood) interrupts the safety beam. Check all steps before closing out the project. Minor adjustments, such as limit settings or tightening a loose screw, may be required to achieve optimal performance.
Configuring Craftsman Garage Door Opener Features
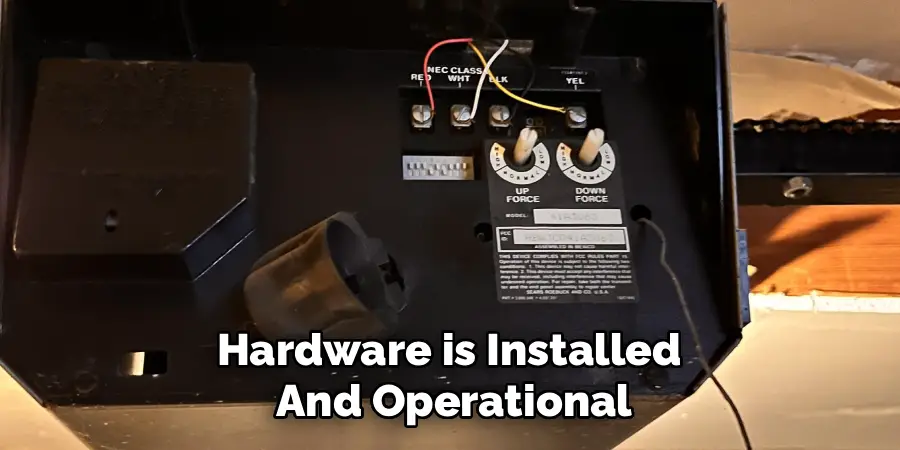
Programming Remote Controls and Keypads
Once your hardware is installed and operational, it’s time to program convenience features. Pair the included remote controls by following the opener’s programming mode—usually this involves pressing a “learn” button on the motor unit, then activating the remote within a set timeframe. Keypads may require you to set up a PIN and then sync them to the opener using a similar process. Check the response of each device, making sure commands are received promptly and accurately.
Setting Up Built-In Safety Features
Today’s Craftsman openers come equipped with robust safety features. Adjust the safety sensors so they’re perfectly aligned and unobstructed, triggering the opener to stop or reverse the door if an object or person crosses the path. Some models allow you to program the force required for closing and opening—set these according to the weight and condition of your door, favoring the lowest force adequate for reliable operation. Review and activate all features according to your home’s specific needs for security and peace of mind.
Troubleshooting Challenges During Replacement
Common Installation Issues
Even with careful planning, you may encounter issues such as tracks not sitting level, the door refusing to open or close fully, or unusual sounds. Often, the source is a slightly misaligned bracket, loose fastener, or, in rare cases, a faulty part from the new kit. Take corrective action by backing up a step, reevaluating alignments, and referencing the troubleshooting guide in your Craftsman manual. Patience and attention to detail usually resolve most start-up hiccups.
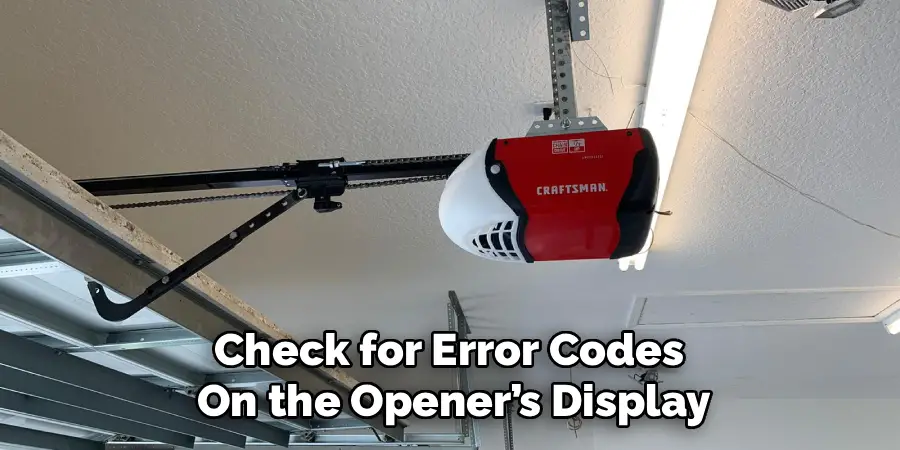
Checking for Errors Post-Installation
After everything is installed, check for error codes on the opener’s display or indicator lights. These can point you to wiring mix-ups, improper sensor installation, or other minor issues. If persistent, consult the manufacturer’s online support or customer helplines before considering dismantling parts or redoing steps. Most problems are simple to fix when caught early.
Maintenance Tips for Your New Craftsman Garage Door Opener
Regular Inspections
Keep your new opener working smoothly for years by performing periodic checks. Inspect the hardware and moving parts every few months—look for loose bolts, signs of metal fatigue, or frayed wiring. Test both manual and automatic operation, keeping an ear out for changes in sound or efficiency, which might signal the need for lubrication or tightening.
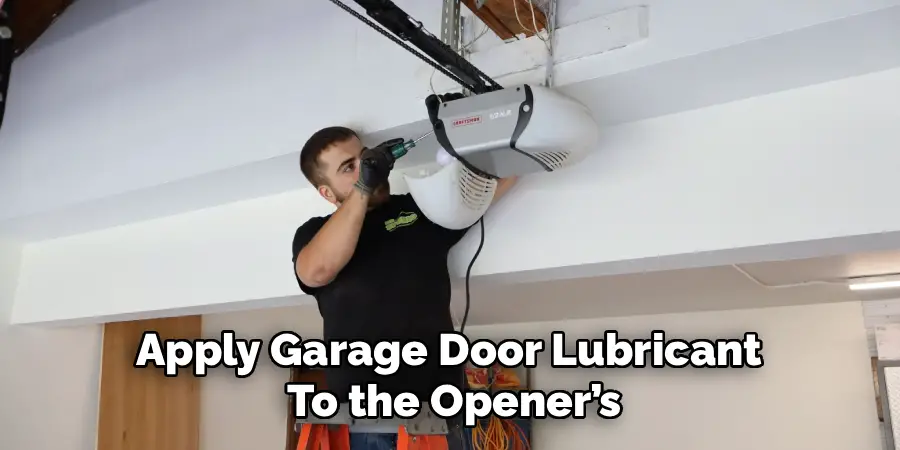
Lubrication and Cleaning Tips
Apply garage door lubricant to the opener’s moving parts, including chains, belts, and rollers, especially if operations become noisier or stiff. Gently clean away dirt and cobwebs from around sensors and electrical connections with a dry cloth. Avoid water or excessive cleaners near electronic components. A little preventive maintenance goes a long way in protecting your investment and ensuring peace of mind.
Benefits of Replacing Your Craftsman Garage Door Opener
Embracing an upgrade offers more than just added peace of mind. New Craftsman garage door openers feature advanced security enhancements, quieter operation, and energy efficiency that reduces your home’s carbon footprint. Many models include integrated smart features, allowing homeowners to open, monitor, and receive alerts via their smartphone, even when far from home.
The convenience of improved lighting, backup batteries, or emergency access ensures your garage remains functional during severe weather or power outages. Best of all, a reliable opener means fewer surprises and reduced future repair costs. By replacing your outdated Craftsman garage door opener now, you invest in both immediate convenience and long-term satisfaction, making the daily routine more seamless for the entire household.
Final Thoughts
Successfully learning how to replace Craftsman garage door opener systems is an empowering project that blends practical skills, modern upgrades, and the satisfaction of hands-on accomplishment. By following each step—preparation, removal, selection, installation, configuration, and ongoing care—you transform an outdated or unreliable opener into a safe, efficient, and high-tech system suited for modern living. Each stage is straightforward if approached patiently, and the results speak for themselves: improved security, better performance, and a more comfortable daily routine.
Even if you’re new to DIY or nervous about tackling such a project, remember that every expert once started at the beginning. Follow the guide, consult the manual, and be ready to call for professional help if you encounter obstacles beyond your skill level. With careful attention, you’ll enjoy not just a new opener, but also greater confidence in maintaining your home for the future—proof positive that learning how to replace Craftsman garage door opener units pays dividends in peace of mind and everyday ease.
I am Rick. I grew up helping my dad with his handyman service. I learned a lot from him about how to fix things, and also about how to work hard and take care of business. These days, I’m still into fixing things- only now, I’m doing it for a living.
I’m always looking for new ways to help people grow and develop. That’s why I have created this blog to share all my experience and knowledge so
that I can help people who are interested in DIY repair.