If your garage door is no longer opening or closing smoothly, the issue might lie with its bottom rollers. These small yet vital components allow the door to move seamlessly along the tracks. Over time, wear and tear can hinder their functionality, compromising your door’s efficiency and even posing safety risks. Fortunately, learning how to replace bottom roller on garage door is a straightforward DIY task. With the right tools, know-how, and a bit of patience, you can save time and money by tackling this maintenance job yourself.
Before you begin, ensure you have the necessary tools such as pliers, a wrench, a socket set, and a sturdy ladder for safe access to the bottom rollers. Start by disconnecting the garage door opener and securing the door in the closed position to avoid any sudden movements. Carefully loosen the bolts holding the roller bracket in place, then remove the old rollers. Replace them with the new ones, ensuring they are properly seated and aligned with the door tracks. Reassemble the bracket securely and test the door’s movement to ensure smooth operation. Always exercise caution during the process and seek professional assistance if needed.
This guide will walk you through everything you need to know, from understanding the importance of bottom rollers, step-by-step instructions, and addressing common concerns with an FAQ section. Not only will this enrich your skills, but it will also ensure your garage door operates like new again.
Why Replacing the Bottom Roller is Important
The bottom rollers play a significant role in your garage door’s overall performance. They are responsible for guiding the door along its tracks during operation. If these rollers are damaged, it can cause misalignment, excessive noise, or uneven wear on other garage door components. Ignoring this issue can escalate the problem, leading to costly repairs or even full door replacement.
Additionally, faulty bottom rollers are a safety hazard. A garage door that doesn’t glide properly can come off its tracks or fall, posing risks to you, your family, and your property. Replacing them promptly not only prolongs the life of your garage door but also ensures safe and efficient operation.
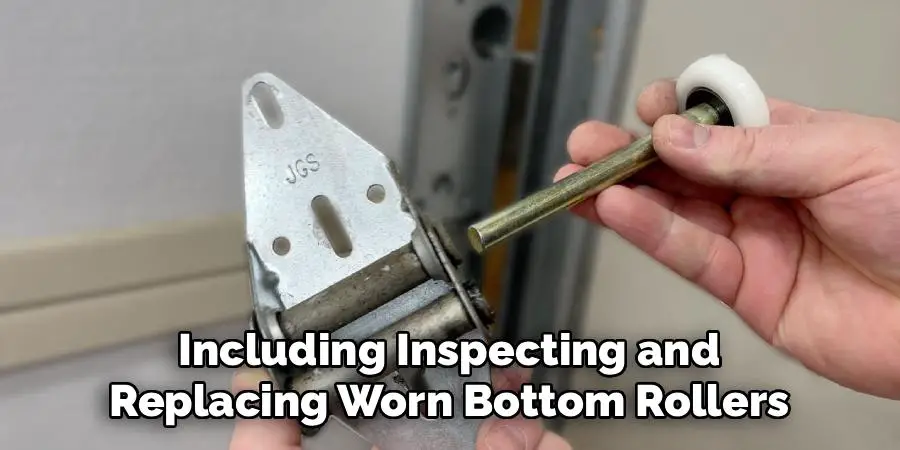
Regular maintenance, including inspecting and replacing worn bottom rollers, keeps your garage door in prime condition. It’s an essential step for homeowners who value safety, functionality, and longevity in their home systems.
Step-by-Step Guide on How to Replace Bottom Roller on Garage Door
Replacing the bottom rollers requires careful planning and attention to detail. This step-by-step guide will walk you through the process—from preparation to completion—ensuring your garage door is fully functional.
Step 1: Gather the Necessary Tools
Before you start, gather all the tools and materials you’ll need. These typically include a wrench, pliers, replacement rollers, a flat-head screwdriver, and work gloves for safety. Ensuring you have everything ready makes the process smoother and helps avoid interruptions.
It’s also crucial to inspect your replacement rollers. Choose rollers compatible with your garage door system and ensure they are durable to withstand long-term use. Research options labeled “high-quality nylon” or “steel-reinforced,” as these are reliable for most garage doors.
Step 2: Disconnect the Garage Door Opener
Next, disconnect the automatic garage door opener to avoid accidental activation while working. Locate the emergency release cord—usually a red handle—and pull it to disengage the door from the opener mechanism. This step is critical for safety, as it prevents the door from moving unexpectedly while you’re replacing the bottom roller.
Once the door is disengaged, ensure it is in the down position. Secure the door with clamps or a locking mechanism so it won’t shift during the repair process. Always double-check this before proceeding with the next steps.
Step 3: Loosen the Bottom Bracket
The bottom bracket secures the roller to the garage door. To access and remove the roller, you’ll need to carefully loosen this bracket. Using a wrench, unscrew the nuts holding the bracket in place. Be cautious, as this component is often under tension from the door’s springs.
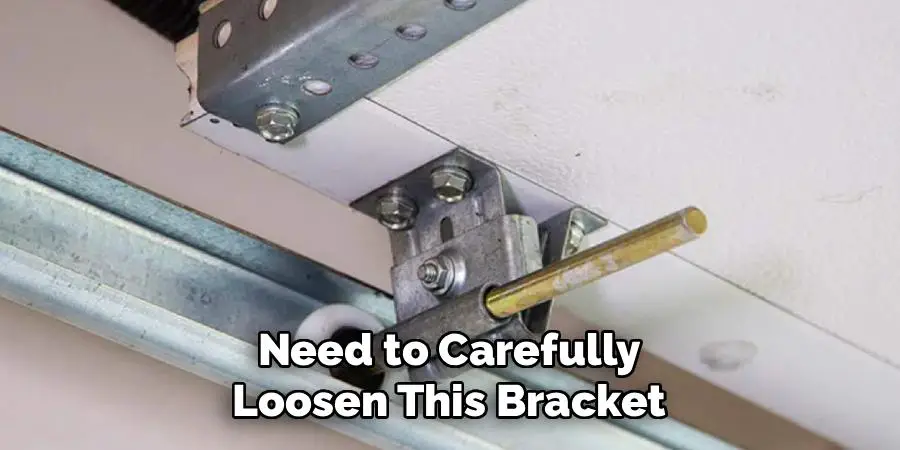
If you encounter resistance due to rust or overtightened bolts, apply a lubricant like WD-40 to ease the process. Avoid forcing the bracket loose, as this might damage it. Once the bracket is loosened, proceed carefully to the next step.
Step 4: Remove the Old Bottom Roller
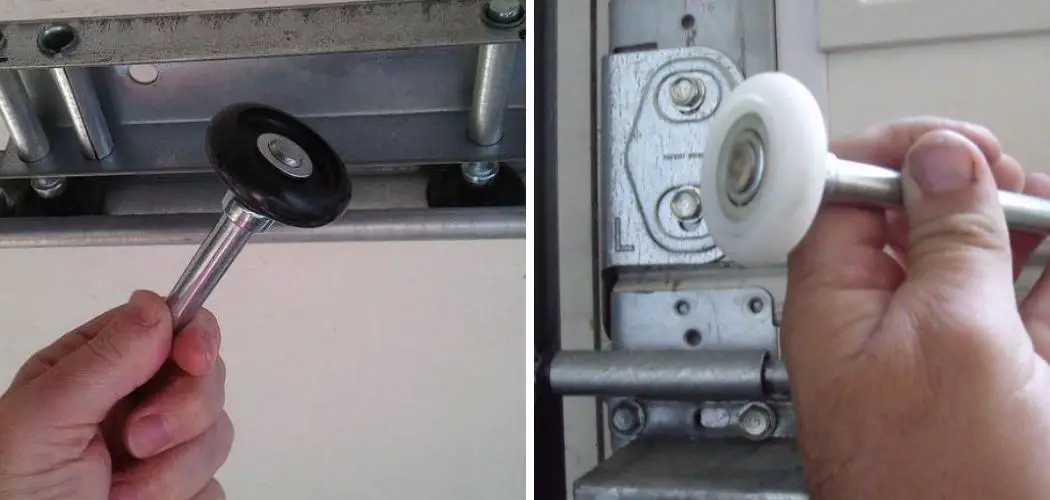
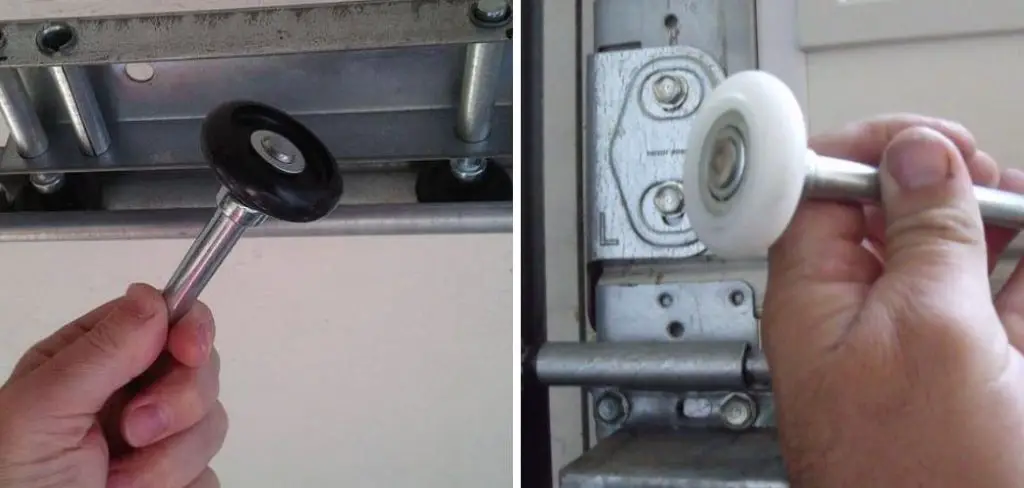
Once the bracket is loose, gently slide the old bottom roller out of its mounting. You may need to angle the roller slightly to free it from the bracket and the door track. Take this opportunity to inspect the roller for visible damage, such as chips, cracks, or excessive wear.
If the roller is stuck due to accumulated debris or rust, use pliers to grip the roller securely and pull it out. Avoid using excessive force that might damage surrounding components. A clean removal makes installation of the new roller simpler.
Step 5: Insert the New Roller
Now that the old roller is removed, it’s time to install the replacement. Align the new roller within the bottom bracket, ensuring it fits snugly. The roller’s stem should sit securely in the bracket, with the rolling edge properly positioned within the door track.
Inspect the fit by manually rolling the door slightly along its track. If you notice any resistance or misalignment, adjust the roller’s position before moving to the next step. A properly installed roller ensures smooth operation once the job is complete.
Step 6: Secure the Bottom Bracket
With the new roller in place, reattach and tighten the bottom bracket. Use your wrench to secure the nuts, ensuring they are tight enough to hold the roller but not overly tightened to the point of damaging the bracket.
Check that the roller remains aligned with the door track as you secure the bracket. Any misalignment at this stage could lead to operational issues, requiring additional adjustments later on. Double-check the fastenings before proceeding.
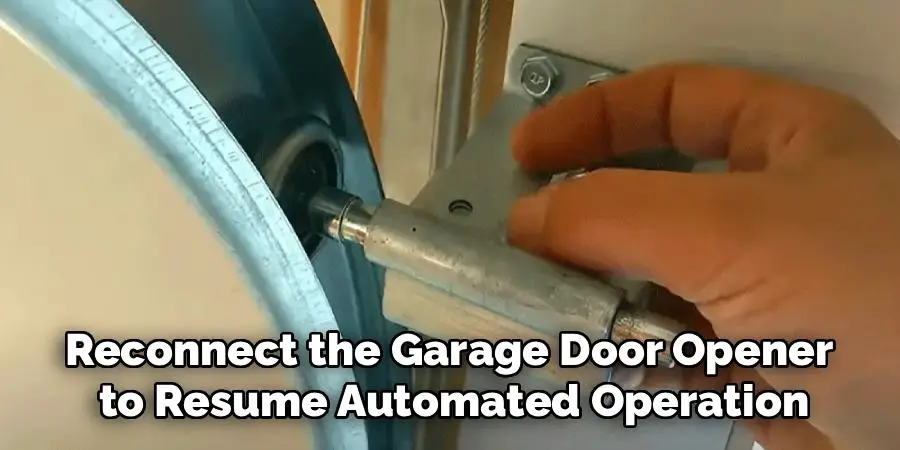
Step 7: Reengage the Garage Door Opener
Reconnect the garage door opener to resume automated operation. Pull the emergency release cord again to reengage the manual system with the automatic opener. Test the connection by activating the door using the control button.
Observe the door as it opens and closes to ensure the new bottom roller glides smoothly along the tracks. Listen for any unusual sounds that could indicate misalignment or other issues. Testing confirms that the replacement was successful and the door is functioning optimally.
Step 8: Perform a Final Inspection
Finally, inspect the entire garage door system, paying particular attention to the newly replaced bottom roller. Ensure all nuts, bolts, and brackets are secure, and that the door opens and closes without hitching or resistance.
Regular inspections prevent small issues from turning into expensive problems. By completing a thorough check, you confirm the success of your DIY repair and extend the lifespan of your garage door.
Safety Tips and Warnings
Disconnect the Power: Before working on your garage door, disconnect the power to the automatic opener to avoid accidental activation.
Use the Right Tools: Ensure you have the appropriate tools for the job to prevent injury or damage to the door components.
Wear Protective Gear: Always wear safety glasses and gloves to protect yourself from potential hazards, such as sharp edges or flying debris.
Work with Caution Around Tension Springs: Garage door springs are under high tension and can cause serious injury if mishandled. Consider consulting a professional if you’re unsure how to handle them safely.
Do Not Over-tighten Bolts: Over-tightening can damage parts of the door mechanism, leading to further issues or accidents.
Seek Help if Needed: If the repair requires lifting heavy components or accessing high places, have a friend assist you to reduce the risk of injury.
Following these safety guidelines ensures that your DIY garage door repair is a safe and successful experience.
Frequently Asked Questions
What tools do I need to replace the bottom roller on a garage door?
To replace the bottom roller, gather the following tools:
- A wrench for loosening bolts.
- Pliers for gripping and removing old rollers.
- A flat-head screwdriver for prying components as needed.
- Work gloves to protect your hands.
- Lubricant to ease rusty components, such as WD-40.
Having these tools on hand simplifies the replacement process and ensures you can complete the job safely and efficiently.
How long does it take to replace a garage door roller?
Replacing a single garage door roller typically takes 20–30 minutes for an experienced DIYer. Beginners may spend up to an hour on the task, especially when factoring in preparation time. Always approach the job patiently and avoid rushing to ensure proper installation.
When should garage door rollers be replaced?
Garage door rollers should be inspected annually and replaced every 5–7 years, depending on their material and how frequently the door is used. Signs of wear—like unusual noise, visible cracks, or difficulty opening the door—indicate it’s time for replacement.
Are all garage door rollers the same size?
No, garage door rollers vary in size depending on the door model and manufacturer. Check your garage door’s specifications or bring the old roller to a hardware store to ensure you select a compatible replacement.
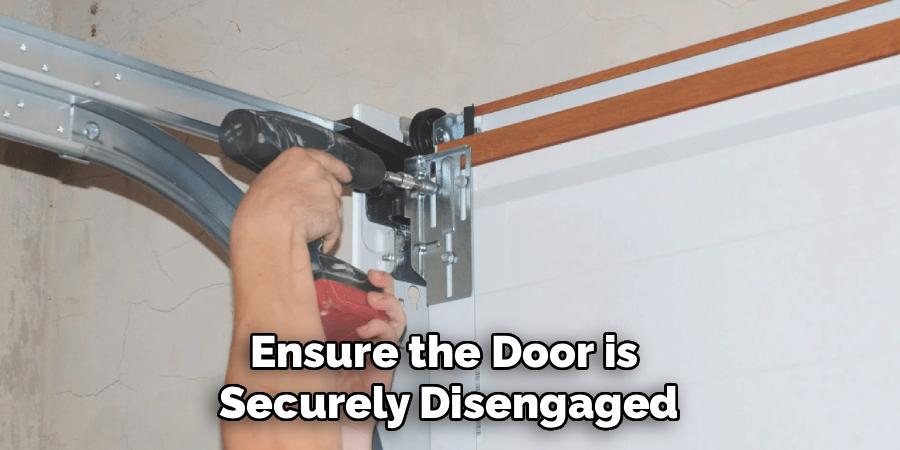
Can I replace the bottom roller without professional help?
Yes, replacing the bottom roller is a manageable DIY task for most homeowners. Follow proper safety precautions, ensure the door is securely disengaged, and work methodically using guidance like this article. For complex doors or those with advanced systems, professional assistance might be advisable.
Conclusion
Replacing the bottom roller on your garage door may initially seem daunting, but with the right steps and tools, it’s an achievable DIY project. By addressing this essential maintenance task, you’ll optimize your garage door’s functionality, improve safety, and avoid costly future repairs.
Before beginning any garage door repair, always prioritize safety by disconnecting the power source and ensuring the area is clear of obstructions. Proper preparation and caution reduce the likelihood of accidents and ensure a smoother repair process.
Learning how to replace bottom roller on garage door empowers you to take control of your home systems, ensuring their longevity and reliability. Equip yourself, follow the steps outlined here, and experience the satisfaction of a smoothly operating garage door for years to come.
I am Rick. I grew up helping my dad with his handyman service. I learned a lot from him about how to fix things, and also about how to work hard and take care of business. These days, I’m still into fixing things- only now, I’m doing it for a living.
I’m always looking for new ways to help people grow and develop. That’s why I have created this blog to share all my experience and knowledge so
that I can help people who are interested in DIY repair.