Are you finding your concrete garage floor in a poor state due to salt damage? Salt, commonly used for de-icing roads and sidewalks during winter, can wreak havoc on concrete surfaces.
Salt damage to concrete garage floors is typical, particularly in regions where road salt is frequently used during winter. Applying salt helps to melt ice and snow, but over time, it can lead to spalling, cracking, and an overall compromise in the integrity of the concrete. How to repair salt damaged concrete garage floor not only restores its appearance but also enhances its durability, preventing further damage and prolonging its lifespan.
In this guide, we will explore practical methods for assessing the level of damage, preparing the surface, and applying the appropriate repair techniques to ensure a resilient finish that withstands the harsh effects of salt and other environmental factors.
What Will You Need?
Before getting started, gathering all the required tools and materials is essential. Here’s a list of items you’ll need to repair a salt-damaged concrete garage floor:
- Safety gear (gloves, safety glasses, dust mask)
- Pressure washer or garden hose with a spray nozzle
- Stiff-bristled brush or broom
- Concrete cleaner/degreaser
- Concrete patching compound/epoxy resin
- Trowel/spatula
- Large squeegee
- Resurfacer/concrete sealer
Once you have all the necessary items, let’s investigate the repair process.
10 Easy Steps on How to Repair Salt Damaged Concrete Garage Floor
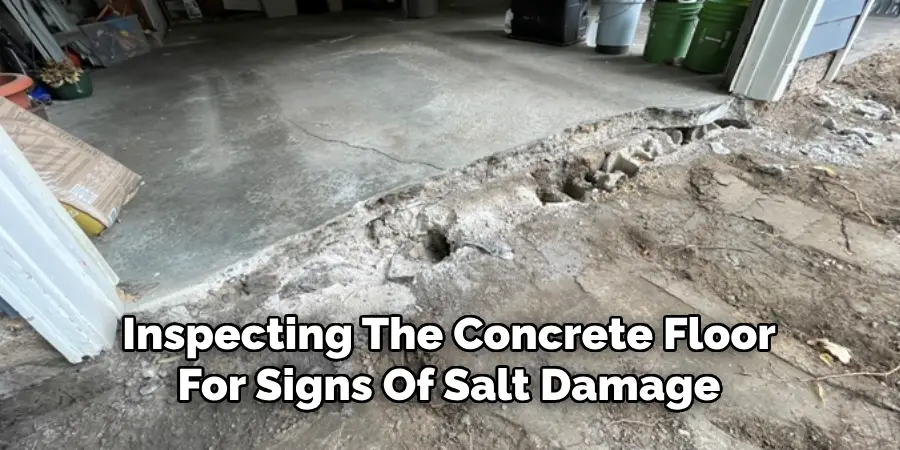
Step 1. Assess the Damage
Begin by thoroughly inspecting the concrete floor for signs of salt damage, including visible cracks, spalling, or flaking. Note the extent of the damage, as this will help you determine the right repair method and materials needed. If the damage is severe, you may need to consult with a professional before proceeding.
Step 2. Clean the Surface
Proper cleaning is a crucial step in the repair process, as it helps to ensure that the patching materials adhere correctly to the concrete. Start using a pressure washer or a garden hose with a spray nozzle to remove loose debris, dirt, and salt residues. Pay particular attention to the areas surrounding visible cracks or spalling, as these spots often accumulate grime that can interfere with the repair.
Once the initial rinse is complete, apply a concrete cleaner or degreaser according to the manufacturer’s instructions. This will help to break down any lingering contaminants. Using a stiff-bristled brush, scrub the surface thoroughly, focusing on damaged areas to lift any remaining salt deposits. After cleaning, rinse the surface to remove the cleaner and dislodged debris.
Allow the concrete to dry completely before proceeding to the next step. This drying period is essential, as any moisture trapped within the concrete can compromise the effectiveness of the repair materials. Ideally, you should wait 24 hours after cleaning before applying any patching compound, ensuring a solid and durable repair.
Step 3. Prepare the Patching Compound
Once the concrete is arid, it’s time to prepare your patching compound or epoxy resin. Follow the manufacturer’s instructions for mixing the compound; this often involves combining a powdered substance with a liquid agent until you achieve a smooth, uniform consistency. Make sure to mix only a small amount at a time to avoid waste, as many compounds have a limited working time before they begin to set.
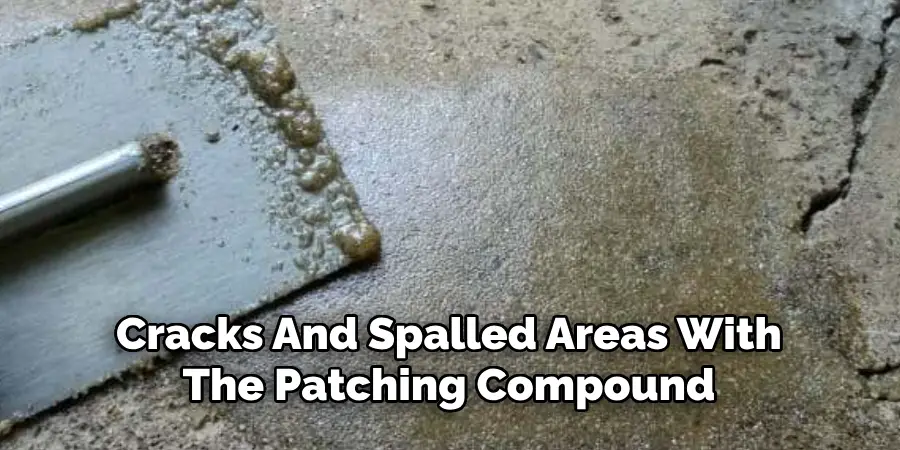
Step 4. Fill in the Cracks and Spalling
Applying the prepared patching compound directly into the cracks and spalling areas using a trowel or spatula. Press firmly to ensure the compound adheres well to the sides of the damaged areas. If the damage is extensive, you may need to layer the compound, allowing each layer to cure slightly before applying additional material. Smooth the surface with the trowel, ensuring it is level with the surrounding concrete.
Step 5. Let the Compound Cure
After filling in the cracks and spalled areas with the patching compound, it is crucial to allow the material to cure properly. Curing time can vary based on the product used, so it’s essential to refer to the manufacturer’s recommendations for specific guidance. You should allow the compound to set undisturbed for at least 24 hours, although longer curing times may enhance durability, particularly in high-traffic areas. During this curing period, keeping the garage floor free from foot traffic, vehicles, and any moisture exposure is best. If possible,
control the environment by keeping the garage well-ventilated and at an ambient temperature conducive to curing, as extreme temperatures can affect the integrity of the repair. Monitoring the compound during this time will help ensure a solid bond and prevent issues such as cracking or peeling as it hardens. Once the curing process is complete, you can proceed to the final steps of the repair.
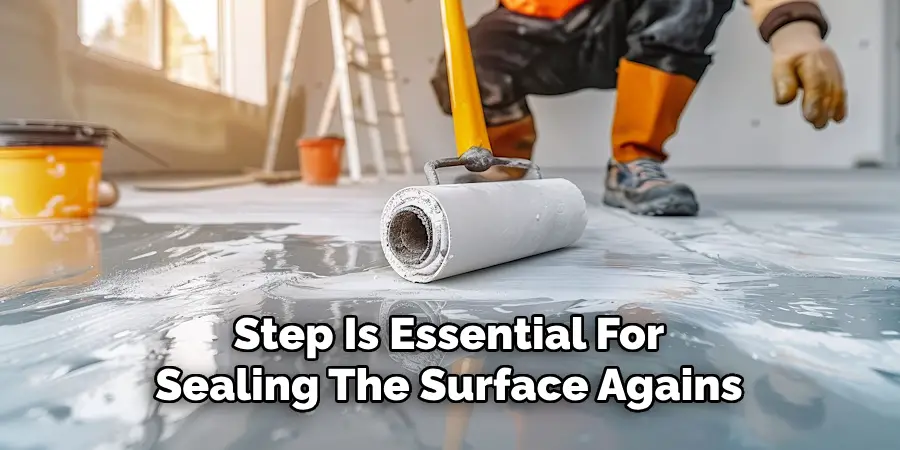
Step 6. Apply Resurfacer or Concrete Sealer
Once the patching compound has fully cured, it’s time to enhance the durability of your garage floor by applying a resurfacer or concrete sealer. This step is essential for sealing the surface against future damage, particularly from moisture and salt. Begin by cleaning the area again to remove any dust or debris that may have settled during the curing process.
If using a resurfacer, follow the manufacturer’s instructions for mixing and application. Pour the resurfacer onto the floor and use a large squeegee to spread it evenly across the surface, filling in any remaining imperfections. Use a roller or sprayer to apply an even coat over the entire floor for a concrete sealer. Ensure that you cover all areas thoroughly for maximum protection. Let the resurfacer or sealer dry according to the product instructions, as this will help create a strong barrier against the elements.
Step 7. Inspect the Finished Repair
Once the resurfacer or concrete sealer has dried, thoroughly inspect your garage floor repair. Look for any uneven areas, rough spots, or flaws that may have resulted from the application process. If you identify any imperfections, you can address them by lightly sanding the affected areas and applying an additional sealer or resurfacing as needed. This final inspection is crucial to ensure that your repairs are visually appealing and structurally sound, providing lasting protection against moisture, salt, and wear.
Step 8. Maintain the Garage Floor
Maintaining your repaired garage floor is vital for its longevity and appearance. Regular cleaning is essential; sweep or vacuum the floor frequently to prevent the buildup of dirt and debris that can damage the surface over time. For deeper cleaning, use a mild detergent mixed with water, and avoid harsh chemicals that could compromise the integrity of your sealer. Additionally, look for any signs of new damage or wear, such as cracks or flaking, and address these issues promptly to prevent them from worsening. Applying a fresh coat of concrete sealer every few years can also help protect against moisture and salt, ensuring your garage floor remains in top condition for years.
Step 9. Protect Against Future Damage
Consider applying anti-slip coatings or mats in high-traffic areas to safeguard your garage floor from potential damage further. These additions can enhance safety and help prevent wear from daily use. Additionally, placing mats or trays under vehicles can catch drips from oil or antifreeze, protecting the concrete from stains and degradation. Be mindful of seasonal changes, especially in winter, when salt and moisture can take a toll on your floor. Regularly check for any cracks or wear and perform maintenance as needed.
Step 10. Plan for Regular Inspections
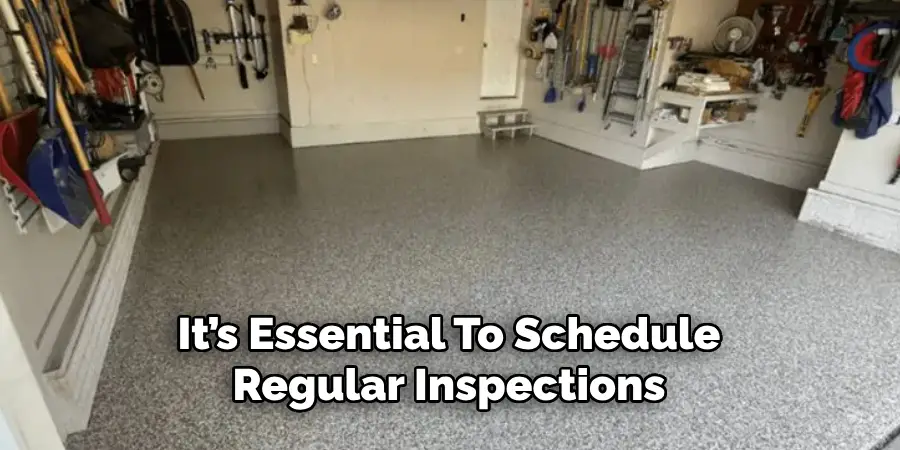
To ensure the longevity of your garage floor, it’s essential to schedule regular inspections. At least twice a year, take the time to examine the floor for any signs of wear, such as cracks, chips, or discoloration. During these inspections, pay close attention to areas that experience heavy foot or vehicle traffic, as they are more susceptible to damage. Look for any signs of moisture seepage or stains that may indicate underlying issues. If any problems are identified, address them promptly to prevent further deterioration. Keeping a maintenance log can also help you track when repairs were made and what treatments were applied, assisting you in maintaining an effective upkeep schedule.
Following these steps, you can effectively repair and maintain your garage floor to ensure its longevity and functionality.
What are the Causes of Garage Floor Damage?
There are several common causes of garage floor damage, including wear and tear from daily use, exposure to moisture and salt, and seasonal changes. Heavy vehicles or equipment can also cause cracks or dents in the concrete surface. Additionally, proper installation or sufficient curing time during initial construction can lead to structural issues over time. Regular inspections and maintenance can identify potential problems early on and prevent them from worsening. It is essential to address these issues promptly to avoid more extensive repairs in the future.
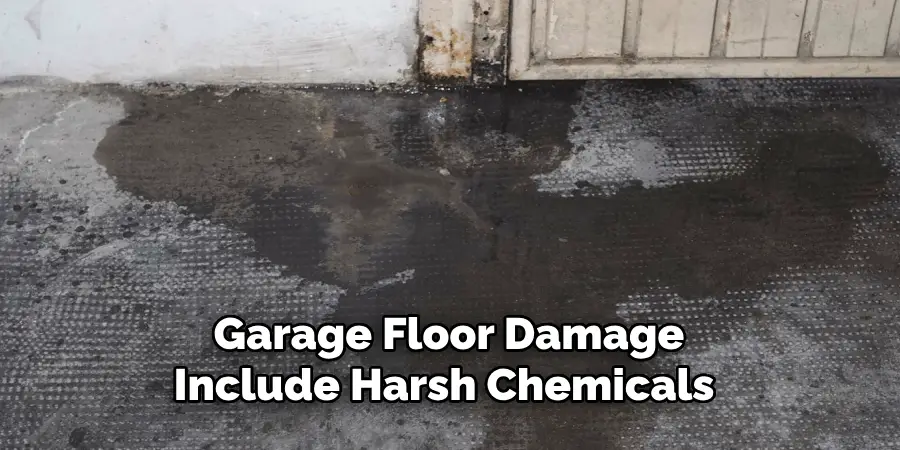
Other factors contributing to garage floor damage include harsh chemicals such as oil or antifreeze, extreme temperatures, and lack of proper sealing or protection against moisture. It’s essential to watch for these potential hazards and take steps to address them before they cause significant damage.
Overall, understanding the causes of garage floor damage can help you prevent it from occurring and maintain your repair efforts for long-lasting results.
Conclusion
How to repair salt damaged concrete garage floor is a systematic process that requires careful attention to detail and proper materials.
By following the outlined steps, from cleaning and preparing the surface to applying patching compounds and sealers, you can restore the integrity of your garage floor and protect it from future damage. Regular maintenance practices, such as inspections and cleaning, enhance its longevity. By promptly addressing any new signs of wear or damage, you can ensure that your garage floor remains durable and aesthetically pleasing for years to come.
With the right approach and commitment to upkeep, your garage floor can withstand the challenges posed by salt and moisture, providing a safe and functional space.
You can also check it out Acid Stain Concrete Garage Floor
I am Rick. I grew up helping my dad with his handyman service. I learned a lot from him about how to fix things, and also about how to work hard and take care of business. These days, I’m still into fixing things- only now, I’m doing it for a living.
I’m always looking for new ways to help people grow and develop. That’s why I have created this blog to share all my experience and knowledge so
that I can help people who are interested in DIY repair.