Your garage door opener is an essential part of daily life, offering both convenience and security. Among leading brands, LiftMaster stands out for its reliability and advanced features. However, like any mechanical or electronic system, LiftMaster garage door openers can experience issues over time, from minor inconveniences to complete system failures. Fortunately, many common problems can be resolved with a do-it-yourself approach, saving you time and the expense of professional service calls.

In this comprehensive guide, you’ll learn how to repair LiftMaster garage door opener models, covering everything from diagnosing issues to carrying out basic repairs and ongoing maintenance. Whether you’ve noticed unusual noises, unresponsive remotes, or erratic door movement, this article will equip you with clear steps to get your LiftMaster system running smoothly again.
Understanding Your LiftMaster Garage Door Opener
Overview of LiftMaster Models
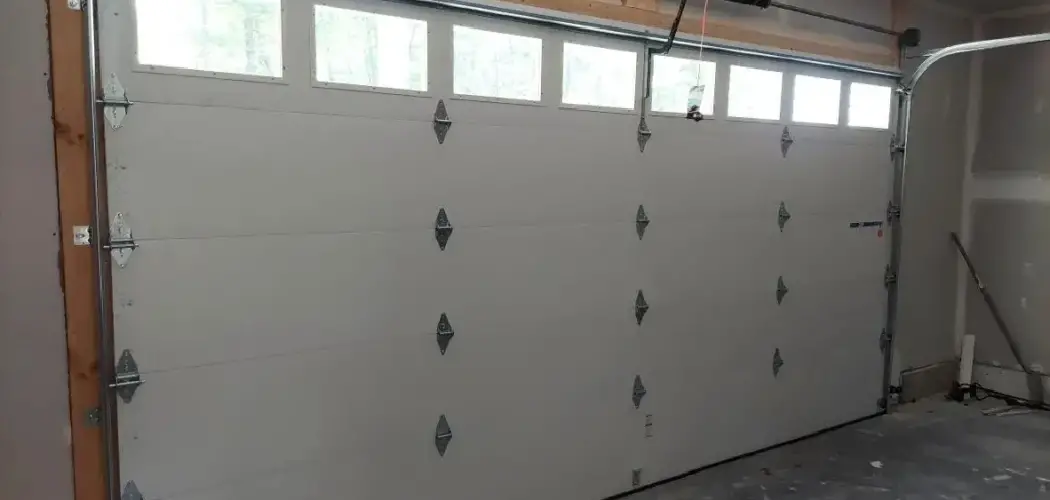
LiftMaster offers a range of garage door opener models designed for different needs and budgets. These include chain-drive, belt-drive, and screw-drive options, each with its own advantages. Chain-drive models are valued for strength and durability, making them ideal for heavier doors. Belt-drive openers are quieter and well-suited for garages attached to living spaces. Screw-drive systems balance power and maintenance, and newer smart models integrate seamlessly with home automation platforms.
All LiftMaster openers share several core components, such as a motor assembly, drive mechanism (chain, belt, or screw), safety sensors, wall control panels, remote transmitters, and an emergency release cord. Understanding how these parts interact is helpful for troubleshooting and repair.
How LiftMaster Technology Works
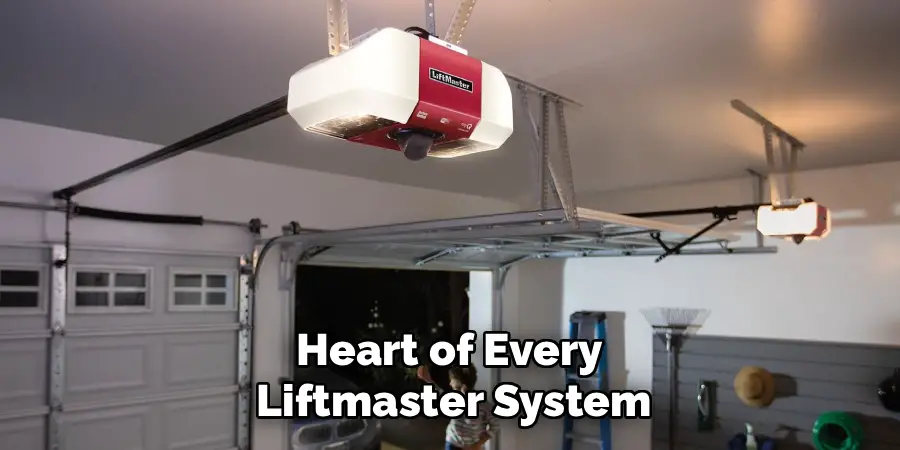
At the heart of every LiftMaster system is an electric motor that drives the motion of your garage door along a track. Sensors play a crucial role in ensuring safe operation, detecting obstructions, and halting the door if something is in the way.
Wall panels or remote controls use radio signals or wireless technology to command the unit. Many modern LiftMaster models incorporate rolling code technology for enhanced security, as well as Wi-Fi capabilities for remote operation and monitoring via smartphone apps. Learning how these features work together will make diagnosing and fixing problems much easier.
Common Problems with LiftMaster Garage Door Openers
Identifying Frequent Issues
Despite their reliability, LiftMaster garage door openers can experience various issues. Common problems include misaligned or blocked safety sensors, stuck or noisy doors, unresponsive wall controls or remotes, and sluggish or non-operational motors. Likewise, intermittent connectivity can affect models with smart features, causing delays or failed commands from mobile apps. Sometimes, simple things like dead batteries or tripped circuit breakers are to blame.
Signs Your Garage Door Opener Needs Repair
Symptoms of a malfunctioning garage door opener can range from obvious to subtle. Loud grinding, banging noises, or suddenly jerky movement often signal mechanical wear or misalignment. If the door fails to open or close completely, gets stuck halfway, or reverses direction unexpectedly, there may be an issue with the sensors or limit settings. A completely unresponsive system, where neither controls nor remotes work, could indicate electronic glitches or power loss. Spotting these warning signs early can prevent more serious damage and keep your system in top condition.
Tools and Materials You’ll Need
Essential Tools
To perform most LiftMaster repairs, you’ll need a basic set of household tools. These typically include a flathead and Phillips screwdriver, an adjustable wrench, and a socket set. A multimeter is useful for diagnosing electrical issues, while a can of garage door lubricant helps silence squeaky hinges and ensure smooth operation.
Optional Items for Advanced Repairs
For more complex repairs, additional items might come in handy. These could include replacement parts like sensors, belts, chains, or capacitors. Having your LiftMaster opener’s user manual—or access to an online version—provides relevant diagrams and troubleshooting tips. A step ladder ensures safe access to ceiling-mounted units, and a flashlight or work light will improve visibility in darker spaces.
How to Repair LiftMaster Garage Door Opener: Step-by-Step Guide
Step 1 – Diagnosing the Problem
To begin repairs, first identify the likely cause of the malfunction. Observe your opener as you use it and listen for odd sounds. Note whether the door fails to move, stops midway, or behaves unpredictably. Inspect the sensors near the base of the door for dirt, misalignment, or blockage—these issues are a frequent source of trouble. Check the remote and wall control: Is the wall button working but not the remote, or vice versa? Replacing remote batteries or resetting the controls may resolve simple issues.
Step 2 – Fixing Sensor Misalignment
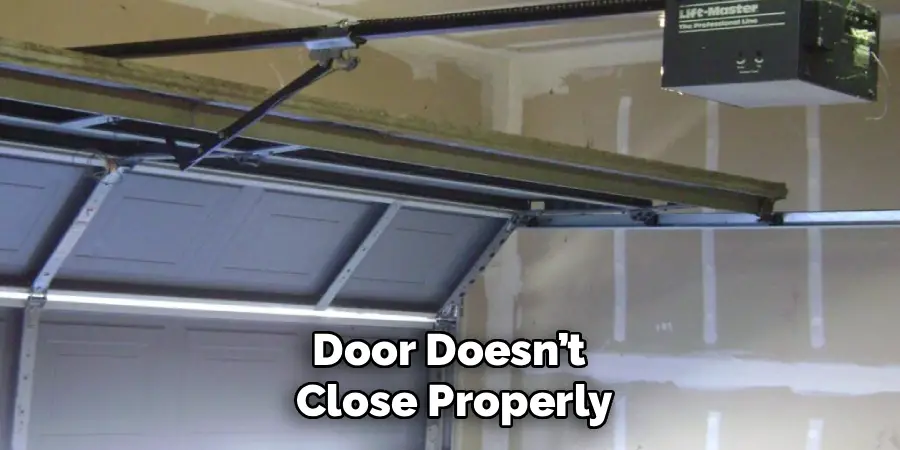
If the door doesn’t close properly or reverses unexpectedly, faulty safety sensors could be the issue. Clean the lenses gently and make sure they’re facing each other. Both sensor indicator lights should be lit solidly. If not, adjust the brackets until alignment is restored. Secure the sensors, then test the door: it should operate smoothly and reverse if an object crosses the sensor’s path.
Step 3 – Replacing Worn or Damaged Parts
Noisy operation, jerky movement, or the door not opening completely can indicate a worn or damaged belt, chain, or gear. First, disconnect power to the opener for safety. If you notice slack or visible wear, consult your user manual for instructions specific to your model, then remove the damaged part. Install the replacement, ensuring tension matches the specifications. This repair not only restores quiet performance but also prevents more costly failures down the road.
Step 4 – Resetting the Opener System
Occasionally, software glitches or power interruptions can scramble your opener’s memory. To reset the system, locate the “Learn” button on the motor unit—often under the light cover. Press and hold until the indicator light turns off, erasing programmed remotes. Then, follow the manufacturer’s instructions to reprogram remotes, wall controls, and app-based features. This can resolve erratic behavior or unresponsive controls.
Step 5 – Testing and Fine-Tuning
Once repairs are complete, test the opener several times. Listen for unusual noises, check for smooth movement, and confirm that safety features work as expected. If necessary, use manual release to test balance and adjust limit settings, ensuring the door opens and closes fully. A well-functioning opener should operate quietly, stop for obstacles, and respond quickly to commands from all controls.

Troubleshooting Persistent Issues
Motor-Related Problems
If the garage door opener operates weakly, makes a humming sound but doesn’t move, or fails to activate at all, the motor could be at fault. First, confirm that there’s power to the outlet. If reset attempts fail, inspect the motor for burning smells or excessive heat, which could indicate internal failure. Motor replacement requires careful handling—if you’re unsure, contacting a professional is advisable. At times, checking and replacing the start capacitor (if equipped) can resolve starting issues.
Remote Control or Keypad Issues
Issues with remotes or wireless keypads often stem from depleted batteries, range interference, or, for Wi-Fi-enabled units, network connectivity. Replace the batteries and ensure you’re within range of the opener. If reprogramming is needed, use the “Learn” button and follow pairing instructions from your user manual. Signal disruptions from nearby electronics can occasionally impede remotes; moving these devices or changing your frequency may help. For digital keypads, a factory reset and new code setup can restore proper function.
Preventative Maintenance for LiftMaster Openers
Routine Checks and Lubrication
Regular maintenance not only prevents breakdowns but also keeps your opener running reliably for years. Inspect all moving parts, including rollers, tracks, hinges, and the drive mechanism. Apply a silicone-based lubricant to hinges and rollers for smooth, quiet operation. Wipe down the sensor lenses and clean away dust from the opener’s housing. Periodically check for worn or frayed cables and replace them promptly to prevent failures.
Updating Firmware
Many newer LiftMaster models offer firmware updates via Wi-Fi or USB. Keeping your system’s software up-to-date ensures compatibility with new devices and fixes known bugs. Check your owner’s manual or the LiftMaster website for instructions on updating your model. This simple step can resolve mysterious glitches and unlock new features for your garage door opener.
When to Call a Professional
Some garage door opener issues are beyond the scope of DIY repair, especially those involving electrical faults, burnt motors, or severe structural problems. If your attempts at repair don’t solve the problem, or if you’re dealing with broken torsion springs, damaged tracks, or signs of electrical arcing, professional help is the safest route. Certified LiftMaster technicians have specialized tools, parts, and expertise to handle complex repairs. They can also carry out full diagnostics to spot and address developing issues before more serious breakdowns occur.
Frequently Asked Questions
How Much Does It Cost to Repair a LiftMaster Opener?
The cost of repairing a LiftMaster opener varies depending on the issue. DIY repairs, such as sensor adjustments or minor part replacements, can be completed for less than $50 if parts are required. More substantial issues, including motor replacement or gear repair, may run $100–$300 for parts and tools. Hiring a professional typically starts at $100 for service calls, with complex repairs costing up to $500 or more, especially if multiple components need replacement.
Can I Repair My Garage Door Opener Without Voiding the Warranty?
Many LiftMaster openers come with warranties, but some self-performed repairs can void coverage. It’s wise to review your warranty terms before tackling the job, especially for new units. In most cases, simple maintenance and sensor alignment do not affect the warranty, but opening the motor housing or replacing certain parts might. If unsure, contact LiftMaster support or your dealer.
How Long Do LiftMaster Garage Door Openers Last?
With regular maintenance, LiftMaster garage door openers can last 10–15 years, sometimes longer. Factors like usage frequency, climate, and quality of installation influence lifespan. Signs that replacement may be wiser than repair include persistent mechanical noise, repeated breakdowns, outdated features, or a unit reaching the end of its expected service life.
Benefits of Repairing a LiftMaster Garage Door Opener Yourself
Taking the time to learn how to repair LiftMaster garage door opener models offers multiple advantages. Repairing your own equipment saves the costs of repeated service calls and often requires only basic skills and tools. Each successful DIY repair builds your confidence and provides insight into your home’s essential systems. Moreover, by maintaining and repairing your opener promptly, you can extend its life and ensure consistent, safe operation for your household. Even if you choose to hire a pro for bigger jobs, the experience you gain equips you to spot issues early and communicate effectively with technicians.
Final Thoughts
Repairing your LiftMaster garage door opener is a rewarding and manageable process when approached methodically. By understanding the basics of your system, identifying the most common sources of trouble, and following clear repair steps, you can handle most issues without specialized skills. Regular maintenance and timely attention to problems will keep your opener quiet, reliable, and safe.
Remember that some repairs are best left to professionals, particularly those involving complex electrical or structural work. However, with this guide at your side, you should feel confident addressing everyday concerns and extending the lifespan of your equipment. Don’t hesitate to revisit these steps anytime you experience trouble or wish to be proactive—every homeowner can benefit from knowing how to repair LiftMaster garage door opener systems.
I am Rick. I grew up helping my dad with his handyman service. I learned a lot from him about how to fix things, and also about how to work hard and take care of business. These days, I’m still into fixing things- only now, I’m doing it for a living.
I’m always looking for new ways to help people grow and develop. That’s why I have created this blog to share all my experience and knowledge so
that I can help people who are interested in DIY repair.