Are you looking for a reliable and cost-effective way to repair cracks that have appeared on your concrete carport? Whether the damage has happened due to wear and tear or an unfortunate accident, fixing the cracks can be daunting if you’re not sure what steps to take.
Fortunately, repairing cracks in concrete is within reach without having to seek out professional services – saving both time and money!
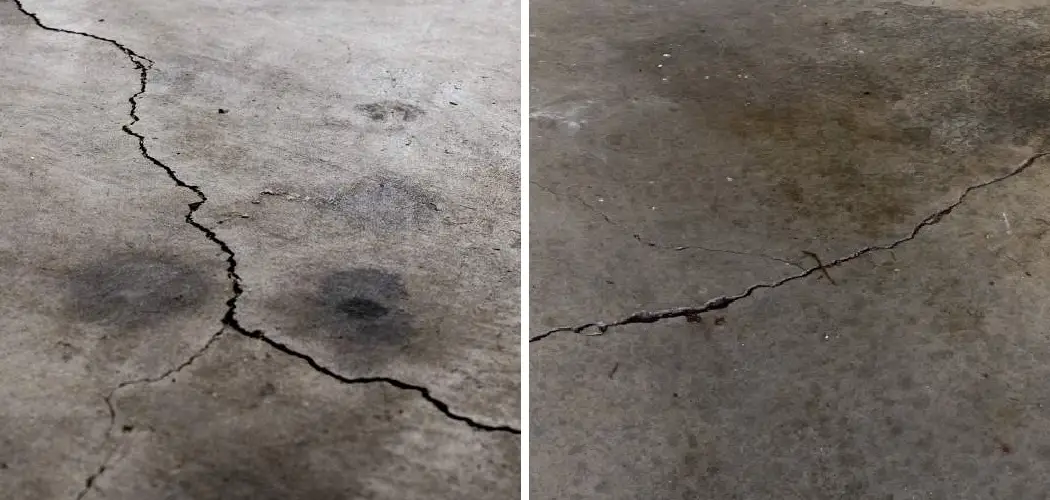
In this blog post on how to repair cracks in concrete carport, we’ll walk through side by side how to verify the extent of damage and review all of the necessary supplies for an effective crack repair job.
What is the State of Your Concrete Carport?
Before we jump into the steps on how to repair cracks in concrete carport, you should begin by checking the state of your carport’s current condition. This will help determine not only the type and extent of damage but also what materials are needed for a successful repair.
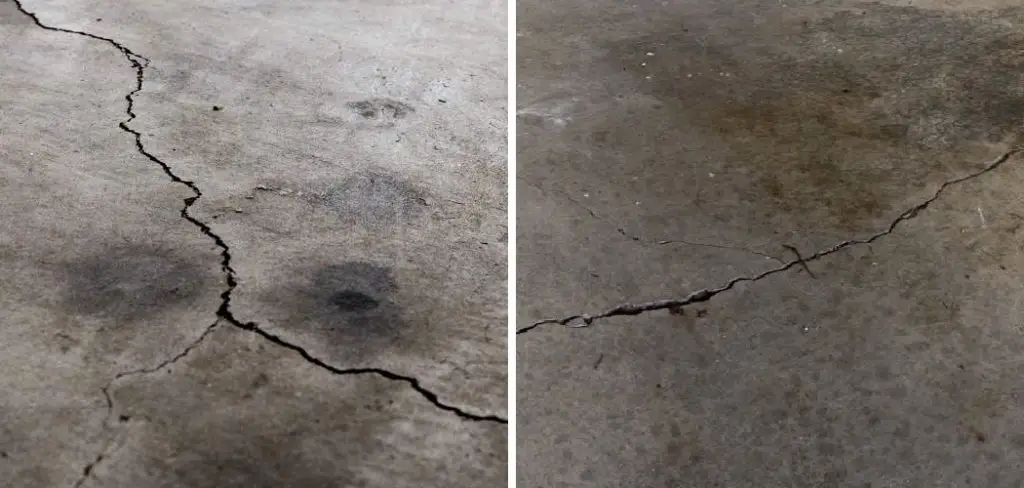
Inspecting your concrete carport thoroughly can prevent further damage from occurring, especially if the cracks are caused by a structural issue. Begin by looking for any sagging or uneven areas that could indicate potential damage to the foundation.
Additionally, check for water pooling or drainage issues that might have contributed to the crack formation. Once you have assessed the condition of your carport and determined what type of repairs are needed, you can proceed with confidence.
Gather the Necessary Supplies
To effectively repair cracks in your concrete carport, you’ll need a few essential supplies. These include:
- Concrete Patching Compound or Cement Mix
- Trowel and Putty Knife
- Wire Brush or Sandpaper
- Protective Gear (Gloves, Safety Glasses)
- Water and a Bucket
- Caulking Gun and Sealant (if Necessary)
Before you begin the repair process, make sure to gather all of these supplies so that you have everything on hand. This will save time and prevent interruptions during the repair job.
Safety Measure
Safety should always be your priority when working on any home repair project, including fixing cracks in your concrete carport. Always wear your protective gear before starting the job.

This includes gloves to protect your hands from harsh concrete and sealants, and safety glasses to keep your eyes safe from any dust or debris that could get airborne during the repair process. If you are using any power tools, make sure to use them cautiously, adhering to their safety guidelines.
Also, when mixing concrete or sealant, be sure to do so in a well-ventilated area to avoid inhaling any harmful fumes.
Lastly, if the damage to your carport is extensive or you’re unsure about a step in the process, don’t hesitate to contact a professional to avoid potential injuries or further damages. Remember, your safety is more important than any repair.
11 Step-by-step Guidelines on How to Repair Cracks in Concrete Carport
Step 1: Clean the Cracked Area
Use a wire brush or sandpaper to remove any debris or loose concrete from the crack. Be sure to wear protective gear, such as gloves and safety glasses, during this step. You want to ensure that the area is clean and free of any loose particles for a successful repair.
It’s also essential to remove any dirt or oils that may have accumulated in the crack. You can use a brush or cloth to wipe the area down with water and soap.
Step 2: Prepare the Concrete Patching Compound
Follow the instructions on your chosen patching compound or cement mix and prepare it accordingly. Most products require mixing with water; make sure to follow the manufacturer’s recommended ratio for the best results.
But, keep in mind that the mixture should be thick enough to stick to the trowel without dripping. You can also mix the compound in a small bucket or container for easier application.
Step 3: Wet the Cracked Area
Moisten the cracked area with water using a brush or spray bottle. This will help the patching compound adhere better and prevent it from drying too quickly. It’s essential to keep the crack damp throughout the repair process. You can use a spray bottle to mist the area as needed. If the crack is too large, you may need to apply a bonding agent before wetting it.

Step 4: Apply the Patching Compound
Using a trowel, fill the crack with the prepared patching compound. Make sure to push it into the crevices and smooth out any excess on top. You want to ensure that there are no air pockets or gaps left in the crack. But, don’t worry about making the surface perfectly smooth; you can sand it down after it has dried.
Step 5: Let the Compound Dry
Allow the patching compound to dry for at least 24 hours or as recommended by the manufacturer. Keep in mind that colder temperatures and high humidity may affect drying time. It’s essential to avoid any foot traffic in the repaired area during this time. If the crack is deep, you may need to apply a second layer of compound and let it dry for an additional 24 hours.
Step 6: Sand Down the Surface
Once the patching compound has completely dried, use sandpaper to smooth out any uneven areas or excess compound on top. You can also use a wire brush to achieve a more textured surface if desired. Make sure to remove any debris after sanding. Otherwise, it may affect the adhesion of the sealant. But, if you want a smoother finish, you can skip this step.
Step 7: Prepare the Sealant (if necessary)
If your carport is exposed to water or excessive moisture, you may want to apply a sealant on top of the repaired area. Choose a product suitable for outdoor use and follow the manufacturer’s instructions for preparation and application. It’s best to apply the sealant in thin layers and let each layer dry completely before adding another one.
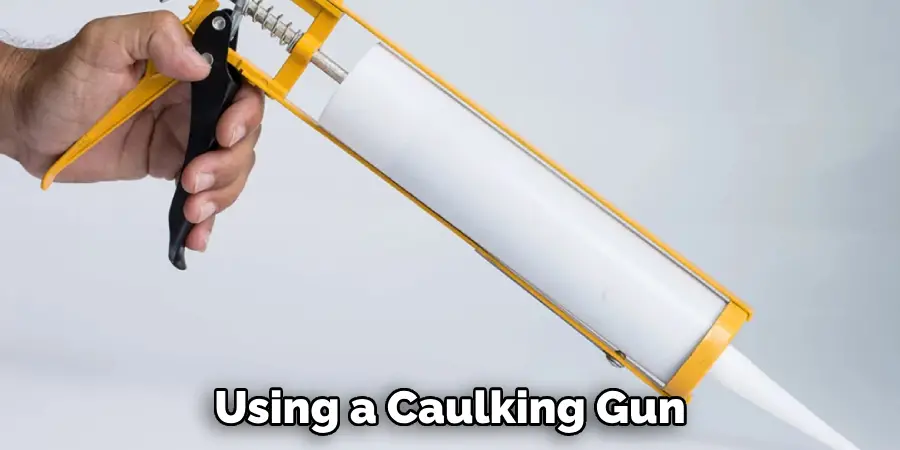
Step 8: Apply the Sealant
Using a caulking gun, apply a thin layer of sealant on top of the repaired crack. Make sure to fill any gaps or cracks in the surface thoroughly. You can use a putty knife to smooth out the sealant and remove any excess. It’s essential to follow the manufacturer’s recommended drying time before applying another layer. But, usually, two to three layers are enough for proper protection.
Step 9: Let the Sealant Dry
Allow the sealant to dry completely before adding another layer. It’s essential to follow the manufacturer’s recommendations for drying time, which can vary depending on the product and environmental conditions. Avoid walking or driving over the sealed area until it is fully dried. You can use a hairdryer or fan to speed up the drying process if necessary.
Step 10: Sand Down the Surface (Optional)
Once the sealant has completely dried, you may want to sand down the surface lightly. This will help achieve a smoother finish and blend in with the rest of the concrete carport.
But, be careful not to damage the sealant or the repaired area while sanding. It’s best to use sandpaper with fine grit or a wire brush for this step. But, only sand if necessary; otherwise, skip this step. It’s also essential to remove any debris after sanding.
Step 11: Clean Up
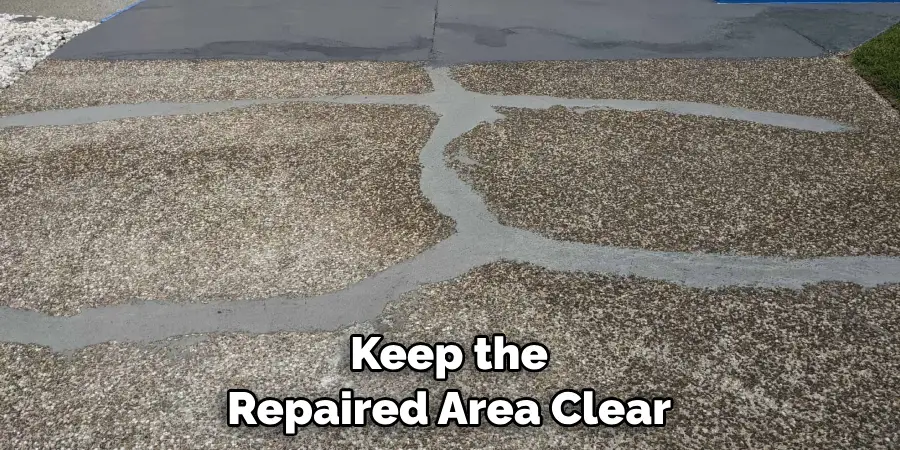
Lastly, clean up the work area by removing any debris, tools, and protective gear used. Properly dispose of any leftover materials according to your local regulations.
It’s essential to keep the repaired area clear of any objects for at least 48 hours to allow the patching compound and sealant to cure completely. After this, you can use your carport as usual, knowing that it is now free of cracks!
Following these steps will help you effectively repair cracks in your concrete carport and prevent further damage. But, it’s essential to keep a regular maintenance routine to ensure the longevity of your carport. Regular cleaning and sealing, if necessary, can help protect against cracking and other issues caused by weather or wear.
With proper care, your concrete carport can continue to serve its purpose for many years to come. So, make sure to follow these guidelines and enjoy a strong and crack-free carport! Restoring the structural integrity of your concrete carport is an essential step in maintaining its value and functionality.
Do You Need to Use Professionals?
While minor cracks can be repaired by following these steps, larger or more severe damage may require the expertise of professionals. It’s crucial to assess the extent of the cracks and consult with a structural engineer if necessary.
Professionals will have access to specialized equipment and techniques that can ensure a thorough repair and prevent future issues. Additionally, they can advise on any underlying causes of the cracking and provide solutions to prevent it from recurring.
Additional Tips
- Regularly Inspect Your Carport for Any Signs of Cracking or Damage and Address Them Promptly.
- Keep a Record of the Repairs Done on Your Carport, Including Dates and Methods Used.
- Consider Using Concrete Sealers as a Preventive Measure to Protect Against Future Cracks.
- Seek Professional Help if You’re Unsure About the Repair Process or Suspect Underlying Issue.
- Avoid Using De-icing Salts on Your Carport During the Colder Months, as They Can Cause Damage to the Concrete Surface.
- Use Caution When Driving or Parking Heavy Vehicles on Your Carport to Prevent Excessive Weight and Stress on the Surface.
Remember, proper maintenance is key to preventing cracks in your concrete carport. By following these steps and tips, you can ensure its longevity and functionality for many years to come.

Don’t let cracks compromise the safety and value of your carport; take action as soon as you notice them! So, use these guidelines, stay proactive, and enjoy a sturdy and crack-free concrete carport. Stay safe and happy repairing! Happy repairing!
Frequently Asked Questions
Q1. What Causes Cracks in Concrete Carports?
A1. Cracks can occur due to various reasons, such as weather changes, heavy traffic or vehicles, and underlying structural issues. It’s essential to inspect and address any cracks promptly to prevent further damage.
Q2. Can I Repair Cracks in My Concrete Carport Myself?
A2. Minor cracks can be repaired by following the steps mentioned in this guide. However, if the damage is significant or recurring, it’s best to seek professional help and consult with a structural engineer for proper assessment and repair.
Q3. How Often Should I Inspect My Concrete Carport for Cracks?
A3. It’s recommended to inspect your carport at least once every year for any signs of cracks or damage. However, if you live in an area with extreme weather conditions, it’s best to do it more frequently.
Q4. Can I Still Use My Carport While the Repairs Are Being Done?
A4. It’s recommended to keep the repaired area clear of any objects or traffic for at least 48 hours to allow the patching compound and sealant to cure completely. After this, you can use your carport as usual.
Conclusion
From understanding the type of crack you need to repair to selecting the right product to understand how it should be applied, repairing cracks in concrete carports can be a tricky business.
While things may not always go according to plan, having the necessary tools and materials at hand, familiarity with the repair process and application techniques makes quick work of these common challenges. If you find yourself in need of assistance along the way, there are multiple resources available from local retailers or online materials that you can turn to for answers.
Don’t let damaged concrete discourage you – instead, take action and resolve any concerns with precision and confidence. With some time and effort, you will soon have a concrete carport that stands proudly against all external threats or conditions it may face! Thanks for reading this article on how to repair cracks in concrete carport.
I am Rick. I grew up helping my dad with his handyman service. I learned a lot from him about how to fix things, and also about how to work hard and take care of business. These days, I’m still into fixing things- only now, I’m doing it for a living.
I’m always looking for new ways to help people grow and develop. That’s why I have created this blog to share all my experience and knowledge so
that I can help people who are interested in DIY repair.