A damaged or deteriorating garage door panel can affect the functionality and appearance of your garage door. Fortunately, replacing a single panel is often more cost-effective than installing an entirely new door. This guide will walk you through the process of how to remove a garage door panel, ensuring you can tackle this task with confidence and the right tools.
Is It Safe to Remove a Garage Door Panel Yourself?
Removing a garage door panel yourself can be safe if you take the right precautions and have a clear understanding of the process. However, working with garage doors can be potentially dangerous due to the heavy weight of the door and the tension in the springs.
Before starting, ensure you have the proper tools, protective equipment, and knowledge of your garage door’s operational mechanics. If the door is damaged or the springs are under tension, consider consulting a professional to avoid injury or further damage. For those with experience in DIY repairs, following the correct procedures and safety guidelines is essential to completing the job securely. Always prioritize safety and recognize your limits when deciding whether to remove a panel yourself.
Tools and Materials You’ll Need
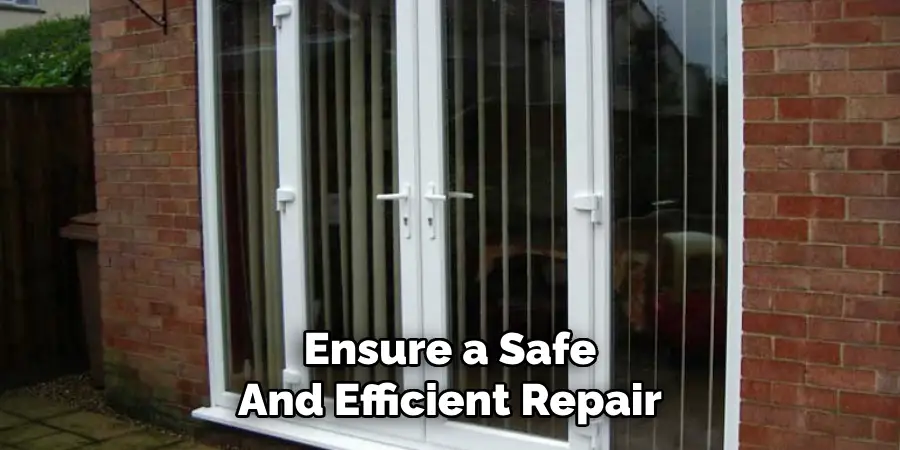
Before beginning the process of removing a garage door panel, gather the necessary tools and materials to ensure a safe and efficient repair. Here’s what you’ll need:
- Screwdriver set (both flathead and Phillips)
- Power drill with assorted bits
- Adjustable wrench
- Socket set
- Hammer
- Pry bar
- Measuring tape
- C-clamps or locking pliers (to secure the door in place)
- Work gloves to protect your hands
- Safety goggles to shield your eyes from debris
- Replacement panel (ensure it matches the size and design of your current door)
- Lubricant for moving parts
- Step ladder for easy access to elevated sections of the door
Having these tools and materials ready before starting will help streamline the repair process and reduce the risk of interruptions.
10 Methods How to Remove a Garage Door Panel
1. Assess the Type of Garage Door and Panel Configuration
Before attempting to remove a garage door panel, it is crucial to understand the type of door you have and how its panels are configured. Garage doors typically come in sectional, one-piece, or roll-up designs, with sectional doors being the most common.
Each panel in a sectional door is connected via hinges and tracks, while one-piece doors usually have a single solid panel that pivots on a spring-loaded hinge. Take a few moments to inspect your door’s structure and identify how the panels are connected. Understanding the door’s configuration helps you plan the removal process more efficiently and ensures that you take the necessary safety precautions to avoid damaging other components.
2. Gather the Necessary Tools and Safety Gear
Having the right tools and protective gear makes the removal process safer and more manageable. You will need basic hand tools such as a socket wrench set, a screwdriver, pliers, and possibly a power drill. Additionally, safety equipment like work gloves, safety goggles, and sturdy footwear is essential to protect against accidents.
Since garage door panels are often heavy, having a second person to assist is highly recommended. Also, prepare a sturdy ladder if the panel to be removed is at a height. Gathering these items beforehand streamlines the process and minimizes interruptions.
3. Disconnect the Garage Door Opener for Safety
To ensure a safe working environment, the garage door opener must be disconnected before panel removal. Start by unplugging the opener from the power source and then manually disengage the door from the opener using the red emergency release cord.
This step is crucial because it prevents the door from moving unexpectedly while you are working on it. If the door is spring-loaded, take extra care as tension in the springs can cause sudden movements. Lock the door in the open or closed position using a C-clamp on the track to hold it steady. Properly securing the door reduces the risk of injury and damage during panel removal.
4. Support the Garage Door to Prevent Sagging
Once the opener is disengaged, it is essential to support the garage door to avoid sagging when a panel is removed. Use a pair of C-clamps to secure the tracks just below the panel you intend to remove.
This prevents the upper sections of the door from shifting downward, which could cause misalignment or damage to the remaining panels. For added stability, place a sawhorse or similar support underneath the door. Ensuring that the door is well-supported not only protects the structure but also reduces the risk of injury during the removal process.
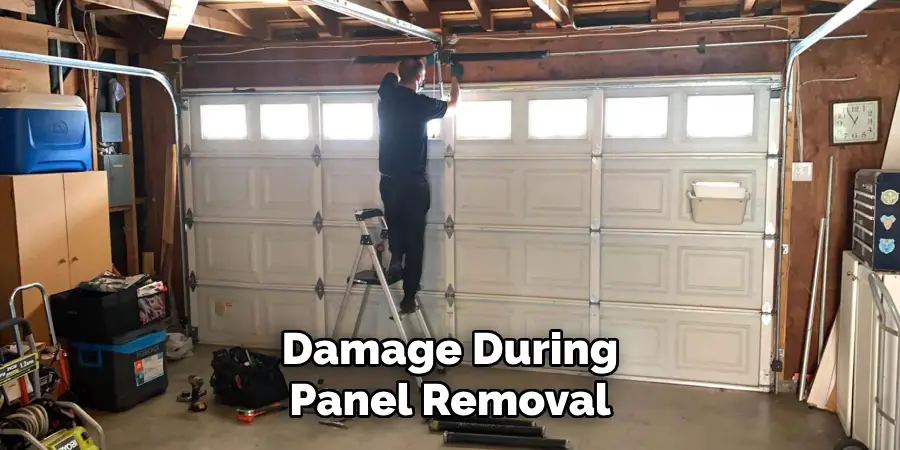
5. Remove the Hinges and Track Hardware
With the door properly secured, begin removing the hinges that connect the target panel to the adjacent ones. Use a socket wrench to loosen and remove the bolts or screws holding the hinges in place. Take note of the hinge locations and hardware as you go, organizing them in labeled containers to simplify reinstallation.
After the hinges are detached, move on to any brackets or rollers attached to the panel. Gently slide the panel off the track once all fasteners are removed. Removing the hinges and track components carefully ensures that they remain intact for reassembly.
6. Unfasten the Panel from the Frame
After detaching the hinges and track hardware, focus on unfastening the panel itself from the garage door frame. Some panels are secured with bolts along the sides, while others might have additional screws at the top and bottom edges. Use the appropriate tools to remove these fasteners, being cautious not to strip the screws. Once the fasteners are removed, gently pry the panel away from the frame, ensuring that no residual connections are left intact. Unfastening the panel correctly helps preserve its condition for potential reuse or replacement.
7. Carefully Lower and Remove the Panel
With the panel detached from both the hinges and the frame, the next step is to carefully lower it to the ground. Garage door panels can be quite heavy, so enlisting the help of an assistant is highly advisable. One person should stabilize the panel while the other carefully lowers it, maintaining control to prevent it from crashing down. Lay the panel flat on a soft surface or padding to avoid scratches or dents. Handling the panel with care ensures that it remains in good condition, whether you plan to repair or replace it.
8. Inspect and Prepare for Replacement
After successfully removing the panel, take the time to inspect both the panel and the remaining parts of the garage door. Check for signs of damage, such as warped metal, rust, or cracks in the panel itself.
Additionally, inspect the track and hinge points for wear or damage that may have contributed to the panel issue in the first place. Clean any accumulated debris from the track area and lubricate the moving parts to ensure smooth operation once the replacement panel is installed. Proper inspection at this stage helps you address any underlying issues before reinstalling or replacing the panel.

9. Replace the Panel or Reassemble the Door
If you are replacing the panel, ensure that the new one matches the specifications of the removed panel in terms of size, material, and hinge placement. Carefully lift the new panel into position, securing it first to the frame and then reattaching the hinges and track hardware. Make sure all bolts and screws are tightened securely.
Test the alignment by slowly opening and closing the door manually, checking for any binding or uneven movement. Adjust as necessary to achieve a smooth operation. Proper reassembly guarantees the garage door’s functionality and appearance.
10. Reconnect the Garage Door Opener and Test
After replacing or reinstalling the panel, reconnect the garage door opener and test the system. Plug the opener back into the power source and reattach the emergency release cord to the trolley. Operate the door using the opener, observing how the new panel integrates with the rest of the door. Listen for any unusual sounds or resistance during movement, which may indicate improper installation or alignment. Conducting a thorough test after reconnection ensures that the door is safe to use and functions as expected.
Things to Consider When Replacing a Garage Door Panel
- Panel Compatibility: Ensure the replacement panel matches the make, model, and design of your existing garage door. Differences in size, material, or style can affect functionality and appearance.
- Tools and Equipment: Prepare all necessary tools before starting, including a screwdriver, pliers, drill, and safety gear. Having everything on hand will make the process more efficient.
- Safety Precautions: Always disconnect the garage door opener from the power source and release the tension in the springs before working. This minimizes the risk of injury.
- Alignment and Balance: Proper alignment and balance are crucial for the door to operate smoothly. Double-check the position of the new panel and adjust as needed during installation.
- Professional Help: If you’re unsure about any part of the process, consider consulting a professional. Improper installation can lead to further damage or safety hazards.
Taking these factors into account will help ensure a successful and safe panel replacement.
Conclusion
Removing a garage door panel requires careful preparation, the right tools, and a methodical approach to ensure safety and success. By assessing the door type, disconnecting the opener, securing the door, and carefully detaching the panel, you can complete the task without causing damage. Properly supporting the door throughout the process and taking precautions to avoid mishaps are essential for a smooth removal. Thanks for reading our blog post on how to remove a garage door panel! We hope you found it helpful and informative.
I am Rick. I grew up helping my dad with his handyman service. I learned a lot from him about how to fix things, and also about how to work hard and take care of business. These days, I’m still into fixing things- only now, I’m doing it for a living.
I’m always looking for new ways to help people grow and develop. That’s why I have created this blog to share all my experience and knowledge so
that I can help people who are interested in DIY repair.