
Few things are more frustrating than arriving home to a garage door that won’t budge—only to discover it’s become disconnected from the chain. This problem can bring your busy routine to a halt, leaving your car stuck outside or your belongings less secure. The good news is that, with the right approach, you can resolve this issue quickly and effectively on your own. This article provides a simple, step-by-step guide on how to reconnect garage door to chain.

Whether you’re dealing with a sudden disconnection after a power outage, using the emergency release, or experiencing wear in your opener’s components, you’ll find detailed instructions, troubleshooting tips, and important safety recommendations here. Before beginning, always put safety first: work methodically, follow the outlined steps, and don’t hesitate to consult a professional for complex or hazardous situations.
Understanding the Garage Door Chain System
Basics of Chain-Driven Garage Door Openers
Chain-driven garage door openers are among the most common and durable platforms for residential garages. In this system, an electric motor drives a trolley along a rail, which in turn moves the door up and down. The chain—often looking much like a sturdy bicycle chain—is connected to both the trolley and the drive sprocket inside the opener’s motor unit. This robust design is favored for its strength, especially for heavier doors, and its established track record for reliability.
At the heart of the system, the trolley serves as the bridge between the moving chain and the physical garage door. As the motor turns, it propels the chain, causing the trolley to slide along the guide rail and either lift or lower the door. In addition to the chain, a chain-driven opener typically includes limit switches, an emergency release cord for manual operation, various safety sensors, and mounting hardware.
Why the Chain Can Disconnect
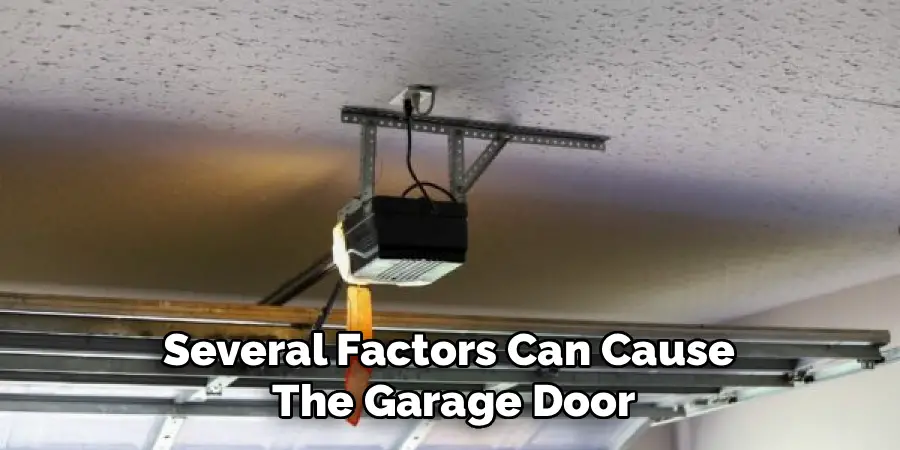
Despite its sturdy construction, several factors can cause the garage door to become disengaged from the chain. One of the most common situations is the use of the emergency release cord. Designed for use during power outages or mechanical failures, pulling this cord disconnects the trolley from the chain, allowing you to operate the door by hand. Power outages themselves may interrupt normal operations, or an attempt to open the door while the chain isn’t properly engaged can lead to disconnection.
Other causes are more mechanical. With age and frequent use, components like the trolley, chain, or chain sprocket may wear out or become misaligned. Sometimes, accidental impacts or obstructions in the path of the door can create enough force to knock the trolley loose from the chain. Understanding these basic mechanisms will help you diagnose causes and confidently approach the solution.
Tools and Materials You’ll Need
Essential Tools
Before you begin, gather the tools required for the task ahead. Most homeowners already have what’s necessary for reconnecting the garage door to the chain. You’ll need an adjustable wrench or socket set to loosen and tighten hardware, a sturdy screwdriver to work with clips and covers, and adjustable pliers to help with chain positioning if needed. Good lighting—either a work light or a headlamp—ensures you can see what you’re doing, particularly in the often-shadowy confines of the garage ceiling area.
Optional Safety Gear
Safety comes first whenever you perform repairs above ground level or work with mechanical systems. Consider wearing protective gloves to safeguard your hands against sharp edges or pinched skin, and safety glasses or goggles to shield your eyes from dust or debris. If your opener is installed overhead, use a sturdy step stool or ladder to access the trolley and chain comfortably. The right preparatory steps not only help you work safely but also speed the entire repair process.
Preparing for the Reconnection Process
Disconnect Power to the Garage Door Opener
The first step in any garage door repair is to eliminate the risk of accidental activation. Unplug the opener’s power cord from the ceiling outlet or, if hardwired, switch off the circuit breaker at your home’s electrical panel. This simple step protects you from accidental starts and potential injury when your hands are near moving parts.
Secure the Garage Door
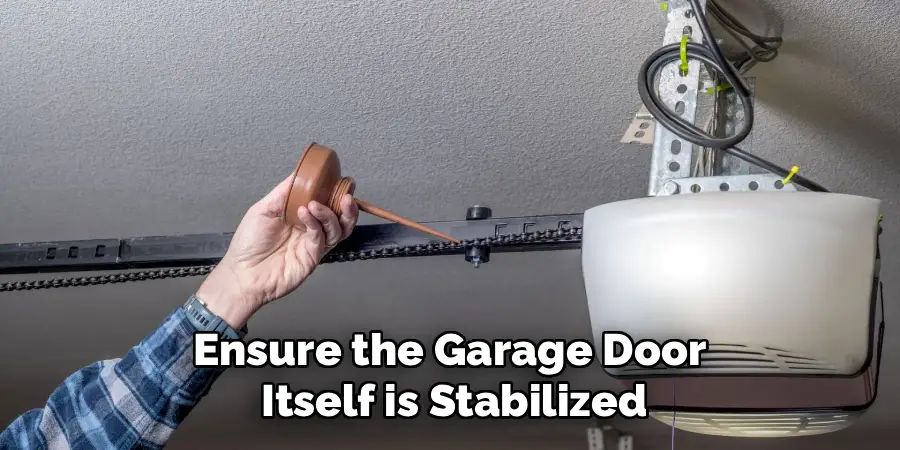
Next, ensure the garage door itself is stabilized to prevent unexpected movement. If the door is partway open or at risk of sliding, secure it in position using manual locks or by placing sturdy clamps on the tracks just above one of the bottom rollers. This prevents the door from shifting while you work, which is especially important if you’re working alone or need to exert force during the chain reconnection.
Inspect the Chain and Components
Take a moment to visually inspect the entire drive system before proceeding. Look for signs of wear, rust, or damage on the chain, sprocket, and trolley assembly. Confirm that the chain hasn’t slipped off the sprocket or become tangled elsewhere along the rail. Misalignment or obvious component damage may call for additional repairs or replacement, but in many cases, reconnection is straightforward once you verify the state of each part.
How to Reconnect Garage Door to Chain: Step-by-Step Guide
Step 1 – Locate the Emergency Release Cord
Nearly all chain-driven garage door openers are equipped with an emergency release cord—usually a red, easily accessible handle that hangs down from the trolley. Its primary purpose is to allow the garage door to be operated manually when the opener is disengaged, such as during a power outage. Pulling the cord will shift the trolley into “manual” mode, disconnecting it from the chain and freeing the door for hand operation.
If your garage door has already become disconnected, this cord will likely be hanging down, indicating the system is in manual mode.
Step 2 – Reengage the Trolley with the Chain
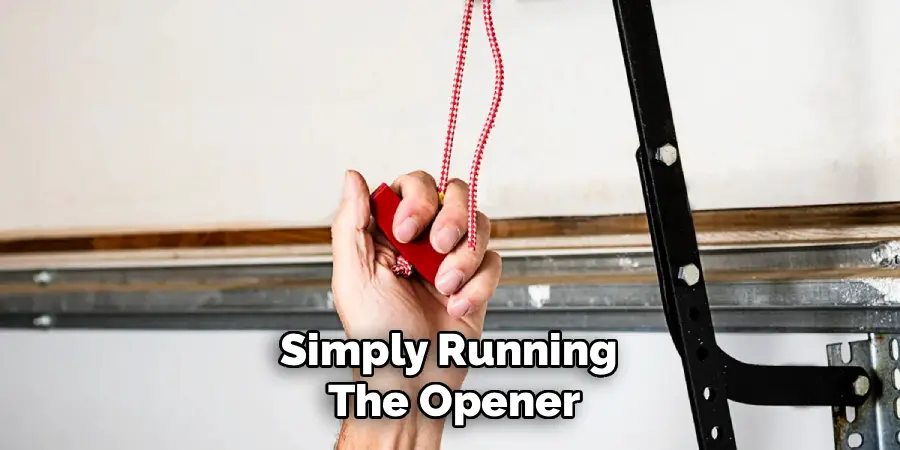
With the power off and safety measures in place, begin by aligning the trolley with the chain it needs to rejoin. Gently move the garage door along the track until the trolley locks into position with the chain carriage. Many opener systems use a spring-loaded latch mechanism for this reconnection—once aligned, either push the trolley toward the opener until you hear a click, or pull the emergency release cord back toward the opener to re-engage the drive system.
In some models, simply running the opener (once powered back on) will automatically cause the chain and trolley to reconnect, but always consult your owner’s manual for system-specific details.
Step 3 – Adjust Chain Tension
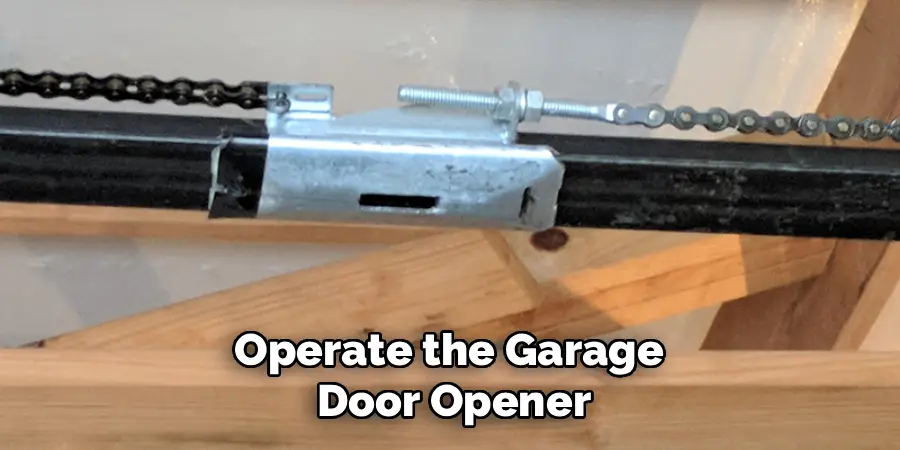
A properly tensioned chain is crucial for smooth operation and long-term durability of your opener. Inspect the sag in the chain—the proper amount is typically about a half-inch at the midpoint. If the chain is visibly loose or sags excessively, use your wrench to adjust the tensioning bolt or nut at the end of the rail near the motor unit. Tighten just enough to remove slack, but avoid overtightening, which can place undue stress on the motor or cause loud operation.
Step 4 – Restore Power to the Opener
Once everything is reconnected and visually inspected for alignment, restore power by plugging the opener back in or flipping the breaker on. Ensure the area is clear of tools and people before moving on to testing.
Step 5 – Reattach Garage Door to the Opener
If the manual disconnect was engaged, pull the emergency release cord gently toward the door (usually away from the opener motor) until you feel it click back into the “connected” position. This step is essential for restoring automatic operation via your wall control or remote.
Step 6 – Test the Door’s Movement
With the reconnection complete, operate the garage door opener to test its function. Use the wall button or remote control to open and close the door several times. Listen for any unusual noises and watch for smooth, even movement along the tracks. If the door behaves erratically, immediately stop and double-check all connections before running the opener again. A properly reconnected chain should enable seamless, reliable operation.
Troubleshooting Common Problems
Chain Slips or Becomes Loose
A common challenge after reconnection is a chain that seems to slip during door movement or becomes loose again shortly after repair. This often stems from improper tensioning or worn drive sprockets. If you notice the chain jumping or failing to hold its position, retrace your steps to adjust the tensioning bolt as described earlier. Persistent slippage may indicate the need for replacement parts, especially if sprocket teeth appear worn.
Misaligned Trolley or Chain
If the trolley fails to engage the chain smoothly, or you hear grinding or clicking noises, stop the opener and visually inspect the alignment. The chain should run parallel to the rail, and the trolley must sit squarely within its guides. Gently realign both if necessary—forcing components risks damage. If the chain derails frequently, check for bent brackets or rail sections and correct as needed.
Maintenance Tips for Chain-Driven Systems
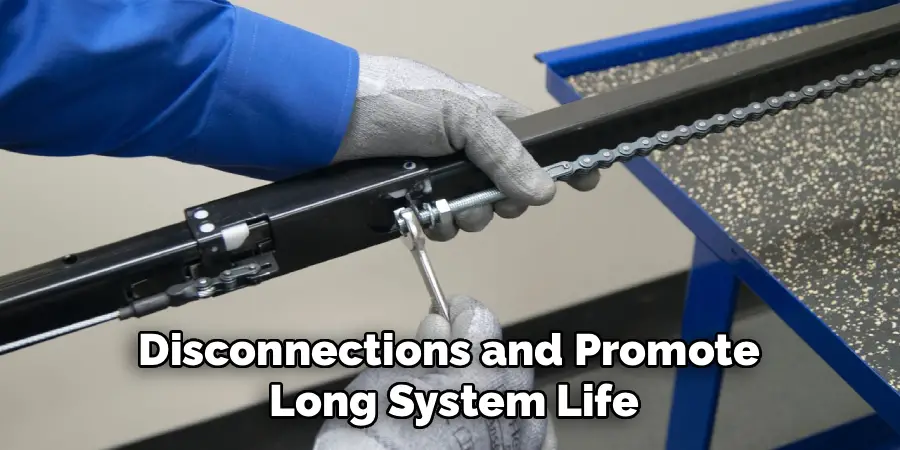
Periodic Adjustment and Lubrication
To avoid further disconnections and promote long system life, inspect the drive chain for tension and alignment every few months. A creaky or stiff chain benefits from application of a light garage door lubricant—this reduces friction, prevents rust, and encourages quiet operation. Some owners find it helpful to add reminders for these quick inspections to their seasonal home maintenance routines.
Inspecting the Emergency Release
A properly working emergency release is vital for safety. Test it several times per year by pulling the cord and confirming that the trolley disengages and re-engages smoothly. Address any sticking, fraying, or excessive slack in the cord promptly. This simple preventive measure ensures you can operate your garage door safely during emergencies.
Alternatives to DIY for Complex Repairs
Signs You Need Professional Help
While most homeowners can manage how to reconnect garage door to chain, certain situations call for professional intervention. If you notice bent or broken rails, non-functioning motors, electrical faults, or significantly worn hardware, do not attempt to repair these on your own. Complex or hidden issues, such as problems with the opener’s control board or advanced safety mechanisms, also warrant expert attention.
Choosing a Certified Technician
If you need backup, look for technicians certified by leading garage door industry associations or those with strong reviews and verifiable credentials. Reliable professionals will offer detailed estimates, carry suitable replacement parts, and address both current repairs and any underlying issues, ensuring your system returns to optimal function.
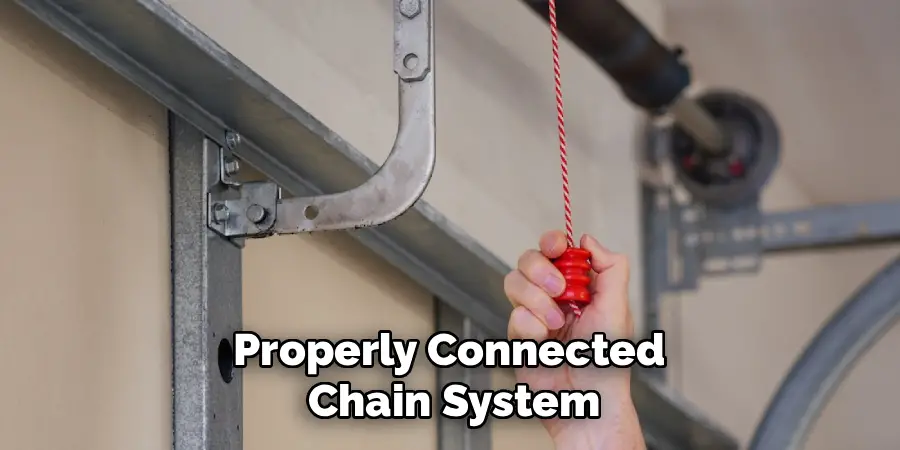
Benefits of a Functioning Garage Door Chain System
A well-maintained, properly connected chain system delivers seamless daily performance. The opener will move the door evenly and quietly, minimizing strain on the motor and hardware. This in turn buffers other components—like rollers, tracks, and the opener circuitry—against premature wear. Reliable, smooth operation improves your household’s overall security, since a firmly seated door makes unauthorized access more difficult and maintains a tight weather seal. Proper maintenance and periodic reconnection of the drive chain protect your investment, keep your garage safer, and contribute to peace of mind.
Frequently Asked Questions
How do I Identify If My Chain is Too Loose or too Tight?
A correctly tensioned chain should sag slightly at its midpoint—usually about half an inch—but remain taut enough not to skip or slap against the rail when the door moves. Excessive slack, visible sagging, or a chain that pops off during use indicates under-tightening, while a chain stretched so tight that it hums loudly or vibrates can overstrain the motor. Adjustments should be made incrementally, checking after each change.
Can I Use This Guide for Belt-Driven Systems?
While this guide is specifically intended for chain-driven openers, many principles apply to belt-driven systems, which use a reinforced rubber belt in place of a chain. The process for disengaging and re-engaging the trolley, as well as checking tension and performing periodic lubrication, is very similar. Always consult your specific opener’s manual for model-specific instructions.
Is It Safe to Use My Garage Door Before Reconnecting the Chain?
Operating your garage door manually—after it’s been disconnected from the opener chain—can be done in emergencies, but only with caution. Always ensure the door is balanced, move it slowly, and avoid letting it drop or slam shut. Never use the opener motor to move a door unless the chain and trolley are correctly connected.
Final Thoughts
Learning how to reconnect garage door to chain empowers you to restore daily convenience and security with minimal disruption. By following a careful, step-by-step approach—prioritizing safety, methodically preparing, and making precise adjustments—you can confidently address most instances of chain disconnection.
Regular maintenance, from checking drive tension to testing the emergency release, greatly reduces the likelihood of future problems and extends the lifespan of your entire garage door system. Remember, not every problem can or should be handled as a DIY project; complex repairs or persistent difficulties are best left to certified professionals. Still, by keeping this guide handy and committing to periodic system checks, you’ll ensure your garage door remains a dependable part of your home for years to come.
I am Rick. I grew up helping my dad with his handyman service. I learned a lot from him about how to fix things, and also about how to work hard and take care of business. These days, I’m still into fixing things- only now, I’m doing it for a living.
I’m always looking for new ways to help people grow and develop. That’s why I have created this blog to share all my experience and knowledge so
that I can help people who are interested in DIY repair.