Modern convenience often shows itself in the smallest daily tasks—like opening your garage door without leaving your vehicle. As technology has advanced, the ability to program your Silverado garage door opener brings a new level of simplicity and comfort to your routine. For Silverado owners, integrating your vehicle’s built-in controls with the garage door opener streamlines access and enhances security, whether you’re coming home from work or heading out for an adventure.
But the process, while straightforward, can seem intimidating at first glance. Before you get started, it’s important to ensure you have everything needed for a smooth, hassle-free experience: your user manual, the garage door remote, and your Silverado ignition key. Whether you’re setting up a new garage for the first time or reprogramming after moving homes, this guide walks you through each stage with clear instructions and actionable advice. In the following sections, you’ll learn exactly how to program Silverado garage door opener, troubleshoot common hiccups, and keep your system running at its best.
Understanding Silverado Garage Door Opener Compatibility
Why Compatibility Matters
Not all garage door openers and vehicles are automatically compatible with one another. The system inside your Silverado is designed to work with specific types of garage door openers, usually ones that use certain frequencies or technologies such as HomeLink or rolling code systems. If these aspects don’t match up, even careful programming won’t result in a working setup. That’s why the very first step is verifying compatibility, which not only saves you time but also helps prevent frustration later on.
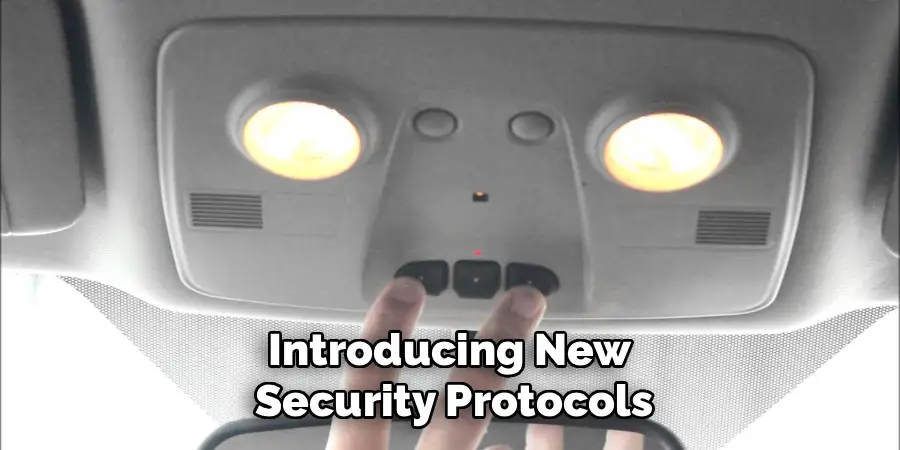
Garage door openers often evolve, introducing new security protocols or wireless standards. The age of your Silverado, the version of its onboard controls, and the make and model of your garage opener all affect whether or not the two systems will communicate effectively. Some older units use fixed codes, while newer openers rely on rolling code technology for enhanced safety. Ensuring that both your vehicle and your garage door opener speak the same technical language is the foundation of a successful programming process.
Identifying Compatible Models
To avoid programming issues, identify which Silverado models and years are equipped with built-in garage door integration, and cross-check this with your garage system. Most late-model Silverados offer HomeLink or similar universal transmitter support, but it’s wise to review your vehicle’s owner’s manual or consult the manufacturer’s website for confirmation. Similarly, look up your garage door opener’s brand and model to see if it’s compatible—many manufacturers publish lists of vehicles and openers that work seamlessly together.
If you’re unsure, a quick call to your local dealership or garage door opener support line can settle the question. With compatibility confirmed, you’re ready to proceed with confidence.
Preparing for the Programming Process
Essential Tools and Materials
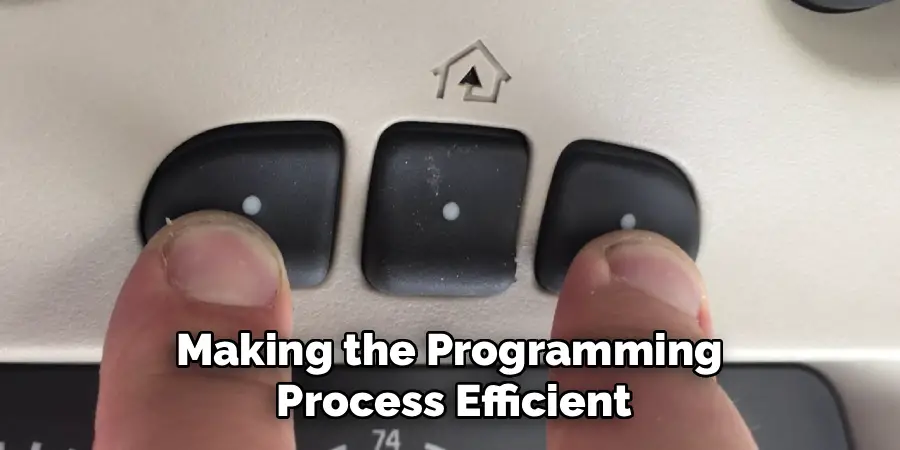
Preparation is vital to making the programming process efficient and frustration-free. The main items you’ll need are your Silverado’s user manual, your garage door opener manual, the handheld remote control for your opener, your vehicle’s ignition key or fob, and occasionally a small step stool or ladder if your garage door unit’s “learn” button is out of easy reach. While the number of tools involved is minimal, having these on hand speeds up the process and helps avoid unnecessary interruptions.
In addition to these basics, check that both your vehicle and your garage door opener are in working condition—test the remote, ensure your Silverado’s battery isn’t running low, and verify that the garage door itself operates smoothly without unusual noise or hesitation.
Safety Precautions
Working with vehicle electronics and moving parts always warrants some caution. For your safety, keep the garage area well lit and free of obstacles. Avoid standing directly under the moving garage door during testing, and keep hands and tools clear of tracks and springs. When programming from inside the vehicle, park with the engine off and the parking brake set. If the process requires accessing the garage door motor housing, ensure you have stable footing and aren’t overreaching.
Above all, consult both the vehicle and opener manuals for specific warnings related to your models, as ignoring these details could lead to accidental erasure of important settings or, more seriously, personal injury.
How to Program Silverado Garage Door Opener: Step-by-Step Guide
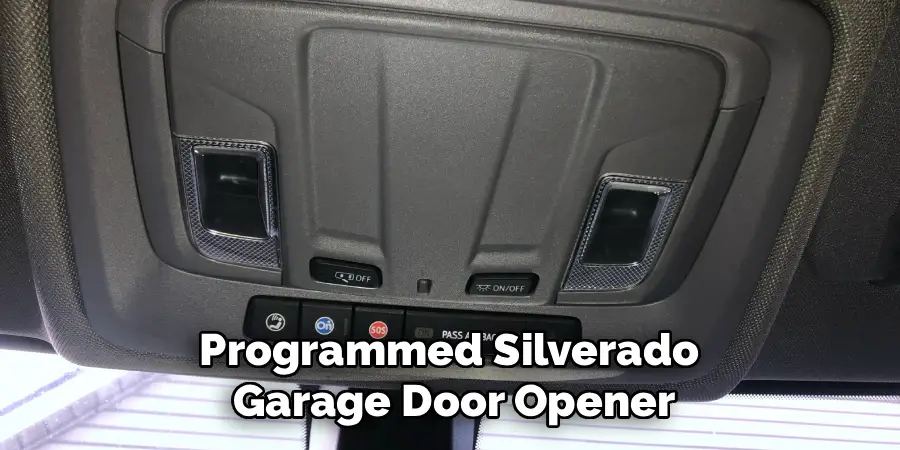
Step 1 – Locate the Vehicle’s Control Buttons
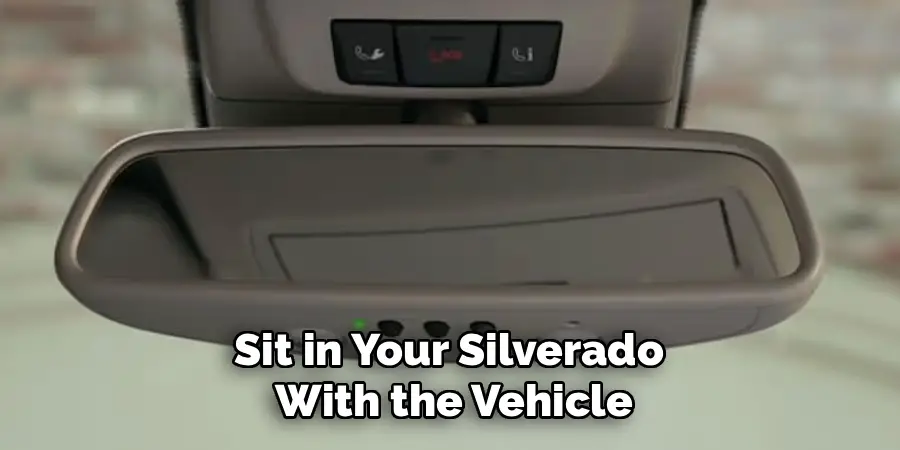
Most Silverado trucks come equipped with integrated garage door opener buttons, commonly found on the overhead console, visor, or rearview mirror area. These buttons are often labeled with a house icon or simply as “HomeLink.” Review your owner’s manual if you have difficulty spotting them, as exact placement may vary according to model year.
Sit in your Silverado with the vehicle in park and the ignition key turned to the “on” position, but with the engine off. This ensures the system is active and ready to receive programming.
Step 2 – Prepare the Garage Door Opener
Before programming, clear previous codes from both the Silverado system and, if necessary, the garage door opener. On many models, you can reset the vehicle buttons by pressing and holding the first and third buttons simultaneously for about 20 seconds until the indicator light changes. This step ensures you’re starting from a blank slate, preventing conflicts with past programming attempts.
For the garage door opener side, locate the “learn” or “smart” button on the motor housing (usually accessible by removing a light cover). Pressing this button puts the opener into programming mode. Depending on your opener’s brand, you may have around 30 seconds to complete the next step before the system exits programming mode.
Step 3 – Synchronize the Remote to the Vehicle
Hold your garage door remote one to three inches from the Silverado’s integrated button panel. Press and hold the button you wish to program in the vehicle, then simultaneously press and hold the corresponding button on your remote. Continue holding until the indicator light on your Silverado’s panel changes from a slow blink to a rapid flash (or stays illuminated, depending on the model). This blinking or steady light signals that the code has been successfully transferred from the remote to your vehicle’s system.
If your opener uses rolling code technology—a common feature for added security—an additional synchronization step is required. After programming the vehicle button, return to the garage door opener’s motor unit and press the “learn” button again. Within 30 seconds, return to your Silverado and press the programmed button for a specified number of seconds (usually two to three times or until the garage door moves), which finalizes the rolling code connection.

Step 4 – Test the Garage Door Opener
With programming complete, step out of your Silverado and confirm the door operates correctly using the newly programmed button. The garage door should respond smoothly; if not, revisit the earlier steps to ensure the proper sequence and timing. It may take two or three tries for some systems, especially those with rolling codes or security enhancements.
If you have difficulty at this stage, double-check the compatibility, remote battery life, and ensure you return to the vehicle quickly enough after pressing the “learn” button on the garage motor unit, as timing is sometimes critical.
Troubleshooting Common Issues
Synchronization Problems
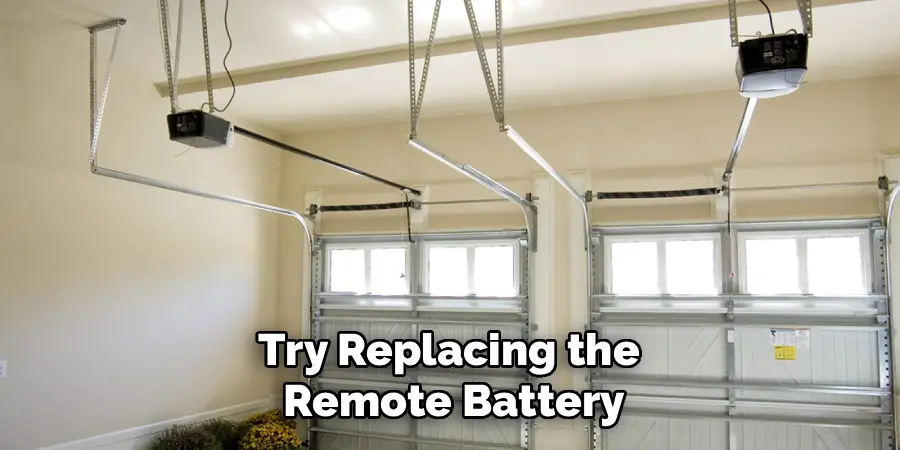
Even with detailed instructions, you might occasionally find that the garage door does not respond after programming. First, confirm that your garage door opener is compatible and that you followed each step in the correct order. If the vehicle’s indicator light didn’t flash or if it stopped blinking suddenly, it’s possible that the remote’s battery is weak or the opener itself has temporarily locked out new programming.
Try replacing the remote battery, repeating the synchronization process, and ensuring you’re within range and have unobstructed lines of communication between your vehicle and the garage opener motor. Should issues persist, refer to both manuals for model-specific troubleshooting advice.
Clearing Error Codes
If repeated attempts fail, you may need to reset your Silverado’s garage door programming system entirely. Most Silverado consoles allow you to erase all previously stored garage door codes by holding the two outer buttons together for 20 seconds (indicator lights usually confirm erasure). Once cleared, try the programming steps again from the beginning.
Some garage door openers store their own error sequences as well—refer to the opener’s troubleshooting section to identify any warning lights or audible beeps. Following both manufacturer instructions and basic problem-solving techniques will resolve most issues.
Maintaining Your Silverado Garage Door Opener System
Regular Checks & Updates
Programming your Silverado’s garage door opener isn’t a one-and-done process. Routine functionality tests—such as opening and closing the door weekly with the vehicle button—ensure the system remains responsive. From time to time, especially after battery replacements or power outages, codes may need refreshing. Should you move homes, update your vehicle, or replace your opener, reprogramming is often required.
Check for software or firmware updates from your vehicle manufacturer, as some newer models receive updates that enhance compatibility with garage door systems.
Cleaning and Care Tips
Keep the area around your Silverado’s integrated control panel clean and free of dust or residue. Use a soft cloth for cleaning buttons and avoid spraying liquids onto electronic components. For garage door remotes, periodically wipe the exterior and check for damage or buildup around the battery terminals.
A well-maintained system reduces the likelihood of technical malfunctions and extends the working life of both the vehicle controls and the remote.
Advantages of a Programmed Silverado Garage Door Opener
A properly programmed Silverado garage door opener brings tangible improvements to your daily life. Foremost is convenience: no more searching for remotes, fumbling with keypads, or stepping into the rain to lift the door manually. Integration improves security by reducing the risk of lost or stolen remotes—only the vehicle’s built-in button can operate the door, and it’s easily reset if needed.
This process is also quick to replicate for other garage doors or secondary vehicles. You can often program multiple openers to different buttons, giving each family member seamless access without needing to share or duplicate remotes. As a Silverado owner, you benefit from both time savings and peace of mind, knowing that your system is tailored to your routine.
Frequently Asked Questions
How Long Will the Process Take?
For most Silverado models and modern garage door openers, programming can be completed in under 15 minutes. Preparation and reading the relevant instructions account for part of this time, while the actual synchronization usually takes just a few steps.
Can I Program Multiple Garage Doors?
Absolutely. Most Silverado built-in systems feature up to three programmable buttons, allowing one vehicle to control up to three different doors. Simply repeat the programming process for each additional opener, assigning a distinct button each time. Check both manuals to confirm any unique steps for programming multiple openers.
What If I Lose My Garage Door Remote?
Losing a remote is inconvenient but not the end of the world. If you lose the remote before programming, you may need to purchase a new one for initial synchronization. Once your Silverado is programmed, you can use the built-in buttons without needing the remote again. For added security, erase all existing codes from your garage door opener and reprogram with new remotes and your vehicle, ensuring lost or stolen devices can’t be misused.
Optional Alternatives
Professional Installation Services
If you’re uncomfortable with the programming process, or if you hit repeated roadblocks, professional installation is a valuable alternative. Dealerships and garage door companies routinely handle programming for Silverado owners, typically completing the job in minutes. Their expertise ensures proper setup and offers peace of mind.
Aftermarket Integration Options
For those seeking enhanced features—such as smartphone control, voice activation, or integration with home automation systems—aftermarket add-ons are widely available. Many modern garage door openers can be paired with app-based controls or third-party devices, allowing you to open and close your garage from anywhere in the world. This is particularly useful if you want to expand access beyond your Silverado’s built-in buttons or control several locations at once.
Final Thoughts
Programming your Silverado garage door opener is a straightforward process that adds everyday convenience, boosts security, and personalizes your vehicle’s functionality. By ensuring compatibility, assembling the right tools, following step-by-step instructions, and maintaining the system, you’ll experience a hassle-free transition to integrated garage access. Most programming issues are simple to resolve and rarely require more than minor troubleshooting.
Whether you’re a long-time Silverado owner or starting fresh, don’t hesitate to take advantage of your vehicle’s built-in capabilities. With this comprehensive guide, you now know how to program Silverado garage door opener efficiently and confidently—making every arrival home just a bit easier.
I am Rick. I grew up helping my dad with his handyman service. I learned a lot from him about how to fix things, and also about how to work hard and take care of business. These days, I’m still into fixing things- only now, I’m doing it for a living.
I’m always looking for new ways to help people grow and develop. That’s why I have created this blog to share all my experience and knowledge so
that I can help people who are interested in DIY repair.