Programming a Ryobi garage door opener remote may seem like a daunting task, but it is quite straightforward with the right guidance. Whether you are adding a new remote to your existing system or replacing a lost one, understanding the programming process is essential for ensuring seamless operation of your garage door. This guide will walk you through how to program

ryobi garage door opener remote, allowing you to enjoy the convenience and security that comes with easy access to your garage. Let’s get started!
Benefits of Using a Ryobi Garage Door Opener Remote
Using a Ryobi garage door opener remote presents several advantages that enhance both convenience and safety. Firstly, it allows for quick access to your garage without the need to exit your vehicle, which is particularly beneficial during inclement weather or at night. The remote’s wireless functionality eliminates the hassle of manual operation, streamlining your daily routines.
Additionally, the robust design of Ryobi remotes ensures durability, making them reliable even in challenging conditions. Security features, such as rolling code technology, protect against unauthorized access, providing peace of mind for homeowners. Overall, a Ryobi remote not only simplifies garage entry but also contributes to a safer and more efficient home environment.
Importance of Proper Remote Programming
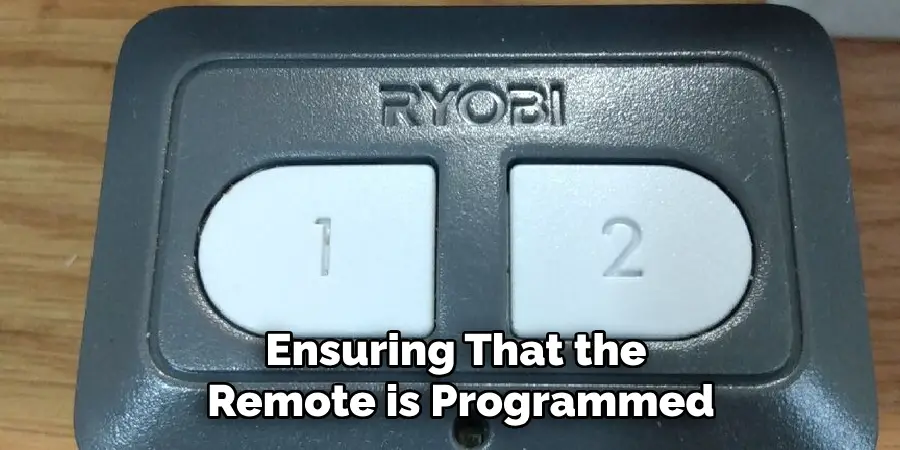
Proper programming of your Ryobi garage door opener remote is crucial for both functionality and safety. Ensuring that the remote is programmed correctly guarantees that it communicates effectively with the garage door opener, preventing malfunctions that could lead to inconvenience or security risks. Incorrect programming may result in intermittent connectivity issues or
complete failure to operate the door, which can be frustrating during urgent situations. Moreover, proper remote programming plays a key role in protecting your home; a correctly set remote minimizes the risk of unauthorized access by ensuring that only programmed devices can operate the garage door. By taking the time to follow the correct programming procedures, you enhance
the reliability of your garage access and safeguard your property.
10 Methods How to Program Ryobi Garage Door Opener Remote
1. Understand the Basics of Your Ryobi Garage Door Opener
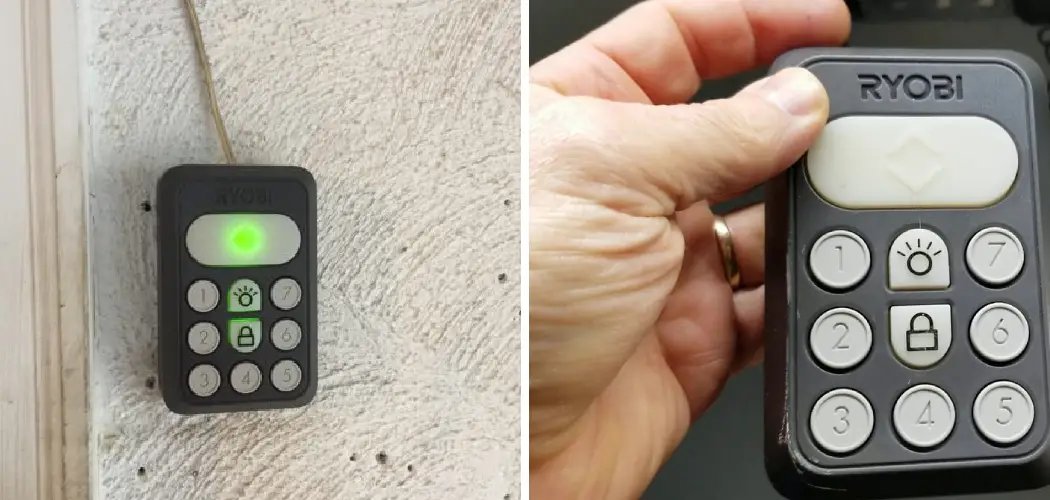
Before beginning the programming process, it’s essential to familiarize yourself with the basic functions of your Ryobi garage door opener. The Ryobi garage door opener is a versatile and smart device, often integrated with Wi-Fi connectivity, battery backup, and various modular accessories. Understanding its features, including the remote control functionality, will help you effectively
program the remote. Knowing your opener’s capabilities and how the remote interacts with the system ensures that you approach the programming process with confidence and a clear understanding of the steps involved.
2. Gather Necessary Tools and Materials
Before starting the programming process, ensure that you have everything you need. This includes the Ryobi garage door opener remote, a ladder to reach the motor unit if needed, and the manual for both the garage door opener and the remote. Although the programming process typically doesn’t require any additional tools, having the manual handy can help clarify any model-specific
steps. Being prepared with the right materials ensures that you can follow through with the programming without interruptions, making the process smoother and more efficient.
3. Locate the “Learn” Button on the Garage Door Opener
The “Learn” button is a crucial component of the programming process. It is typically located on the back or side of the garage door opener’s motor unit. Depending on the model, the button may be under a light cover or near the antenna wire. Identifying the “Learn” button is your first step in initiating the programming mode. This button allows the opener to recognize and sync with
the new remote. Knowing exactly where this button is located will save you time and help you proceed with confidence when you begin the programming process.
4. Clear Any Existing Codes (Optional)
If you’re programming a new remote after losing or replacing an old one, or if you’ve just moved into a new home, it might be a good idea to clear any existing codes stored in the garage door opener’s memory. To do this, press and hold the “Learn” button until the indicator light on the motor unit turns off. This process erases all previous remote control codes from the opener’s
memory, ensuring that only the new remote will be able to control the garage door. Clearing old codes is a crucial security measure that prevents unauthorized access.
5. Put the Garage Door Opener into Programming Mode
To program your new remote, you’ll need to put the Ryobi garage door opener into programming mode. Start by pressing the “Learn” button on the motor unit. After pressing the button, you’ll typically see an indicator light on the opener turn on or start flashing, signaling that the unit is ready to pair with a remote. You generally have about 30 seconds to complete the next step before
the opener exits programming mode. Entering programming mode is a critical step that allows the garage door opener to accept the signal from your new remote.
6. Sync the Remote with the Opener
Once the opener is in programming mode, press and hold the button on the remote that you wish to program. Hold the button until you see the indicator light on the opener blink or turn off, indicating that the remote has been successfully paired with the opener. It’s important to ensure that you press the correct button on the remote, especially if it has multiple buttons for different
functions or doors. Syncing the remote correctly ensures that it will operate your garage door as intended, without any issues.
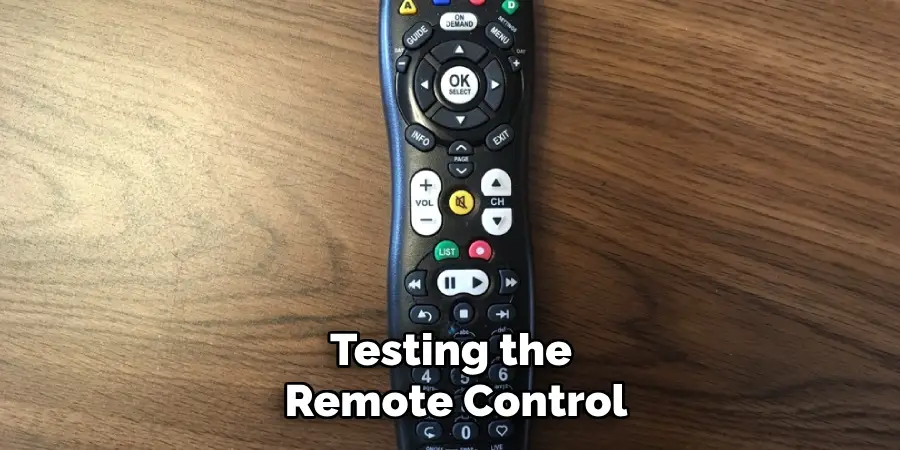
7. Test the Remote Control
After programming, it’s essential to test the remote to ensure that it is functioning correctly. Stand a short distance from the garage door and press the button on the remote that you just programmed. The door should respond by opening or closing smoothly. If the door doesn’t respond, recheck the programming steps and try the process again. Testing the remote control
immediately after programming allows you to confirm that the process was successful and that the remote will reliably operate the garage door.
8. Program Additional Remotes or Devices
If you have additional remotes or devices (such as a keypad) that need to be programmed, repeat the programming process for each one. Press the “Learn” button on the garage door opener to put it back into programming mode, then press and hold the appropriate button on the new remote or device. Each remote or device needs to be programmed individually. Programming all your
devices at once ensures that everyone in your household has access to the garage door and that all devices are synchronized with the opener.
9. Secure and Label Your Remotes
Once all remotes have been successfully programmed, consider labeling each one for easy identification, especially if you’ve programmed multiple remotes for different family members or vehicles. Clearly labeling the remotes helps prevent confusion and ensures that each user knows which remote is theirs. Additionally, store spare remotes in a secure location to prevent loss or
unauthorized use. Securing and labeling your remotes enhances convenience and security, making it easier to manage access to your garage.
10. Regular Maintenance and Troubleshooting
Even after successfully programming your Ryobi garage door opener remote, it’s important to perform regular maintenance checks. Ensure that the batteries in the remote are fresh and replace them as needed. Periodically test the remote to make sure it continues to operate the garage door smoothly. If you encounter any issues, consult the manual for troubleshooting tips, such as
reprogramming the remote or resetting the garage door opener. Regular maintenance and troubleshooting help ensure that your garage door system remains reliable and functional over time, providing peace of mind and convenience.
Common Mistakes to Avoid
When programming your Ryobi garage door opener remote, being aware of common mistakes can save you time and frustration. One frequent error is failing to clear existing codes before programming a new remote, which can lead to signal conflicts and malfunctioning remotes. Another mistake is not properly placing the opener in programming mode; if the timing isn’t followed,
the remote may not sync correctly. Additionally, users often overlook the importance of ensuring the remote’s batteries are fresh, which can affect performance. Lastly, skipping the testing phase after programming is a critical misstep; always confirm that the remote operates the garage door as expected to avoid any surprises later. By avoiding these common pitfalls, you can ensure a smoother and more efficient programming experience.
Conclusion
Programming your Ryobi garage door opener remote is a straightforward process that, when done methodically, ensures seamless operation and enhanced security. By following the outlined steps—from locating the “Learn” button to regular maintenance—you can effectively manage access to your garage and enjoy the convenience of remote control. Remember, taking the
time to clear old codes and label your remotes will not only streamline the usage for all members of your household but also contribute to the overall safety of your home. Thanks for reading, and we hope this has given you some inspiration on how to program ryobi garage door opener remote!
I am Rick. I grew up helping my dad with his handyman service. I learned a lot from him about how to fix things, and also about how to work hard and take care of business. These days, I’m still into fixing things- only now, I’m doing it for a living.
I’m always looking for new ways to help people grow and develop. That’s why I have created this blog to share all my experience and knowledge so
that I can help people who are interested in DIY repair.