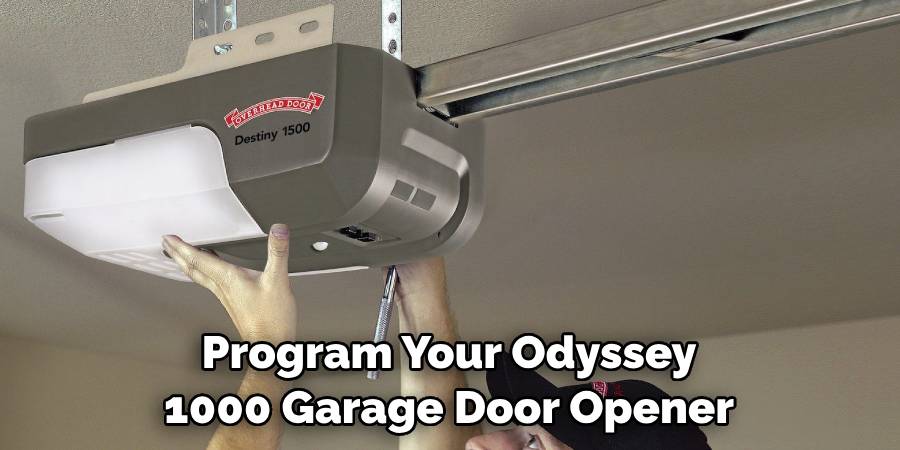
The Odyssey 1000 Garage Door Opener is a reliable and efficient solution for securing your home while providing easy access to your garage. With its advanced technology and user-friendly features, programming the Odyssey 1000 can seem daunting at first.
However, this guide aims to simplify the process, offering step-by-step instructions on how to program odyssey 1000 garage door opener to help you set up your garage door opener effortlessly. Whether you’re a seasoned DIY enthusiast or a first-time user, you’ll find the information you need to get your Odyssey 1000 up and running smoothly.
What is the Odyssey 1000 Garage Door Opener?
The Odyssey 1000 Garage Door Opener is a state-of-the-art device designed to automate the opening and closing of garage doors. Engineered with security and convenience in mind, it utilizes a powerful motor capable of lifting heavy garage doors while operating quietly. This model features enhanced safety sensors to prevent accidents, ensuring safe operation.
Additionally, the Odyssey 1000 comes equipped with advanced remote controls and compatibility with smart home systems, allowing users to monitor and control their garage door from their smartphones. Its sleek design and durable construction make it a dependable choice for homeowners looking to upgrade their garage access.
Why is Programming Necessary?
Programming your Odyssey 1000 Garage Door Opener is essential for optimizing its performance and ensuring its functionality aligns with your personal preferences. Proper programming allows you to customise settings such as the travel distance of the door, safety features, and remote control functionality.
This not only enhances the overall efficiency but also increases safety by ensuring the garage door operates smoothly without risk of malfunction. Furthermore, programming helps in synchronising the opener with your smart home devices, providing you with seamless access and control from anywhere.
Regularly programming your garage door opener is critical for maintaining its efficiency, security, and reliability.
Needed Materials
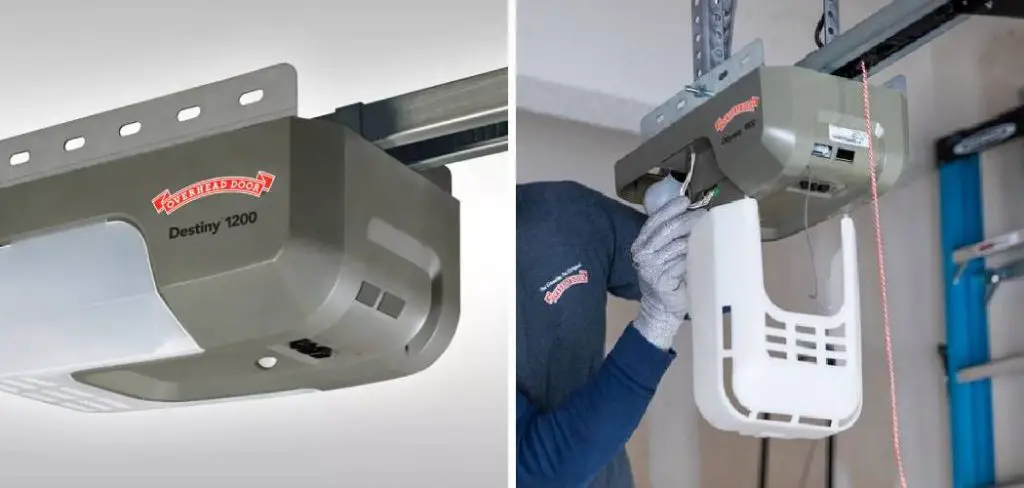
Odyssey 1000 Garage Door Opener:
Before starting the programming process, you will need to have your Odyssey 1000 Garage Door Opener installed and ready for use. Make sure you have all the necessary parts, including the motor unit, rail assembly, safety sensors, remote controls, and hardware. Refer to the manufacturer’s manual for specific installation instructions.
Ladder:
As some components of the garage door opener are located on the ceiling or high up on walls, having a sturdy ladder is essential for safe and easy access during programming.
Pen and Paper:
Keeping track of your settings and codes can be helpful during troubleshooting or if you need to reprogram your garage door opener in the future. Have a pen and paper ready to write down any important information.
Smart Device (Optional):
If you plan on integrating your Odyssey 1000 with a smart home system, have your smartphone or tablet ready for the setup process. Make sure it is connected to the internet and has compatible software installed.
8 Steps on How to Program Odyssey 1000 Garage Door Opener
Step 1: Power On the Opener
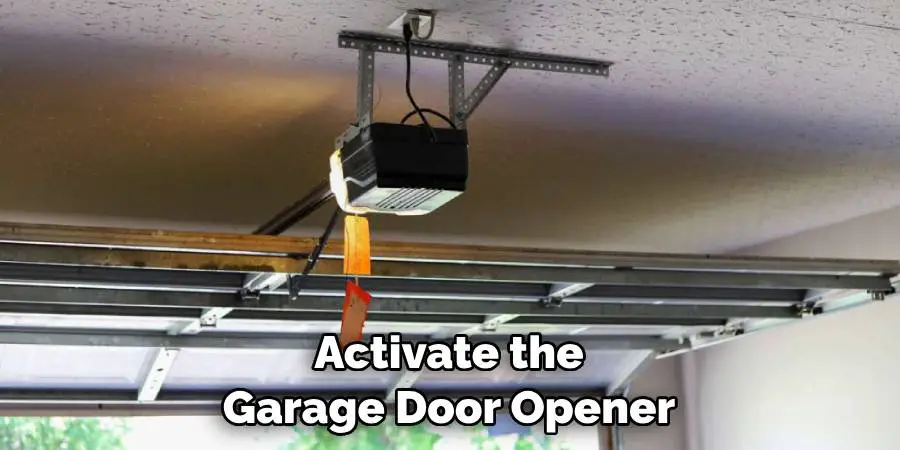
To begin programming your Odyssey 1000 Garage Door Opener, ensure that it is properly powered on. Locate the power cord and plug it into a nearby electrical outlet. If the unit has a power switch, toggle it to the ‘On’ position. You should see an indicator light on the motor unit illuminate, signifying that the opener is receiving power.
Allow a moment for the system to fully start up before proceeding to the next steps in the programming process. It’s essential to ensure that all safety features are operational before using the garage door opener.
Step 2: Set Up the Travel Distance
Once your Odyssey 1000 Garage Door Opener is powered on, the next step is to set up the travel distance. This setting determines how far the garage door will travel when opened and closed, ensuring it fully opens without obstruction and securely closes without excessive force.
To begin this process, locate the travel distance adjustment screws on the motor unit—typically labeled as “Open” and “Close.” Using a flathead screwdriver, gently turn the “Open” screw clockwise to increase the distance or counterclockwise to decrease it. For the “Close” screw, follow the same direction technique to adjust the door’s closing distance.
After making the adjustments, activate the garage door opener using the remote control or wall switch to test its operation. Observe the door’s movement and adjust as necessary to achieve the desired travel distance. Repeat this process until you’re satisfied with the door’s range of motion, ensuring it fully opens and closes without any obstructions.
Step 3: Program the Remote Control
The Odyssey 1000 comes with two remote controls, allowing you to open and close your garage door from inside and outside your home. To program these remotes, follow these steps:
- Locate the “Learn” button on the motor unit.
- Press and hold the “Learn” button until the indicator light starts blinking.
- Within 30 seconds, press and hold the desired button on your remote control until the light on the motor unit blinks twice, indicating successful programming.
- Repeat this process for each additional remote control.
Note: If you have an older model of the Odyssey Garage Door Opener, you may need to use a numerical keypad remote control. Refer to the manufacturer’s manual for specific programming instructions.
Step 4: Synchronize Safety Sensors
The Odyssey 1000 is equipped with safety sensors that detect any obstructions or objects in the garage door’s path while closing. To ensure these sensors are properly synchronized, follow these steps:
- Locate the two safety sensors on either side of your garage door near the floor.
- Clean any dirt or debris off the lenses using a soft cloth.
- Check if both sensor lights are illuminated.
- If one or both lights are not lit up, realign the sensors until both lights turn on.
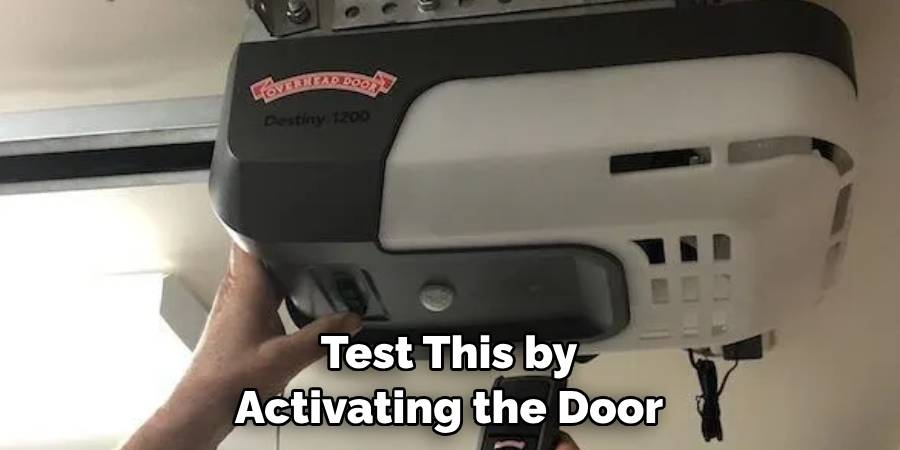
- Test this by activating the door and observing if it stops immediately when an object is placed in its path.
Step 5: Set Up the Wall Control Panel
The Odyssey 1000 includes a wall control panel that allows you to open and close your garage door from inside the garage. To program this panel, follow these steps:
- Locate the “Program” button on the back of the control panel.
- Press and hold this button until the indicator light starts blinking.
- Within 30 seconds, press and release the desired function button (open/close) on the remote control to assign it to that specific task.
- Observe if the indicator light blinks twice, indicating successful programming.
- Repeat this process for additional buttons or remote controls.
Step 6: Set Up the Wireless Keyless Entry System
If you have a wireless keyless entry system, follow these steps to program it:
- Locate the “Learn” button on the motor unit.
- Press and hold this button until the indicator light starts blinking.
- Enter your four-digit code into the keyless entry keypad within 30 seconds.
- Observe if the indicator light blinks twice, indicating successful programming.
- Test it by entering your code and observing if it opens the garage door.
Note: If you have an older model of the Odyssey Garage Door Opener, you may need to use a different method for programming your keyless entry system. Refer to the manufacturer’s manual for specific instructions.
Step 7: Set Up Additional Features (Optional)
The Odyssey 1000 has additional features that you can set up, such as the vacation lock mode, timer-to-close function, and automatic light control. These features are optional but can provide added convenience and security to your garage door opener system. Refer to the manufacturer’s manual for specific instructions on how to set up these features.
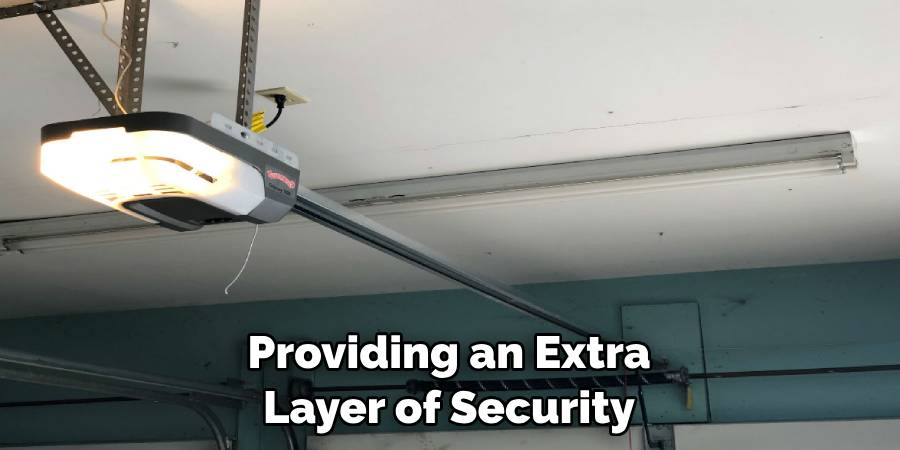
The vacation lock mode allows you to disable remote controls and keyless entry systems while you’re away from home, providing an extra layer of security.
The timer-to-close function automatically closes the garage door after a preset amount of time, ensuring it doesn’t remain open for an extended period. And the automatic light control turns on interior lights when the garage door is activated, providing added safety when entering or leaving your home at night.
Step 8: Test and Make Any Final Adjustments
After completing all the programming steps, it’s essential to test your Odyssey 1000 Garage Door Opener thoroughly. Activate the opener using different methods (remote control, wall switch, keyless entry) and observe its operation. If necessary, make any final adjustments to the travel distance or sensitivity settings to ensure smooth and safe operation.
Congratulations! You have successfully set up and programmed your Odyssey 1000 Garage Door Opener. Remember to perform regular maintenance and safety checks on your opener to ensure it continues to operate efficiently and safely. Refer to the manufacturer’s manual for specific instructions on maintenance and troubleshooting tips.
Frequently Asked Questions
Q: Can I Program My Odyssey 1000 Garage Door Opener to Work With My Car’s Built-in Garage Door Opener Buttons?
A: Yes, most modern cars have a built-in garage door opener button that can be programmed to work with your Odyssey 1000. Refer to your car’s manual or contact your dealership for specific instructions on how to program this feature.
Q: How Often Should I Replace the Batteries in My Remote Control?
A: It’s recommended to replace the batteries in your remote control every 1-2 years, depending on frequency of use. If you notice that the remote control is not working consistently, it may be time to replace the batteries.
Q: Are There Any Safety Precautions I Should Take When Programming My Odyssey 1000 Garage Door Opener?
A: Yes, always make sure to follow all safety precautions outlined in your manufacturer’s manual when programming and operating your garage door opener.
This includes keeping hands and objects away from moving parts and ensuring the safety sensors are properly aligned and functioning. Additionally, never program or operate your garage door opener while standing underneath the door. If you have any concerns about safety, contact a professional for assistance.
With these steps and tips on how to program odyssey 1000 garage door opener, you can easily set up and program your Odyssey 1000 Garage Door Opener for smooth and convenient operation. Remember to always refer to the manufacturer’s manual for specific instructions and safety precautions, and perform regular maintenance on your opener to ensure its longevity.
Conclusion
In conclusion, properly setting up and programming your Odyssey 1000 Garage Door Opener is crucial for ensuring its safe and efficient operation.
By following the outlined steps on how to program odyssey 1000 garage door opener, from synchronizing safety sensors to testing all functionalities, you can enhance the convenience and security of your garage. Regular maintenance and adherence to safety precautions will help prolong the life of your garage door opener.
Should you encounter any issues, consult the manufacturer’s manual or seek professional assistance to address any concerns. Enjoy the ease and peace of mind that comes with a well-functioning garage door opener!
I am Rick. I grew up helping my dad with his handyman service. I learned a lot from him about how to fix things, and also about how to work hard and take care of business. These days, I’m still into fixing things- only now, I’m doing it for a living.
I’m always looking for new ways to help people grow and develop. That’s why I have created this blog to share all my experience and knowledge so
that I can help people who are interested in DIY repair.