MVP garage door opener remotes bring remarkable convenience and functionality to everyday life, allowing users to open and close garage doors effortlessly with the simple press of a button. These remotes are designed for ease of use, making them an ideal solution for enhancing accessibility and security for homes and businesses alike.
However, proper programming of the remote is essential to ensure seamless operation and reliable performance. When not correctly programmed, the remote may fail to communicate with the garage door opener, leading to unnecessary frustration.
This article aims to guide you through the process with straightforward, step-by-step instructions on how to program mvp garage door opener remote. By following these instructions carefully, you can save time, avoid common troubleshooting issues, and enjoy the many benefits of a fully functional MVP garage door opener remote in no time.
Understanding MVP Garage Door Opener Remotes
Types of MVP Remotes
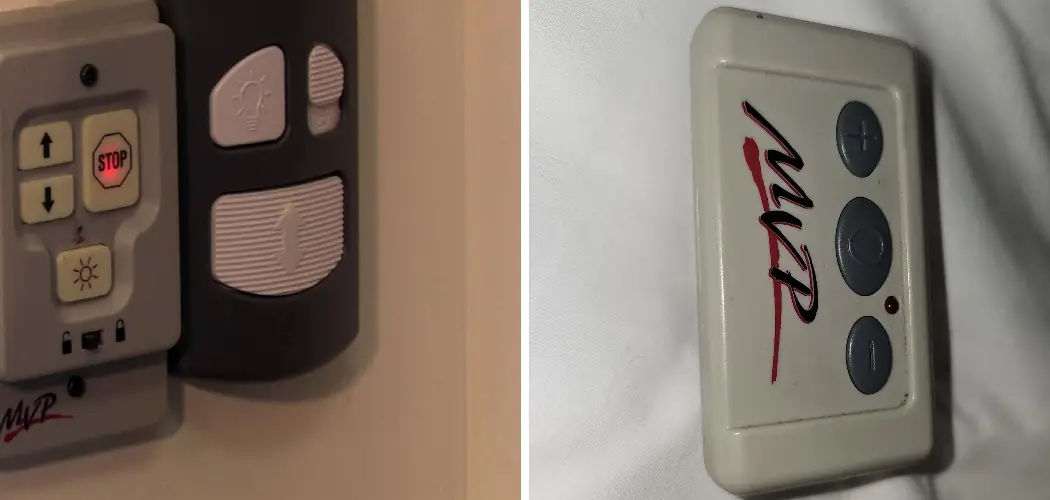
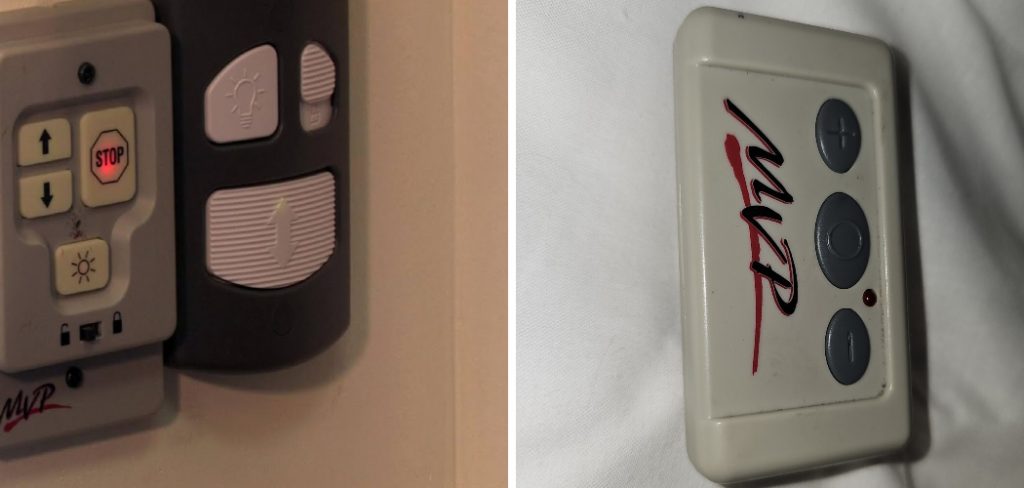
MVP garage door opener remotes come in various models, each designed to cater to different user needs and preferences. Common models include single-button remotes for basic functionality and multi-button remotes that control multiple doors or devices.
Some remotes are sleek and compact, designed for portability, while others are more robust with additional features like LED indicators that confirm signal transmission. Each model is built to deliver reliable performance and ease of use, ensuring a smooth garage door operation experience.
Compatibility with Garage Door Openers
MVP remotes are built to be compatible with a range of MVP garage door openers. However, verifying that your specific opener model supports the remote you intend to use is crucial. These remotes generally work with MVP-branded openers, including older and newer models, but they may also function with certain universal systems. Always consult the manufacturer’s guidelines to ensure compatibility before purchasing or programming a remote.
Key Features
MVP remotes are equipped with essential features to enhance user convenience and security. They offer an impressive signal range, ensuring seamless operation even from a distance. Most models include multiple buttons, allowing users to control multiple doors or garage systems. Additionally, MVP remotes use rolling code technology, which changes the security code with each use, significantly reducing the risk of unauthorized access. These features make MVP remotes a reliable and secure choice for garage automation.
Gathering Necessary Tools and Information
Before beginning the programming process for your MVP remote, it’s important to gather all the necessary tools and ensure you understand your garage door opener system. Preparation of everything will save you time and help the process go more smoothly.
What You Need Before Programming
To successfully program your MVP remotely, you will need the following items:
- The remote control you wish to program.
- The garage door opener unit is installed in your garage.
- A ladder, if the opener is mounted high on the ceiling.
- The manual for your garage door opener or remote, which can help clarify specific instructions for your model.
Locating the Learn or Program Button
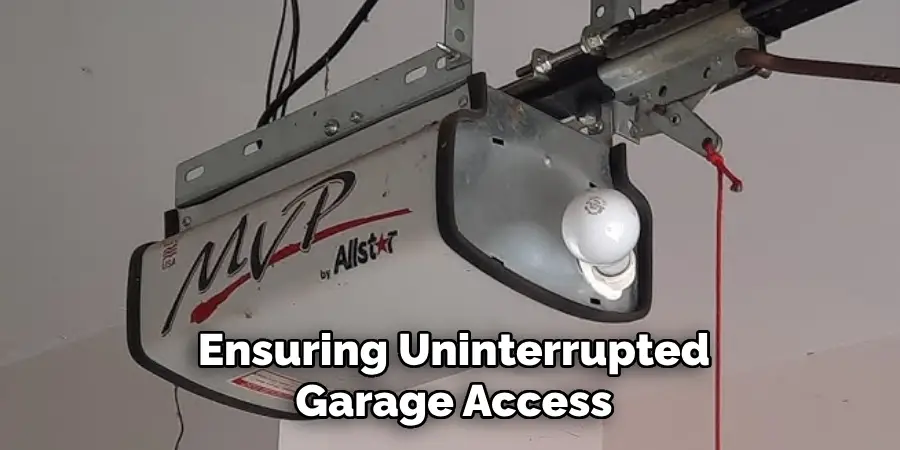
The Learn or Program button is a critical component in the programming process. This button is usually located on the motor unit of your garage door opener. Look for it near the back or side of the unit, often accessible through a removable panel. It may be labeled “Learn,” “Program,” or a similar term.
Understanding Your Garage Door Opener’s Frequency and Code System
Garage door systems commonly work on either rolling or fixed codes. Rolling code systems are more secure, generating a new code each time the remote is used. Fixed code systems use a preset code that remains constant. Knowing which type your system employs is essential for ensuring compatibility and security.
Preparing to Program Your MVP Remote
Programming your MVP remote requires careful preparation to ensure both safety and success. Follow these steps to get started:
Safety Precautions
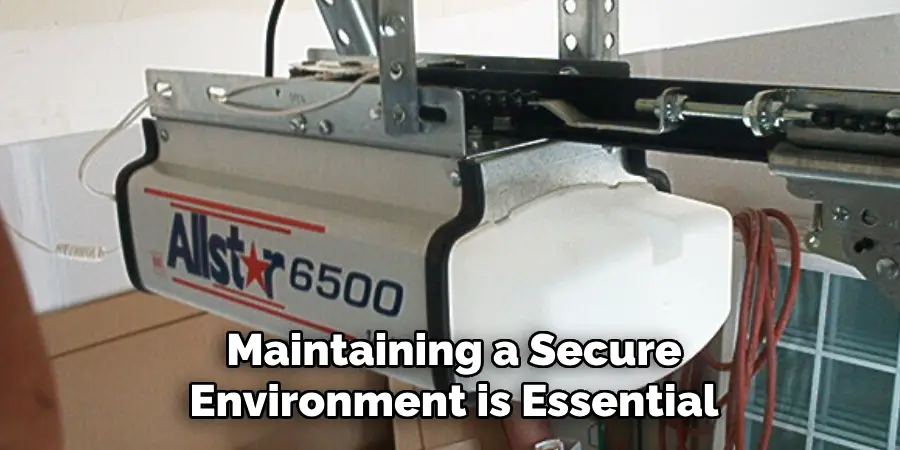
Before you begin, it’s critical to prioritize safety. Make sure the area around the garage door is entirely clear. Keep children and pets at a safe distance to prevent injuries or accidents. Garage doors are heavy and can cause harm if operated unexpectedly, so maintaining a secure environment is essential.
Resetting the Garage Door Opener
If you are programming your MVP remote for the first time or if you need a fresh start, you may need to reset your garage door opener. This step typically involves clearing any previously stored remote codes. Locate the “Learn” or “Program” button on your opener to do this. Press and hold this button until the indicator light turns off, which may take several seconds. This action erases all previously programmed remotes, ensuring a clean slate for programming.
Positioning Yourself
Proper positioning is another key to success. Stand within a reasonable range of the garage door opener unit, typically no more than 10 feet away. This ensures your remote and opener can communicate effectively during the programming process. Avoid blocking the opener’s signal by ensuring there is a clear line of sight between the remote and the unit. By preparing and following these steps, you set yourself up for a smooth and efficient programming experience.
How to Program MVP Garage Door Opener Remote Step-by-Step Programming Instructions
Step 1: Access the Learn Button
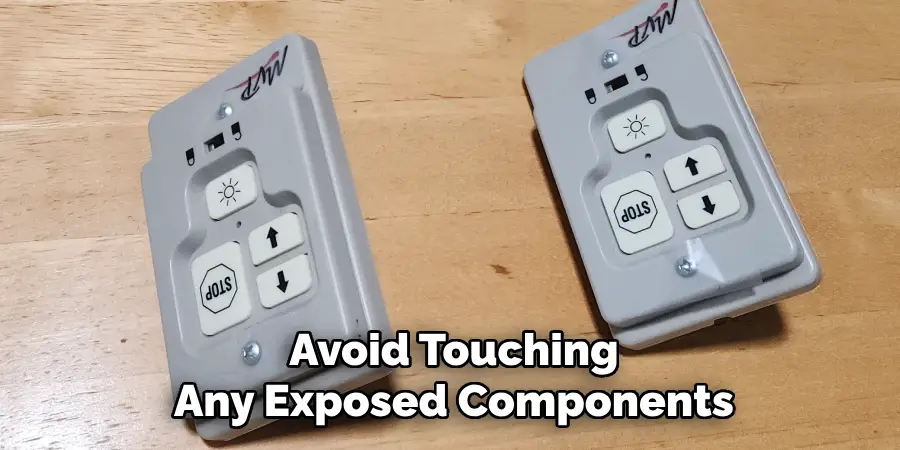
Locate the “Learn” button on your garage door opener unit to begin programming your MVP remote. This button is typically found under the motor unit’s cover. Before opening the cover, ensure the area is safe and the opener is powered, but avoid standing directly underneath the unit. Use a step ladder if necessary and avoid touching any exposed components. Simply slide or remove the cover as per the manufacturer’s instructions to reveal the Learn button.
Step 2: Press the Learn Button
Once the Learn button is visible, press it firmly. Depending on the model, you may notice an LED light flashing or hear a beep, indicating the opener is in programming mode. The LED flash or beep confirms that the opener is ready to pair with the remote. This programming mode is usually active for a limited time (10-30 seconds), so be prepared to proceed to the next step without delay.
Step 3: Press the Button on the MVP Remote
Take your MVP remote and identify the button you wish to program. Within the programming window activated in Step 2, press and hold this button on the remote. Hold it down for a few seconds until the opener’s LED indicator stops flashing or you hear a second beep, confirming a successful sync. Timing is essential here, so ensure you press the button soon after activating programming mode.
Step 4: Test the Remote
With the programming process complete, test your remote by pressing the programmed button to operate the garage door. The door should open, close, or move smoothly without interruptions. If the door does not respond, it may indicate a need for troubleshooting.
Troubleshooting Common Issues
If your remote doesn’t program successfully on the first try, double-check the following:
- Ensure you pressed the correct Learn button on the opener unit.
- Verify the battery inside the remote is not depleted.
- Repeat Steps 1 through 3, ensuring you perform each action within the specified time window.
By carefully reviewing these steps and addressing any issues, you’ll successfully program your MVP remote and enjoy seamless garage door operation.
Programming Multiple Remotes
Adding Extra MVP Remotes
Programming additional MVP remotes is simple and follows the same process as programming your first remote. To add another remote, repeat the standard programming steps outlined earlier. Within the specified time frame, press the Learn button on your opener unit, followed by the designated button on your additional remote. Test each remote individually to ensure proper functionality. This way, every remote will be linked to your garage door opener for smooth operation.
Deleting Old or Lost Remotes
For security purposes, clearing old or misplaced remotes from your opener’s memory is essential to prevent unauthorized access. To delete all pre-programmed remotes, locate the Learn button and press it for approximately 10 seconds until the indicator light turns off. This action erases all codes from the system, ensuring that only the remotes you reprogram will operate the garage door. Once cleared, program your active remotes again to continue using them.

Managing Multiple Users
If multiple household members or employees need access to the garage, assigning specific remotes to each user is beneficial. Label each remote for easy identification, and keep track of who has access. Consider programming only the required number of remotes to avoid unnecessary security risks.
Tips for Maintaining Your MVP Remote
Battery Replacement
A common sign that your remote’s battery needs replacing is reduced range or unresponsiveness. To replace the battery, open the remote’s casing using a small screwdriver or by following the manufacturer’s instructions. Remove the old battery and insert a new one of the correct type, ensuring proper alignment of the positive and negative terminals. Regularly checking the battery can help maintain optimal functionality.
Protecting Your Remote from Damage
To ensure the longevity of your MVP remote, keep it protected from water exposure, such as rain or accidental spills. Avoid dropping the remote, as impacts can damage internal components. Extreme temperatures can also harm the remote, so try to store and use it in moderate conditions whenever possible. Using a durable case can add an extra layer of protection.
Regular Testing
Periodically test your remote to confirm it operates reliably. Press the buttons to ensure they are responsive, and verify that the garage door opens and closes smoothly. Regular testing helps you identify and address potential issues before they become major, ensuring uninterrupted garage access.
Common Problems and How to Fix Them
Remote Not Responding
One common issue with garage door remotes is when they stop responding altogether. First, check the batteries and replace them if necessary, as low or dead batteries are often the cause. Additionally, ensure there are no obstructions between the remote and the garage door receiver that could block the signal. If the problem persists, inspect the remote for physical damage or worn-out components.
Garage Door Doesn’t Respond to Commands
If your garage door doesn’t respond even when the remote appears functional, verify that the remote and the garage door system are properly programmed and compatible. Refer to the manufacturer’s manual to ensure all settings are correct. Also, check to see if the garage door opener is plugged in and operational, as a power issue could render the system unresponsive.
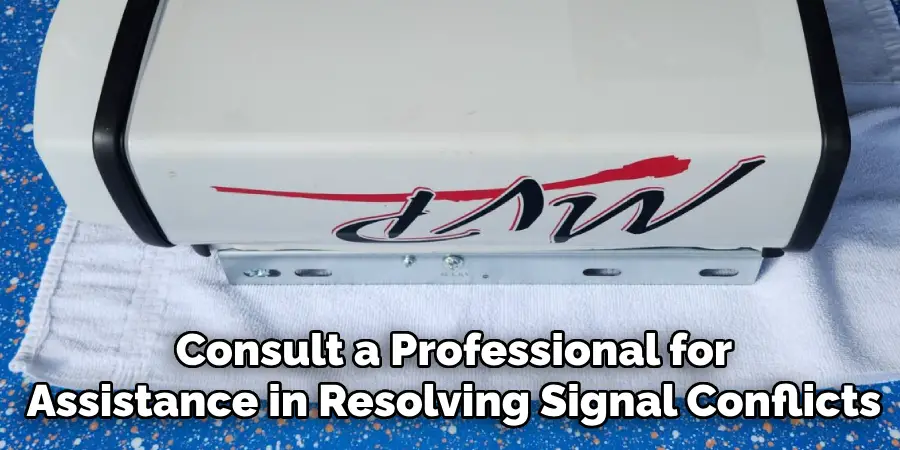
Interference from Other Devices
Household electronics or nearby devices can sometimes interfere with the garage door remote’s signal. Avoid placing other wireless devices near the garage door opener to minimize interference. If interference persists, try changing the frequency settings on your remote if your system allows for it, or consult a professional for assistance in resolving signal conflicts.
Conclusion
Programming your garage door remote may seem daunting at first, but by following the outlined steps, you can easily learn how to program MVP garage door opener remote controls with confidence. Ensure the remote is synced correctly, verify the power supply, and address any signal interference for a seamless setup.
Remember always to prioritize safety during the process, keeping a safe distance from the mechanism while programming. Regular maintenance and prompt troubleshooting of common issues will help extend your remote’s lifespan. Approach each step carefully, and you’ll enjoy a reliable, well-functioning garage door opener system.
I am Rick. I grew up helping my dad with his handyman service. I learned a lot from him about how to fix things, and also about how to work hard and take care of business. These days, I’m still into fixing things- only now, I’m doing it for a living.
I’m always looking for new ways to help people grow and develop. That’s why I have created this blog to share all my experience and knowledge so
that I can help people who are interested in DIY repair.