
Programming a Linear garage door remote is a straightforward process that allows you to control your garage door with ease. Whether you’re setting it up for the first time or reprogramming it to work with a new opener, following the right steps can save you time and ensure smooth operation.

This guide on how to program linear garage door remote will walk you through the process, providing clear instructions to help you get your remote up and running quickly.
Why Program a Linear Garage Door Remote?
Programming a Linear garage door remote is essential for both convenience and security. Having a programmed remote allows you to effortlessly open and close your garage door without the need to manually operate it, saving you time and effort, especially during bad weather or on busy days.
Additionally, programming the remote ensures that it is synced exclusively with your garage door opener, reducing the risk of unauthorized access and enhancing the security of your home. By taking a few minutes to set up your Linear remote, you can enjoy reliable and secure access to your garage whenever you need it.
Needed Materials
Linear Remote Control:
The Linear remote control is a compact and user-friendly device that allows you to open and close your garage door with the touch of a button. It comes with a battery already installed, so all you need to do is program it to sync with your garage door opener.
Garage Door Opener:
In order for the Linear remote to work, you will need a compatible garage door opener. The Linear remote is designed to work with most standard garage door openers, including those from major brands such as LiftMaster, Chamberlain, Genie, and Craftsman.
Ladder or Step Stool:
You may also need a ladder or a step stool to reach the programming button on your garage door opener. Make sure the ladder or step stool is sturdy and secure before attempting to use it.
8 Steps on How to Program Linear Garage Door Remote
Step 1: Locate the “Learn” Button on the Garage Door Opener
Begin by identifying the “Learn” button on your garage door opener. This button is typically located on the back or side of the opener motor housing. It may be labeled as “Learn” or “Program,” and its color can vary, often appearing in red, green, orange, or purple.
Consult your garage door opener’s manual if you’re having difficulty finding it. Ensure you have easy and safe access to the button, using a ladder or step stool if necessary.
Step 2: Clear the Area and Prepare the Remote
Before programming your garage door opener, make sure the area around the garage door is clear of any obstructions. This will ensure safety and prevent interruptions during the programming process.
Next, locate the remote control you wish to program. Verify that the remote has fresh batteries installed and is functioning properly. Familiarize yourself with the buttons on the remote, as you may need to press specific ones during the programming process. Keep the remote within easy reach for the next step.
Step 3: Press the “Learn” Button on the Opener
Locate the “Learn” button on your garage door opener. This button is typically found on the motor unit, which is mounted on the ceiling of your garage. Depending on the model, the “Learn” button may be labeled explicitly or identified by its distinct color, such as yellow, red, or purple.
Press and release the “Learn” button—you should see an indicator light illuminate or blink, signaling that the opener is ready to be programmed. Be prepared to quickly proceed to the next step, as the programming mode is usually time-sensitive.
Step 4: Press the Remote Button
With the garage door opener in programming mode, take your remote control and press the button you wish to program. Hold the button down for a few seconds to ensure the opener receives the signal.
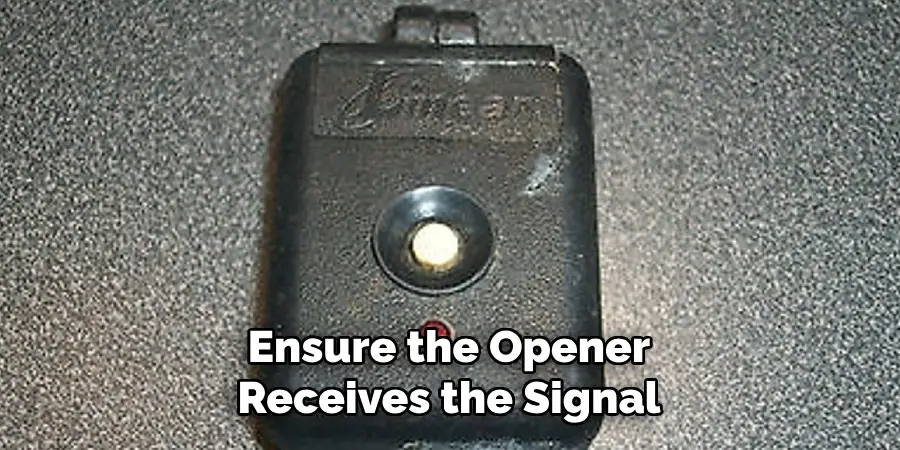
You may notice the indicator light on the motor unit blinking or turning off, which confirms that the remote has been successfully paired. Test the remote by pressing the button again to see if it activates the garage door. Suppose it doesn’t, repeat the programming steps carefully.
Step 5: Wait for Confirmation
After pressing the remote button, allow a few moments for the garage door opener to complete the programming process. Most units will provide a clear sign of successful pairing, such as a blinking light, a steady light, or a specific sound like a beep.
Refer to your garage door opener’s manual if you’re unsure what confirmation to look for. Once the confirmation is received, your remote should now be ready for use.
Step 6: Test the Remote
To ensure the programming was successful, test the remote by pressing the button you just programmed while standing a safe distance from the garage door. The door should respond by opening or closing smoothly. If the door does not respond, repeat the programming steps outlined earlier and double-check that the correct button was programmed.
Additionally, ensure there are no obstructions blocking the door’s operation. Once the remote functions correctly, you can consider the programming process complete.
Step 7: Program Additional Remotes (Optional)
If you need to program additional remotes, repeat the same programming steps for each remote. Begin by entering the programming mode on your garage door opener or remote, following the manufacturer’s instructions. Be sure to test each remote individually after programming to confirm it functions properly.
Remember to label or keep track of which remote is intended for which user to ensure smooth operation. This optional step allows multiple users to conveniently operate the garage door.
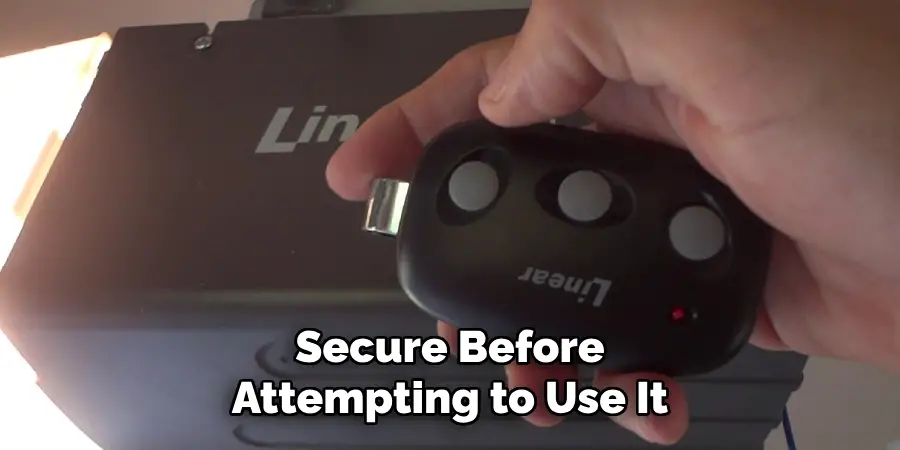
Step 8: Reattach Covers and Secure the Area
Once all remotes have been successfully programmed and tested, it’s time to reattach any covers or panels that were removed during the process. Carefully align the covers and ensure they are securely fastened, referencing the manufacturer’s guidelines if needed. Double-check the surrounding area to confirm all tools and equipment have been cleared away, leaving the space tidy and safe for regular use. Properly securing the components helps maintain the longevity of the system and ensures consistent operation moving forward.

Following these steps on how to program linear garage door remote will not only ensure that your remote is properly set up, but also maintain the functionality of your garage door system. It is important to regularly check and maintain your garage door and its components to avoid any potential issues or malfunctions in the future.
Frequently Asked Questions
Q1: How Do I Know if My Linear Garage Door Remote is Compatible With My Opener?
A: To check compatibility, refer to the manufacturer’s information manual or website for a list of compatible remotes. You can also contact the manufacturer directly for assistance.
Q2: Can I Program Multiple Remotes to Operate One Garage Door Opener?
A: Yes, most linear garage door openers allow for multiple remotes to be programmed to operate one opener. However, it is important to follow the proper programming instructions and use only compatible remotes.
Q3: What Should I Do if My Remote Stops Working or Becomes Unresponsive?
A: First, try replacing the batteries in the remote. If that does not solve the issue, try reprogramming the remote according to the manufacturer’s instructions. If the remote still does not work, it may need to be replaced. You can also check for any obstructions or interference near the garage door opener that could be causing signal issues. If all else fails, contact the manufacturer for further assistance.
Some common reasons for a remote to stop working include low batteries, damage to the remote or garage door opener, or a change in frequency due to nearby electronic devices. It is important to regularly maintain and troubleshoot your remote and garage door opener for optimal functionality.
Q4: How Can One Troubleshoot a Remote That Has Stopped Working?
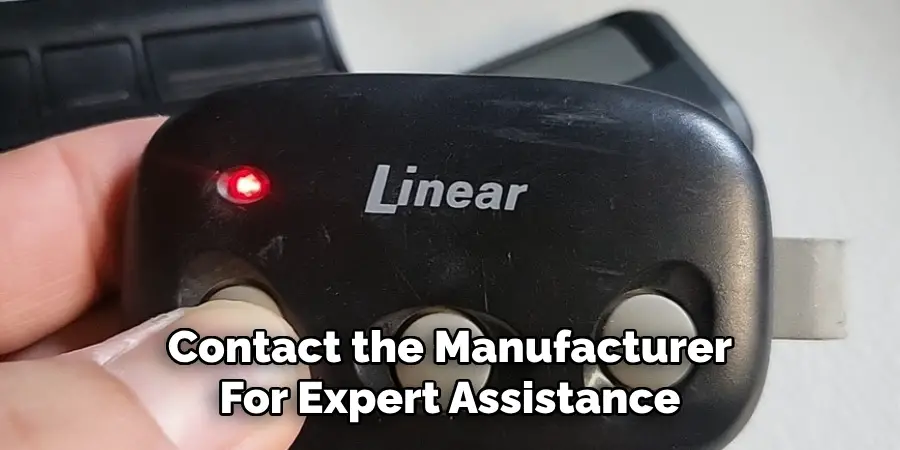
A4: To troubleshoot a remote that has stopped working, start by checking the batteries. Replace them with fresh ones to rule out a power issue. Next, ensure that the remote is properly programmed to the garage door opener by following the manufacturer’s instructions. If the problem persists, inspect the remote for visible signs of damage or wear.
Additionally, check the garage door opener’s antenna to ensure it is properly aligned and free from debris. If none of these steps resolve the issue, try reprogramming the remote. For persistent issues, consult the owner’s manual or contact the manufacturer for expert assistance.
Conclusion
In conclusion, troubleshooting a garage door remote control requires a methodical approach to identify and resolve the issue effectively. By following these steps on how to program linear garage door remote—checking the power supply, programming, inspecting for damage, and ensuring the antenna is aligned—most problems can be resolved without professional help.
However, if the issue persists, refer to the owner’s manual or contact the manufacturer for further guidance. Proper maintenance and care can help prevent future problems and ensure the reliable operation of your garage door system.
I am Rick. I grew up helping my dad with his handyman service. I learned a lot from him about how to fix things, and also about how to work hard and take care of business. These days, I’m still into fixing things- only now, I’m doing it for a living.
I’m always looking for new ways to help people grow and develop. That’s why I have created this blog to share all my experience and knowledge so
that I can help people who are interested in DIY repair.