
Having a garage door opener that works reliably is a key aspect of home convenience and security. If you’ve recently moved into a new home, bought a preowned system, or are troubleshooting a non-responsive unit, understanding how to program legacy garage door opener systems is essential. Older models often appear complex at first glance due to outdated technology, but they are typically straightforward once you break down their components and features.
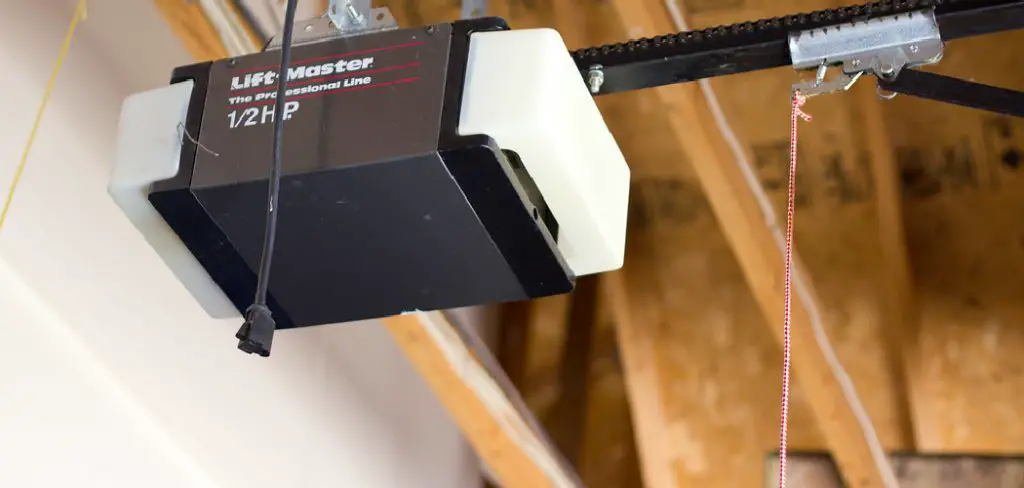
Before starting, ensure you have the owner’s manual for the specific model of your garage door opener, as instructions can vary. Begin by locating the “Learn” or “Set” button on the motor unit, which is typically found near the antenna wire or light cover.
Press and hold this button until the indicator light either blinks or turns on steadily, signaling that the opener is in programming mode. Next, within 30 seconds, press the button on your remote control that you’d like to program. The indicator light should blink to confirm the signal is received. Finally, test the remote by pressing the programmed button to ensure it successfully operates the door. If it doesn’t work, repeat the process, ensuring you follow each step carefully.
This guide is designed to make the programming process simple, even for someone with no prior experience. By following the steps outlined below, you’ll be able to get your system running smoothly in no time, giving you easy access to your garage and added peace of mind. Let’s explore why knowing this process is so important before we get into the step-by-step details.
Why Programming Your Legacy Garage Door Opener Matters
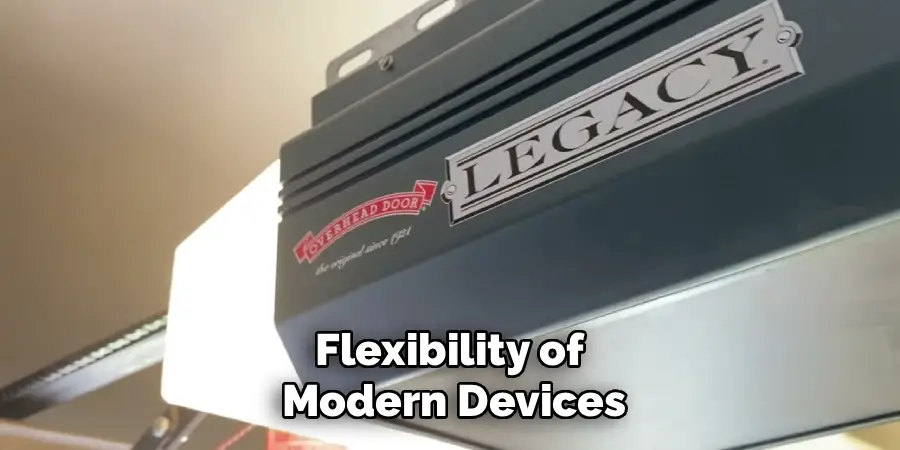
Programming a legacy garage door opener correctly isn’t just about convenience—it’s also about functionality and safety. These older systems, though reliable, often lack the plug-and-play flexibility of modern devices. Without proper programming, the opener might fail to respond consistently to your remote control or keypad, leaving you stuck outside your home or needing manual intervention.
For many homeowners, legacy garage openers came with their home purchase, meaning they didn’t choose or install the system themselves. This makes understanding their settings and programming crucial for maintenance. Additionally, reprogramming is often necessary if you’ve added new accessories, replaced a remote, or reset the system entirely.
From ensuring your family’s security to enabling smooth daily operations, mastering this skill can save you time, effort, and even money in the long run. Fortunately, programming these systems can be done with basic tools and patience, as the following steps will show.
7 steps on How to Program Legacy Garage Door Opener
Programming a legacy garage door opener involves a set process, which may vary slightly depending on the make and model, but the core steps tend to remain similar. Follow these clear, detailed instructions to successfully program your opener.
Step 1: Locate the “Learn” Button
Before you can program your garage opener, you need to find its “Learn” button, typically located on the motor housing. Depending on the brand, the button might be under a panel or cover to prevent accidental activation.
To locate it, grab a ladder and examine the motor unit mounted to your garage’s ceiling. Common button colors include red, orange, or purple, which might also indicate compatibility with certain remotes or keypads. If you’re unsure where to look, consult your system’s manual or check for a label on the housing.
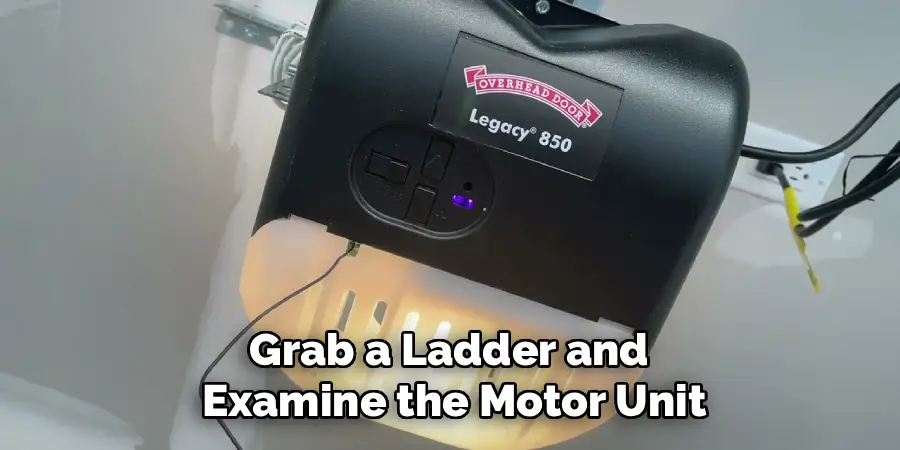
Once identified, ensure the area around the button is clean and accessible. Dirt or obstructions can interfere with the setup process. The Learn button is critical—it activates your opener’s programming mode, allowing it to sync with devices like remotes or keypads.
Step 2: Prepare Your Remote Control
Most legacy systems require you to pair the motor to a handheld remote. Before proceeding, ensure the remote’s battery is charged and functioning. Dead batteries or weak signals are a common issue in older garage openers, so this preparation step can save troubleshooting time later.
When ready, keep the remote within arm’s reach of the motor unit. Hold it facing the opener to establish a direct communication path. Some older remotes may feature toggle switches inside their casing to configure frequency settings. If your remote has these, double-check they match the motor’s frequency before proceeding with programming.
Understanding this preparatory step ensures your equipment communicates seamlessly throughout the process.
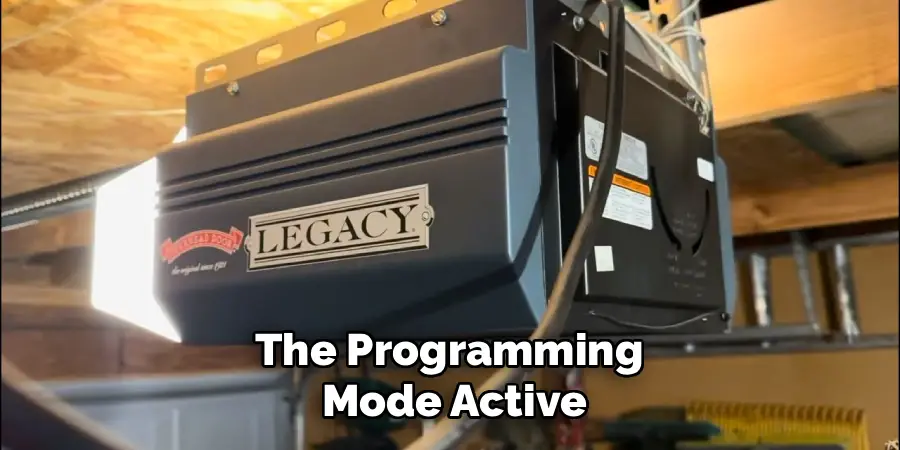
Step 3: Activate Programming Mode
Once the “Learn” button is located and your remote is ready, it’s time to activate the programming mode on your garage door opener. Press the Learn button firmly but not too long—about 1–2 seconds is typically sufficient.
You’ll notice an indicator light turning on or blinking to confirm the system is in programming mode. This light usually stops flashing after 30 seconds, so move quickly to pair your devices. If the light doesn’t respond, check for accumulated debris around the button or defects in the motor housing.
Activating programming mode opens the communication channel needed to sync new remotes or keypads. Stay near the motor unit, as the pairing process relies on proximity for consistent signal reception.
Step 4: Pair the Remote Control
With the programming mode active, press and hold the desired button on your remote control. Hold it for about 5 seconds or until you see the motor light blink again. This blink usually confirms the remote and system are synced.
For older or manual systems, you might need trial and error to link the correct button, especially if you’re using a universal remote. Adjust positions and try the pairing process patiently until successful. Remember, each remote button corresponds to specific actions – configuring the wrong one may prevent proper use later.
Once paired, test the remote by pressing the programmed button while standing a few feet from the garage. If the door responds, the remote is successfully programmed and ready to use.
Step 5: Program Additional Accessories (Optional)
Legacy garage door openers occasionally support additional accessories such as wall-mounted keypads or extra remotes. If you’re adding these, repeat the programming steps for each device.
For keypads, locate the battery compartment first to confirm it’s operational. Then, enter your desired PIN, followed by pressing the Learn button and syncing the keypad to the motor unit. Test its functionality by entering your PIN to open the garage.
Syncing multiple accessories ensures efficient use of your opener system, allowing multiple users or features to function together seamlessly.
Step 6: Adjust Door Limits
After programming remotes and accessories, check your opener’s door limits. These settings dictate how far the garage opens or closes when activated, ensuring it aligns properly with the frame.
Most motors feature limit dials or screws located on the housing. Adjust these carefully, using minimal turns until you achieve the correct positioning. Open and close the garage door multiple times to confirm smooth movement without sticking or slamming.
Door limits are especially important for safety, preventing the door from damaging vehicles, belongings, or individuals.
Step 7: Test the System Thoroughly
Once programmed, test the entire system thoroughly to confirm all functions work correctly. Open the garage from various distances using your remote or keypad and ensure the response is consistent.
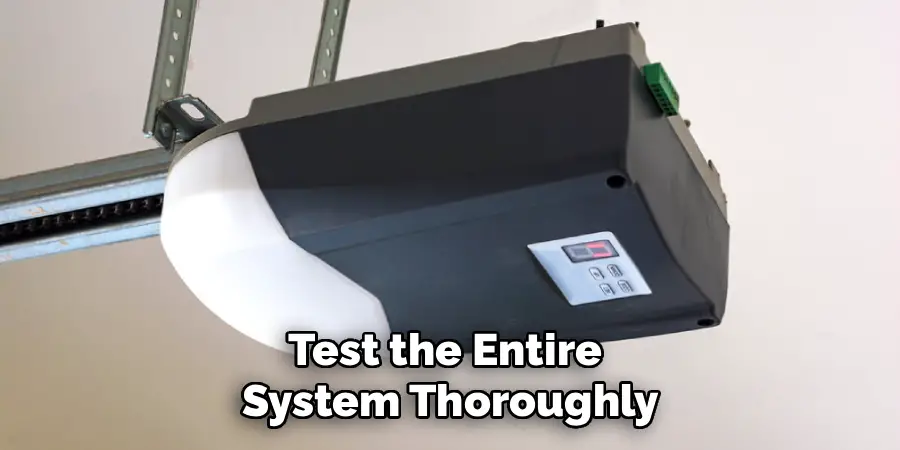
Check the safety features like sensor alignment and manual overrides. Proper testing validates all components are synced and functioning, giving you peace of mind moving forward.
Benefits of Professional Service
Opting for professional service for your garage door installation or maintenance comes with several advantages. Experts possess the knowledge and experience to handle complex systems efficiently, ensuring proper setup or repairs. They can identify potential issues early and address them before they escalate, saving you time and money in the long run.
Professional services also ensure the work complies with safety standards, reducing risks associated with improper installation. Additionally, many services offer warranties, providing peace of mind and ongoing support in case future problems arise. Trusting professionals guarantees a hassle-free and reliable solution for your garage door needs.
Frequently Asked Questions
How do I reset my legacy garage door opener?
To reset a legacy garage door opener, you typically press and hold the “Learn” button on the motor unit until the indicator light (often an LED) turns off or blinks, usually for about 6 seconds, not 2-4 hours.
What if my remote doesn’t work after programming?
If a remote fails, check its battery first. Replace if necessary, then redo the pairing process. Ensure it’s within the correct frequency range of the opener motor—some remotes require specific compatibility settings.
Can I program a universal remote to a legacy opener?
Yes, most universal remotes are compatible. Follow the same steps, ensuring the remote is set to the correct frequency. Use your opener’s manual for guidance.
Why is the door partially opening or closing?
Partial movement is often caused by incorrect door limits. Adjust these settings on the motor housing. Additionally, inspect for obstructions in the tracks or worn-out torsion springs.
Do I need professional assistance to program my opener?
Most legacy openers are DIY-friendly, but hire a professional if you face consistent issues or suspect major damage. Repairs beyond programming, such as replacing torsion springs, should always be left to experts.
Conclusion
By following these steps, you can easily master how to program legacy garage door opener systems. Programming ensures smooth functionality, enhances security, and simplifies day-to-day use. Take the time to thoroughly test the system once programmed, ensuring all remotes and accessories are synced correctly.
Don’t hesitate to tackle this process—it’s a great way to save service costs and gain a stronger understanding of your home’s equipment. With a bit of patience, you can keep your garage accessible and secure.
I am Rick. I grew up helping my dad with his handyman service. I learned a lot from him about how to fix things, and also about how to work hard and take care of business. These days, I’m still into fixing things- only now, I’m doing it for a living.
I’m always looking for new ways to help people grow and develop. That’s why I have created this blog to share all my experience and knowledge so
that I can help people who are interested in DIY repair.