Programming a garage door opener for your GMC Yukon can enhance your convenience and streamline your daily routines.
Whether you’re looking to sync your vehicle with your home’s garage system for the first time or reprogram it due to changes in your opener, this guide on how to program gmc yukon garage door opener will provide you with step-by-step instructions.
Understanding the process of programming will not only allow for seamless entry but also ensure your garage door operates efficiently and safely. Let’s explore the straightforward steps to get your GMC Yukon’s garage door opener up and running.
Why Program Your GMC Yukon Garage Door Opener?
Before diving into the programming process, it’s essential to understand the benefits of syncing your vehicle with your garage door opener. Here are some reasons why you should program your GMC Yukon’s garage door opener:
Convenience:
With programmed garage doors, you don’t have to get out of your car to open or close the garage manually. You can do so right from the comfort of your vehicle.
Added Security:
Programming your GMC Yukon garage door opener adds an extra layer of security to your home. Only your vehicle will have access to open the garage, providing added protection against potential break-ins.
Safety:
Syncing your vehicle with your garage door opener means you can ensure that the door is fully closed before leaving, preventing any accidents or injuries.
7 Steps on How to Program Gmc Yukon Garage Door Opener
Step 1: Determine Compatibility
Before proceeding with the programming of your GMC Yukon garage door opener, it’s crucial to verify that your vehicle is compatible with your specific garage door opener model.
Most modern GMC Yukons are equipped with HomeLink or a similar integrated system designed to program garage door openers. Check your vehicle’s owner manual for details on compatibility with various opener brands.
Additionally, consult the manual of your garage door opener to ensure it supports the programming features of your GMC Yukon. This initial step will help avoid any potential issues during the programming process, ensuring a smooth and successful setup.
Step 2: Prep Your Garage Door Opener
Before you can successfully program your GMC Yukon to operate your garage door opener, it’s important to prepare the garage door opener itself. Start by locating the “Learn” or “Smart” button on your garage door opener unit; this button is typically found on the back or side of the motor housing. Once identified, clear any obstructions around the opener for easier access.
Next, ensure that the garage door is in a closed position and functioning correctly, as this will serve as your starting point for the programming process. If you’re dealing with a battery-operated opener, ensure that the batteries are fresh for optimal performance. Taking these preparatory steps will help to facilitate a smoother programming experience.
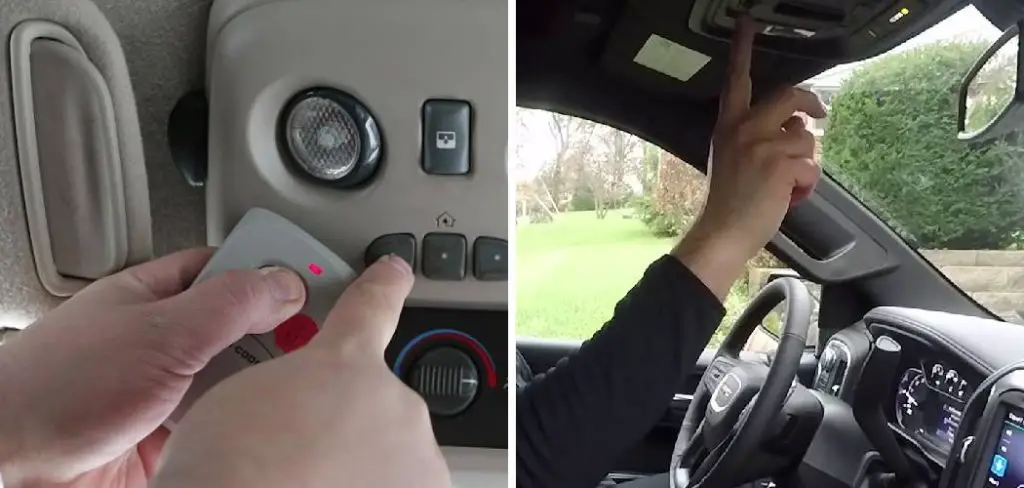
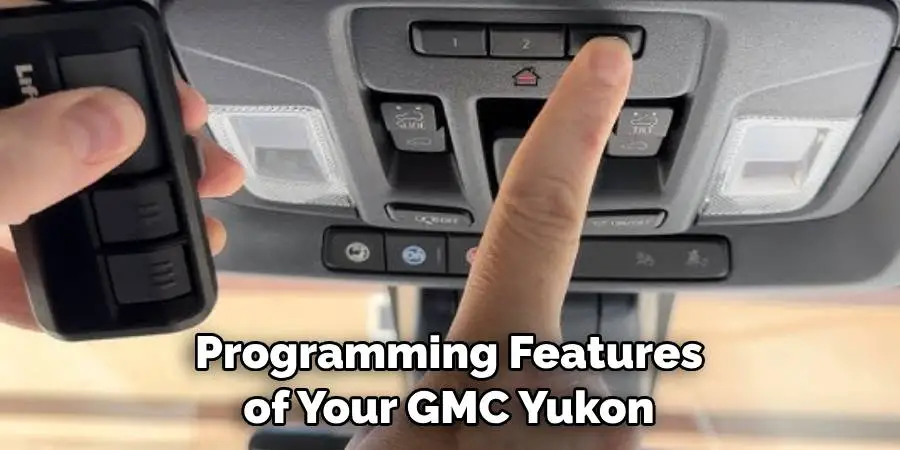
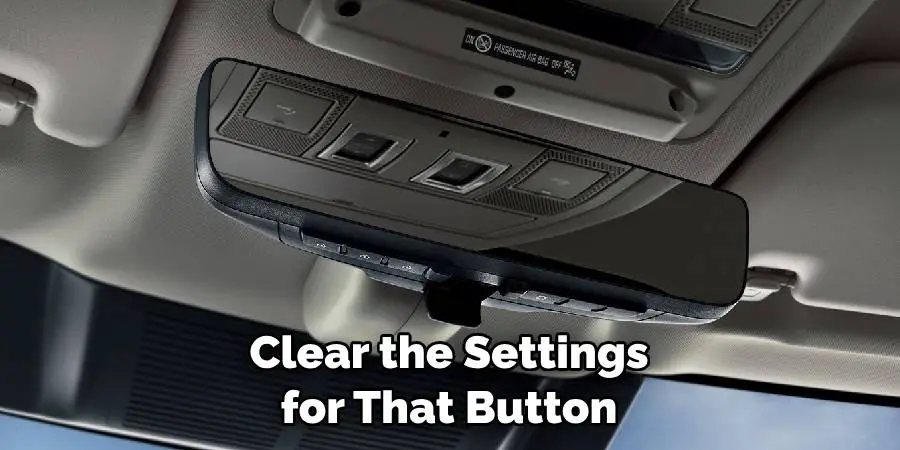
Step 3: Locate HomeLink Buttons
The next step in programming your GMC Yukon garage door opener is to locate the HomeLink buttons within your vehicle. HomeLink buttons are typically found on the overhead console or the mirror of your GMC Yukon, depending on the model year and configuration. Look for three buttons arranged in a row, each of which can be programmed to operate different devices, including your garage door opener.
Once you have identified the HomeLink buttons, ensure that your vehicle is parked safely and that you are inside with the ignition turned on (or in the accessory position) to proceed with the programming. Having access to these buttons will be crucial for synchronizing your garage door opener with your GMC Yukon.
Step 4: Press and Hold the HomeLink Button
Once you have located the HomeLink buttons in your GMC Yukon, it’s time to begin the programming process. Choose one of the three buttons you wish to use for your garage door opener and press and hold it.
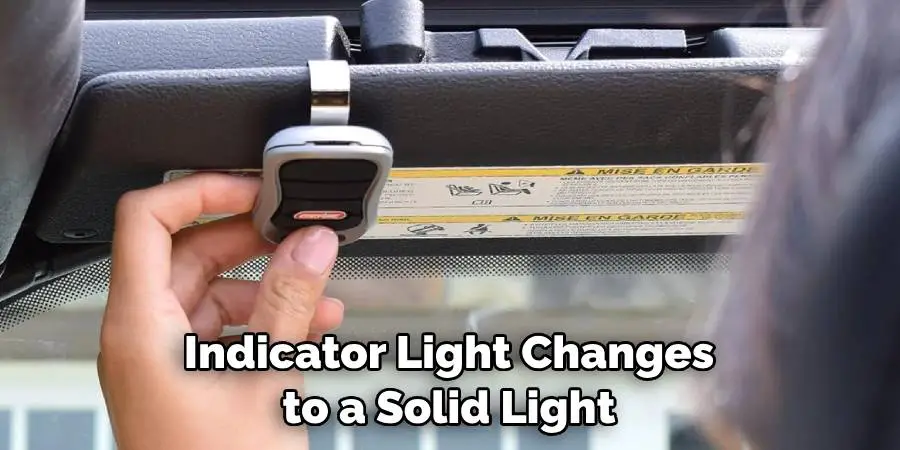
While holding the button, simultaneously press and hold the “Learn” or “Smart” button on your garage door opener unit. You should hold both buttons for approximately 2 seconds or until you see the HomeLink indicator light begin to flash.
This flashing light indicates that the system is attempting to communicate with the garage door opener. It’s important to maintain both button presses during this period to ensure successful programming.
Once the indicator light changes to a solid light, you can release both buttons—the synchronization was successful, and your GMC Yukon can now control your garage door opener.
Step 5: Repeat the Process for Other HomeLink Buttons
If you wish to program more than one garage door opener, you can repeat the process outlined in step 4 using another button on your GMC Yukon’s HomeLink system. This feature is handy if you have multiple garages or use different doors within your home. Repeat the same steps until all desired buttons are programmed and check that they work correctly by testing each one.
It’s worth noting that if your garage door opener is a rolling code system, you may need to perform an additional step or two during this process. Consult your vehicle and garage door opener manual for specific steps on how to program a rolling code system.
Step 6: Save Your Settings
Once you have successfully programmed all desired buttons on your GMC Yukon, it’s crucial to save the settings for future use. To do so, hold down the button you just programmed until the indicator light flashes faster than before; this indicates that the new settings have been saved. Release the button once again, and your programming is complete.
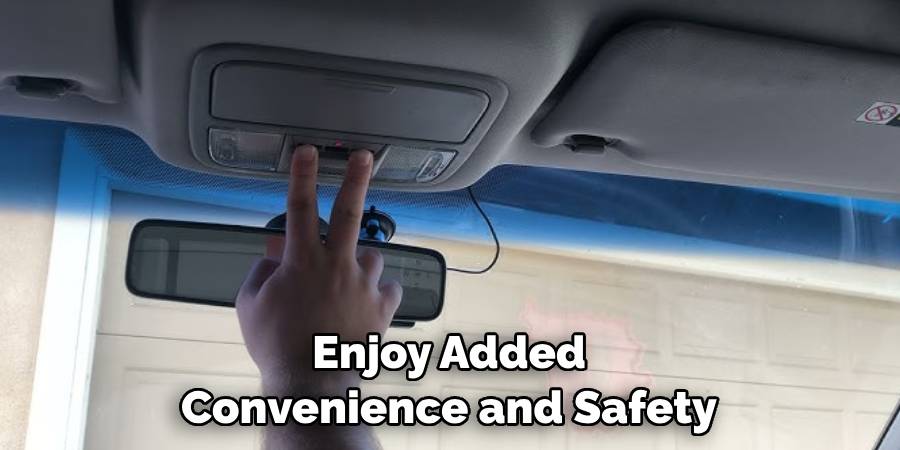
You can now control your garage door opener with the press of a button on your GMC Yukon, providing added convenience, security, and safety. If you ever need to change or clear these settings, consult your vehicle’s manual for instructions on how to do so.
Step 7: Troubleshooting
In some cases, the programming process may not go as smoothly as anticipated. If you encounter any issues during this process, refer to your vehicle’s manual for troubleshooting tips specific to your GMC Yukon model.
You can also contact customer support for further assistance if needed. Remember that patience and following the outlined steps are crucial for the successful programming of your GMC Yukon’s garage door opener.
By following these 7 steps on how to program gmc yukon garage door opener, you can easily program your GMC Yukon to operate your garage door opener and enjoy added convenience and safety while entering or exiting your home. Remember to always prioritize safety when operating any vehicle-related equipment, and perform regular maintenance checks to ensure everything is functioning correctly.
Additional Tips
- If your GMC Yukon is equipped with a universal remote system, you may also be able to program your garage door opener through that system instead of using HomeLink buttons. Consult your vehicle’s manual for specific instructions on how to do so.
- Keep the original remote for your garage door opener handy, in case you ever need to reprogram or troubleshoot any issues with the programming.
- If you’re unable to locate the “Learn” or “Smart” button on your garage door opener unit, consult the manual or contact customer support for assistance.
- Always test each programmed button before considering the process complete; this will ensure proper synchronization and functionality. Overall, remember to be patient and take your time when programming your GMC Yukon garage door opener for a successful setup experience!
Frequently Asked Questions
Q1: Can I Program My GMC Yukon to Operate Other Devices Besides a Garage Door Opener?
A1: Yes, the HomeLink buttons on your GMC Yukon can be programmed to operate a variety of devices, such as security systems, gate openers, and even home lighting systems. Consult your vehicle’s manual for specific instructions on how to do so.
Q2: How Do I Clear the Settings for My GMC Yukon’s HomeLink Buttons?
A2: To clear the settings for your HomeLink buttons, press and hold the desired button until the indicator light begins to flash rapidly. Continue holding it down until the light turns off completely, then release the button.
Your settings have now been cleared, and you can reprogram as needed. Remember to also consult your vehicle’s manual for specific instructions on how to clear settings for rolling code systems.
Q3: What Should I Do if I Accidentally Programmed a Button Incorrectly?
A3: If you’ve accidentally programmed a HomeLink button incorrectly or changed your mind about which device it should control, simply follow the steps outlined in Step 7 to clear the settings for that button and reprogram it with the correct device. Remember to test the button after programming to ensure proper functionality.
Conclusion
Programming your GMC Yukon’s garage door opener is a straightforward process that enhances your driving experience by providing convenience and security. By following the outlined steps on how to program gmc yukon garage door opener carefully, you can ensure smooth operation and effective control of your garage door from the comfort of your vehicle.
Remember to save your settings and troubleshoot any issues that may arise. Regularly checking your system’s functionality will keep everything running efficiently. With your garage door opener successfully programmed, you can now enjoy effortless access to your home, making your daily routines a little easier.
I am Rick. I grew up helping my dad with his handyman service. I learned a lot from him about how to fix things, and also about how to work hard and take care of business. These days, I’m still into fixing things- only now, I’m doing it for a living.
I’m always looking for new ways to help people grow and develop. That’s why I have created this blog to share all my experience and knowledge so
that I can help people who are interested in DIY repair.