
Programming a garage door pad can seem like a daunting task, but with the right steps, it becomes a straightforward process. Whether you are setting up a new system or reprogramming an existing one, following the correct procedure ensures your garage door opener operates smoothly and securely. This guide will walk you through the necessary steps of how to program garage door pad.

What is a Garage Door Keypad?
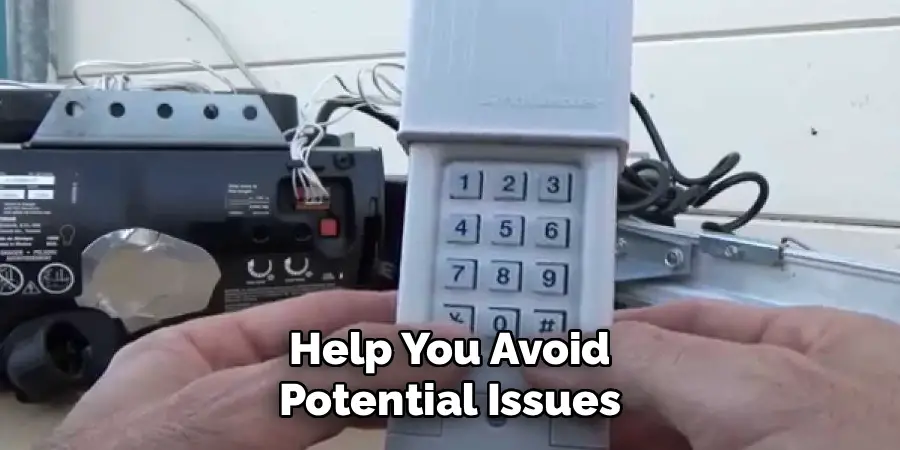
A garage door keypad is a wall-mounted device that allows you to open and close your garage door without the need for a remote control. It is typically installed outside the garage and features a numeric keypad where you can input a personal identification number (PIN) to operate the door. Garage door keypads are battery-powered and provide convenient, secure access to your garage, often becoming an essential part of modern home security systems. They are especially useful for households with multiple people requiring access or in situations where carrying a remote is impractical.
Types of Garage Door Keypads
There are several types of garage door keypads available, each designed to cater to different needs and preferences. The first type is the wired keypad, which connects directly to the garage door opener through a physical wire. Wired keypads are reliable and do not rely on batteries, making them a low-maintenance option. The second type is the wireless keypad, which communicates with the garage door opener via radio signals. Wireless keypads are easier to install and more versatile as they can be placed anywhere within range of the door opener. Some advanced models also offer smart keypads that integrate with home automation systems, allowing users to control and monitor their garage doors remotely through a smartphone app. Additionally, keypads with backlight features enhance usability in low-light conditions, and waterproof models are perfect for outdoor installations in varying weather conditions. These options ensure that homeowners can find a keypad solution that aligns with their specific requirements.
What You Need Before You Begin
Before installing or replacing a garage door keypad, it’s important to gather all the necessary tools and materials to ensure a smooth process. You’ll typically need a screwdriver, a power drill, a ladder, and mounting screws. Additionally, check the keypad’s instruction manual for any specific tools or batteries required for the installation. It’s also essential to confirm compatibility between your new keypad and the existing garage door opener model. Finally, make sure to have a safe and stable environment to work in, ensuring no obstructions near the installation area. Proper preparation will save time and help you avoid potential issues.
10 Methods How to Program Garage Door Pad
1. Locate the Learn Button on the Garage Door Opener Unit
The first and most crucial step in programming a garage door pad is identifying the Learn button on the motor unit. This button is typically found on the back or side of the opener and is often near the antenna wire. Depending on the brand and model, it may be red, yellow, orange, green, or purple. Pressing this button enables the system to enter programming mode and allows the keypad to sync with the opener. It’s important to act quickly after pressing it, as most units only stay in learning mode for 30 seconds. Be prepared with your desired PIN code and the keypad within reach before starting this process.
2. Clear Old Codes Before Programming (If Necessary)
In many cases, especially when moving into a new home or replacing an old keypad, it’s essential to clear any previously stored access codes. To do this, press and hold the Learn button until the indicator light turns off—usually after about six seconds. This action erases all remote and keypad codes from the memory, ensuring that only newly programmed devices will work with the opener. Clearing the memory prevents unauthorized access and is a wise security measure if the system’s access history is uncertain.
3. Set Your Desired PIN Code on the Keypad
Once your garage door opener is in learning mode, you can proceed to program your new PIN code on the keypad. Typically, this involves entering a four-digit or six-digit code, depending on your model, followed by the Enter or Learn key (check your keypad’s user manual for the specific button layout). Some keypads also require the garage door opener’s brand code to be entered first. The keypad will then send a signal to the opener unit. If the programming is successful, you’ll usually hear a click, or the opener light will flash briefly, indicating that the new code has been accepted.
4. Test the Keypad for Proper Functionality
After programming the keypad, it’s important to test it to ensure everything is working correctly. Wait about 30 seconds, then go outside and close the garage door completely. Enter your PIN code followed by the Enter or Open key. If the door opens smoothly, the programming was successful. If nothing happens, check the battery in the keypad, confirm the Learn button was properly engaged, and repeat the programming steps. Some keypads also include a temporary lockout feature if too many incorrect attempts are made, so patience and accuracy are key.

5. Program Additional Doors (Multi-Door Systems Only)
If your garage keypad is designed to operate multiple garage doors, it will have a specific sequence for programming each one. For example, you may need to press a specific number before the PIN to distinguish which door the command is for. Each door opener must be placed in learning mode individually, and the keypad must be programmed to associate different buttons or sequences with each motor. Always consult your model’s user manual for exact instructions, as these steps can vary significantly between manufacturers and models.
6. Replace or Check the Battery in the Keypad
If you are having trouble with keypad programming or signal transmission, the issue might be due to a weak or dead battery. Most garage door keypads use a 9V battery housed behind a small panel on the back or bottom. Open the battery compartment, remove the old battery, and replace it with a fresh one. Be sure to insert it in the correct orientation, aligning the positive and negative terminals properly. A fresh battery ensures that the keypad has enough power to send signals and maintain programming memory.
7. Use Smart or Wireless Keypads with Compatible Apps
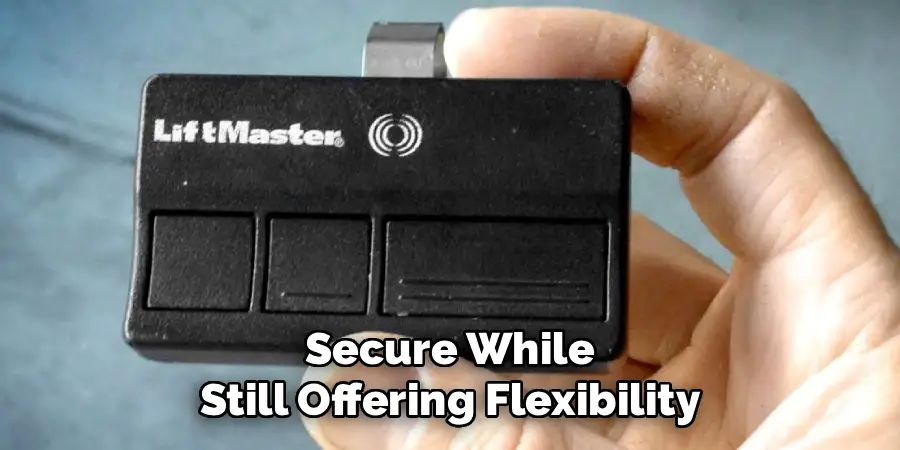
Many modern garage door keypads are wireless and compatible with smart home systems or apps, such as MyQ by LiftMaster. If your keypad supports wireless or Bluetooth connectivity, you may need to sync it with your mobile app rather than manually entering a code into the Learn button. Through the app, you can program new PINs, schedule times for access, and receive notifications when the keypad is used. This method adds a higher level of convenience and security, especially for households with multiple users or frequent deliveries.
8. Program Temporary PINs for Guests or Service Providers
One of the useful features on advanced garage keypads is the ability to set temporary PINs. These can be shared with guests, house cleaners, or service personnel who need one-time or limited access to your garage. To program a temporary code, enter your primary PIN, press the appropriate function key, and then input the temporary PIN followed by a duration code (such as the number of hours or the number of uses allowed). Always refer to your keypad manual to follow the correct sequence. This keeps your home secure while still offering flexibility.
9. Mount the Keypad Correctly for Signal Reliability
Even the best-programmed keypad won’t work properly if it’s installed incorrectly. Keypads should be mounted about five feet off the ground on a flat, dry surface near the garage door frame. Use the provided screws and anchors to ensure it’s securely attached. Avoid mounting the keypad too far from the opener or on metal surfaces that could interfere with wireless signals. Additionally, some keypads are weather-resistant but not waterproof, so mounting them under an eave or awning can extend their longevity and performance.
10. Reset the Keypad When Facing Persistent Issues
If programming the keypad fails repeatedly or the device becomes unresponsive, performing a full reset may be necessary. This involves removing the battery, waiting for a few minutes, and re-inserting it. Some models also feature a reset button hidden under the battery cover. After a reset, all codes are erased, and the device is restored to factory settings. You’ll need to repeat the programming process from scratch. This is a valuable method for troubleshooting problems that stem from corrupted memory or conflicting signal inputs.

Conclusion
Resetting your device can be a straightforward solution to resolve unresponsive behavior or persistent errors. However, it’s important to proceed with caution, as this process will erase all settings and require reprogramming. By understanding how and when to perform a reset, you can ensure your device continues to function optimally while minimizing long-term issues. Always refer to the user manual for specific guidance related to your model. Now that you know how to program garage door pad, try it yourself today and feel good about completing such a big DIY job!
I am Rick. I grew up helping my dad with his handyman service. I learned a lot from him about how to fix things, and also about how to work hard and take care of business. These days, I’m still into fixing things- only now, I’m doing it for a living.
I’m always looking for new ways to help people grow and develop. That’s why I have created this blog to share all my experience and knowledge so
that I can help people who are interested in DIY repair.