
There is an undeniable thrill that comes with driving a Ford Bronco. Whether you are returning from a muddy trail adventure or just a grocery run, the last thing you want to do is fumble around for a clunky plastic remote to get into your garage.
Modern vehicles are designed for convenience, and your Bronco comes equipped with a sophisticated universal transmitter system, often compatible with HomeLink, that allows you to control your garage door directly from the driver’s seat. Syncing this technology eliminates the need for loose remotes clipping onto your visor, creating a cleaner and more secure cabin environment. While the technology is advanced, the setup process is surprisingly straightforward, even if you are not particularly tech-savvy.
This guide is designed to walk you through the entire procedure, providing clear, beginner-friendly instructions on how to program bronco garage door opener buttons so you can enjoy the seamless integration of your rugged vehicle with your smart home setup.
Why Program Your Bronco Garage Door Opener?
Programming your Bronco’s garage door opener is more than just a convenience; it enhances your daily routine by streamlining access to your garage. Instead of fumbling with separate remotes, you can effortlessly operate your garage door with the integrated buttons in your vehicle, ensuring a hands-free and distraction-free experience. Additionally, incorporating this functionality into your Bronco complements its rugged yet innovative design, aligning your vehicle with modern smart home solutions.
Whether you’re headed out on an adventure or returning home after a long day, this integration saves time, improves safety, and adds a touch of modern practicality to your driving experience.

How to Program Bronco Garage Door Opener: A Step-by-Step Guide
Step 1: Clear Any Pre-Existing Factory Codes
Before you attempt to sync your new device, it is essential to start with a clean slate. The buttons on your Bronco’s sun visor may have residual test codes from the factory or settings from a previous owner if you bought used. To clear these, press and hold the two outer buttons (usually buttons 1 and 3) simultaneously. You need to keep them pressed for approximately 10 to 20 seconds. Watch the indicator light on the visor carefully.
It will start solid and then begin to flash rapidly. Once you see this rapid flashing, release both buttons immediately. This action wipes the memory clean, ensuring that no old signals interfere with the new programming process you are about to begin.
Step 2: Prepare Your Handheld Transmitter
You cannot program the car without the original remote control for your garage door. This step requires you to have that clunky clicker handy. Position your handheld garage door transmitter roughly one to three inches away from the Bronco’s visor buttons. It is important to keep the indicator light on the visor in your line of sight while you do this. If you are too far away, the signal might be too weak for the car to learn; if you are too close, it might block the signal reception.
Having a fresh battery in your handheld remote is also highly recommended, as a weak battery can transmit a faint signal that leads to programming failure or spotty performance later on.
Step 3: Syncing Signals
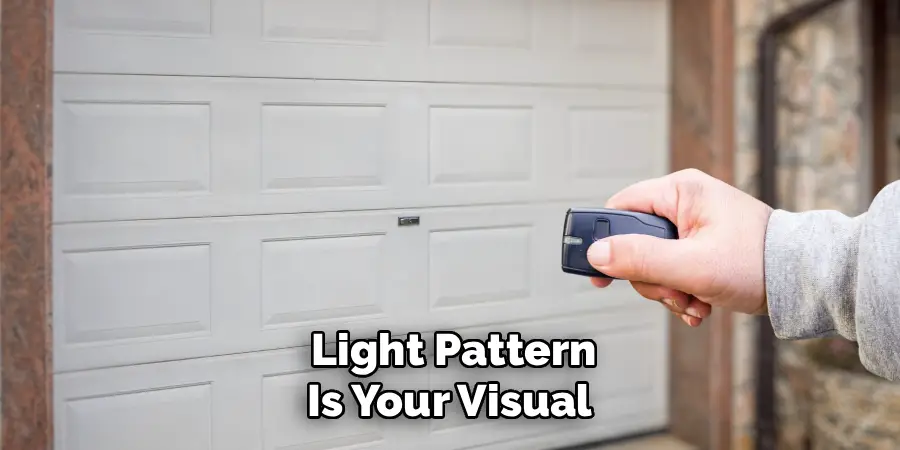
This is the moment where the actual learning takes place. Simultaneously press and hold the button on your handheld remote and the specific button on your Bronco’s visor that you wish to program. Do not release either button. You must hold them both down until the indicator light on the Bronco’s visor changes its pattern. It will typically shift from a slow, steady blink to a rapid, frantic flashing.
This change in the light pattern is your visual confirmation that the vehicle has successfully accepted and recorded the radio frequency signal from your remote. Once the rapid flashing begins, you can release both buttons. The car has now learned the basic code.
Step 4: Test the Programmed Button Function
Now that the car has learned the signal, you need to verify if the process is complete or if further steps are required. Press and hold the newly programmed button on your visor for two full seconds and then release it. Look at the indicator light again. If the light remains solid green or steady, your programming is complete, and your garage door should be moving.
However, if the light blinks rapidly for two seconds and then turns solid, it indicates that your garage door opener uses a rolling code security system. Most modern openers manufactured after the late 1990s use rolling codes, so there is a high probability you will need to proceed to the next steps to finalize the connection.
Step 5: Locate the “Learn” Button on the Motor Unit
If your indicator light signaled a rolling code system, you must now interact directly with the garage door opener motor unit mounted on your garage ceiling. You will likely need a sturdy stepladder to reach it. Look for a button labeled “Learn,” “Smart,” or “Program.” It is often a colored square or circular button—commonly purple, yellow, orange, or green—located near where the antenna wire hangs down.
Sometimes this button is hidden under the light cover, so you may need to remove the plastic lens to find it. Once you have located this button, prepare yourself to move quickly, as the next part of the process is time-sensitive and requires you to return to your vehicle immediately.
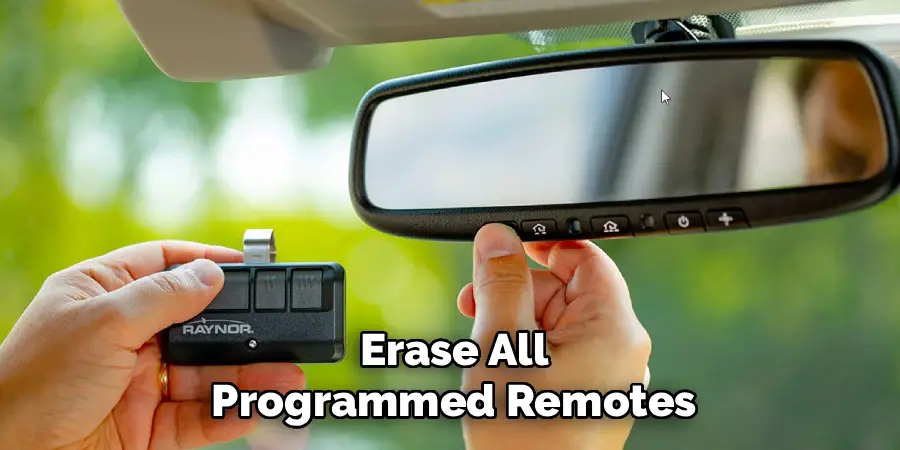
Step 6: Activate the Rolling Code Learning Mode
Press and release the “Learn” button on the garage motor unit. Do not hold it down for a long time, as this might erase all programmed remotes for your entire household; a quick press is all that is needed. You will typically see a small LED light next to the button turn on or flash to indicate the unit is ready to pair.
From the moment you press that button, you have a specific window of time—usually 30 seconds—to get back to your Bronco and complete the sequence. This is why having your vehicle parked just outside or inside the garage (with the path clear) before you climb the ladder is a critical strategic move for success.
Step 7: Finalize the Connection
Rush back to your Ford Bronco and locate the same visor button you were working with earlier. Press and hold that button for two seconds, then release it. You need to repeat this press-hold-release sequence up to three times. The garage door opener motor needs to recognize the car’s signal and synchronize the rolling code algorithm.
Usually, by the second or third press, the garage door will begin to move, indicating that the motor and the car are now fully synced. Once the door activates, the programming is officially complete. You can now use your visor button to open and close your garage door, enjoying the full convenience of your integrated system.
Frequently Asked Questions
What If the Programming Doesn’t Work on the First Try?
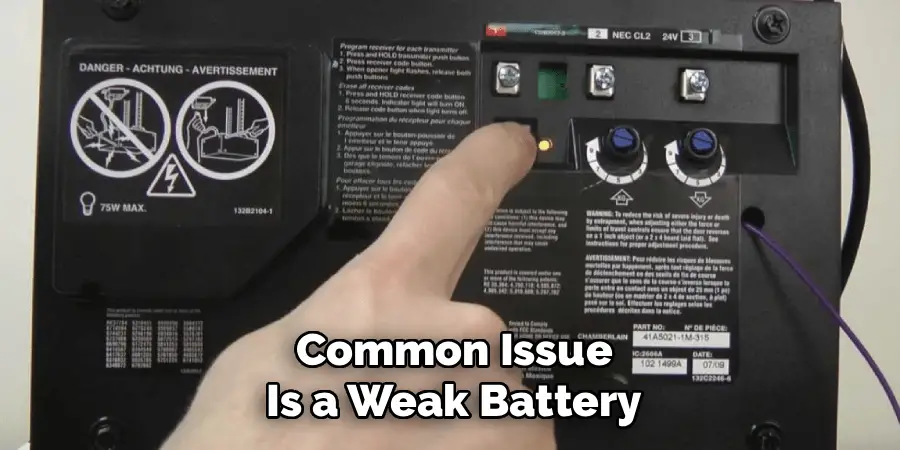
If the door does not open after following these steps, do not panic. The most common issue is a weak battery in the original handheld remote, which prevents the car from learning the signal strength correctly. Replace the remote battery and try the process again.
Also, ensure you are holding the remote within the recommended 1-3 inch distance from the visor. Sometimes, moving the remote slightly during the pairing process can help the sensor catch the signal.
Can I Program Multiple Garage Doors to My Bronco?
Yes, the HomeLink system in your Ford Bronco typically comes with three distinct buttons on the visor. You can program a different device to each button. This means you can control your main garage door, a secondary garage door, and even a community gate or a home lighting system, provided they are compatible. You simply repeat the programming steps for each individual button using the corresponding remote for that specific device.
Where Is the “Learn” Button on My Garage Opener?
The “Learn” or “Smart” button is located on the main motor unit attached to your garage ceiling, not on the wall switch.
- Check the Back: It is usually on the back panel where the wires connect.
- Remove Covers: You might need to pop off the light bulb cover or a control panel cover to see it.
- Color Coding: Look for a colored button (Red, Orange, Purple, Green, or Yellow) which helps identify the frequency type.
Do I Need the Engine Running to Program the Opener?
For safety reasons, you should not have the engine running if you are parked inside a closed garage to avoid carbon monoxide poisoning. However, the vehicle’s accessory power must be on for the HomeLink buttons to function during programming. You can put the ignition in “Accessory” mode (press the start button without your foot on the brake) to power the electronics without starting the engine.
Is My Garage Door Opener Compatible with HomeLink?
Most garage door openers manufactured after 1993 utilize standard safety frequencies that are compatible with the Ford Bronco’s system. However, some very new units or specific brands (like Genie or Sommer) might require a compatibility bridge or repeater if they use a unique frequency. If you have followed all instructions perfectly and it still fails, check your owner’s manual or the HomeLink website to see if your specific opener model requires an adapter.
Conclusion
Integrating your vehicle into your home ecosystem is one of the small luxuries that makes daily life significantly smoother. By eliminating the need for loose remotes, you not only declutter your Bronco’s cabin but also enhance the security of your home access. The process involves a specific sequence of clearing codes, capturing signals, and potentially syncing with your motor unit, but it is manageable for any owner.
Once you have successfully completed these steps, you will never have to worry about dead batteries in a plastic clicker again. Now that you have mastered how to program bronco garage door opener buttons, you can enjoy the seamless transition from the open road to the comfort of your home with just the touch of a visor button.
I am Rick. I grew up helping my dad with his handyman service. I learned a lot from him about how to fix things, and also about how to work hard and take care of business. These days, I’m still into fixing things- only now, I’m doing it for a living.
I’m always looking for new ways to help people grow and develop. That’s why I have created this blog to share all my experience and knowledge so
that I can help people who are interested in DIY repair.