Programming a Sears garage door remote is essential for ensuring that your remote operates seamlessly with your garage door opener. There are several common reasons for reprogramming, including replacing a lost remote or setting up a new one after purchasing a different model. Homeowners can maintain security and convenience in their daily lives by learning how to
program a sears garage door remote. The process typically involves a few straightforward steps: locating the “Learn” button on your garage door opener, syncing the remote with the opener, and, finally, testing the setup to confirm that everything is functioning correctly. With this guide, you’ll gain the knowledge necessary to successfully program your remote and manage your garage door effortlessly.
Understanding Your Garage Door Opener System
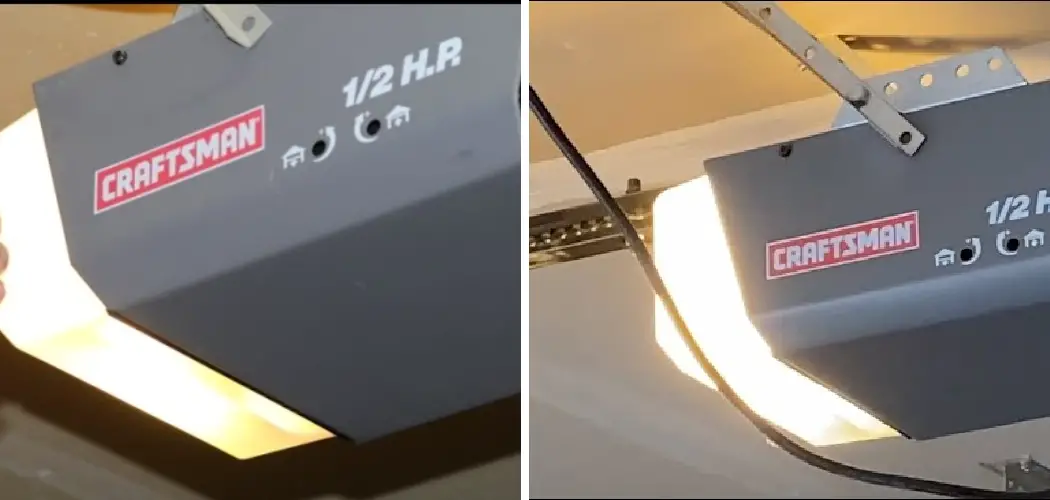
When programming your Sears garage door remote, it’s crucial to clearly understand your garage door opener system. Knowing your opener’s specific model and frequency helps ensure compatibility with the remote, which is essential for smooth operation. The model number can typically be found on the motor unit of your garage door opener. It is often affixed to a label, making
it relatively easy to locate. Additionally, the owner’s manual usually contains this information, which can assist you in identifying the correct model and its frequency specifications. If the manual is unavailable, check for a barcode sticker on the back or side of the garage door opener, as this may also provide the model details.
Identifying the Model of Your Garage Door Opener
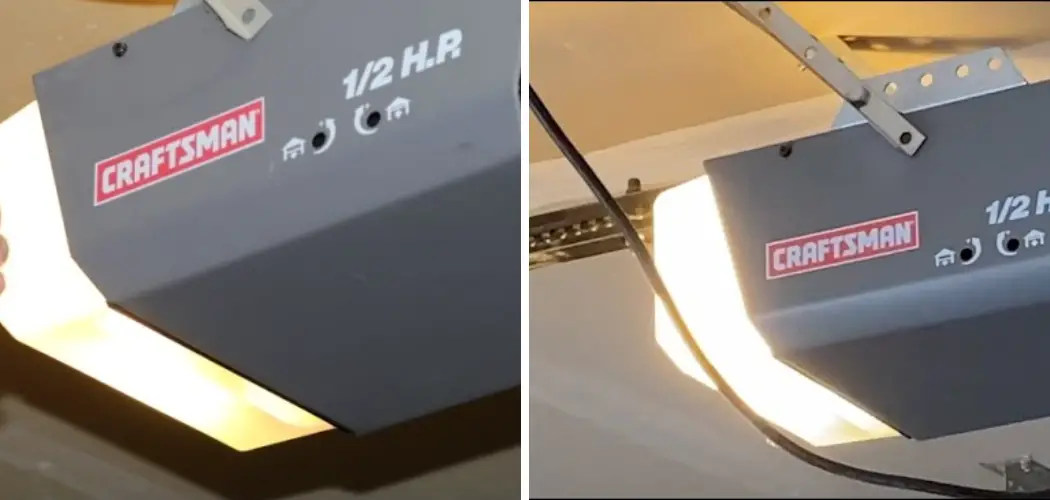
Understanding the model of your Sears garage door opener is vital for effective reprogramming. Each model may operate on different frequencies, and using a remote that’s not compatible can lead to functional issues. Look for the model number on the motor unit, where it’s typically printed on a sticker. The owner’s manual is a reliable resource if you don’t have access to the motor unit.
Should both options prove unfruitful, contacting Sears customer service or checking their website can guide you to the right specifications. Knowing your model ensures you select the appropriate remote, making the programming process straightforward and efficient.
Types of Sears Garage Door Remotes
Sears offers a variety of garage door remotes, each designed for different user needs and setups. Standard remotes are the most common and typically feature buttons for single or multiple doors, while keychain remotes are compact and easily attachable to your keys for convenient access. Universal remotes provide the added benefit of being able to control multiple brands of
garage door openers, which can be a valuable feature if you’re upgrading or if you have different systems across properties. Each of these remotes may differ in terms of frequency settings, button configurations, and range, so it’s important to select a remote that aligns with your specific garage door opener. Understanding these differences will facilitate a smoother programming experience and enhance your overall convenience.
Preparing for Programming
Gathering Necessary Tools
Before programming your Sears garage door remote, gather the necessary tools. You will need a ladder to safely access the motor unit, a working light source to illuminate the area for clear visibility, and the correct garage door remote corresponding to your specific opener model. Having the right remote ensures a smooth programming process and prevents compatibility issues.
Safety Considerations
When programming your garage door remote, safety should be your top priority. Ensure the garage door is fully closed to prevent accidental openings during the setup. Maintain a safe distance from any moving parts, keeping fingers and clothing clear to avoid injury. Additionally, it’s crucial to keep the remote away from children during the programming process, ensuring that
safety protocols are upheld to prevent any inadvertent accidents. These precautions will help create a safe environment for programming your remote and operating your garage door.
Locating the “Learn” Button on the Garage Door Opener
Where to Find the “Learn” Button
The first step to successfully program your Sears garage door remote is identifying the “Learn” button on the garage door opener’s motor unit. This button is commonly found near the antenna wire, which extends from the motor unit to enhance signal reception. Depending on the specific model, the “Learn” button may be located on the back or side panel of the unit. The
button’s color can vary; it may be orange, purple, or green, among other colors. Ensure you reference your model’s manual for precise details on the button’s appearance and location.

Understanding the Role of the “Learn” Button
The “Learn” button is crucial for syncing the remote to your garage door opener. It activates the programming mode, enabling the opener to detect and accept signals from the remote. By pressing this button, you ensure that the remote and opener are paired, allowing seamless garage door operation.
How to Program a Sears Garage Door Remote: Programming the Remote
Pressing the “Learn” Button
To initiate the programming of your Sears garage door remote, begin by locating the “Learn” button on your garage door opener. Stand near the opener and press the “Learn” button firmly. You should observe the indicator light next to the button begin to blink. This blinking light signals that the opener has entered programming mode and is ready to accept a signal from the remote.
It’s important to act promptly; the blinking light will typically stay active for about 30 seconds, allowing you a small window to sync your remote. During this time, ensure there are no obstructions between the opener and remote, which will assist in establishing a strong connection.
Syncing the Remote
Once the “Learn” button is pressed and the light is blinking, take your remote control and identify the button you wish to program. Press and hold this button firmly while observing the indicator light on the garage door opener. After a brief moment, the blinking light will stop and become solid, which indicates that the remote has been successfully programmed. At this point,
you can release the button on the remote. This solid light confirms that the opener has received and memorized the signal from your remote, making it ready for operation.
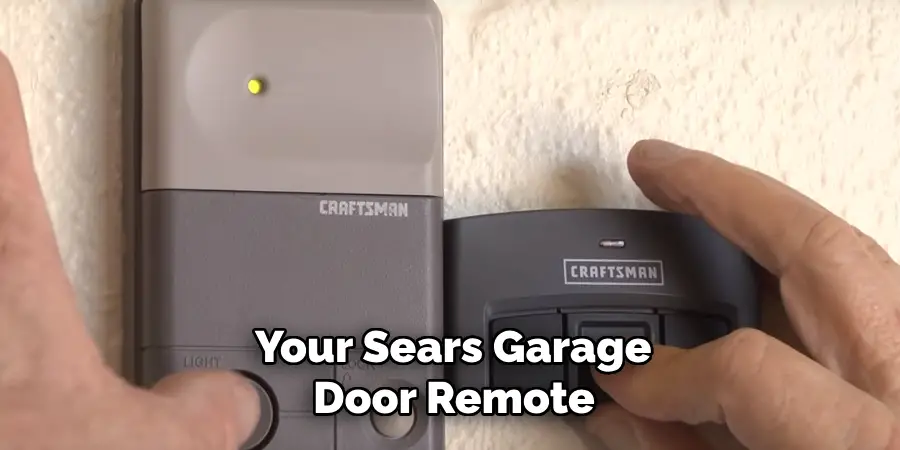
Programming Multiple Remotes
If you need to program additional remotes, the process remains consistent for each remote; however, performing these steps one at a time is essential. After programming the first remote, repeat the aforementioned steps for each subsequent remote you wish to add. Be aware that you must quickly press the “Learn” button for each new remote within a short time frame, usually within

30 seconds of the last remote being programmed. This is crucial as exceeding this time may result in the opener erasing the previous entries from its memory, meaning you would have to start the process over. Follow these steps carefully to ensure all your remotes are programmed accurately and effectively.
Testing the Garage Door Remote
Testing the Remote’s Functionality
Once you’ve successfully programmed your Sears garage door remote, it’s time to test if it operates correctly. To do this, simply press the programmed button on your remote to open and close the garage door. Observe the door’s response; it should move smoothly and consistently without delays. If the door activates as expected, your remote programming has been successful, ensuring you can operate your garage door with ease.
Troubleshooting Issues
If the remote does not work, check the battery to ensure it’s charged and properly installed. Next, verify that you are within the garage door opener’s effective range; obstacles or distance can hinder the signal. If issues persist, it may be necessary to repeat the programming process, ensuring that you follow all steps accurately. Additionally, be aware of potential interference from
other devices that operate on similar frequencies or incorrect button presses that could disrupt functionality.
Reprogramming or Erasing Remotes
Erasing All Remote Codes
In cases where security is a concern—such as when a remote is lost—it’s essential to erase all programmed remotes from the garage door opener’s memory. Locate the “Learn” button on the motor unit to do this. Press and hold the “Learn” button until the indicator light turns off, which typically takes about 6 seconds. This action will clear all recorded codes, ensuring that any lost remotes can no longer operate the garage door and preventing unauthorized access.
Reprogramming a New Remote
If you need to reprogram a new remote due to loss or damage, follow the initial programming steps outlined earlier. Start by pressing the “Learn” button on the garage door opener until the indicator light blinks. Then, grab your new remote and hold down the desired button until the indicator light on the opener turns solid. Test the remote’s functionality by pressing the programmed button to confirm that the garage door operates smoothly.
Conclusion
In summary, programming a Sears garage door remote involves several key steps: first, locate the “Learn” button on the garage door opener; next, press this button to enter programming mode; then, sync your remote by holding down the designated button; afterward, test the remote’s functionality to ensure it operates correctly. For success, take your time during each step and
follow the instructions carefully to avoid any potential issues. Remember, the process of how to program a Sears garage door remote is straightforward and can be completed in just a few minutes. By accomplishing this task, you enhance the convenience and security of your home, giving you effortless access to your garage with the push of a button.
I am Rick. I grew up helping my dad with his handyman service. I learned a lot from him about how to fix things, and also about how to work hard and take care of business. These days, I’m still into fixing things- only now, I’m doing it for a living.
I’m always looking for new ways to help people grow and develop. That’s why I have created this blog to share all my experience and knowledge so
that I can help people who are interested in DIY repair.