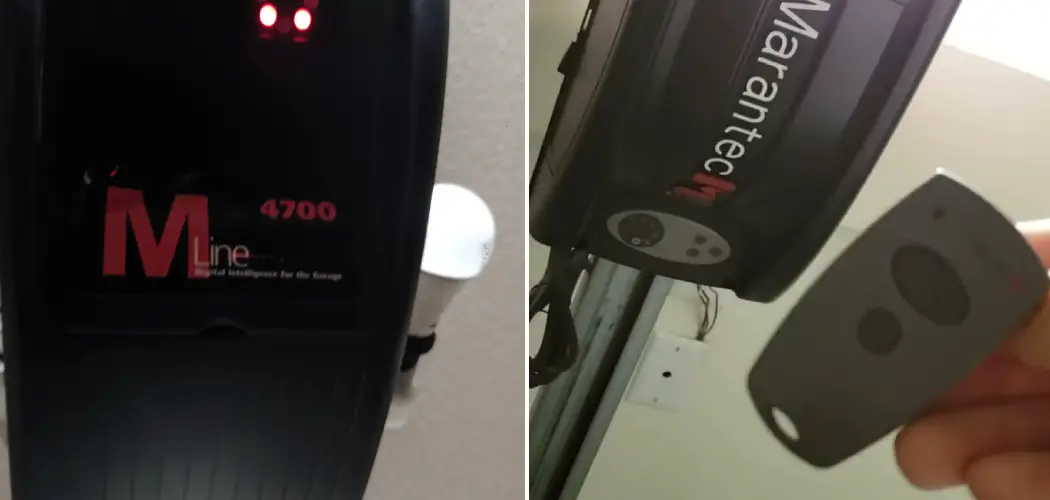
Properly programming a Marantec garage door opener is crucial for ensuring smooth and secure operation. A properly synced remote or keypad streamlines access to your garage and enhances safety by preventing unauthorized entry. Understanding how to program a Marantec garage door opener can save you time and frustration, providing peace of mind that your garage is secure.
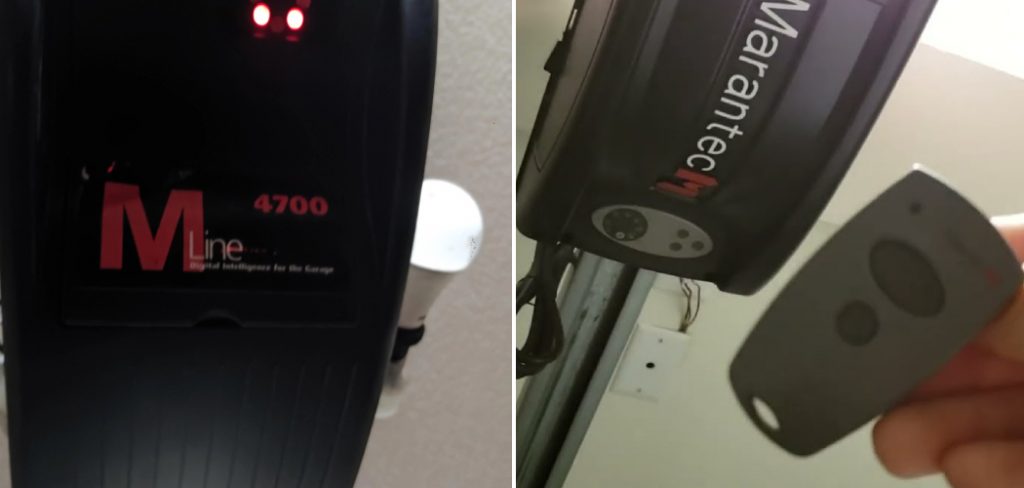
This article will guide you through the essential steps of the programming process, beginning with preparing the opener, moving on to syncing the remote, and concluding with testing the setup to ensure everything functions as intended. By following these straightforward instructions, you can swiftly and effectively manage your garage door opener, making your life a little easier.
Understanding Marantec Garage Door Opener Systems
Overview of Marantec Models
Marantec garage door openers are known for their reliability and innovative technology, with several models designed to meet diverse needs. The Synergy series, for example, offers impressive features such as quiet operation, advanced security measures, and customizable settings. These openers often include a durable motor system that delivers smooth, efficient lifting, making them suitable for various residential applications.
While the programming process for these models is generally consistent, users should be aware that minor variations may exist. Understanding the specific model in use will enhance the user’s ability to successfully program their opener, ensuring seamless integration with remotes and keypads.
Types of Remotes and Keypads
Marantec provides a range of remotes and keypads that enhance the functionality of their garage door opener systems. Users can choose from multi-button remotes, which allow the control of multiple garage doors from a single device, or standalone wireless keypads that promote easy entry without needing remote access.
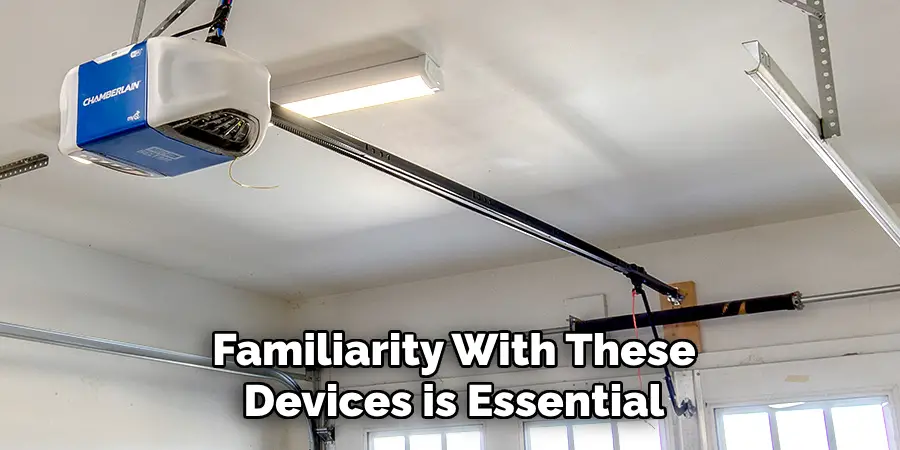
Each device can be programmed to manage either a single garage door or multiple doors as needed. This versatility allows homeowners to tailor their access options, increasing the convenience and security of their garage systems. Familiarity with these devices is essential, as their specific programming requirements may slightly differ, depending on the model in use.
Preparing for Programming
Before commencing the programming process, it is essential to gather all necessary tools to ensure a smooth experience. You will need the remote or keypad you intend to program, access to the garage door opener’s motor unit, and a ladder to reach the motor, especially if it is mounted high. Having these items ready beforehand can help streamline the programming process and prevent any interruptions.
Gathering Necessary Tools
To prepare effectively, make sure you have the following items: the remote control or keypad, a step stool or ladder (if needed), and the garage door opener’s motor unit within reach. Ensuring all tools are accessible before you start will allow you to focus on the programming steps without stopping for additional items.
Safety Considerations
Safety should always be a top priority when programming your garage door opener. Before you begin, ensure that the garage door is fully closed to prevent accidents. Additionally, keep the remote or keypad out of children’s reach during the setup to avoid any unintended garage door operation. Following these simple safety precautions can help ensure a secure programming experience.
How to Program a Marantec Garage Door Opener: Programming the Marantec Remote Control
Locating the Program/Reset Button on the Motor Unit
To begin programming your Marantec remote control, you first need to locate the “Program” or “Reset” button on the motor unit. This button is typically found on the back or side of the motor unit, often near the antenna. The button is usually labeled clearly and may be a distinct color, such as red or yellow, making it easier to identify. In some models, it may be recessed to prevent accidental activation, so you may need a pen or small tool to press it.
Programming the Remote Control
Once you’ve located the button, you can initiate the programming process. First, press and hold the “Program” button on the motor unit until the LED light flashes, indicating that the unit is in programming mode. Next, take your remote control and press the button you wish to program. You should see the LED light on the motor unit blink once, confirming that the remote control has successfully been synced.
If you wish to program additional remotes, repeat this process, as the motor unit can typically save several remote commands. Always ensure that the programming is completed effectively, as some models may require you to re-enter programming mode after a specific time has elapsed.
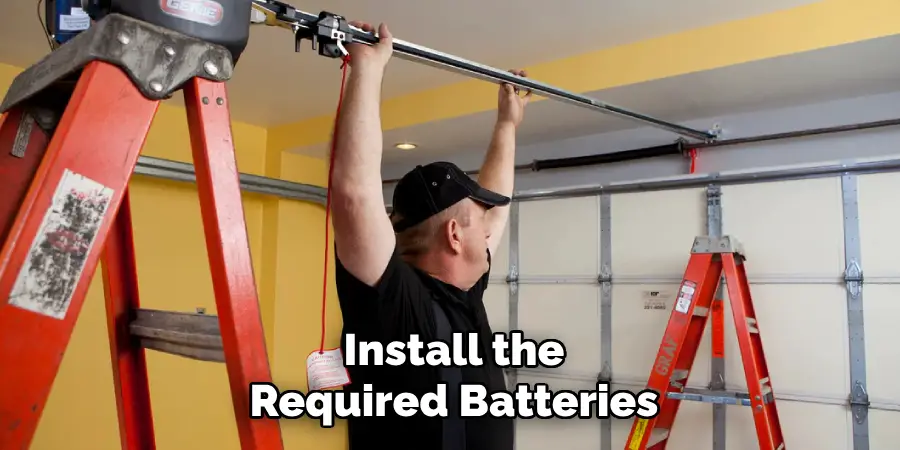
Testing the Remote Control
After programming your remote, it’s essential to test its functionality. Press the programmed button on the remote control to check if the garage door opens and closes smoothly. Make sure to test the remote from various distances, ensuring it works effectively and consistently across different locations outside of the garage. If the door does not respond or the range is limited, you may need to repeat the programming steps or check the batteries in the remote.
Programming the Wireless Keypad
Setting Up the Keypad
To begin setting up your wireless keypad, install the required batteries, ensuring they are correctly oriented as indicated within the battery compartment. After powering the keypad, find a secure yet accessible location to mount it outside your garage door. This site should be sheltered from direct exposure to elements and positioned for convenient access; an easily reached height is ideal for everyday use. Use the provided screws or adhesive strips to attach the keypad firmly, ensuring it remains stable for regular operation.
Entering Programming Mode on the Keypad
To enter programming mode on your wireless keypad, you first need to press the “Program” button on the motor unit of your garage door opener. Once the motor unit’s LED light indicates it is in programming mode, enter your desired Personal Identification Number (PIN) on the keypad. To confirm your selection and initiate the syncing process, press the “Enter” or “Program” button, which will allow the keypad to communicate with the garage door opener and establish the connection effectively.
Testing and Finalizing the Keypad Setup
After programming your keypad, it’s essential to test its functionality by entering the newly programmed PIN to ensure it operates correctly. When the correct PIN is entered, the garage door should smoothly open and close as expected. Double-check the PIN entry or consult the manual for troubleshooting tips if you encounter any operation issues. Should you need to change the PIN or an error occurs during the programming process, you can reset the keypad by following the manufacturer’s instructions, ensuring your setup remains secure and operational.
Programming Additional Remotes
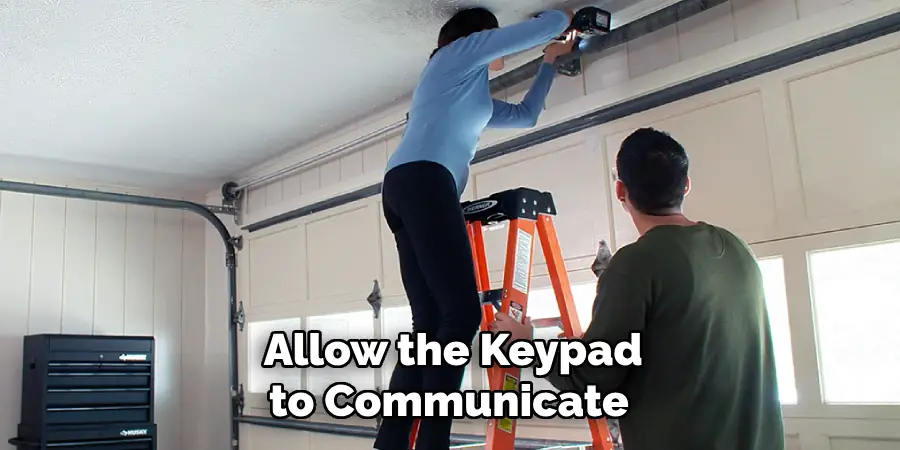
Syncing Multiple Remotes
If you wish to program additional remotes for your garage door opener, simply repeat the programming process for each one. Start by pressing and holding the “Program” button on the motor unit until the LED light flashes, indicating it is in programming mode. Next, take the remote you want to sync, press the desired button, and observe the LED light blink to confirm successful synchronization. This method allows you to add multiple remotes, ensuring that all household members can operate the garage door.
Testing All Remotes
After programming all remotes, it is crucial to test each one to verify they operate the garage door correctly. Press the programmed button on each remote from various distances to ensure consistent functionality. If any remote fails to activate the garage door or exhibits limited range, revisit the programming steps or check the batteries. Verifying that every remote is correctly programmed helps maintain seamless access and security for your garage.
Troubleshooting Common Issues
Remote or Keypad Not Syncing
If your remote or keypad fails to sync with the garage door opener, check the devices’ battery levels. Ensure the batteries are fresh and correctly inserted. Next, confirm that the motor unit is receiving power; check for any tripped circuit breakers or unplugged units. If these checks do not resolve the issue, repeat the programming steps, adhering closely to the timing and button presses as specified in the manual, which may help re-establish the connection.
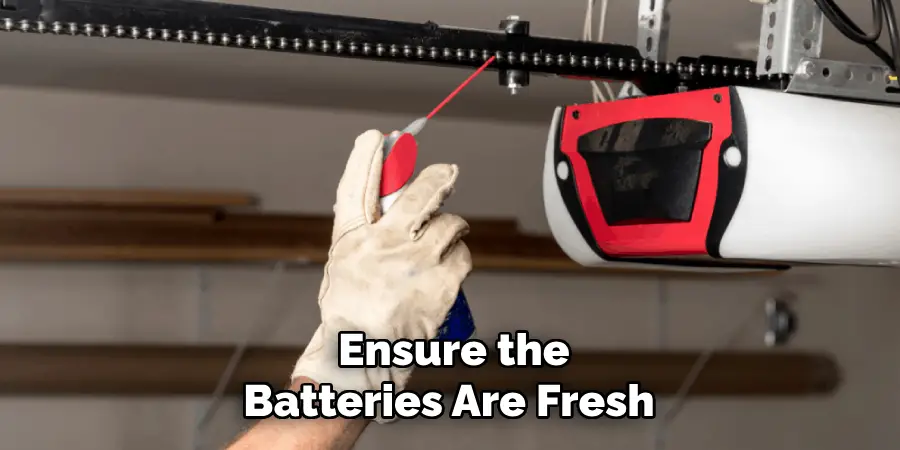
Weak Signal or Range Issues
For weak signal or range issues, move closer to the garage door opener during the programming phase, ensuring a strong connection. Replace the batteries in the remote or keypad, as low power can affect responsiveness. If problems persist, check for potential electronic interference from nearby devices, such as Wi-Fi routers or cordless phones, as they can disrupt the signal. Experimenting with different locations for the motor unit or moving other electronic devices away may also enhance performance.
Reprogramming or Erasing Devices
Erasing All Codes from the Opener
To erase all programmed remotes and keypads from your garage door opener’s memory, locate the “Program” or “Reset” button on the motor unit. Press and hold the button until the LED light blinks rapidly, indicating that all codes have been successfully cleared from the system. This process removes all previous devices, allowing for a fresh start when programming new ones.
Reprogramming New Devices
If you need to reprogram a new remote, keypad, or app due to loss, damage, or replacement, begin by entering the garage door opener’s programming mode as previously described. Once in programming mode, input your desired PIN on the keypad or press the button on the new remote to establish the connection. After syncing, test the new device to confirm it opens and closes the garage door smoothly, ensuring reliable functionality for your access needs.
Conclusion
In summary, learning how to program a Marantec garage door opener involves several straightforward steps. Start by syncing your wireless keypad or remote with the motor unit by entering programming mode and confirming your chosen PIN. After successfully syncing, it’s essential to test the system to ensure everything operates smoothly.
Make sure to follow each step carefully and refer to the Marantec manual or customer support if you encounter any challenges along the way. Remember, programming your Marantec garage door opener enhances the convenience of accessing your garage and boosts your home’s overall security. With a little patience and attention to detail, you’ll have your opener set up quickly, ensuring hassle-free entry and peace of mind for you and your family.
I am Rick. I grew up helping my dad with his handyman service. I learned a lot from him about how to fix things, and also about how to work hard and take care of business. These days, I’m still into fixing things- only now, I’m doing it for a living.
I’m always looking for new ways to help people grow and develop. That’s why I have created this blog to share all my experience and knowledge so
that I can help people who are interested in DIY repair.

