Programming a garage door remote from another remote can be a convenient way to ensure you have access to your garage without having to deal with multiple devices or replacing lost remotes.
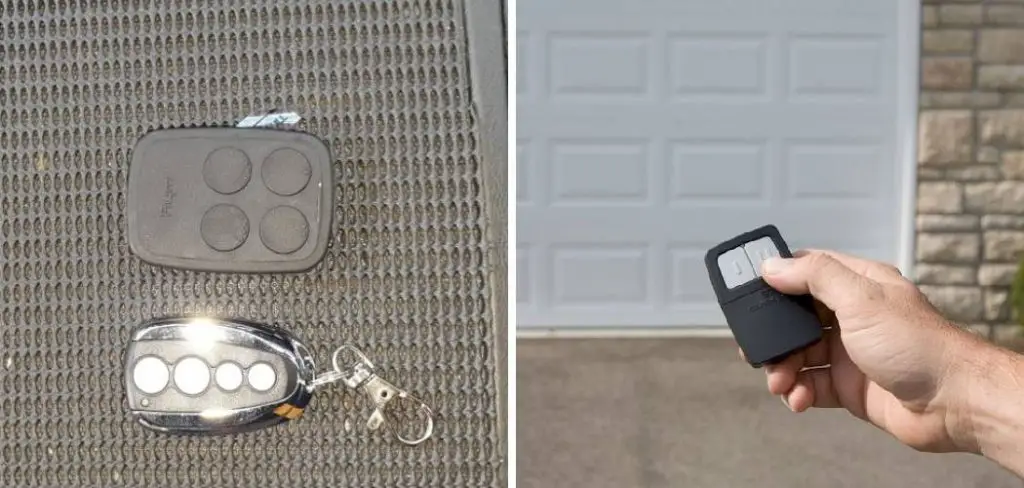
This process can vary slightly depending on the make and model of your garage door opener, but in general, it involves synchronizing the remotes so that they can communicate with the opener system. In this guide, we’ll walk you through how to program a garage door remote from another remote, ensuring that you can operate your garage door smoothly and efficiently.
Benefits of Programming a New Remote
Programming a new garage door remote offers several advantages that enhance convenience and security for homeowners. Firstly, having a functioning remote allows for quick and effortless access to the garage, eliminating the need to fumble with keys or secure access codes.
Additionally, programming a new remote can improve safety; by replacing lost or stolen remotes, you reduce the risk of unauthorized access to your garage and home. Furthermore, the ability to program additional remotes means that all family members can have their own personal devices, streamlining access and communication.
Lastly, acquiring a programmable remote can often be a cost-effective solution compared to purchasing a new garage door opener, providing an efficient way to regain control over your garage’s entry system.
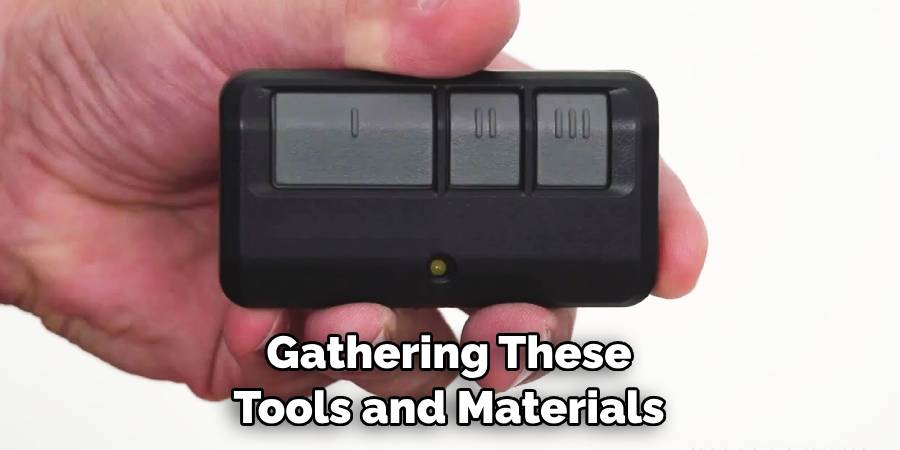
Tools and Materials Needed
To successfully program a garage door remote from another remote, you’ll need a few basic tools and materials. Here’s a list to get you started:
- Compatible Garage Door Remote: Ensure that the remote you are using to program is compatible with the garage door opener model.
- Existing Garage Door Remote: You will need the remote you wish to clone or program from.
- Garage Door Opener System: The receiver unit, which is usually mounted in the garage, should be accessible during the programming process.
- Screwdriver: For accessing the garage door opener unit if necessary, a screwdriver may be required.
- Owner’s Manual: Having the owner’s manual for your garage door opener on hand can provide specific programming instructions tailored to your model.
- Flat Surface: A clean, stable work area is ideal for handling the remotes and ensuring a clear line of communication with the opener.
Gathering these tools and materials beforehand will help facilitate a smooth programming process.
10 Methods How to Program a Garage Door Remote from Another Remote
1. Understand the Programming Process
Before diving into the programming process, it’s important to understand how programming a garage door remote from another remote works. Most modern garage door openers use a rolling code system, which means the code changes each time the remote is used to prevent unauthorized access.
Programming a new remote from an existing one typically involves copying the signal from the original remote and syncing it with the garage door opener’s receiver. Knowing this process ensures you approach each step with the necessary knowledge, reducing the likelihood of errors.
2. Verify Compatibility Between Remotes
Not all garage door remotes are compatible with each other, so it’s crucial to verify that the remote you wish to program can work with your existing garage door opener.
Check the manufacturer’s manual or the remote’s specifications to confirm compatibility. The remotes should be from the same brand or at least use the same frequency and technology. If you’re unsure, contacting the manufacturer or checking online resources can provide clarity.
Ensuring compatibility is essential because an incompatible remote won’t function properly, wasting time and effort.
3. Gather Necessary Tools and Equipment
Before beginning the programming process, gather all the necessary tools and equipment. You’ll need the original remote, the new remote, and potentially a small screwdriver to access the remote’s programming button.
Having fresh batteries in both remotes is also crucial to ensure the signal is strong enough for programming.
Being prepared with everything you need before starting the process will make the steps smoother and prevent interruptions. Proper preparation is key to a successful programming experience, ensuring you can focus on the task without distractions.
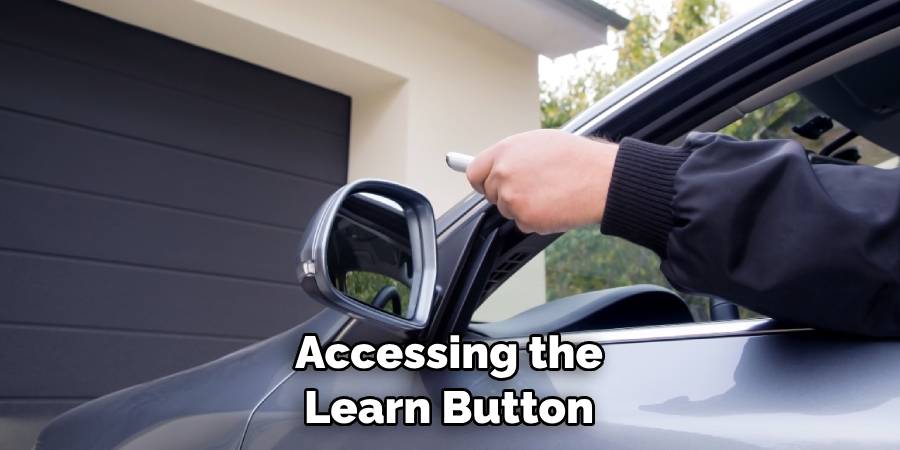
4. Access the Garage Door Opener’s Learn Button
The next step is to access the Learn button on your garage door opener, which is typically located on the back or side of the motor unit. This button is crucial because it puts the opener into programming mode, allowing it to accept signals from the new remote.
To reach the Learn button, you may need to remove a light cover or panel on the motor unit. Once located, familiarize yourself with the button’s operation, as you’ll need to press it at specific times during the programming process. Accessing the Learn button is a vital step, as it initiates the communication between the opener and the remote.
5. Put the Garage Door Opener in Programming Mode
Once you’ve located the Learn button, it’s time to put the garage door opener into programming mode. Press and hold the Learn button for a few seconds until the indicator light next to it begins to flash or turns on solid, depending on your model.
This action signals that the opener is ready to accept a new remote. The timing here is crucial, as the opener will only remain in programming mode for a short period, usually around 30 seconds. Putting the opener in programming mode is the first step in syncing the new remote, making it essential to perform this step correctly.
6. Press the Button on the Original Remote
With the opener in programming mode, take the original remote and press the button that you normally use to operate the garage door. Hold the button down for a few seconds until the indicator light on the garage door opener blinks or turns off.
This action signals that the opener has received the code from the original remote. This step ensures that the opener recognizes the original remote’s signal, which will be transferred to the new remote in the next step. Pressing the button on the original remote is critical because it serves as the basis for programming the new remote.
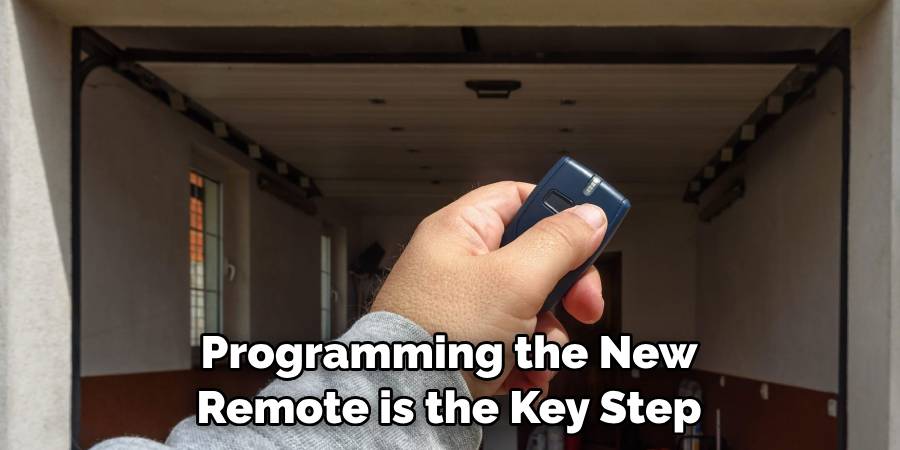
7. Program the New Remote
After the opener has accepted the signal from the original remote, immediately press the button on the new remote that you want to use to operate the garage door.
Hold this button down for several seconds until the indicator light on the opener blinks again or turns off, indicating that the opener has learned the new remote’s signal.
This step effectively clones the code from the original remote to the new one, allowing it to control the garage door in the same way. Programming the new remote is the key step in this process, as it links the new device to the opener’s system.
8. Test Both Remotes
Once the new remote has been programmed, it’s important to test both remotes to ensure they are working properly.
Stand a short distance from the garage door and press the button on each remote to see if the door responds. The door should open or close smoothly with each remote. If either remote fails to work, repeat the programming process to ensure the codes were successfully transferred.
Testing both remotes is essential to confirm that the programming was successful and that both devices can reliably operate the garage door.
9. Troubleshoot Any Issues
If the new remote isn’t working as expected, there are several troubleshooting steps you can take. First, check the batteries in both remotes to ensure they are fresh and properly installed.
Next, verify that the remotes are compatible with your garage door opener. If the problem persists, try reprogramming the remote, ensuring you follow the timing precisely. In some cases, interference from other electronic devices or nearby garage door openers can cause issues, so relocating the remotes during programming might help.
Troubleshooting is a necessary step if you encounter any problems, as it helps identify and resolve the issue.
10. Secure the Remotes and Finalize Setup
After successfully programming the new remote, it’s important to secure both remotes and finalize the setup. Store the original remote in a safe place where it won’t be easily lost or damaged, as you may need it for future programming or as a backup.
Ensure that the new remote is functioning correctly and that you’ve tested it multiple times to confirm reliability. Additionally, if your garage door opener has a lock or vacation mode, consider activating it to prevent unauthorized access when you’re away. Securing the remotes and finalizing the setup ensures that your garage door opener system is both functional and safe.

Conclusion
Successfully programming a new garage door remote is a straightforward yet essential process that enhances the convenience and security of your home. By following the outlined steps, you can ensure that both your original and new remotes work seamlessly to operate your garage door.
Remember to keep your remotes in a secure location and regularly check their functionality to prevent any unexpected issues. Thanks for reading, and we hope this has given you some inspiration on how to program a garage door remote from another remote!
I am Rick. I grew up helping my dad with his handyman service. I learned a lot from him about how to fix things, and also about how to work hard and take care of business. These days, I’m still into fixing things- only now, I’m doing it for a living.
I’m always looking for new ways to help people grow and develop. That’s why I have created this blog to share all my experience and knowledge so
that I can help people who are interested in DIY repair.