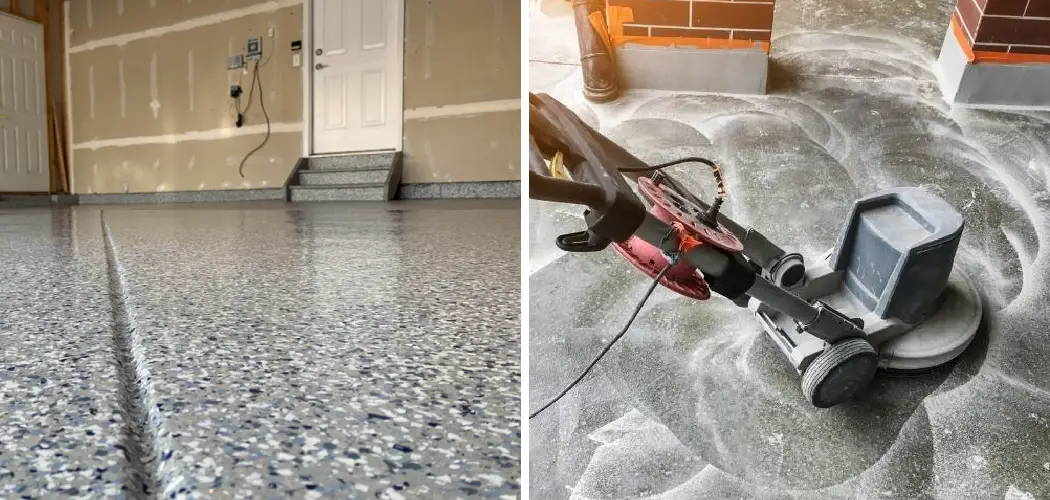
Preparing your garage floor for epoxy coating is a crucial step that ensures a durable and long-lasting finish.
Proper preparation not only enhances the bond between the epoxy and the floor but also helps to prevent issues like peeling or chipping over time. In this guide, we’ll walk you through how to prep garage floor for epoxy, repair, and prepare your garage floor, setting the foundation for a successful epoxy application. Whether you’re looking to upgrade the appearance of your garage or create a more functional space, following these procedures will yield the best results.
The Importance of Properly Preparing the Surface
Properly preparing the surface of your garage floor is essential for a successful epoxy coating application. Neglecting this step can lead to a range of problems, including poor adhesion, uneven surfaces, and premature wear.
A well-prepped surface ensures that the epoxy bonds effectively, creating a strong and resilient layer that withstands heavy traffic, chemicals, and environmental factors. Additionally, proper preparation helps to identify and repair any cracks or imperfections in the concrete, allowing for a smoother finish and enhancing the overall aesthetic appeal.
By taking the time to thoroughly clean, etch, and repair your garage floor, you lay the groundwork for a flawless epoxy finish that will not only look great but also last for years to come.
Tools and Materials You’ll Need

Before you begin prepping your garage floor for epoxy, it’s important to gather all the necessary tools and materials to ensure a smooth and efficient process. Here’s a list of what you’ll need:
- Concrete Grinder or Floor Buffer: To remove any existing coatings and smooth the surface.
- Etching Solution: A concrete etcher, usually made from muriatic acid or a similar product, to prepare the surface for better adhesion.
- Scrub Brush and Broom: For deep cleaning and removing dust and debris.
- Shop Vacuum: To thoroughly remove any dust and dirt after grinding or etching.
- Crack Filler or Patching Compound: To fill in any visible cracks or imperfections in the concrete.
- Paint Roller and Tray: For applying the epoxy evenly across the surface.
- Paint Brush: To cut in edges and corners where rollers might not reach.
- Drop Cloths or Plastic Sheeting: To protect surrounding areas from spills or drips during application.
- Safety Gear: Including gloves, goggles, and a mask to protect against dust and fumes.
Having these tools and materials at hand will make the preparation and application process more efficient, ensuring a high-quality finish for your garage floor.
10 Methods How to Prep Garage Floor for Epoxy
1. Thorough Cleaning of the Floor
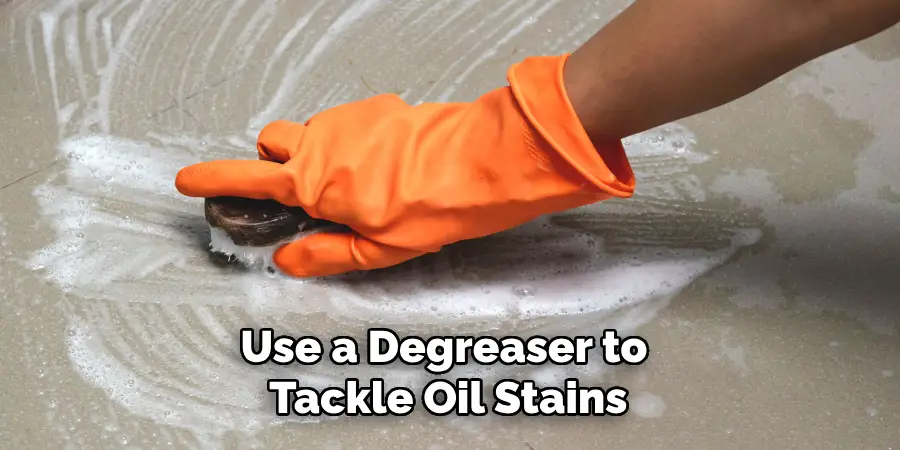
The first and most essential step in preparing your garage floor for epoxy is thorough cleaning. Start by removing all items from the garage and sweeping the floor to eliminate loose dirt, dust, and debris. Next, use a degreaser to tackle oil stains, grease spots, and any other contaminants that might interfere with the epoxy’s ability to adhere to the concrete. Scrub the floor with a stiff-bristle brush and a mixture of water and mild detergent to remove any lingering grime.
Rinse the floor thoroughly with clean water, ensuring that no soap residue remains. A clean surface is fundamental because any contaminants left behind can prevent the epoxy from bonding properly, leading to peeling or bubbling over time.
2. Repairing Cracks and Holes
Before applying epoxy, it’s crucial to repair any cracks, holes, or imperfections in the garage floor. Use a concrete patching compound or an epoxy-based filler to fill in these areas. Start by cleaning the cracks or holes to remove any loose debris, then apply the patching material according to the manufacturer’s instructions. Smooth the surface with a trowel, ensuring that the patched areas are level with the rest of the floor.
Allow the repair material to cure fully before moving on to the next step. Properly addressing these imperfections ensures a smooth, even finish and prevents future damage to the epoxy coating.
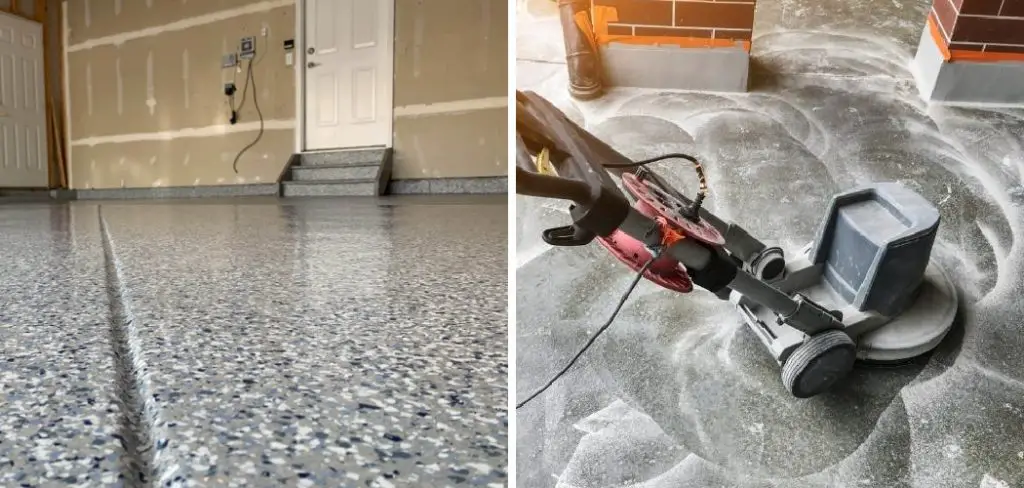
3. Grinding the Concrete Surface
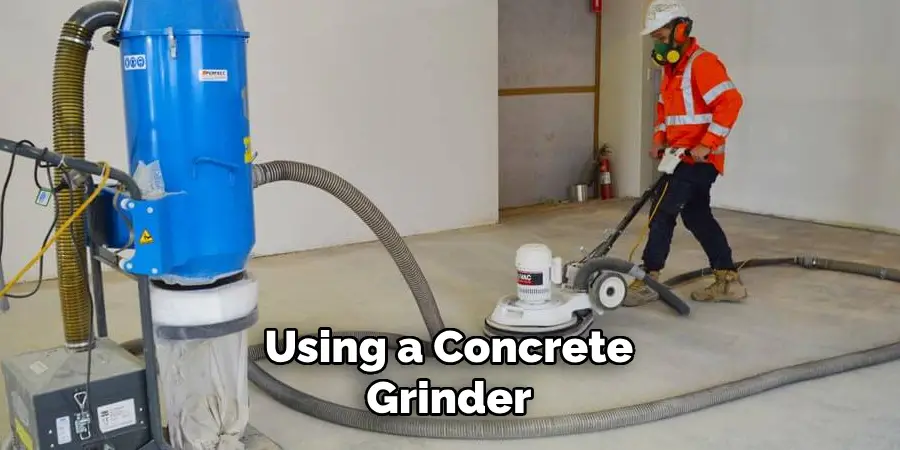
Grinding the concrete surface is a highly effective method for preparing your garage floor for epoxy. This process involves using a concrete grinder to remove the top layer of the concrete, exposing a fresh surface that is free of contaminants and provides a rough texture for the epoxy to adhere to. Grinding also helps to remove old paint, sealants, or any other coatings that may be present on the floor.
The roughened surface created by grinding improves the mechanical bond between the epoxy and the concrete, ensuring a more durable finish. It’s essential to wear appropriate protective gear, such as a dust mask and goggles, during this process, as grinding can create a significant amount of dust.
4. Acid Etching the Floor
Acid etching is another method used to prepare the garage floor for epoxy, especially if grinding is not an option. This process involves applying a diluted acid solution, typically muriatic acid, to the concrete surface. The acid reacts with the concrete, opening its pores and creating a rough texture that promotes better adhesion of the epoxy.
To acid etch your floor, first, mix the acid with water according to the manufacturer’s instructions, and then apply it evenly over the floor using a sprayer or watering can. Scrub the surface with a stiff brush to ensure the acid penetrates the concrete.

5. Moisture Testing
Before applying epoxy, it’s critical to test the garage floor for moisture. Excessive moisture in the concrete can prevent the epoxy from adhering properly, leading to bubbling, peeling, or lifting.
To test for moisture, tape a small piece of plastic or aluminum foil to the floor, sealing the edges with tape. Leave it in place for 24 to 48 hours, then check for condensation under the plastic. If moisture is present, it indicates that the concrete is not fully cured or that there may be a moisture issue that needs to be addressed before applying epoxy.
6. Ensuring Proper Floor Leveling
A level floor is essential for a professional-looking epoxy finish. Use a long level or straightedge to check for any high or low spots on the garage floor. If the floor is uneven, you may need to grind down high spots or use a self-leveling compound to fill in low areas.
Apply the self-leveling compound according to the manufacturer’s instructions, ensuring that it spreads evenly across the floor. Allow the compound to cure fully before proceeding with the epoxy application. A level surface not only improves the appearance of the epoxy coating but also prevents pooling or uneven wear over time.
7. Vacuuming the Floor
After cleaning, repairing, and grinding or etching the floor, it’s essential to vacuum the entire surface to remove any remaining dust, dirt, or debris. Even the smallest particles can interfere with the adhesion of the epoxy, leading to an imperfect finish.
Use a shop vacuum with a brush attachment to thoroughly clean the floor, paying special attention to corners and edges where debris may accumulate. A clean, dust-free surface is crucial for ensuring that the epoxy coating adheres properly and achieves a smooth, durable finish.
8. Applying a Concrete Primer
Applying a concrete primer before the epoxy can improve adhesion and enhance the durability of the finish. Concrete primers are designed to penetrate the concrete, sealing the surface and creating a strong bond between the concrete and the epoxy.
To apply the primer, use a roller or brush, working in small sections to ensure even coverage. Allow the primer to dry completely according to the manufacturer’s instructions before applying the epoxy. Priming the floor not only improves adhesion but also helps to prevent the epoxy from absorbing too much into the concrete, resulting in a more consistent finish.
9. Choosing the Right Weather Conditions
Weather conditions can significantly impact the application and curing of epoxy. Ideally, the temperature in your garage should be between 60°F and 85°F with low humidity for the best results.
High humidity or extreme temperatures can affect the epoxy’s ability to cure properly, leading to a weak bond or uneven finish. If possible, plan your epoxy application for a time when the weather conditions are optimal. Additionally, ensure that the garage is well-ventilated during and after application to help the epoxy cure properly.
10. Final Inspection Before Epoxy Application
Before applying the epoxy, conduct a final inspection of the garage floor to ensure it is properly prepared. Check for any remaining dust, dirt, or debris and vacuum if necessary.
Ensure that the floor is completely dry, free of any moisture, and that all repairs and leveling have been done to your satisfaction. This final check is crucial because any remaining imperfections or contaminants can negatively affect the adhesion and appearance of the epoxy coating.
Conclusion
Preparing your garage floor for an epoxy coating is a critical process that lays the foundation for a successful application. By following the outlined steps—such as grinding or etching the surface, conducting moisture tests, ensuring proper leveling, and applying a suitable primer—you can significantly enhance the durability and aesthetic appeal of the finished product. Thanks for reading our blog post on how to prep garage floor for epoxy! We hope you found it helpful and informative.
I am Rick. I grew up helping my dad with his handyman service. I learned a lot from him about how to fix things, and also about how to work hard and take care of business. These days, I’m still into fixing things- only now, I’m doing it for a living.
I’m always looking for new ways to help people grow and develop. That’s why I have created this blog to share all my experience and knowledge so
that I can help people who are interested in DIY repair.