Are you a proud owner of a Mercedes vehicle? Do you also own a garage with an automatic door opener? If so, then you’re in luck! Did you know that you can pair your Mercedes vehicle with your garage door opener for added convenience and ease of access?
How to pair mercedes garage door opener can greatly enhance your convenience and streamline your daily routine. This simple process allows you to control your garage door directly from your vehicle, eliminating the need for separate remotes and improving ease of access. Whether you’re arriving home laden with groceries or leaving for a necessary appointment, being able to open your garage door at the touch of a button is a valuable feature.
In this guide, we will walk you through the steps necessary to successfully pair your Mercedes garage door opener, ensuring a seamless integration between your vehicle and home.
What Will You Need?
Before we dive into the process of pairing your Mercedes garage door opener, there are a few things you will need to have on hand:
- A Functioning and Compatible Garage Door Opener: Make sure that your garage door opener is in good working condition and compatible with the Mercedes HomeLink system. Consult your vehicle’s owner’s manual or contact your dealership for information on which models are compatible.
- Your Mercedes Vehicle: Of course, you will need to have access to your vehicle in order to pair it with the garage door opener.
- Your Garage Door Remote Control: This will be used during the pairing process, so make sure it is readily accessible.
- A Ladder: Depending on the location of your garage door opener, you may need a ladder to reach it.
Once these items are ready, you are all set to begin the pairing process.
10 Easy Steps on How to Pair Mercedes Garage Door Opener
Step 1. Position Your Vehicle
To start the pairing process, ensure your Mercedes vehicle is parked near your garage door opener. Ideally, this should be within 1-2 feet for optimal signal reception. The vehicle must be on a flat surface and properly turned on to facilitate the pairing. Additionally, ensure that the garage door is closed, allowing for a smoother synchronization without any interference from the door movement.
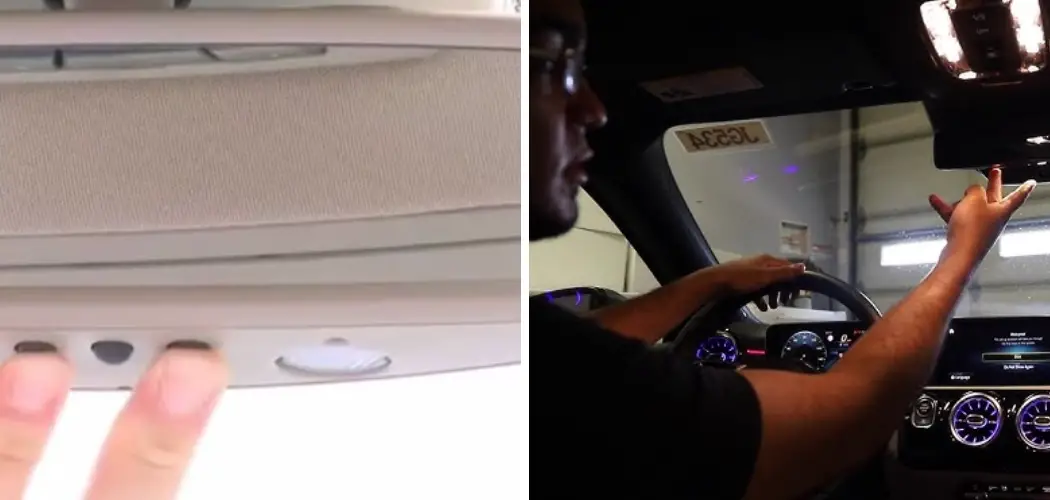
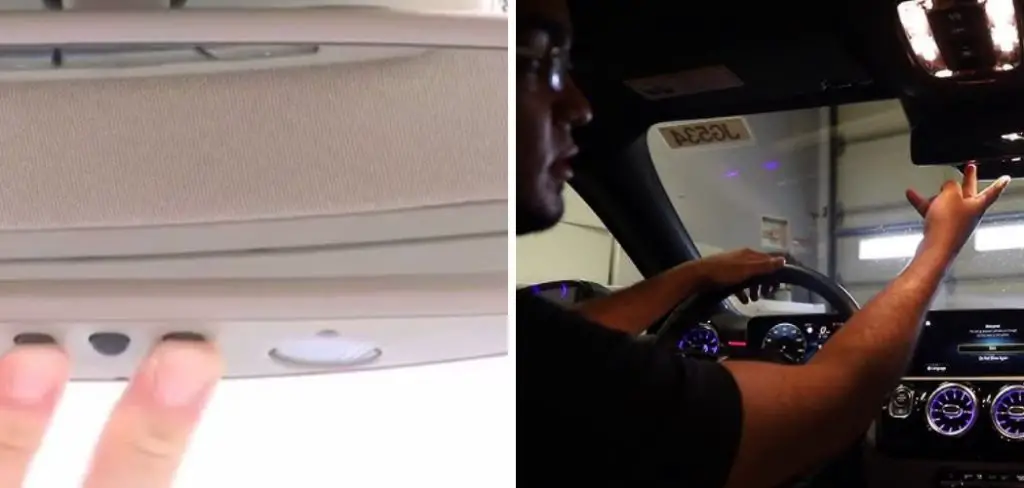
Step 2. Locate the HomeLink Button
Inside your Mercedes, locate the HomeLink buttons on the overhead console near the rearview mirror or the sun visor. These buttons are designed to store and control multiple garage door openers. Take note of which button you would like to program, as you will need to use this button throughout the process. If your vehicle has a digital display, you may see corresponding icons indicating the HomeLink system is active.
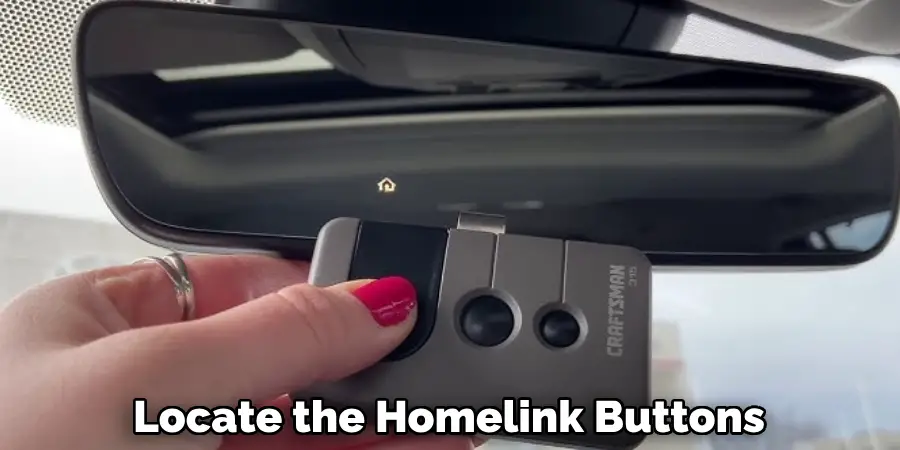
Step 3. Prepare Your Garage Door Remote
With your garage door remote control, ensure its batteries are fresh and functioning. This is crucial, as a weak battery can disrupt the signal transmission during the programming phase. If it’s been a while since you last used your remote, replacing the batteries before proceeding with the pairing process is always a good idea.
Step 4. Clear Any Existing Codes
Before proceeding with the pairing process, it’s essential to clear any existing codes from the selected HomeLink button. This ensures that you do not encounter interference from previously programmed settings. To do this, press and hold the HomeLink button you intend to use for approximately 20 seconds until the indicator light begins to flash, signaling that any old codes have been erased.
Make sure to keep the button pressed even when the light changes; this step is crucial to reset the HomeLink system fully. If your vehicle has several buttons, repeat this process for each one to avoid confusion later. Once you’ve successfully cleared the codes, you’re ready to move on to programming your garage door opener. This clean slate makes pairing smoother and increases the likelihood of successful integration with your garage door system.
Step 5. Program the Garage Door Opener
Now that you’ve cleared any existing codes, it’s time to program your garage door opener to the selected HomeLink button. Begin by positioning your garage door remote control about 1-3 inches away from the HomeLink button you wish to program in your vehicle. While holding the remote, press and hold the button on the garage door remote, then simultaneously press and hold the HomeLink button.
Keep both buttons pressed until the indicator light on the HomeLink button changes from a slow blink to a rapid blink. This change indicates that the programming has been successful. If you encounter difficulties, consult your garage door opener’s manual for specific instructions, as some models may have unique programming requirements. Once programmed, you can test the newly set HomeLink button to ensure the garage door operates as expected.
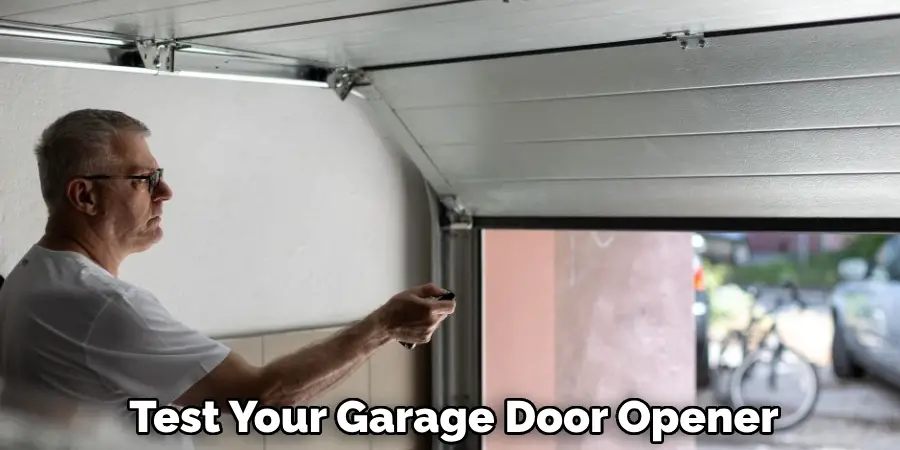
Step 6. Test the Garage Door Opener
With your garage door opener successfully programmed to the HomeLink button, it’s time to test the system. Approach your garage door and press your Mercedes’s newly programmed HomeLink button. Observe whether the garage door opens smoothly. If it does, congratulations! You’ve completed the pairing process. If the door does not respond, ensure you are within range, and double-check the programming steps for any missed details.
Step 7. Final Adjustments
If your garage door is not opening as expected, consider repeating the programming steps or consulting your vehicle’s owner’s manual for troubleshooting tips. Additionally, test your garage door opener with the original remote to ensure that it is functioning correctly. If the issue persists, check the HomeLink system settings in your vehicle and confirm that any connections are secure.
Step 8. Secure the Connection
After successfully testing the garage door opener with your new HomeLink button, it’s important to secure the connection to prevent accidental unpairing in the future. First, ensure that your vehicle is turned off, and then carefully disconnect the battery of your garage door opener for a moment. This step ensures that the opener retains the new programming without interference from old codes.
Once you’ve reconnected the battery, perform a final test of the HomeLink button to confirm that the programming is intact. If the door opens and closes smoothly, the connection is secure.
Additionally, consider storing the garage door remote control in a designated location within your vehicle so it remains easily accessible for any future adjustments or troubleshooting. Finally, refer to your vehicle’s and garage door opener’s manuals for model-specific recommendations for maintaining the HomeLink connection. Taking these precautions will help ensure that your HomeLink system continues to function effectively for years.
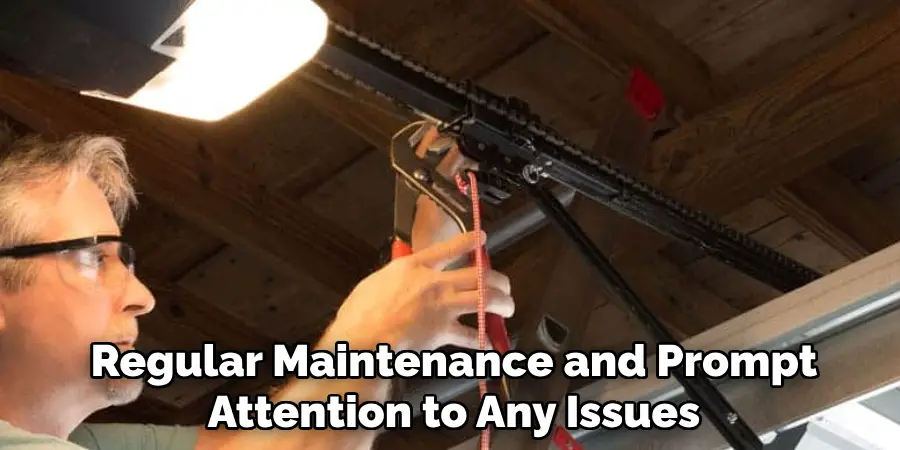
Step 9. Maintaining Your HomeLink System
Regular maintenance checks are advisable to ensure the longevity and reliability of your HomeLink system. Periodically inspect the functionality of the programmed buttons by testing each one to confirm they operate as intended, especially after any vehicle service or software updates. Keep the area around your garage door sensors clear of obstructions to prevent interference with the signal.
If you experience any issues with the HomeLink system functioning, consult your vehicle’s user manual and the garage door opener’s manual for troubleshooting steps. Keeping both manuals handy can expedite any troubleshooting process and provide clear guidance should you need to reprogram or adjust the settings. Regular maintenance and prompt attention to any issues will help ensure your HomeLink system continues to operate seamlessly and enhance your convenience.
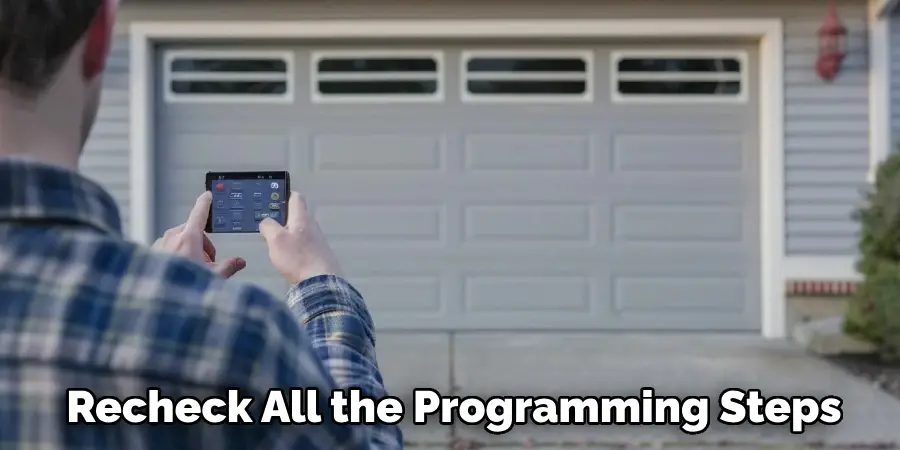
Step 10. Troubleshooting Common Issues
Even with careful programming, issues can occasionally arise with your HomeLink system. If you find that your garage door opener is unresponsive after following all previous steps, start by checking the battery level of both your garage door remote and your vehicle. A weak battery can compromise the signal strength and prevent proper operation.
Ensure that you are within the effective range of the HomeLink system when attempting to use it; generally speaking, this should be within a few meters of the garage door. If problems persist, recheck all the programming steps for accuracy and consult the user manuals for any specific troubleshooting guidelines provided by the manufacturers. Remember, confusion between settings could be the culprit if your HomeLink system is connected to multiple devices. With persistent troubleshooting, you will likely resolve these common issues and restore functionality to your HomeLink system.
By following these steps and keeping your user manuals handy, you can enjoy the convenience of an integrated HomeLink system in your Mercedes vehicle.
Conclusion
How to pair Mercedes garage door opener is a straightforward process that enhances the convenience of accessing your garage.
By carefully following the outlined steps—from programming the HomeLink button to securing the connection and maintaining the system—you can ensure a seamless experience every time you arrive home. Regular testing and promptly addressing any issues that arise will keep your setup functioning effectively.
With your garage door opener successfully paired, you can enjoy the ease of operation and the added safety of an integrated system that simplifies your daily routine. If you need to troubleshoot or reprogram, refer to your vehicle’s and garage door opener’s manuals for the best practices specific to your models.
I am Rick. I grew up helping my dad with his handyman service. I learned a lot from him about how to fix things, and also about how to work hard and take care of business. These days, I’m still into fixing things- only now, I’m doing it for a living.
I’m always looking for new ways to help people grow and develop. That’s why I have created this blog to share all my experience and knowledge so
that I can help people who are interested in DIY repair.