
Are you tired of stepping over piles of paint cans and brushes every time you need to enter your garage? Do you struggle to find the right color or brush when you’re in the middle of a project? If so, then it’s time to organize your paint supplies in the garage.
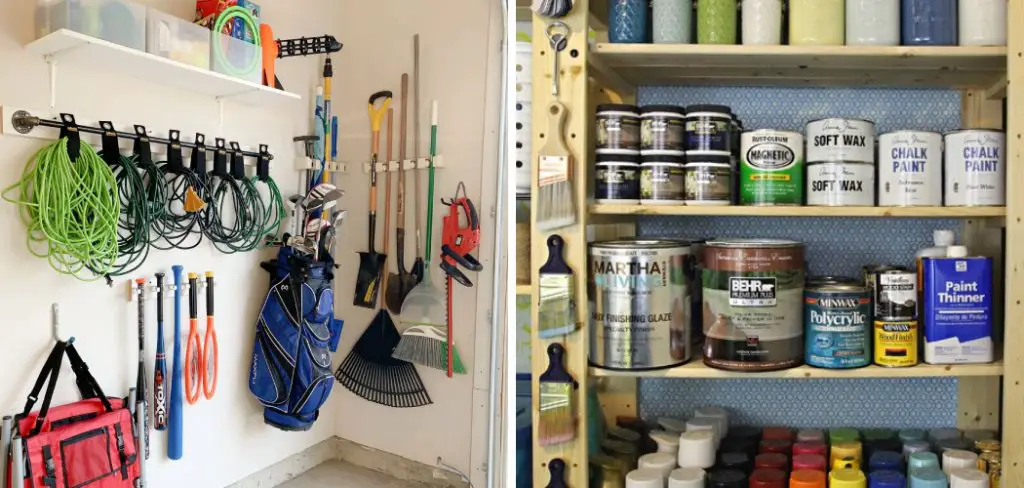
How to organize paint supplies in garage can save you time, reduce clutter, and make your DIY projects far more efficient. With the right strategies, you can create a system that keeps paints, brushes, rollers, and other tools neatly stored and easily accessible. A well-organized setup not only protects your supplies from damage but also ensures you can quickly find what you need for your next project.
By dedicating some time to organizing, you can transform your garage into a functional and tidy space.
What Are the Benefits of a Well-Organized Garage?
A well-organized garage offers many benefits, including:
- Time-saving: With a well-organized garage, you can easily find the tools and supplies you need for your projects without wasting time searching through cluttered shelves or drawers. This can save you valuable time and allow you to focus more on completing your DIY tasks.
- Increased Efficiency: When everything in your garage is properly labeled and stored in its designated place, it helps streamline your workflow and makes tasks more efficient. You won’t have to waste time looking for misplaced items or tripping over clutter while working on a project.
- Clutter Reduction: A well-organized garage reduces clutter, making it easier to move around and work on projects. This can also create a safer environment, as you won’t have to worry about tripping or falling over misplaced items.
- Improved Safety: By properly organizing your garage, you can improve safety by storing hazardous materials in designated areas and keeping sharp tools out of reach from children or pets. It’s important always to consider safety when organizing your garage.
- Maximized Space: With proper organization, you can maximize the space in your garage and make room for more storage options. This is especially helpful for those with smaller garages or limited storage space.
What Will You Need?
To properly organize your garage, you will need some essential items such as:
- Storage Containers and Bins: These are great for organizing smaller items such as tools, sports equipment, and holiday decorations.
- Wall Hooks and Racks: These can be used to hang bicycles, ladders, and other large items to free up floor space.
- Shelving Units: Installing shelving units in your garage can provide extra storage space for larger items, such as paint cans or gardening supplies.
- Pegboards: These help store frequently used tools and keep them easily accessible.
- Label Maker: To make it easy to find items when you need them, labeling your storage containers is a must.
10 Easy Steps on How to Organize Paint Supplies in Garage
Step 1. Check Expiration Dates and Dispose of Old Paint:
Go through all your paint supplies and check the expiration dates on your paint cans. Old paint or paint that has separated beyond repair may no longer be usable and should be disposed of properly. Many communities have recycling or hazardous waste disposal programs for paint—make sure to check the guidelines in your area. This step helps you eliminate clutter and ensures that only usable supplies remain, making future projects easier and safer.
Step 2. Check Expiration Dates:
Start by gathering all your paint supplies in one place, such as a well-ventilated area or your workspace. Carefully inspect each can of paint for signs of spoilage, such as an unpleasant odor, excessive separation of components, or a hardened layer on top. Gently stir the paint to see if it mixes back to a consistent texture; if it doesn’t, the paint is most likely unusable. When disposing of expired or spoiled paint, avoid pouring it down the drain or throwing it in the trash without proper precautions, as it can be harmful to the environment. Many local governments provide specific drop-off locations or events for hazardous waste, including old paint, to ensure safe disposal.
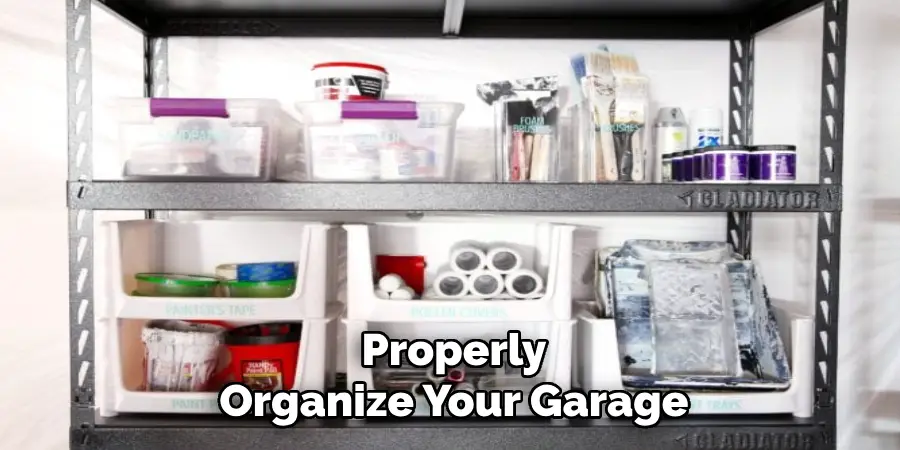
Step 3. Use Clear Storage Bins:
Clear storage bins are an excellent solution for organizing and protecting your items while allowing for easy identification of their contents. Opt for bins made of durable, high-quality plastic to ensure they can withstand stacking and frequent handling. When using clear bins, consider categorizing your belongings by type or usage, such as seasonal decorations, tools, or craft supplies, and labeling each bin for added convenience. Stack the bins neatly to save space, but always place heavier items in the lower bins to prevent tipping or damage.
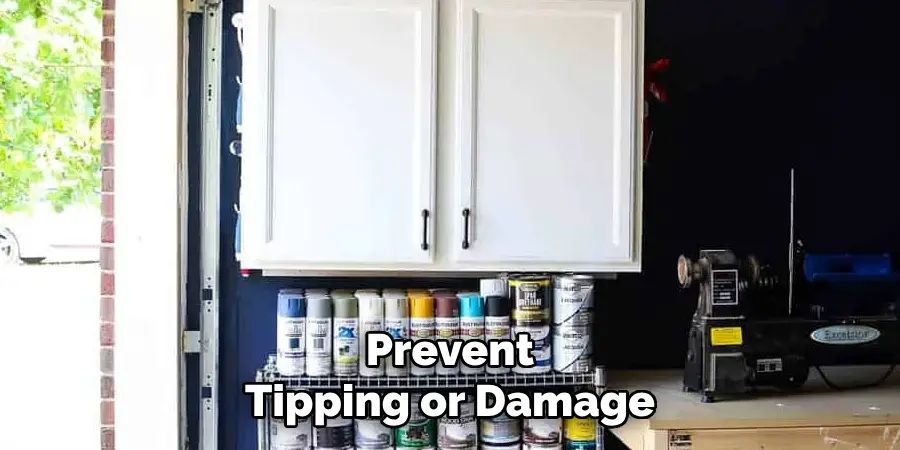
Step 4. Invest in Paint Can Shelving:
Proper storage of paint cans is essential for maintaining their quality and keeping them accessible when needed. Investing in dedicated paint can shelving helps in organizing cans by color, type, or project, streamlining your workflow. Choose sturdy, adjustable shelving units that can accommodate the weight of full paint cans while being easy to clean in case of spills. Store the cans in a cool, dry area away from direct sunlight and extreme temperature changes, as these can cause the paint to degrade over time. Label each can with the paint color and the date of purchase or opening to keep track of freshness and avoid duplicates.
Step 5. Create a Tool Station:
Having a dedicated tool station is essential to maintaining an organized and efficient workspace. Start by selecting a well-lit area that can house all your tools and equipment in one place. Install a sturdy pegboard on the wall to hang frequently used tools, such as hammers, screwdrivers, and wrenches—this will keep them easily accessible and visible. Add labeled drawers or storage bins for smaller items such as nails, screws, and washers to prevent them from getting lost or scattered. Consider a shelving unit or a tool chest with wheels for larger tools, which allows for easy mobility and versatility in your workspace.
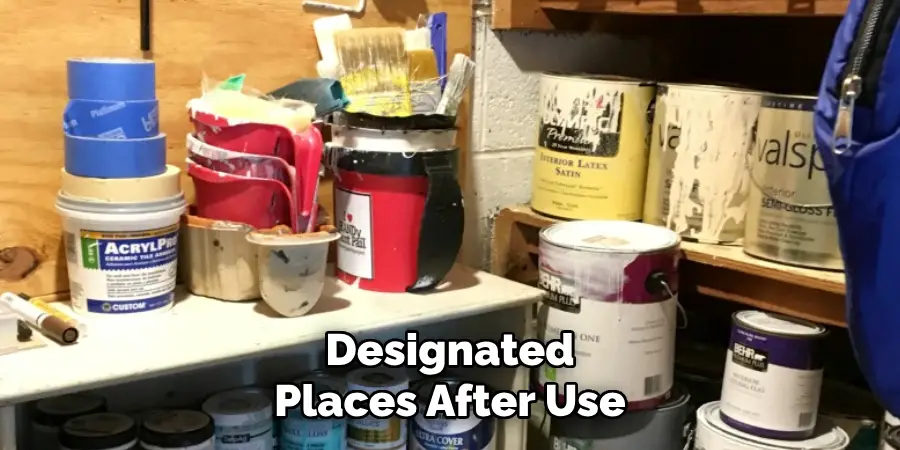
Step 6. Label Everything:
Labeling is a crucial step in maintaining an efficient and organized workspace. Take the time to clearly label all storage containers, drawers, and shelves to identify their contents at a glance. Use a label maker for a clean, professional look, or durable adhesive labels that can withstand wear and tear. For added clarity, consider using color-coded labels to quickly differentiate between categories, such as hardware, hand tools, or electrical supplies. Proper labeling minimizes wasted time searching for items, reduces frustration, and ensures that tools and materials are returned to their designated places after use.
Step 7. Store Drop Cloths and Tarps:
Drop cloths and tarps are essential for protecting surfaces during painting, remodeling, or other messy projects. To store them effectively, make sure they are clean and scorched before putting them away to prevent mold and mildew growth. Fold each drop cloth or tarp neatly into a compact shape, so it takes up less space. For heavy-duty tarps, consider rolling instead of folding to avoid creases that may weaken the material over time. Store these items in a designated area, such as a labeled bin or on a dedicated shelf, to keep them easily accessible whenever needed.
Step 8. Separate Open and Unopened Paint:
When organizing your paint supplies, it’s essential to separate open and unopened paint cans for better organization and usability. Start by inspecting each can to see if it has been opened before. Check the lid for signs of dried paint or residue, which can indicate prior use. Place unopened paint cans in one area, preferably grouped by type or color. For open cans, you can either store them separately or place them in a designated spot for easy access.
Step 9. Label Everything:
Labeling is crucial when organizing your paint supplies. Make sure to label each paint can with its corresponding color and type using a permanent marker or painter’s tape. This will save you time and frustration when looking for a specific color or type of paint.
Additionally, consider labeling other essential items such as brushes, rollers, and trays. This will not only help you stay organized but also prevent accidentally using the wrong item for a project.
Step 10. Clean Up:
Now that everything is neatly organized and labeled, it’s time to clean up your workspace. Dispose of any empty or dried-out paint cans properly and wipe down any spills or drips on surfaces.
Take some time to clean your brushes and rollers as well. Store them in their designated spots or hang them up to dry if they are still wet.
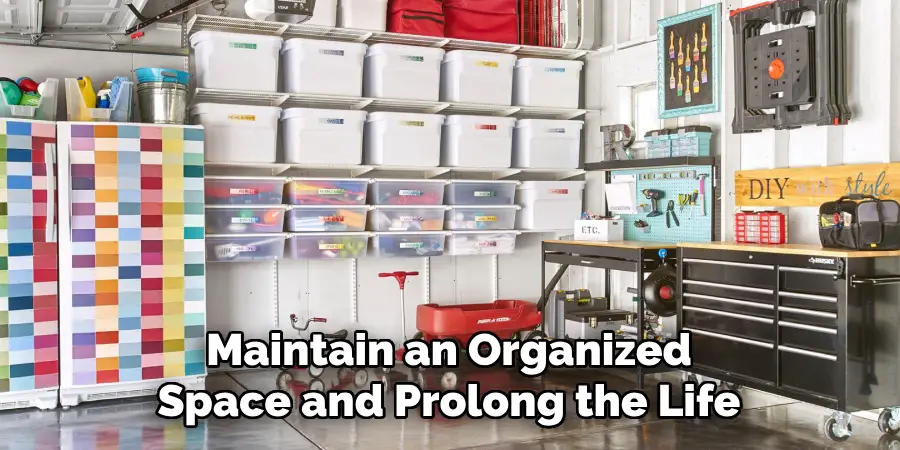
By regularly cleaning up after each painting session, you can maintain an organized space and prolong the life of your painting tools.
Conclusion
How to organize paint supplies in garage not only saves time but also ensures the longevity of your materials.
By establishing a dedicated storage area, using proper containers, and keeping your workspace clean, you can create an efficient and accessible system. Regularly take inventory of your supplies and dispose of any expired or unusable products responsibly. With these steps, you can keep your garage neat and your painting tools ready for use whenever inspiration strikes.
Hopefully, these tips have inspired you to take control of your garage and create a functional space for all your paint supplies. Remember, organization is key in maintaining a productive and enjoyable painting experience. Experiment with different storage solutions and find what works best for you. And most importantly, have fun creating! Happy painting!
I am Rick. I grew up helping my dad with his handyman service. I learned a lot from him about how to fix things, and also about how to work hard and take care of business. These days, I’m still into fixing things- only now, I’m doing it for a living.
I’m always looking for new ways to help people grow and develop. That’s why I have created this blog to share all my experience and knowledge so
that I can help people who are interested in DIY repair.