
Are you tired of tripping over scattered hardware in your garage? Do you struggle to find the right tools when working on a project? It’s time to organize your hardware and turn your chaotic garage into an efficient workspace.
How to organize hardware in garage can seem like a daunting task, especially if tools, nails, screws, and other items have accumulated over time. However, with a clear plan and some simple strategies, you can transform your garage into a tidy, efficient space where everything has its place. Proper organization not only saves time when searching for specific items but also helps protect your tools and keeps the workspace safe.
Whether you’re a seasoned DIY enthusiast or just looking for a better way to manage your hardware, a well-organized garage is an essential starting point.
What Are the Benefits of Organizing Your Garage?
- Increased Efficiency: With everything in its designated spot, you won’t waste time searching for tools or supplies. This allows you to focus on your projects and get things done faster.
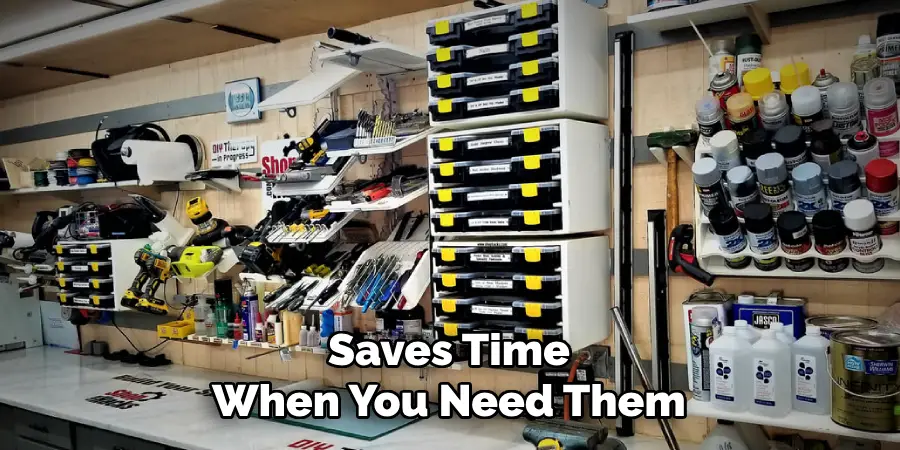
- Better Protection for Tools: By organizing your garage, you can store and protect your tools adequately, preventing damage or rust. This means they will last longer and perform better when you need them.
- Safer Workspace: A cluttered garage can be a safety hazard, as items can fall and create tripping hazards. By organizing and decluttering, you can make a safer workspace for yourself and others.
- Space Maximization: Proper organization can help you make the most out of your garage space. By using storage solutions like shelving and overhead racks, you can free up floor space for other activities or additional storage.
- Ease of Access: When your garage is organized, it’s easier to find what you need when you need it. This saves you time and frustration, especially if you are working on a project or in a hurry.
What Will You Need?
To get started on organizing your garage, you will need a few supplies. These include:
- Storage solutions such as shelves, cabinets, and overhead racks
- Bins or containers for smaller items
- Labels and markers for labeling items
- Cleaning supplies to tidy up the space before organizing
Once you have gathered all the necessary supplies, it’s time to start organizing your garage.
10 Easy Steps on How to Organize Hardware in Garage
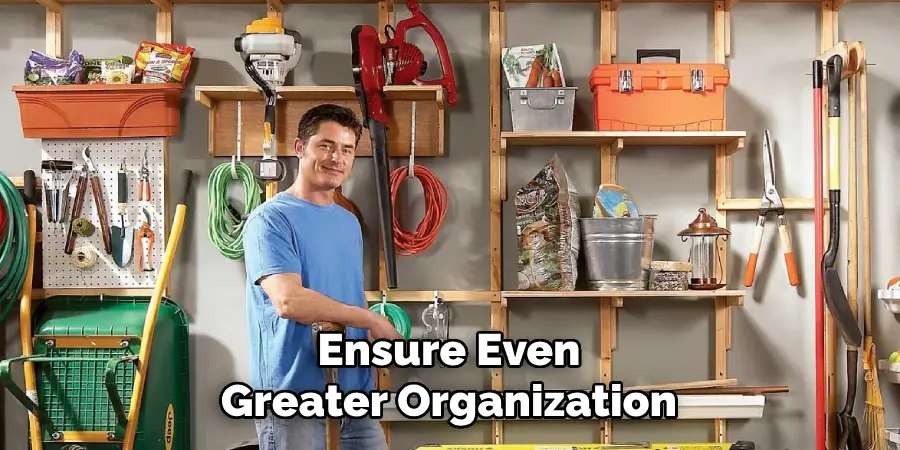
Step 1: Categorize Your Hardware
The first step to organizing your hardware is to group similar items. Start by sorting through all your tools, fasteners, and miscellaneous hardware. Create separate piles or containers for items such as screws, nails, bolts, nuts, wrenches, hammers, and power tools. This process helps you take stock of what you own and identify duplicates or broken items that can be discarded. Grouping items by category will also make it easier to find what you need in the future, saving you time and frustration. For example, small items like screws and nails can be further categorized by size or type to ensure even greater organization.
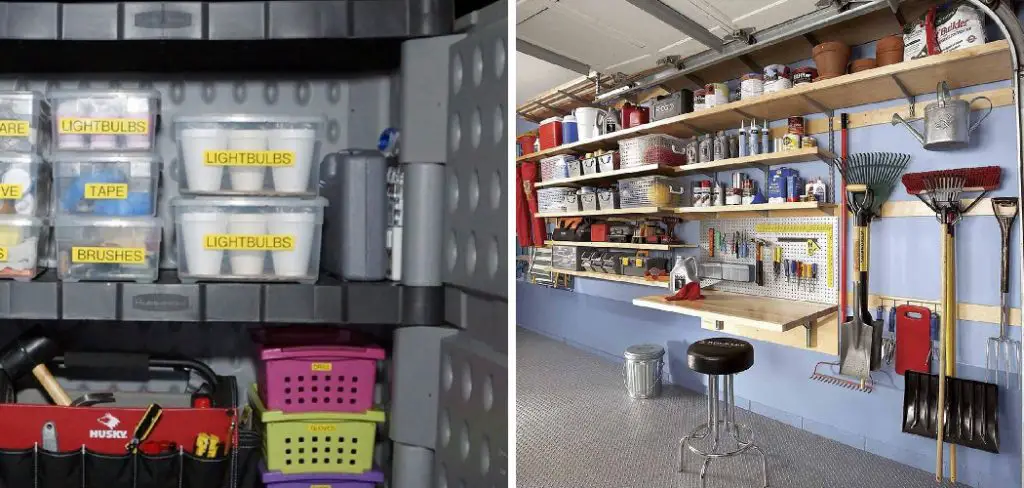
Step 2: Use Clear Storage Bins
Clear storage bins are an excellent choice for keeping your tools and supplies organized, as they allow you to quickly see the contents without the need to open each bin. Opt for bins of varying sizes to accommodate different items, from small screws to larger power tools. When selecting bins, consider stackable options to maximize space and ensure a tidy appearance. Labeling each bin with its contents can further enhance organization, making it easy to locate items at a glance.
Step 3: Label Everything
Labeling everything is a crucial step in maintaining a well-organized space and ensuring you can locate items when you need them. Start by using clear, legible labels that are large enough to be read from a distance. You can use label makers for a professional look, handwritten labels for a personal touch, or even color-coded systems to identify categories quickly. Consider using durable materials such as waterproof or adhesive-resistant labels, especially if you are organizing tools or supplies stored in environments prone to dust, moisture, or temperature fluctuations.
Step 4: Utilize Drawer Organizers
Drawer organizers are an excellent way to keep smaller items tidy and accessible. They are handy for separating items such as office supplies, craft materials, kitchen utensils, or small tools that might otherwise get lost or tangled in a cluttered drawer. Choose organizers that fit the dimensions of your drawers and suit your specific needs, whether that’s adjustable compartments for flexibility or pre-divided sections for simplicity. For maximum efficiency, group similar items together in designated compartments and label them if necessary.
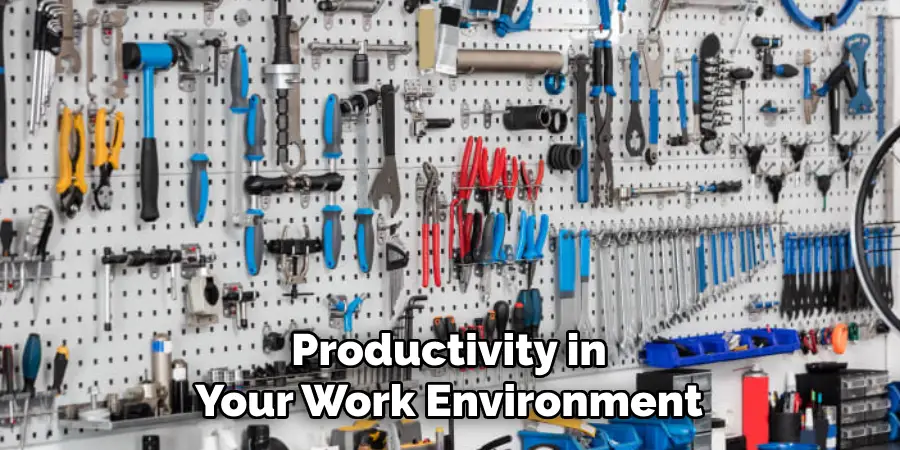
Step 5: Install a Pegboard
A pegboard can be a game-changer when it comes to organizing tools, accessories, or even craft supplies in a clear and accessible way. By mounting a pegboard on a wall or inside a cabinet, you create vertical storage space that keeps items off surfaces and within easy reach. Pegboards are highly customizable, allowing you to arrange hooks, shelves, and baskets according to your storage needs. They work particularly well for hanging items like scissors, wrenches, measuring cups, or paintbrushes. To make the most of your pegboard, consider grouping similar items by category and arranging them according to how often you use them. Adding labels or outlines for each item can make it even easier to maintain order.
Step 6: Assign a Dedicated Hardware Zone
Creating a dedicated hardware zone in your workspace can be a game-changer for efficiency and accessibility. This area should house tools, fasteners, and small hardware items like nails, screws, bolts, and washers in a centralized, organized manner. Consider investing in stackable bins, drawer organizers, or clear jars for small items so that they remain visible and easy to locate. A magnetic strip is also a valuable addition for holding frequently used tools, like screwdrivers and pliers, which reduces clutter and saves time when you need them.
Step 7: Sort by Frequency of Use
When organizing your tools and hardware, sorting by frequency of use can greatly streamline your workflow and improve productivity. Begin by identifying the tools and items you use most regularly. These should be placed in the most accessible areas, such as the top drawers, front of shelves, or on the magnetic strip for quick access. For items used less frequently, such as specialty tools or seasonal hardware, designate storage spaces that are still accessible but don’t occupy prime real estate in your workspace.
Step 8: Use Magnetic Strips
Magnetic strips are an excellent addition to any organized workspace. They allow for easy and efficient storage of metal tools, such as screwdrivers, wrenches, and scissors, by keeping them visible and within arm’s reach. One of the key advantages of magnetic strips is their versatility; they can be mounted almost anywhere, including walls, the side of a workbench, or even the interior of cabinet doors, which maximizes vertical space and reduces clutter.
Step 9: Keep a Spare Hardware System
Keeping a spare hardware system is an essential practice for maintaining an organized and efficient workspace. A dedicated storage solution for extra screws, nuts, bolts, and other basic hardware components ensures that you have replacements readily available whenever needed. This can save time and reduce frustration during projects, as there will be no need for last-minute trips to the store to find matching parts. An ideal hardware system might include labeled bins, jars, or compartments that allow for easy identification and access to specific items. Categorizing the hardware by type, size, or purpose not only streamlines your workflow but also minimizes the risk of losing or misplacing essential pieces.
Step 10: Maintain Regular Organization
Regular organization is key to ensuring your hardware system remains functional and efficient over time. Set aside specific intervals, such as monthly or quarterly, to review and tidy up your collection. During this process, check for misplaced items, replenish any depleted supplies, and discard damaged or unusable pieces. Keeping the system up to date ensures that it continues to meet your needs without becoming cluttered or chaotic. Additionally, maintaining clear labels and designated spaces for each category will help uphold the system’s order and save time during future projects. Consistency in an organization goes a long way in preventing unnecessary stress and maintaining productivity in your work environment.
By following these steps, you can maintain an orderly garage that ensures your hardware is safely stored, easily accessible, and ready for any project.
5 Things You Should Avoid
- Skipping Labeling
Failing to label containers, shelves, or drawers can lead to confusion and wasted time when searching for specific tools or hardware. Always use clear, descriptive labels to avoid unnecessary frustration.
- Mixing Different Hardware Types
Combining screws, nails, bolts, and other items in the same container can make it difficult to find what you need when it matters most—separate hardware by type and size for easy accessibility.
- Using Low-Quality Storage Solutions
Cheap or flimsy storage bins may break under weight or fail to keep hardware organized over time. Investing in durable, high-quality storage options ensures long-term organization and safety.
- Ignoring Vertical Space
Neglecting to utilize vertical wall space for storage limits your ability to keep the garage organized. Use pegboards, wall-mounted shelves, and hooks to make the most of available space.
- Overlooking Regular Maintenance
Even the best organizational systems fail without proper upkeep. Avoid letting clutter accumulate or storage systems fall into disarray by dedicating time for regular maintenance and adjustments.

Conclusion
How to organize hardware in garage requires a combination of proper planning, efficient use of storage solutions, and consistent maintenance.
By categorizing items, utilizing vertical and overhead spaces, and implementing clear labeling systems, you can create a functional and clutter-free environment. Regularly evaluate and adjust your setup to ensure it continues to meet your needs.
With a little effort and creativity, your garage can become a well-organized space that supports your projects and activities with ease.
I am Rick. I grew up helping my dad with his handyman service. I learned a lot from him about how to fix things, and also about how to work hard and take care of business. These days, I’m still into fixing things- only now, I’m doing it for a living.
I’m always looking for new ways to help people grow and develop. That’s why I have created this blog to share all my experience and knowledge so
that I can help people who are interested in DIY repair.