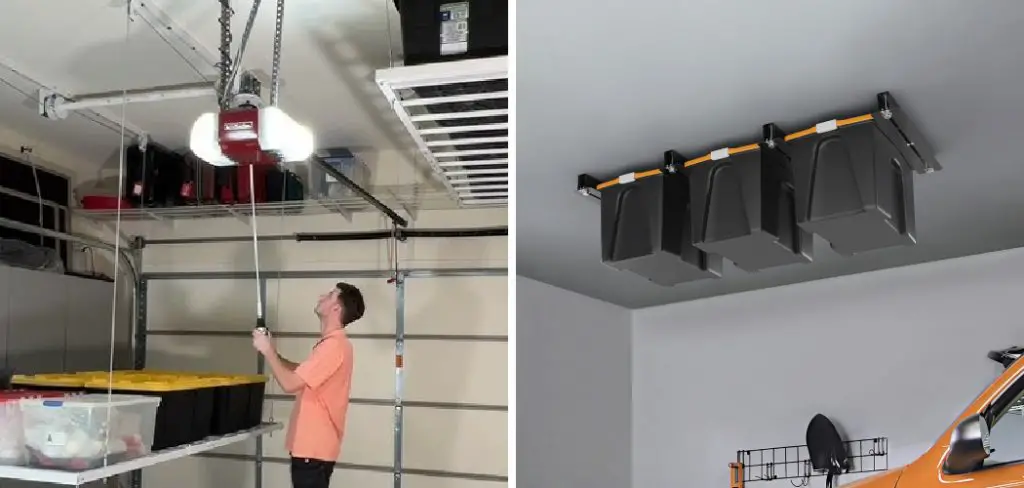
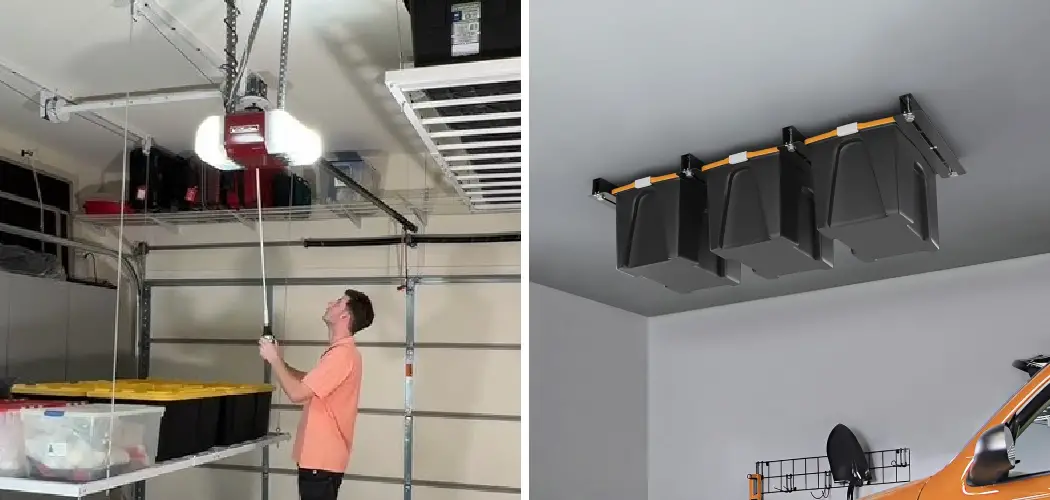
Installing Ultrawall overhead garage storage racks is an effective solution for anyone looking to maximize vertical space and reduce clutter in their garage.

By utilizing the overhead area, these racks allow for a more organized and efficient storage system, helping you keep frequently used items easily accessible while stowing away less commonly used belongings.
In addition to reclaiming floor space, an organized garage can improve safety by reducing the risk of tripping over scattered tools or boxes.
The installation process for Ultrawall overhead storage racks typically involves several key steps: first, proper preparation, including measuring your space and gathering the necessary tools; next, securely mounting the racks to the ceiling for optimal stability; and finally, ensuring all safety considerations are adhered to, such as weight limits and proper distribution of stored items. By following these guidelines, you will learn how to mount Ultrawall overhead garage storage racks for a more functional and tidy garage.
Preparing for Installation
Gathering Tools and Materials
Before beginning the installation of Ultrawall overhead garage storage racks, gathering all necessary tools and materials is crucial.
Here’s a list of essential items: a drill for making holes in the ceiling, a level to ensure that the racks are installed straight, and a tape measure for precise measurements. A stud finder is useful for locating support beams in the ceiling to enhance stability, while a screwdriver will be needed for securing screws.
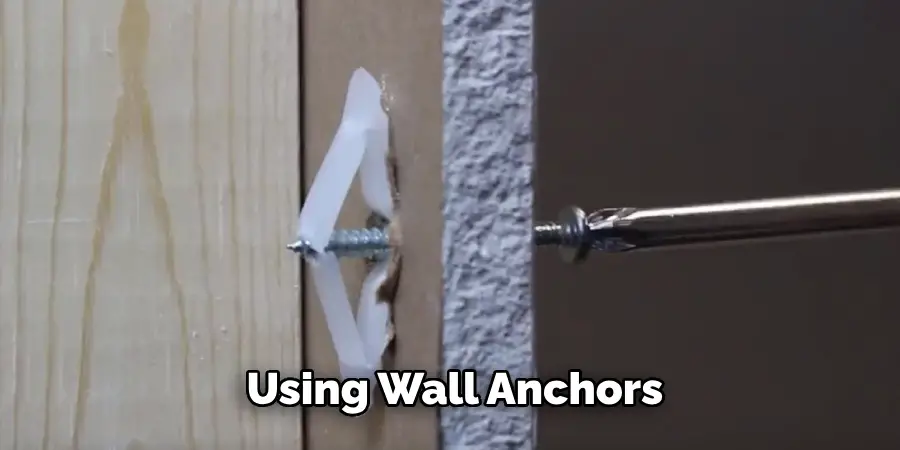
Additionally, ensure that you have a complete set of mounting hardware with the racks. Depending on your garage’s architecture, you may also need extra materials such as wall anchors or brackets to achieve a secure installation, especially if you’re mounting into drywall rather than directly into studs.
Measuring and Planning

Proper measurement and planning are vital for a successful installation. Start by measuring the dimensions of your garage space with a tape measure to determine the available height and width for your storage racks.
Consider the items you plan to store to establish the optimal height for easy access. Ideally, the bottom of the racks should be high enough to avoid interfering with garage doors or other fixtures yet low enough to reach stored items without difficulty.
Use a level to mark accurate installation points on the ceiling, ensuring the layout is symmetrical and aligns with your garage’s structure. Planning thoughtfully will create a well-organized storage solution that maximizes your garage’s vertical space without compromising accessibility.
Finding and Preparing the Mounting Points
Locating Wall Studs or Ceiling Joists
To ensure a secure installation of your Ultrawall overhead storage racks, locating wall studs or ceiling joists beforehand is essential. A stud finder is your best tool for this job. Start by turning on the stud finder and slowly moving it across the ceiling or wall where you plan to mount the racks. The device will indicate the location of studs or joists, usually by lighting up or beeping when it detects a solid structure behind the surface.
Once you identify the studs or joists, measuring their spacing, which is typically 16 or 24 inches apart, is a good practice. This will help you decide where to position your mounting brackets. Before proceeding, verify the strength of the identified supports; ensure that they feel solid and secure when you push against them.
This step is crucial for guaranteeing that the racks can adequately support the weights of the racks and the items you intend to store.
Preparing the Mounting Surface
Once you have located your mounting points, preparing the surface is the next critical step. Begin by cleaning the area around the identified studs or joists and removing any dust, cobwebs, or debris that may interfere with the installation. This will ensure a tight bond between the mounting hardware and the surface.

If you’re mounting into drywall rather than directly into studs, consider using wall anchors to enhance the strength of the installation. Choose anchors that are rated for the weight you expect to store, as they will provide additional support.
Additionally, for ceiling installations, be vigilant about removing any obstacles, such as wiring or insulation, that could complicate the mounting process. These preparatory steps will create a safe and stable environment for your overhead storage racks.
How to Mount Ultrawall Overhead Garage Storage Racks: Installing the Overhead Racks
Assembling the Racks
Before mounting the Ultrawall overhead storage racks, assembling them according to the manufacturer’s guidelines is essential.
Start by laying out all parts and ensuring you have everything included in the package. Generally, the assembly will begin with the main frame—attach any pre-assembled parts, following the labeled instructions carefully. Use the provided bolts and a wrench to tighten all connections, ensuring that the frame is secure. Make sure to not overtighten, as this could damage the components.
After the main frame is complete, install any additional shelves or crossbars according to the specified order in the manual. Once the assembly is finished, verify that the structure is stable and that there are no loose components before mounting the racks in your chosen location.
Mounting the Racks to Wall Studs or Ceiling Joists

Once your racks are assembled, it’s time to mount them securely to the wall studs or ceiling joists. Start by positioning the assembled racks against the ceiling and aligning them with the identified mounting points. To ensure the racks are level, use a level tool as you hold them in place.
Using a power drill, insert screws or bolts through the mounting brackets into the studs or joists. Begin at the corners for a solid hold, then continue with the remaining screws, ensuring the brackets are evenly attached along the structure. As you work, periodically check both the level of the racks and the tightness of the screws. Adjust as necessary until the racks are firmly and securely mounted.
Adjusting and Securing the Racks
After mounting the racks, assess their positioning to ensure they are level and equally spaced.
If adjustments are required, carefully loosen the screws slightly to shift the racks into the desired position—be cautious not to fully detach them from the studs or joists. Once the positioning is to your satisfaction, retighten the screws firmly. Additionally, secure any extra hardware or brackets that might have been included.

These components can provide additional support, enhancing the stability of the racks. It’s paramount to double-check all connections: ensure that each screw is tight and that there is no movement when applying gentle pressure. A thorough final check confirms that your overhead storage racks are correctly mounted and safe to support the intended weight of the stored items.
Organizing and Using the Racks
Arranging Items on the Racks
To maximize the efficiency of your overhead racks, start by grouping similar items together. Use sturdy storage bins or containers to keep smaller items tidy and prevent them from falling through the gaps. Label each bin for easy identification and access.
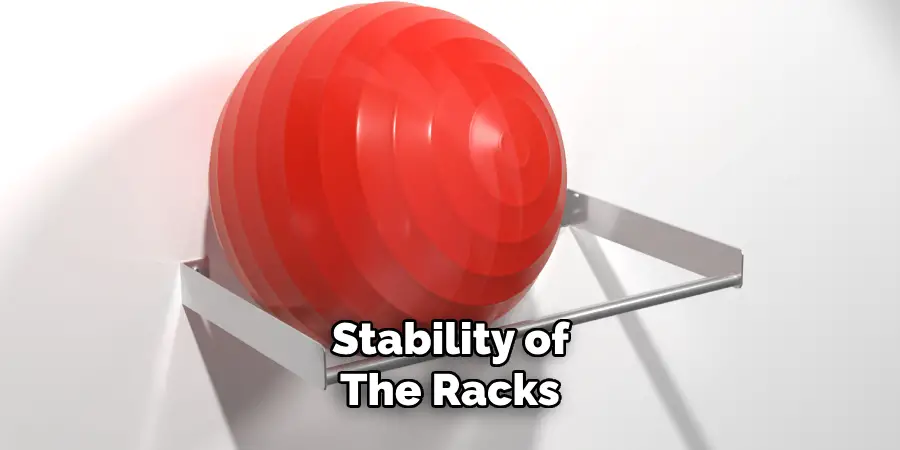
Always be mindful of the weight capacity of your racks; avoid overloading them to maintain safety and structural integrity. Heavy items should be placed towards the center of the rack to ensure proper weight distribution, while lighter items can be stored on the outer edges.
Maintaining the Racks
Regular maintenance is essential for ensuring your overhead storage racks’ long-term stability and safety. Periodically check for any signs of wear, such as loose screws or instability, and tighten connections as needed.
Keep the area surrounding the racks clean and free of dust or debris, which can obstruct access and potentially hide safety issues. Additionally, review your organization periodically to ensure it continues to meet your evolving needs and facilitate easy access to stored items.
Safety Considerations
Ensuring Proper Installation
Ensuring that your overhead storage racks are installed correctly and securely is paramount to preventing accidents or injuries. Always use the proper tools for installation, such as a power drill, level, and appropriate screws or bolts. Make sure to follow the manufacturer’s guidelines closely and double-check all connections.
It is advisable to have a second person assist during the installation; this makes the process easier and enhances safety by providing additional support and ensuring accurate positioning of the racks.
Handling Heavy Items
When placing heavy items on your racks, adhere to safety tips to protect both yourself and your storage solution. Always use proper lifting techniques: bend your knees, not your back, and lift with your legs.
Avoid overloading the racks; instead, check the manufacturer’s specifications for weight capacity. Distributing weight evenly across the racks will help maintain stability and prevent tipping. Regularly reassess the organization of your stored items to ensure safety and accessibility.
Conclusion
In summary, learning how to mount Ultrawall overhead garage storage racks involves several key steps that ensure both effectiveness and safety. First, prepare the installation area by checking for any wiring or obstacles. Next, assemble the racks according to the manufacturer’s guidelines, ensuring all parts are correctly fastened.
Once fully assembled, securely mount the racks to wall studs or ceiling joists while utilizing a level tool for accuracy. Following this, arrange items on the racks with heavy items placed centrally for balance.
For success, always adhere to the manufacturer’s instructions, verify that your installation is secure, and maintain the racks regularly to preserve their condition. By installing overhead storage racks properly, you can significantly improve your garage organization and storage efficiency, creating a clutter-free, functional space that meets your needs.
I am Rick. I grew up helping my dad with his handyman service. I learned a lot from him about how to fix things, and also about how to work hard and take care of business. These days, I’m still into fixing things- only now, I’m doing it for a living.
I’m always looking for new ways to help people grow and develop. That’s why I have created this blog to share all my experience and knowledge so
that I can help people who are interested in DIY repair.

