
Are you tired of your cluttered garage and looking for a more organized solution? Do you want to make your garage look neat and organized? You can transform your disorganized chaos into an efficient workspace with the right approach.
With some energy and creativity, you can change your cluttered garage into an area of efficiency with stylish custom cabinets. Creating custom garage cabinets is one of the most versatile ways to store items in your space and adds excellent value!
Not only are custom cabinets perfect for keeping tools, hardware, and even outdoor gear out of sight when not in use, but they also have the potential to add value to your home. If you’re ready to take on this organizing project DIY-style, read on for our guide on how to make garage cabinets!
Necessary Items
To make garage cabinets, you will need the following items:
- Wood sheets
- Saw
- Drill
- Screws
- Nails
- Sandpaper
- Measuring tape
- Paint or stain (optional)
10 Steps on How to Make Garage Cabinets
Step 1: Measure Your Space
The first step in making garage cabinets is to measure the space where you plan to install them. Measure the area’s height, width, and depth to ensure that your cabinets will fit perfectly.
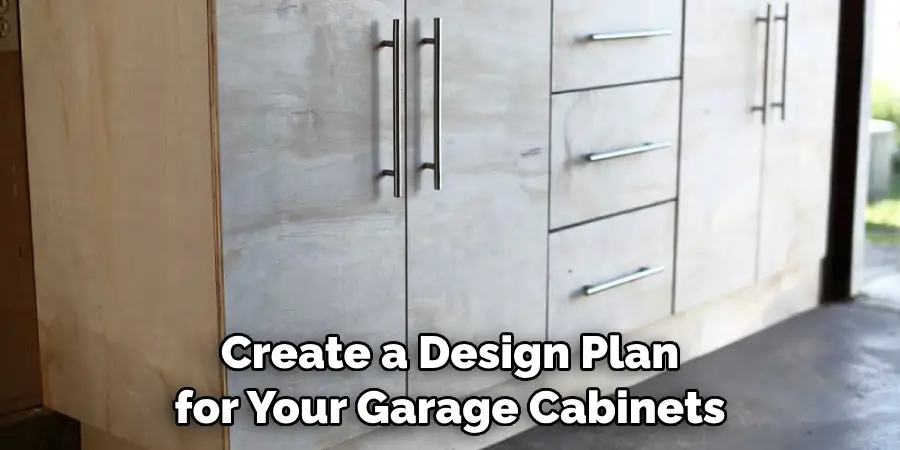
Step 2: Draw Up Plans
Next, create a design plan for your garage cabinets. Decide on the number of shelves and drawers you want and the overall structure and style. This will help guide you in the building process.
Step 3: Gather Materials
Once you have a solid plan, gather all the necessary materials. Choose quality wood sheets that will withstand heavy items and constant use. Because these cabinets will be in your garage, select materials that can withstand moisture and temperature changes.
Step 4: Cut the Wood
Using a saw, cut the wood sheets according to your measurements. This is where having a detailed plan comes in handy, as it will make the cutting process much smoother. It will also ensure that your cabinets fit perfectly in the designated space.
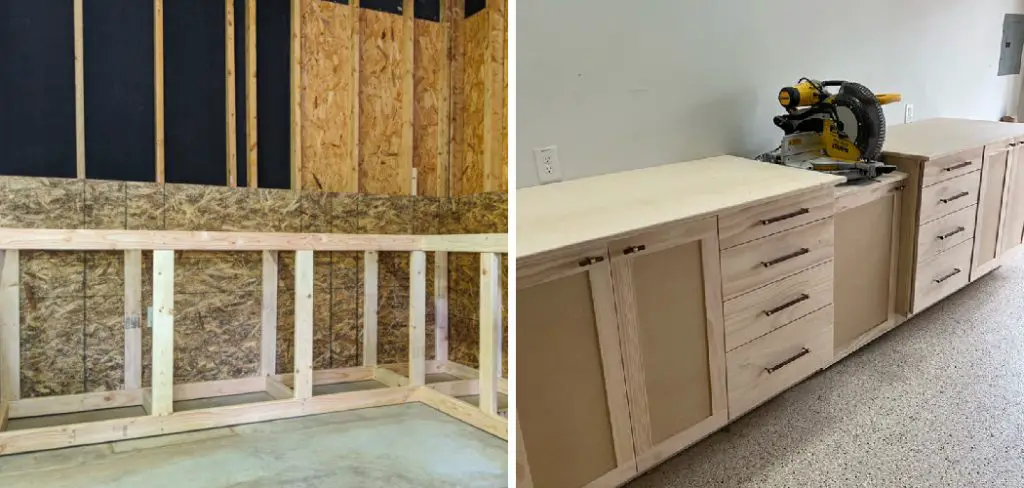
Step 5: Assemble the Cabinets
Using a drill, attach the cut pieces of wood to create the frame of the cabinets. Start by connecting the sides and back, then add shelves and dividers as needed. Make sure everything is secure and level before proceeding.
Step 6: Add Doors
If you want doors on your cabinets, now is the time to add them. Measure and cut wood sheets for the doors, then attach them to the cabinet frame using hinges. You can also opt for open shelving if preferred.
Step 7: Sand and Finish
Once the basic structure of your cabinets is complete, use fine grit sandpaper to smooth out any rough edges or imperfections. Then, apply paint or stain to achieve your desired finish. This step is optional but can add a personal touch and protect the wood from wear and tear.
Step 8: Install Cabinets
With the cabinets fully assembled and finished, it’s time to install them in your garage. Use screws to secure them to the wall for stability. Make sure they are level and properly aligned with each other.
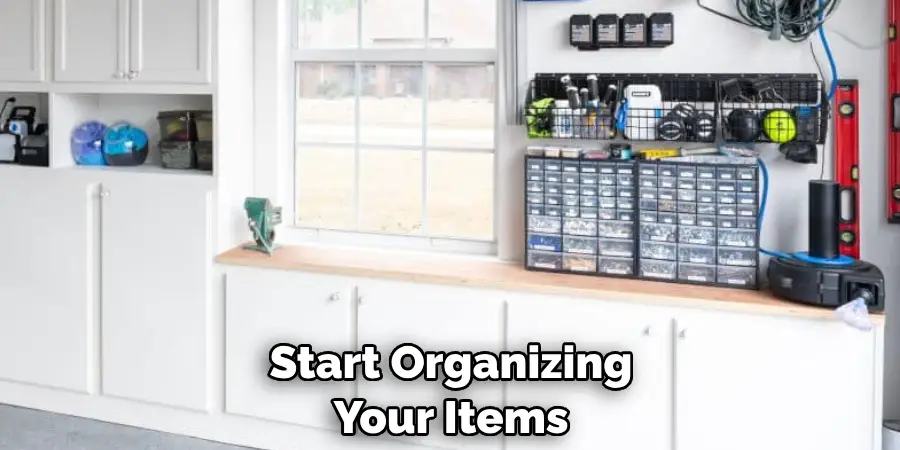
Step 9: Organize Your Items
Now that your cabinets are in place start organizing your items. Use dividers and labeled bins to keep everything in order and easily accessible. This will also help you maintain a clutter-free space.
Step 10: Admire Your Work
With everything in place and organized, take a step back and admire your newly made garage cabinets! Not only have you transformed your space, but you’ve also added value to your home.
Making your garage cabinets can be a fun and rewarding project. With proper planning, quality materials, and some DIY skills, you can create custom cabinets that will not only add organization to your garage but also increase the value of your home. So why wait? Get started on transforming your cluttered garage into an efficient and stylish space today!
8 Care Tips for Your Garage Cabinets
1. Avoid Using Harsh Chemicals or Cleaners
When cleaning your garage cabinets, avoid using harsh chemicals or cleaners that can damage the finish of the wood. Instead, opt for mild soap and water for regular cleaning.
2. Keep Moisture Levels in Check
Since garages are prone to moisture, it’s essential to monitor humidity levels and promptly address any issues. Consider using a dehumidifier in your garage to protect your cabinets from excess water.
3. Regularly Check for Pests
Pests like termites and carpenter ants can wreak havoc on your wood cabinets. Regularly check for signs of infestation and take necessary precautions to prevent damage.
4. Use Felt Pads or Mats
Place felt pads or mats under heavy items to prevent any scratches or damage to your cabinets. This will also make it easier to move things around without causing any damage.
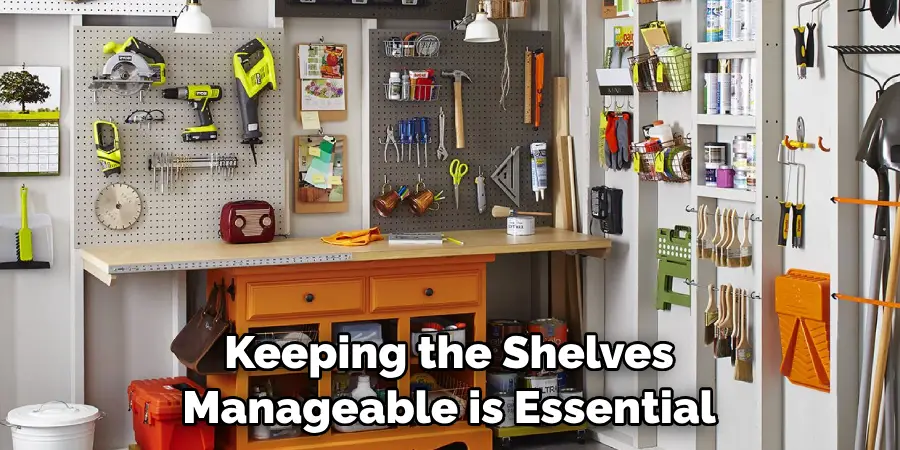
5. Avoid Overloading Shelves
While garage cabinets are made to withstand heavy items, keeping the shelves manageable is essential. Doing so can cause damage to the cabinet and potentially lead to accidents.
6. Clean Spills Immediately
Clean up any spills immediately if you store any liquids or chemicals in your garage cabinets. This will prevent the liquid from seeping into the wood and causing damage.
7. Maintain Regular Inspections
Make it a habit to regularly inspect your garage cabinets for any signs of wear and tear. Addressing any issues promptly can prevent further damage and prolong the lifespan of your cabinets.
8. Use Proper Storage Techniques
When storing items in your garage cabinets, use proper storage techniques, such as using bins or containers for small items and keeping heavy items on lower shelves. This will help with organization and protect your cabinets from unnecessary strain.
With these care tips on how to make garage cabinets in mind, your garage cabinets will maintain their quality and functionality for years to come. Regular maintenance and proper usage will ensure that your DIY project continues to add value to your space. So go ahead and confidently tackle any clutter in your garage with the help of these custom-made cabinets!
8 Things to Avoid When Building Garage Cabinets
1. Choosing the Wrong Materials
Choosing the wrong materials can lead to many issues with your garage cabinets. Conduct thorough research and select durable materials suitable for the garage environment.
2. Skipping Proper Measurements
With accurate measurements, your cabinets may fit appropriately in your designated space. This can lead to wasted time, effort, and materials. Always take the time to measure accurately before cutting any wood.
3. Neglecting Safety Precautions
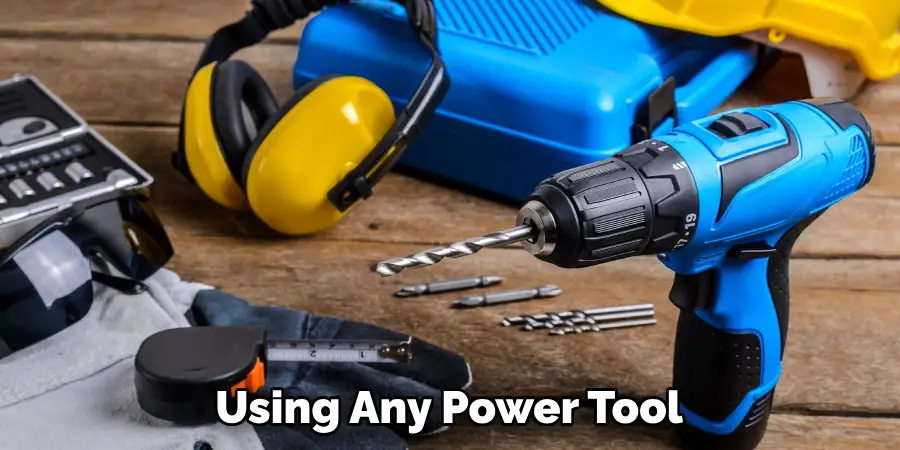
DIY projects can be fun, but safety should always be a priority. Wear protective gear like gloves and goggles when using power tools, and follow all safety guidelines.

4. Forgetting to Sand and Finish
Skipping the sanding and finishing step can result in rough edges, imperfections, and a less polished look for your cabinets. Take time to sand and finish your cabinets for a professional-looking result properly.
5. Not Planning for Enough Storage Space
When building garage cabinets, planning for enough storage space for all your items is important. There needs to be more shelves or drawers to avoid a cluttered and disorganized space.
6. Ignoring Proper Weight Distribution
It’s important to distribute weight evenly in your cabinets to prevent accidents. Placing heavy items on one side of the cabinet or overloading shelves can cause strain and damage.
7. Rushing the Installation Process
Installing cabinets takes time and patience. Rushing the process can lead to mistakes and a less-than-desirable result. Take your time and follow each step carefully.
8. Not Researching Cabinet Design
Researching different cabinet designs and options before starting your project is important. This will ensure you choose the best design for your space, storage needs, and skill level.
By avoiding these common mistakes, you can ensure a successful and functional result for your garage cabinets. Take the time to plan, prepare, and execute your project with care and attention to detail for the best outcome. So what are you waiting for? Get started on building your custom garage cabinets today with how to make garage cabinets!
5 Safety Measures for Working with Power Tools
1. Wear Protective Gear
As mentioned earlier, wearing protective gear is crucial when working with power tools. This includes gloves, goggles, and closed-toe shoes to prevent potential injuries.
2. Read Manuals Carefully
Before using any power tool, make sure to read the manual carefully. This will ensure that you understand how to operate the tool and prevent any accidents properly.
3. Keep the Work Area Clean
A cluttered work area can lead to accidents with power tools. Make sure to keep your workspace clean and organized for maximum safety.
4. Use Tools for Their Intended Purpose
Using a power tool for something it’s not intended for can be dangerous. Make sure to use tools for their intended purpose and avoid any potentially risky behaviors.
5. Unplug Tools When Not in Use
When not in use, always unplug your power tools. This will prevent accidental starts or injuries when you are not actively using the device.
By following these safety measures, you can ensure a safe and successful DIY project while using power tools. Always prioritize safety and take precautions to protect yourself and those around you.
So go ahead and confidently tackle any clutter in your garage with the help of these custom-made cabinets! With these care tips in mind, your garage cabinets will maintain their quality and functionality for years.
Frequently Asked Questions About Building Garage Cabinets
How Much Does It Cost to Build Garage Cabinets?
The cost of building custom garage cabinets can vary depending on the materials, size, and design. However, DIY projects can often be more affordable than pre-made cabinets.
What Are Garage Cabinets Made of?
Garage cabinets can be made of various materials, such as wood, metal, or plastic. Some popular choices for DIY projects include plywood, MDF (medium-density fiberboard), and melamine.
Do I Need Advanced Carpentry Skills to Build Garage Cabinets?
While some basic carpentry skills are required, building garage cabinets can be a manageable project for DIY enthusiasts. It’s possible to create functional and stylish cabinets without advanced skills with suitable materials and tools.
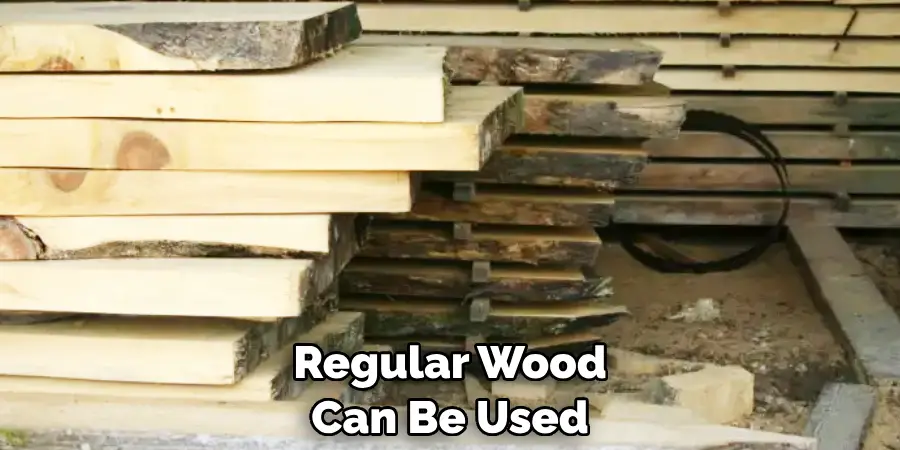
Can I Use Regular Wood for Building Garage Cabinets?
Regular wood can be used for building garage cabinets, but choosing a durable and moisture-resistant type of wood is essential. Consider using materials like plywood or MDF (medium-density fiberboard) for long-lasting cabinets.
How Long Does It Take to Build Garage Cabinets?
The time it takes to build garage cabinets can vary depending on the complexity of the design, size, and skill level. However, with proper planning and execution, it’s possible to complete the project in a few days.
Do I Need Special Tools for Building Garage Cabinets?
Essential tools like a saw, drill, and level are necessary for building garage cabinets. Some other helpful tools may include a router, nail gun, and clamps. It’s essential to have the right tools for a successful project. So gather your tools and materials, follow the tips and guidelines, and get ready to enjoy your newly organized garage space with custom-built cabinets!
Conclusion
As you can see, making garage cabinets isn’t as complicated as it seems. Your garage organization journey can be a breeze with the right tools and planning. Now, get to the building! Now that you know how to make garage cabinets, there is no reason why you shouldn’t take the plunge!
You can build something as simple or complex as you want and customize it for whatever purpose you may need.
Remember, all it takes is a few hours of extra work and an eye for detail to give your storage area a new look and feel. If you have the ambition and the right tools, nothing will stand in the way of a successful garage cabinet-building project.
Remember – if you get stuck along the way, be bold and ask for help from friends or professionals. Either way, know that this magnificent addition was all your work when you’re done. So why not start now? Haste ye back to the lumber yard!
I am Rick. I grew up helping my dad with his handyman service. I learned a lot from him about how to fix things, and also about how to work hard and take care of business. These days, I’m still into fixing things- only now, I’m doing it for a living.
I’m always looking for new ways to help people grow and develop. That’s why I have created this blog to share all my experience and knowledge so
that I can help people who are interested in DIY repair.