Garage doors have become an essential part of modern homes, providing security and convenience with just the press of a button. If you’ve recently purchased a LiftMaster garage door opener or switched out your current remote, you might find yourself wondering how to link liftMaster garage door opener. Fortunately, pairing your opener is a straightforward process that doesn’t require specialized knowledge or tools.

To begin, locate the Learn button on your LiftMaster garage door opener. This button is typically found on the back or side of the motor unit. Once you find it, press and release the Learn button—be sure not to hold it down for too long, as that could inadvertently erase all existing remote connections.
After pressing the Learn button, you’ll usually have about 30 seconds to complete the next step. During this time, take your remote and press the main button that you wish to use to open the garage door. Hold the button until you hear a click or see the garage door opener’s light flash, indicating that the pairing process has been successfully completed.
This guide will walk you through step-by-step instructions to successfully link your LiftMaster garage door opener, making it operational in no time. Whether you’re a complete beginner or someone upgrading to a smart LiftMaster system, this guide has got you covered.
Why Linking Your LiftMaster Garage Door Opener is Important
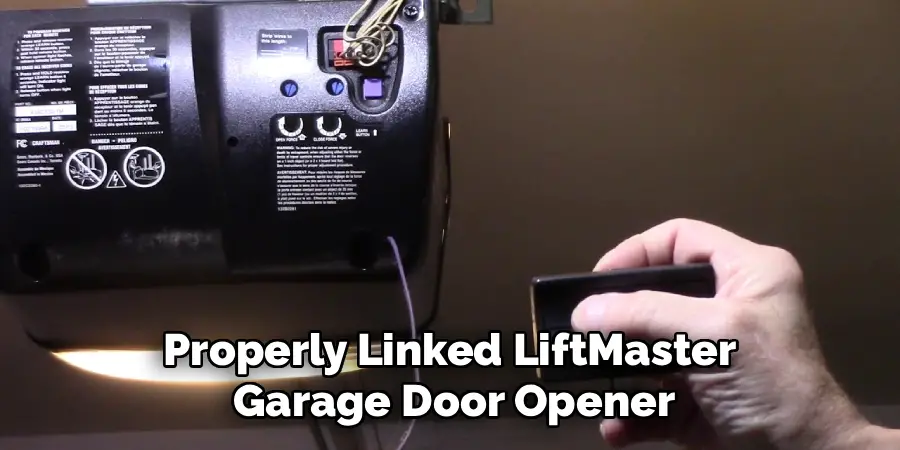
A properly linked LiftMaster garage door opener ensures that you can control access to your garage effortlessly and securely. When set up correctly, this system not only improves convenience but also enhances the safety of your home. Whether you’re accessing the garage manually or using advanced features like MyQ smart connectivity, linking your opener is the essential first step.
Modern LiftMaster openers are designed with top-tier technology, allowing integration with smart home systems. This means linking your opener not only gives you the power to open and close the door but also unlocks features like smartphone control, scheduling, and real-time notifications. Without linking it, your opener will remain a standalone unit, missing out on all these benefits. By following the steps below, you’ll ensure your system functions optimally for maximum convenience and security.
10 Effective Steps on How to Link LiftMaster Garage Door Opener
Linking your LiftMaster garage door opener may sound intimidating, but it’s a simple process once you understand the steps. Below is a step-by-step guide to help you get it done correctly.
Step 1: Gather Necessary Tools and Information
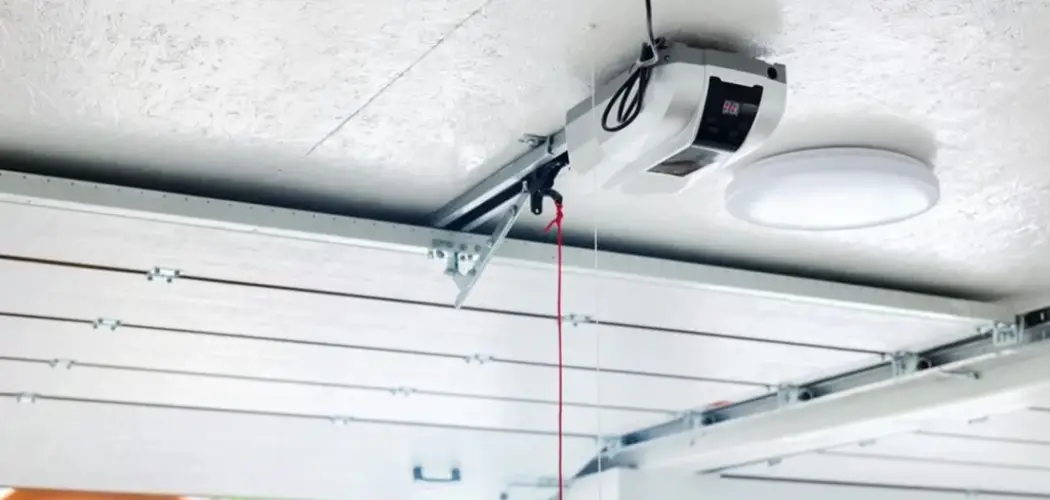
Before starting, make sure you have everything you need. Most LiftMaster models include a user manual that outlines specific pairing instructions. You’ll also want to locate the “Learn” button on your garage door opener unit, which is often the key component in pairing the opener with its remote or control system.
Step 2: Locate the “Learn” Button
The “Learn” button is usually located on the back or side of the motor housing. Its position may vary depending on the model, but it’s often underneath a removable panel. The button color may indicate the type of programming mode your opener supports, so check your manual for guidance.
Step 3: Clear Previous Pairings (If Necessary)
If the LiftMaster opener has previously been paired with another remote or device, you might want to clear these settings to start fresh. Press and hold the “Learn” button until the LED light turns off. This action resets the unit’s memory.
Step 4: Activate Pairing Mode
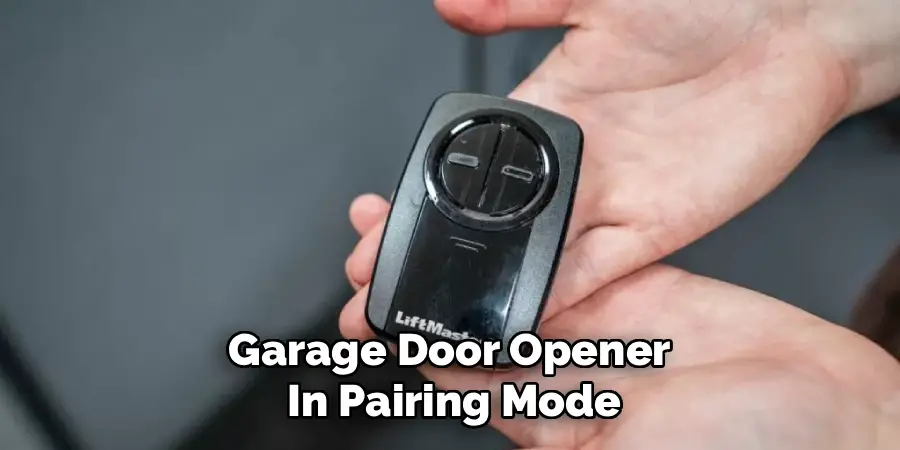
To initiate the pairing process, press and release the “Learn” button. The indicator light will begin blinking, signaling that the device is in pairing mode. It’s important to act quickly during this phase, as the opener stays in pairing mode for only a limited time.
Step 5: Synchronize the Remote or Wall Control
With the garage door opener in pairing mode, press the designated button on your remote control or wall-mounted unit. Hold it down for a few seconds while observing the opener’s LED light. If the LED blinks or goes solid, the pairing is successful.
Step 6: Test the Connection
Once paired, test the functionality by pressing the button on the remote or wall control. The garage door should respond immediately by opening or closing. If it doesn’t, repeat Steps 4 and 5, ensuring you follow the exact timing indicated in your LiftMaster manual.
Step 7: Integrate MyQ Smart Technology (If Applicable)
If you have a LiftMaster model that supports MyQ smart technology, download the MyQ app on your smartphone. Sign up for an account, add your device, and follow the on-screen instructions to complete the integration. This step allows you to control your garage door remotely and take advantage of additional security features.
Step 8: Perform a Final Safety Check
After successfully linking your LiftMaster garage door opener, perform a safety check to ensure the auto-reverse feature works. Place a small object under the garage door and lower it using your control. The door should reverse immediately upon contact with the object.
Step 9: Program Additional Accessories
If you have additional remotes or devices, repeat the linking process for each one. This will ensure everyone in your household has access to the garage.
Step 10: Enjoy Seamless Operation
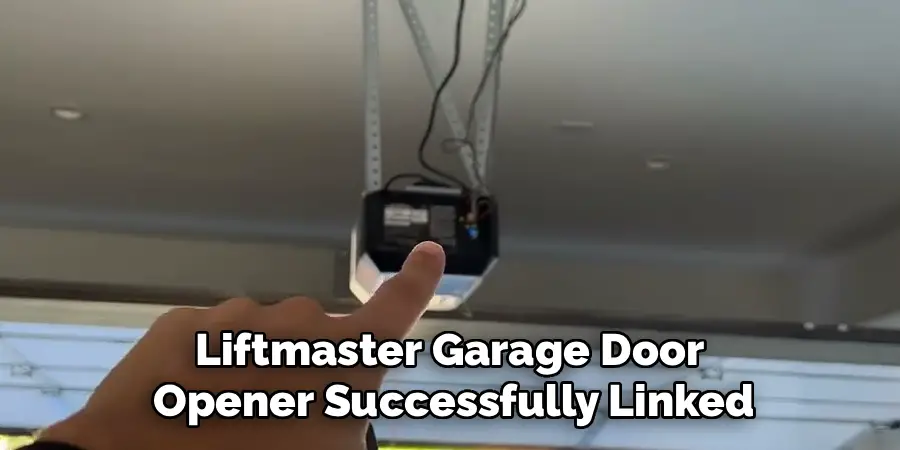
With your LiftMaster garage door opener successfully linked, you can now enjoy seamless and secure operation. Regularly test the opener to ensure it continues functioning properly and replace batteries in your remote as needed.
Troubleshooting Tips
If you encounter issues with your LiftMaster garage door opener, try the following troubleshooting tips:
Check the Power Supply: Ensure the opener is properly plugged in and that the outlet is receiving power. If necessary, reset any tripped circuit breakers.
Inspect the Remote Batteries: If the remote isn’t working, replace its batteries and ensure they are inserted correctly.
Reprogram the Remote: If the opener doesn’t respond to the remote, you may need to reprogram it following the steps provided earlier.
Examine the Safety Sensors: Ensure the safety sensors near the base of the garage door are aligned and free of dirt or debris, as misaligned or dirty sensors may prevent the door from functioning properly.
Check for Obstructions: Inspect the garage door tracks and ensure there are no objects or debris preventing the door from moving smoothly.
Test the Manual Operation: If the opener fails, disengage it manually using the release cord to verify that the garage door can open and close without resistance.
Review the User Manual: Refer to your LiftMaster user manual for model-specific troubleshooting tips and instructions.
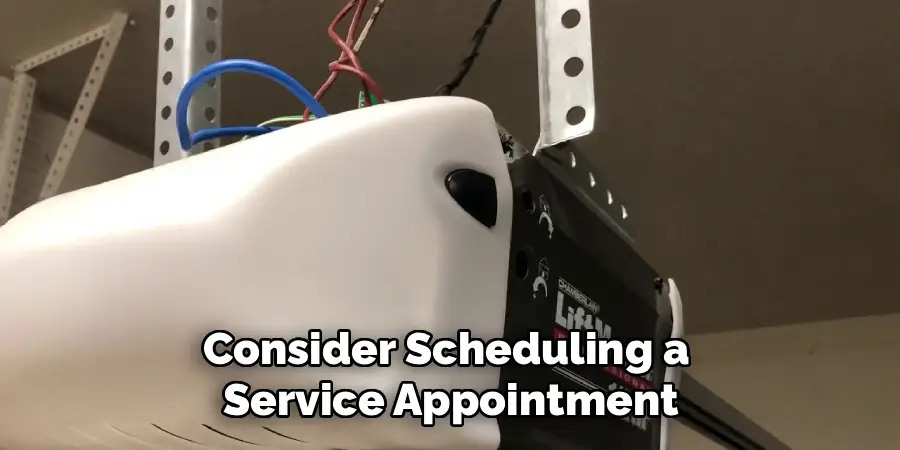
Contact Customer Support: If problems persist, contact LiftMaster’s customer support for professional assistance or consider scheduling a service appointment.
By addressing these potential issues, you can ensure your garage door opener remains functional and reliable.
Frequently Asked Questions
1. Can I link multiple remotes to one LiftMaster opener?
Yes, LiftMaster garage door openers support the pairing of multiple remotes. Simply repeat the pairing process outlined in Steps 4 and 5 for each remote. Remember to test each remote individually to ensure proper functionality.
2. Where is the “Learn” button located on LiftMaster models?
The “Learn” button is typically located on the motor housing of the garage door opener, often beneath a panel or on the back. Its exact location may vary depending on the model, so consult your user manual for precise details.
3. Why is my LiftMaster remote not linking to the opener?
If your remote is not linking, check a few things:
- Ensure the garage door opener is plugged in and functioning.
- Confirm you’re within the limited time window after pressing the “Learn” button.
- Replace the batteries in your remote and try again.
- Refer to your user manual to verify proper button sequences and settings.
4. Can I link a LiftMaster opener to smart home devices?
Yes, many LiftMaster models support MyQ technology, allowing integration with smart home systems like Amazon Alexa, Google Assistant, or Apple HomeKit. Download the MyQ app to start the setup process and enjoy full control of your garage door from your smartphone or virtual assistant.
5. How do I reset my LiftMaster garage door opener?
To reset your LiftMaster garage door opener, press and hold the “Learn” button until the indicator light goes off. This action will erase all remotes and devices paired with the opener. You’ll need to reconnect remotes and accessories by following the pairing process again.
Conclusion
Linking your LiftMaster garage door opener is a straightforward process that enhances both the convenience and security of your home. By following the steps outlined in this guide, you can easily pair your opener with its remote control, wall-mount unit, or smart home system.
Whether you’re linking a standard model or integrating advanced MyQ technology, the simplicity of the process means anyone can do it with ease. Get started today and experience the seamless operation of your LiftMaster system, knowing that a reliable and fully linked garage door opener is just a few steps away!
I am Rick. I grew up helping my dad with his handyman service. I learned a lot from him about how to fix things, and also about how to work hard and take care of business. These days, I’m still into fixing things- only now, I’m doing it for a living.
I’m always looking for new ways to help people grow and develop. That’s why I have created this blog to share all my experience and knowledge so
that I can help people who are interested in DIY repair.