
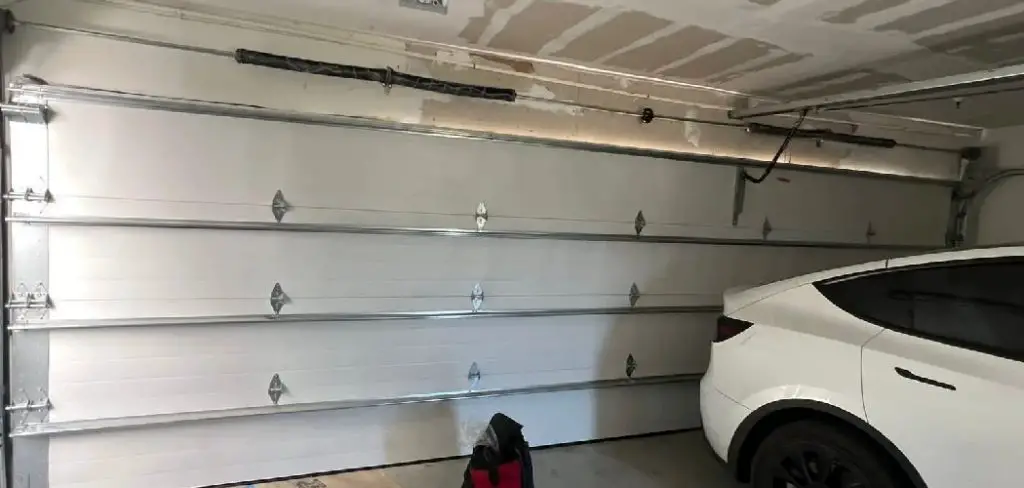
Insulating your garage door panels is a practical way to improve energy efficiency and maintain a comfortable temperature in your garage year-round. Proper insulation helps reduce heat loss during the winter and keeps the space cooler in the summer, ultimately lowering energy bills. Additionally, it can minimize noise from the outside, making your garage a quieter environment.
This guide on how to insulate garage door panels will walk you through the steps to insulate your garage door panels effectively, ensuring long-lasting results.
Types of Garage Door Insulation
When it comes to insulating garage door panels, there are several types of insulation materials to choose from, each with its own benefits and characteristics. Here are the most common options:
Polystyrene Foam Panels
Polystyrene foam is a popular choice for garage door insulation due to its rigidity and excellent thermal performance. It is easy to cut and install, and it provides a balance of durability and effectiveness. It is often used in pre-fabricated insulation kits.
Polyurethane Foam
Polyurethane is a spray foam insulation that provides superior thermal performance and seals small cracks or gaps effectively. It is ideal for those seeking high energy efficiency, although it may require professional installation.
Fiberglass Insulation
Fiberglass is a flexible material that can be cut to fit the size of garage door panels. It offers good insulating properties and is usually installed with a vapor barrier to protect against moisture. This is a cost-effective option, though proper safety precautions should be taken during installation.
Reflective Foil Insulation
Reflective foil is lightweight and designed to reflect heat away, making it especially useful in hot climates. It is generally paired with another insulating material for added effectiveness and ease of installation.

Selecting the right insulation depends on your specific needs, such as climate, budget, and desired level of thermal efficiency. Each of these materials can contribute significantly to enhancing your garage door’s insulation.
Tools and Materials Needed
- Insulation Material of Choice
- Tape Measure
- Utility Knife or Insulation Cutter
- Straightedge or Level
- Adhesive or Double-sided Tape (if Required)
- Safety Gloves and Goggles
- Optional: Garage Door Insulation Kit, Foil Tape, Weatherstripping
8 Step-by-step Guidelines on How to Insulate Garage Door Panels
Step 1: Measure the Panels
Using a tape measure, carefully measure the dimensions of each garage door panel. Be sure to record the height and width of each section accurately, as precise measurements are essential for fitting the insulation properly.
Note that some panels may vary slightly in size, so it’s important to measure each one individually.
Step 2: Cut the Insulation Material
Lay your insulation material on a flat surface, such as a workbench. Using the measurements recorded in the previous step, mark the dimensions onto the material.
With a utility knife or insulation cutter and a straightedge, carefully cut the insulation to match the size of each panel. Take care to make clean, straight cuts to ensure a snug fit.
Step 3: Attach Adhesive or Tape (if Required)
If your insulation material requires adhesive or double-sided tape to stay in place, apply it to the back side of the cut insulation pieces.
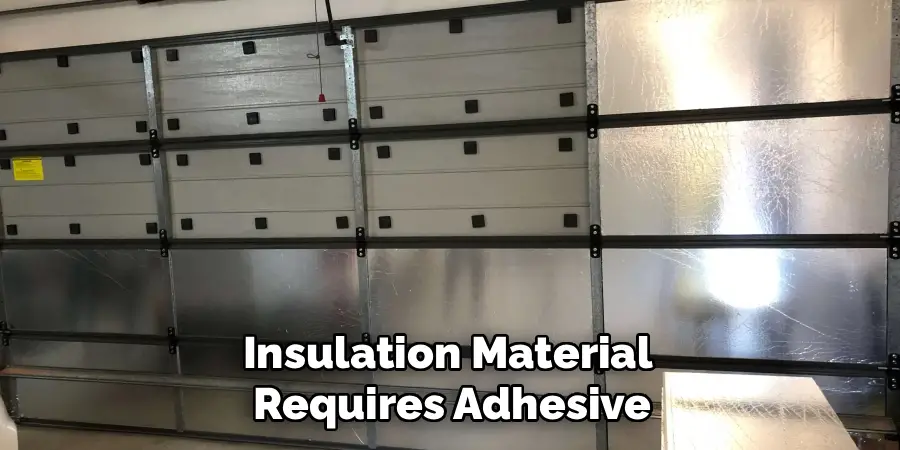
Use small, evenly spaced strips or beads of adhesive around the edges and center to ensure secure attachment. Be sure to follow the manufacturer’s instructions for the adhesive or tape being used.
Step 4: Fit the Insulation into the Panels
Gently press the cut insulation pieces into the corresponding panels on your garage door. Start by sliding one edge of the insulation into the panel, then press the rest of the material in place carefully.
Ensure that the insulation fits snugly without any gaps and adjust as needed to cover the entire surface area of the panel. Repeat this process for all panels on the garage door.
Step 5: Secure the Edges with Foil Tape (Optional)
For additional stability and to ensure better insulation performance, you can secure the edges of the insulation with foil tape. Run strips of foil tape along the perimeter of each panel where the insulation meets the panel.
Press firmly to create a tight seal, which can help prevent air leaks and improve thermal efficiency. This step is optional but highly recommended for long-term durability.
Step 6: Install Weatherstripping (Optional)
To further enhance the insulation of your garage door, consider installing weatherstripping around its edges. Measure and cut the weatherstripping to the appropriate lengths, then adhere or nail it in place along the top, bottom, and sides of the door.
This will help seal gaps and reduce drafts, keeping your garage more energy-efficient and comfortable year-round.
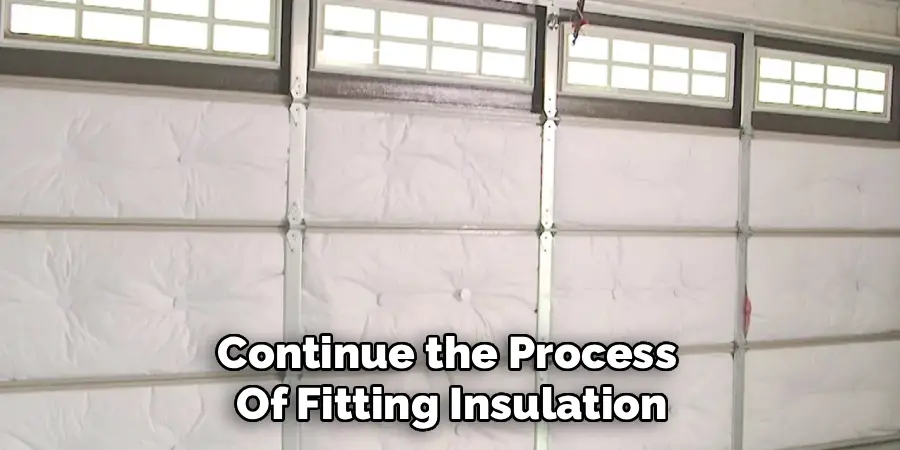
Step 7: Repeat for Each Panel
Continue the process of fitting insulation, securing edges with foil tape (if applicable), and installing weatherstripping (if desired) for all remaining panels on your garage door.
Ensure that each panel is thoroughly insulated and properly sealed for the best results.
Step 8: Test and Adjust as Needed
Once all panels are insulated, test the functionality of your garage door to ensure that it operates smoothly. Check for any signs of interference or misalignment caused by the added insulation. If necessary, make minor adjustments to ensure the door opens and closes properly. With everything complete, your insulated garage door is now ready to provide improved energy efficiency and comfort.
It is important to note that these steps may vary depending on the type of garage door and insulation material being used. It is always recommended to refer to the manufacturer’s instructions for specific guidelines on how to insulate garage door panels.
Tips for Effective Garage Door Insulation
- Make sure to choose an insulation material with a high R-value for maximum efficiency.
- Wear safety gloves and goggles when handling insulation materials to avoid possible skin irritation.
- Ensure that the garage door is properly sealed before insulating to prevent air leaks.
- Consider adding weatherstripping around the edges of the garage door for additional insulation.
- Regularly inspect the insulation and replace any damaged or worn-out sections.
By following these tips, you can effectively insulate your garage door and save on energy costs while increasing comfort in your home.
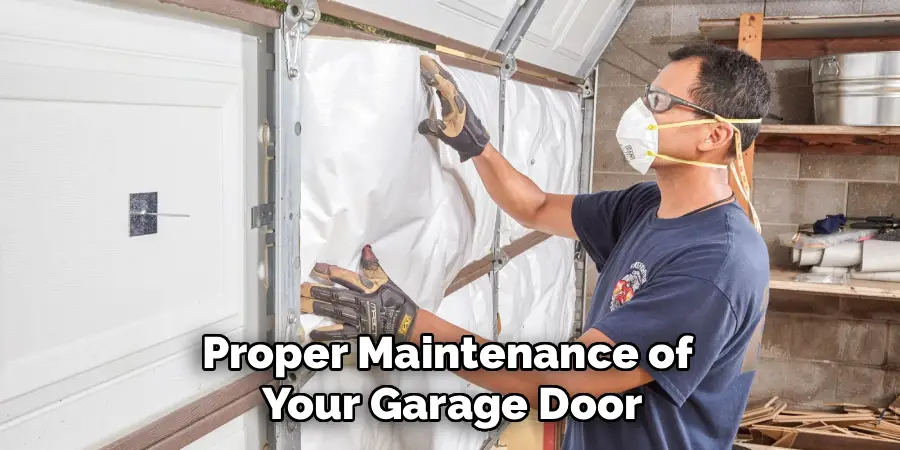
Maintenance Tips
Proper maintenance of your garage door insulation is essential to ensure its effectiveness and longevity. Here are some valuable maintenance tips to keep in mind:
Inspect Regularly
Check the insulation for any signs of wear and tear, such as cracks, peeling, or gaps, and address any damage promptly.
Clean Dust and Debris
Keep the insulation clean by removing dust, dirt, and debris that can accumulate over time and affect its performance.
Reapply Weatherstripping
Periodically inspect the weatherstripping around the garage door and replace it if it becomes loose or worn out.
Check for Moisture Issues
Look out for signs of moisture or mold, as these can compromise the insulation’s integrity. Address any water leaks or dampness immediately.
Tighten Loose Fasteners
Ensure that fasteners, adhesive, or clips used to secure the insulation are intact and tighten or replace them if they become loose.
By maintaining your garage door insulation properly, you can extend its lifespan, enhance energy efficiency, and ensure your garage remains a comfortable and functional space.
Frequently Asked Questions
Q1: How Long Does Garage Door Insulation Last?
A: Garage door insulation can last for several years with proper maintenance and care. However, it may need to be replaced every 5-10 years, depending on the type of insulation and the environment it is exposed to.
Q2: Can I Install Insulation on My Existing Garage Door?
A: Yes, you can install insulation on an existing garage door. There are various types of insulation available that can be retrofitted onto your current door. It is important to ensure that the insulation is installed properly and does not interfere with the operation of the door. It is recommended to consult a professional for installation or follow the manufacturer’s instructions carefully if doing it yourself.
Q3: How Does Garage Door Insulation Help with Energy Efficiency?
A: Garage door insulation helps to maintain a more stable temperature in your garage, which can impact the overall energy efficiency of your home. By keeping heat or cool air from escaping through the garage, your heating and cooling systems do not have to work as hard to maintain a comfortable temperature inside your house. This can lead to lower energy bills and reduced energy consumption.
Q4: Are There Any Other Benefits of Garage Door Insulation?
A: Yes, there are several other benefits to insulating your garage door. Insulation can help reduce noise from the outside, making your garage and home quieter. It also helps to improve the durability of your garage door by providing an extra layer of protection against dents and damage. Additionally, insulated garage doors tend to have a higher R-value (a measure of thermal resistance), which means they provide better insulation against extreme temperatures and weather conditions.
Conclusion
Insulating your garage door is a smart investment that offers numerous advantages. From improving energy efficiency to reducing noise and increasing the durability of your garage door, the benefits are both practical and cost-effective.
Whether you’re looking to maintain a comfortable temperature in your garage or protect your belongings from harsh weather, insulation provides a solution that enhances both functionality and comfort. Consider upgrading to an insulated garage door to enjoy these long-term benefits for your home. Thanks for reading this article on how to insulate garage door panels.
I am Rick. I grew up helping my dad with his handyman service. I learned a lot from him about how to fix things, and also about how to work hard and take care of business. These days, I’m still into fixing things- only now, I’m doing it for a living.
I’m always looking for new ways to help people grow and develop. That’s why I have created this blog to share all my experience and knowledge so
that I can help people who are interested in DIY repair.