
Insulating a wooden garage door is an effective way to improve energy efficiency, regulate indoor temperatures, and reduce noise. Wooden doors, while elegant and durable, are often less insulated compared to their metal counterparts, making them a potential source of heat loss or gain. By properly insulating your garage door, you can save on energy costs and enhance the comfort of your space, whether you use it as a workshop, storage area, or additional living space.

This guide on how to insulate a wooden garage door will walk you through the essential steps to insulate your wooden garage door effectively.
Why Insulate a Wooden Garage Door?
Insulating a wooden garage door provides numerous advantages that go beyond just energy efficiency. First and foremost, insulation helps maintain a consistent indoor temperature by reducing heat exchange between your garage and the outside environment.
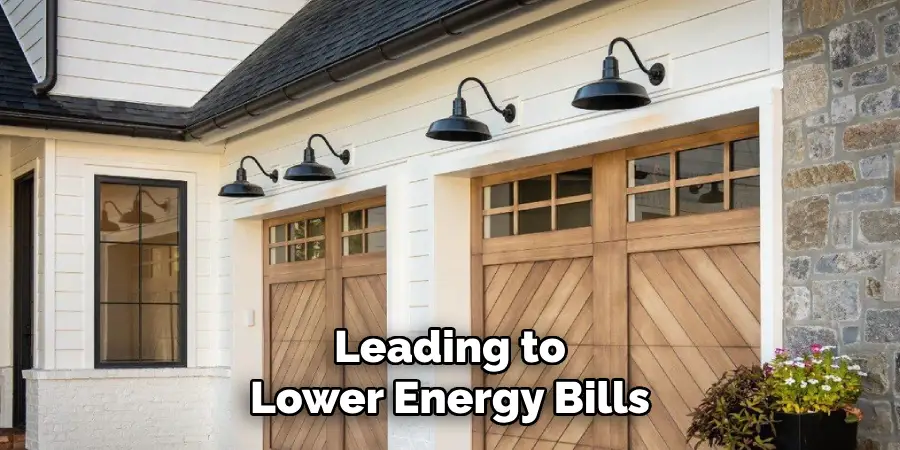
This is especially crucial if you live in regions with extreme weather conditions or use your garage for purposes other than parking a vehicle. Additionally, a well-insulated wooden garage door can help lower your utility bills by reducing the strain on your home’s heating and cooling systems. Insulation also enhances soundproofing, minimizing noise from outside and creating a quieter, more comfortable space.
Furthermore, insulated garage doors often increase the structural integrity of the door, extending its lifespan by protecting it against warping and other damage caused by fluctuating temperatures. Ultimately, insulating your wooden garage door is a practical investment that improves comfort, efficiency, and durability.
Needed Materials
- Insulation Material (Such as Foam Board, Fiberglass Batts, or Reflective Foil)
- Protective Gear (Gloves, Mask, Eye Protection)
- Measuring Tape
- Utility Knife
- Caulking Gun and Sealant
- Adhesive Spray or Glue
- Staple Gun and Staples
- Straight Edge or Ruler
- Screwdriver or Drill With Screws
7 Steps on How to Insulate a Wooden Garage Door
Step 1: Assess Your Garage Door
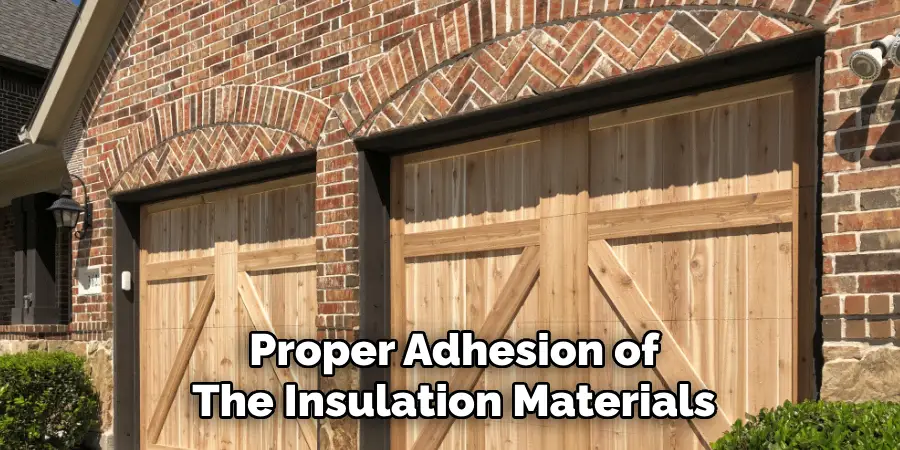
Begin by thoroughly inspecting your wooden garage door. Check for any visible damage, such as cracks, gaps, or worn-out areas, as these can impact the effectiveness of the insulation. Ensure that the door is clean and free from debris, dirt, or grease, as a smooth surface is crucial for proper adhesion of the insulation materials.
Measure the dimensions of each panel or section of your garage door to determine the amount of insulation material you will need. Carefully note any irregularities or unique features of the door that may require special attention during the insulation process.
Step 2: Select the Right Insulation Material
Choosing the appropriate insulation material is essential for achieving optimal results. There are several options available, each with its own benefits and considerations. Common choices include foam board, reflective insulation, and fiberglass batt insulation. Foam board is lightweight, rigid, and provides excellent thermal resistance, making it a popular option for garage doors.
Reflective insulation is ideal for doors exposed to intense sunlight as it helps to reflect heat away. Fiberglass batt insulation, while highly effective, requires careful handling due to its texture and potential to irritate skin. Consider the climate in your area, the type of garage door you have, and your budget when selecting the material. Make sure the insulation you choose is easy to cut and install and is compatible with your door’s design.
Step 3: Prepare the Garage Door Surface
Before installing the insulation, it’s essential to prepare the garage door surface properly. Start by cleaning the door thoroughly to remove any dirt, dust, or grease that could interfere with the adhesion or placement of the insulation.

Use a mild detergent and a damp cloth or sponge to clean the surface, and allow it to dry completely before proceeding. Inspect the door for any damage, such as cracks or dents, and repair them as necessary to create a smooth and even surface. Proper preparation ensures that the insulation adheres securely and provides the best possible thermal performance.
Step 4: Measure, Cut, and Test Fit the Insulation Panels
Using a measuring tape, carefully measure the dimensions of the door panels where the insulation will be installed. Take note of all measurements to ensure accuracy. Next, use a utility knife or a sharp pair of scissors to cut the insulation panels to the required sizes. Be precise, as proper fitment is crucial for optimal performance.
Once cut, test-fit the insulation panels by placing them on the corresponding sections of the door. Make any necessary adjustments to ensure a snug and seamless fit before proceeding with installation. This step helps confirm that the insulation panels are cut and aligned correctly, reducing waste and preventing potential issues during application.
Step 5: Apply Adhesive and Install the Insulation
Begin by selecting a high-quality adhesive that is suitable for the type of insulation material you are using. Apply the adhesive evenly across the surface of the door where the insulation panel will be installed. Be careful to avoid applying excessive adhesive, as this could lead to uneven bonding or seepage from the edges. Once the adhesive is applied, carefully press the insulation panel onto the prepared surface.
Ensure that it is aligned correctly and fits snugly into place. Press firmly around the edges and center of the panel to ensure a strong bond and eliminate any air pockets. Repeat this process for each panel, working methodically to cover all sections of the door. Allow sufficient drying time as recommended by the adhesive manufacturer before proceeding to the next steps.
Step 6: Seal Gaps and Finish Edges
Once all the insulation panels are securely in place and the adhesive has dried, inspect the edges and gaps for any spaces that could allow air to pass through. Use an appropriate sealant, such as caulk or weatherproof foam, to fill these gaps. Apply the sealant evenly along the edges of the panels and in any visible seams to create an airtight seal. Smooth the sealant with a caulking tool or your finger for a clean finish.
After sealing, check the entire surface for any areas that may need additional attention. Once complete, allow the sealant to cure fully as per the manufacturer’s instructions before using the insulated door. This final step ensures maximum energy efficiency and a polished appearance.
Step 7: Test for Fit and Maintain Regular Inspections
Once the sealant has cured, test the insulated door for fit and functionality. Open and close the door several times to ensure it moves smoothly and does not encounter any resistance. Check for any drafts or temperature fluctuations around the edges to confirm the insulation is effective. If you notice any issues, make necessary adjustments to optimize the fit.

To maintain long-term efficiency, schedule regular inspections of the door and its insulation. Look for signs of wear, such as cracks in the sealant or gaps in the insulation, and address them promptly. Routine maintenance will not only help extend the life of your insulated door but also ensure continued energy savings and comfort.
Following these steps on how to insulate a wooden garage door will not only improve the energy efficiency of your garage but also add value to your home. Insulation is a cost-effective solution that can save you money on utility bills and make your garage a more comfortable space year-round. Additionally, a well-insulated garage door can also help reduce noise from outside sources, providing a quieter environment for any activities taking place in the garage.
How Much Does It Cost to Insulate a Wooden Garage Door?
The cost of insulating a wooden garage door can vary depending on several factors, including the size of the door, the type of insulation material used, and whether you choose to do it yourself or hire a professional. On average, homeowners can expect to spend between $100 and $500 for a DIY project, with prices increasing for higher-quality materials like rigid foam panels or spray foam.
If you opt for professional installation, the cost may range from $300 to $1,000, depending on labor rates and the complexity of the job. While the upfront cost may seem significant, the long-term savings on energy bills and the added comfort and noise reduction often make it a worthwhile investment.
Frequently Asked Questions
Q1: Can I Insulate My Garage Door Myself?
Yes, with the right materials and tools, you can easily insulate your garage door on your own. However, it’s important to note that proper insulation installation requires attention to detail and careful handling of materials, so be sure to do thorough research and follow instructions carefully.
Q2: What is the Best Type of Insulation for a Garage Door?
The best type of insulation for a garage door depends on your specific needs and budget. Fiberglass batts are a cost-effective option, while foam boards provide better insulation and rigidity. Spray foam offers the highest R-value but may require professional installation.
Q3: How Can Insulation Improve the Energy Efficiency of a Garage?
Insulation helps to regulate the temperature inside a garage, making it more energy-efficient. By preventing heat transfer through the walls and ceiling, insulation can keep the garage cooler in hot weather and warmer in cold weather. This means less energy is needed to maintain a comfortable temperature, leading to lower energy bills.
Conclusion
Properly insulating your garage is an essential step towards improving its functionality, energy efficiency, and overall comfort. By selecting the right type of insulation and addressing factors such as R-value and installation, you can greatly enhance the temperature regulation within your space.
Not only does this lead to lower energy costs, but it also adds value to your property. Whether you choose fiberglass, foam board, or spray foam, investing in high-quality insulation is a decision that pays off in the long term. Thanks for reading this article on how to insulate a wooden garage door.
I am Rick. I grew up helping my dad with his handyman service. I learned a lot from him about how to fix things, and also about how to work hard and take care of business. These days, I’m still into fixing things- only now, I’m doing it for a living.
I’m always looking for new ways to help people grow and develop. That’s why I have created this blog to share all my experience and knowledge so
that I can help people who are interested in DIY repair.