
Are you tired of cold drafts sneaking into your garage? Are you looking to reduce energy costs by insulating your roll-up door? Look no further, as this guide will walk you through the process of how to insulate a roll up door.
Insulating roll-up doors is essential for improving energy efficiency, maintaining comfortable temperatures, and reducing noise levels in both residential and commercial spaces. As roll-up doors are often large and may be exposed to varying weather conditions, they can contribute significantly to heat loss in the winter and excessive heat gain in the summer. Proper insulation helps mitigate these issues, leading to lower energy bills and a more stable indoor climate.

In this guide, we will explore the various methods and materials available for effectively insulating your roll up door, ensuring you can achieve the best results for your needs.
What Will You Need?
Before beginning the insulation process, gathering all the necessary tools and materials is essential. The following is a list of items that you will need:
- Measuring tape
- Utility knife
- Safety glasses
- Protective gloves
- Dust mask (if working with fiberglass insulation)
- Insulation material (foam board, reflective foil, or fiberglass)
- Adhesive spray or double-sided tape
Once you have everything on the list, you are ready to begin insulating your roll up door.
10 Easy Steps on How to Insulate a Roll Up Door
Step 1: Measure the Door
Accurate measurements ensure your insulation fits effectively and adequately enhances the door’s energy efficiency. Begin by measuring the width and height of the door opening. Use a measuring tape to obtain these dimensions and note them down. Measuring at several points is important because roll up doors may be partially square.
For instance, check the width at the top, middle, and bottom and the height on the left, middle, and right sides. This will help you determine the smallest measurement for the insulation material, ensuring a snug fit. Once you have all your measurements, sketch a simple diagram of the door, marking the dimensions to guide you in the next steps of the insulation process.
Step 2: Choose Your Insulation Material
Selecting the right insulation material is critical to achieving effective energy efficiency. There are several options available, each with unique properties:
- Foam Board Insulation: This is a popular choice due to its high insulating value and ease of installation. Foam boards are lightweight and can be easily cut to fit the dimensions of your roll-up door.
- Reflective Foil Insulation: Ideal for hot climates, reflective foil insulation works by reflecting radiant heat away. For maximum effectiveness, it’s best used in combination with another insulation type.
- Fiberglass Insulation: Known for its excellent thermal resistance, fiberglass insulation comes in batts or loose-fill form. It’s important to handle this material with care, wearing protective gear to avoid skin irritation.

Once you decide on the type of insulation that aligns with your needs, purchase enough material based on your earlier measurements, ensuring you have some extra for adjustments.
Step 3: Prepare the Surface
Before applying the insulation, the surface of the roll-up door must be clean and dry. Use a damp cloth to wipe away any dust, dirt, or grease that could prevent proper adhesion. If the door has old paint or rust, consider sanding these areas smoothly. This preparation will enhance the bond between the insulation and the door, ensuring long-lasting results.
Step 4: Cut the Insulation Material
Using your utility knife, carefully cut the insulation material according to the measurements you took in Step 1. If using foam boards, score the material lightly before snapping it along the cut line for a clean break. For fiberglass batts, use a serrated knife to ensure straight edges. Take your time to ensure a precise fit, as even small gaps can significantly reduce the insulation’s effectiveness.
Step 5: Apply Adhesive
Once your insulation pieces are cut to size, it’s time to attach them to the roll-up door. Start by applying a generous amount of adhesive spray or double-sided tape along the edges of the door where the insulation will be placed. Ensure that the surface is still clean from any dust or debris to promote strong adhesion.
Carefully press the cut insulation against the adhesive, starting from one side and working your way across. Make sure to apply even pressure for a secure bond. If using foam board, you might want to hold each piece in place for a few moments to allow the adhesive to set. Once all pieces are in place, check for gaps between the insulation and the door surface to ensure maximum coverage and efficiency.
Step 6: Seal the Edges
To ensure optimal insulation performance, it’s crucial to seal the edges of the insulation material. Use high-quality duct or insulation tape to cover all seams where the insulation meets the door. This prevents air leaks and protects against moisture intrusion that can compromise the insulation’s effectiveness. Be thorough in your application; even small gaps can lead to significant energy loss. After sealing, run your hand along the edges to check for any remaining loose sections, reinforcing them to ensure a tight seal.

Step 7: Insulate Around the Roll Up Mechanism
Since the roll-up door mechanism can leave gaps leading to energy loss, insulating these areas effectively is essential. Examine the space around the door’s tracks and the rolling mechanism. Cut smaller pieces of insulation to fit these gaps, ensuring they conform to the door’s contour and components.
Use adhesive or tape to secure these smaller pieces, ensuring they are snug but not overly tight, allowing the door to operate freely. This step is crucial for enhancing the overall energy efficiency of the door and preventing air leaks that may arise from uninsulated areas.
Step 8: Add a Weatherstrip
To further improve insulation, consider installing a weatherstrip along the edges of the roll-up door. Weatherstripping creates a tight seal that prevents drafts, keeps moisture out, and reduces noise. Choose a suitable weatherstripping material, such as foam or rubber, measuring the door’s perimeter to ensure you have enough length. Apply the weatherstrip along the edges, pressing firmly to secure it in place. This addition will complement your existing insulation efforts, providing a comprehensive barrier against outdoor elements.
Step 9: Inspect and Test
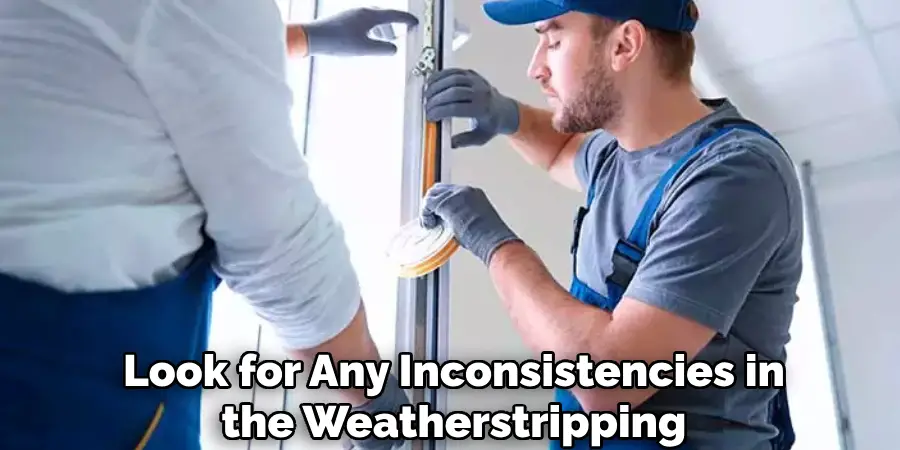
After installation, inspecting your work to ensure everything has been done properly is important. Check the insulation for any loose edges, gaps, or unsealed areas. Look for any inconsistencies in the weatherstripping to confirm a tight seal.
Once satisfied with the installation, test the door’s functionality by opening and closing it several times to ensure that everything operates smoothly without any hindrance from the added insulation materials. This final inspection is vital to ensure all components work effectively together, optimizing your energy efficiency.
Step 10: Maintain Your Insulation
Lastly, regular maintenance is key to ensuring the longevity and effectiveness of your insulation. Periodically check the insulation and weatherstrip for wear and tear, especially after extreme weather conditions. Replace any damaged or worn materials promptly to maintain energy efficiency.
Additionally, keep the area around the roll-up door clean and free from debris to prevent any hindrance to proper sealing or airflow. By taking these steps, you can ensure that your roll up door remains insulated for years, leading to lower energy bills and enhanced comfort in your space.
By following these steps, you can effectively insulate your roll-up door and enjoy improved energy efficiency.
5 Things You Should Avoid
- Ignoring the Measurements: Please take accurate measurements before cutting your insulation to avoid ill-fitting pieces, reducing effectiveness, and requiring additional adjustments. Always double-check measurements to ensure a proper fit.
- Using Inadequate Adhesive: Choosing the wrong type of adhesive can result in poor bonding and cause the insulation to peel or fall off over time. To ensure durability, use high-quality adhesive specifically designed for the insulation material you are using.
- Skipping Surface Preparation: Neglecting properly cleaning and preparing the door’s surface can hinder adhesion. Always ensure the surface is clean, dry, and free of any contaminants before applying insulation to achieve the best results.
- Overstretching the Insulation: Stretching insulation too tightly can reduce its insulating properties and interfere with the door’s operation. Always allow for slight give in the insulation to maintain performance while ensuring the door remains functional.
- Disregarding Gaps Around Fixtures: Failing to insulate around the roll-up mechanism, tracks, and hinges can leave significant gaps that allow heat loss. Pay attention to these areas and use smaller pieces of insulation to seal them effectively, thereby enhancing overall energy efficiency.

Conclusion
How to insulate a roll up door is a valuable investment in energy efficiency and comfort.
You can significantly reduce air leaks and enhance thermal performance by carefully following the outlined steps, from measuring and cutting insulation to sealing edges and adding weatherstrips. Regular maintenance is essential to ensure that your insulation remains effective over time, helping you save on energy costs while maintaining a pleasant indoor environment.
Proper insulation of your roll-up door will deliver lasting benefits, making it worthwhile for any property owner, whether in a residential or commercial setting.
I am Rick. I grew up helping my dad with his handyman service. I learned a lot from him about how to fix things, and also about how to work hard and take care of business. These days, I’m still into fixing things- only now, I’m doing it for a living.
I’m always looking for new ways to help people grow and develop. That’s why I have created this blog to share all my experience and knowledge so
that I can help people who are interested in DIY repair.