How to install t-handle garage door lock is a reliable and durable solution for improving garage security. Designed with a robust locking mechanism, these locks are particularly effective in preventing unauthorized access and protecting belongings stored inside. Their unique T-shaped design provides both functionality and ease of use, ensuring homeowners can secure their garage doors confidently.
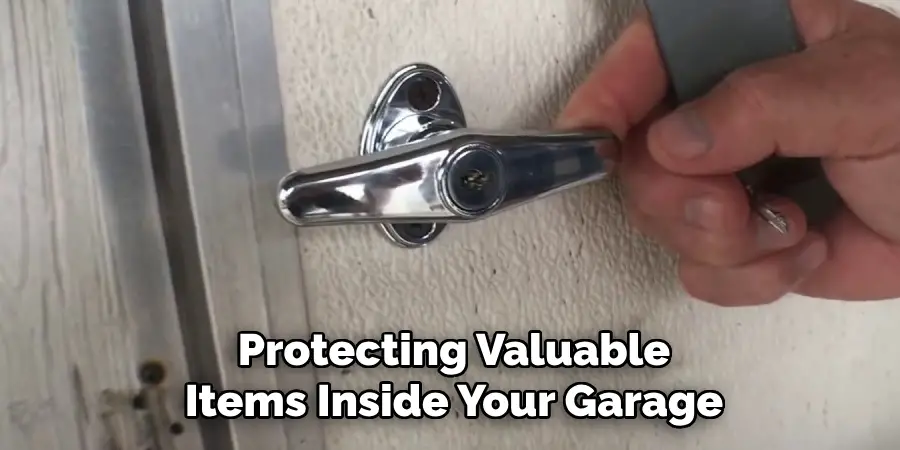
Adding a secure locking mechanism like a T-handle lock is essential to safeguard your garage, tools, and other valuable items from theft or damage. Whether you store vehicles, equipment, or household items in your garage, investing in a quality lock enhances your peace of mind and acts as a deterrent to potential intruders.
This article serves as a comprehensive step-by-step guide on how to install t-handle garage door lock. Even if you’re a DIY beginner, you’ll find these instructions easy to follow, allowing you to confidently enhance your garage security.
What Is a T-Handle Garage Door Lock?
A T-handle garage door lock is a security mechanism designed to secure metal roll-up and manually operated sectional garage doors. Its name comes from the T-shaped handle, which makes it easy to grip and turn. T-handle locks are operated with a key, providing robust security without electrical components.
A typical T-handle lock kit includes essential components such as the T-handle itself, a tailpiece that connects to the locking rods, locking rods that secure the door in place, an interior release mechanism for quick access from inside, and a set of keys for operation. These components work together to create a strong locking system that resists tampering and unauthorized entry.
T-handle locks are most commonly used on garages, sheds, and storage units with metal roll-up or sectional doors. They are especially popular for applications where electrical locks are not practical.
Choosing a T-handle lock offers a range of advantages. Key-only access eliminates concerns about power outages or complex installations involving wiring. Additionally, T-handle locks are known for their durability and ability to provide long-lasting security, making them an excellent choice for protecting valuable items inside your garage.
Tools and Materials Needed
Essential Tools
- Drill
- Screwdriver
- Measuring tape
- Wrench set
- Center punch
- Safety glasses
Materials and Hardware
- T-handle lock kit
- Mounting bolts
- Lock rods
- Brackets (if not included)
Optional Items
- Anti-rust lubricant
- File or rasp (if adjustments are needed)
- Marker for marking holes
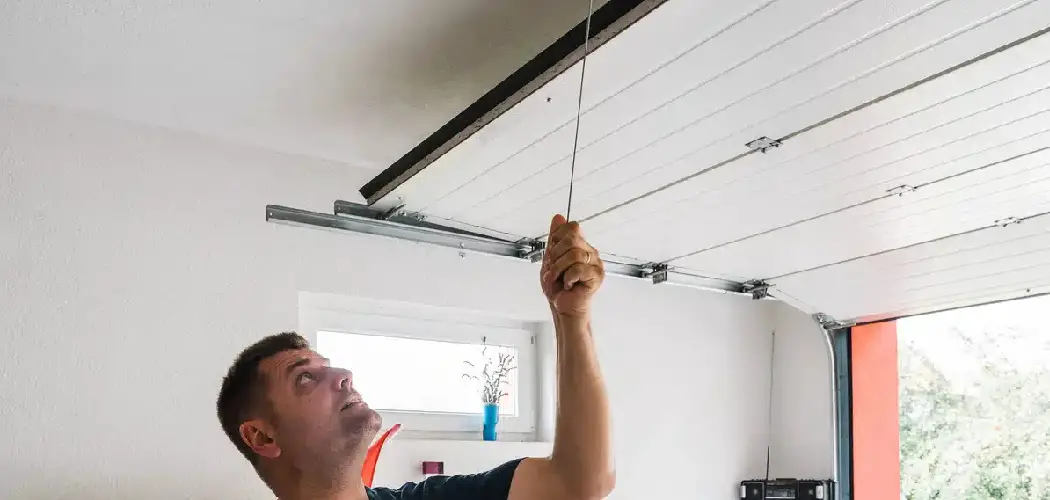
Preparing the Garage Door
Assessing the Door
Begin by carefully inspecting the garage door for any pre-drilled holes that might accommodate the T-handle lock. If none are present or the existing ones are unsuitable, decide on a new location for the lock installation. This location should allow for effective locking rod alignment while maintaining proper functionality and security. Ensure the surface is clean and free of obstructions to avoid issues during installation.
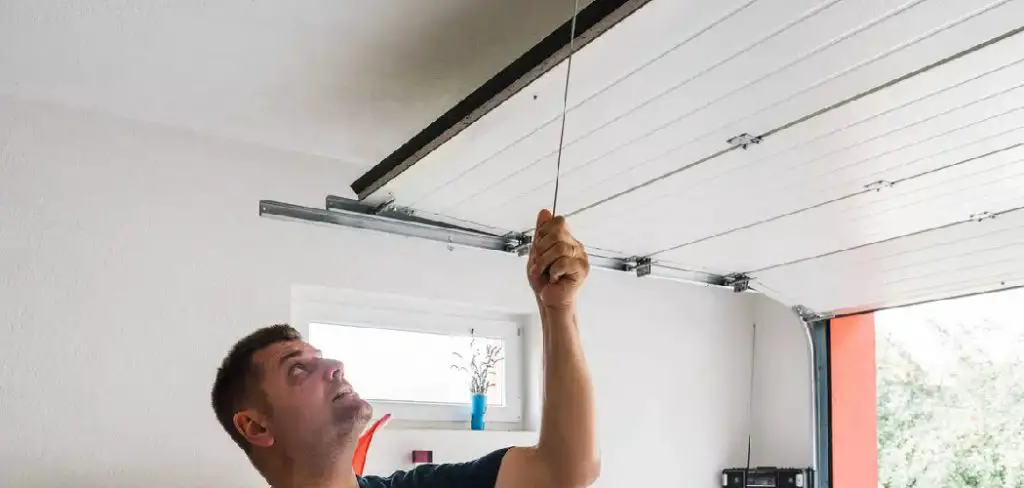
Measuring and Marking
Accurate measurements are essential for a smooth and successful installation. Measure the correct height for the T-handle, typically at waist level and centrally aligned on the door. This placement ensures easy access and operation. Once the height is determined, use a marker to clearly outline the holes for the handle and locking rods. Double-check your measurements to confirm alignment; even small deviations can affect the locking mechanism’s efficiency.
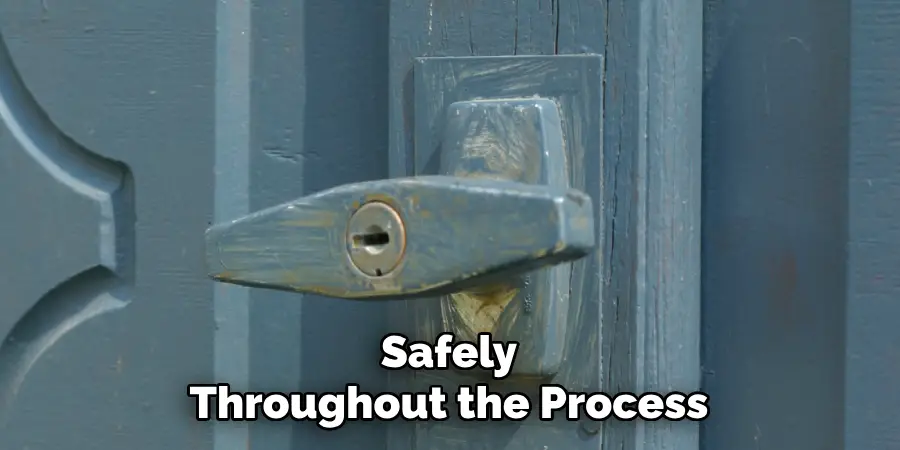
Ensuring Safety
Before proceeding with any drilling or installation steps, disconnect the power to any automatic garage door opener to prevent accidental movement. Prioritize safety by wearing the appropriate gear, such as safety glasses, to protect against flying debris. Keep all necessary tools within arm’s reach, ensuring that you can work efficiently and safely throughout the process.
How to Install T-Handle Garage Door Lock: Installing on the Exterior
Drilling the Mounting Holes
Before mounting the T-handle, carefully drill the required holes based on the lock template or your earlier markings. Take your time to ensure the holes are clean and even, as this will allow the T-handle to sit flush against the garage door and ensure proper functionality. Use a drill bit of the appropriate size for the hardware being used, and consistently check the alignment during the drilling process to avoid any errors that might compromise the installation. After drilling, clear away any debris or rough edges to ensure a smooth and professional finish.
Mounting the Exterior Handle
Once the holes have been properly drilled, insert the T-handle through the designated hole on the garage door’s exterior, ensuring it is aligned correctly. The handle should sit tightly against the surface, with no visible gaps or misalignments. Secure the T-handle from the door’s interior side using the provided nuts and bolts. Tighten them firmly, but take care not to overtighten, which could damage the door or the lock mechanism. Once secured, test the alignment and ensure that the handle operates smoothly before moving on to the next steps of the installation process.
Testing and Final Adjustments
Lock and Unlock Test
Insert the key into the T-handle and turn it to test the locking mechanism. Ensure that the rods engage and disengage properly as the handle is rotated. The mechanism should move smoothly without resistance or jamming. If issues arise, check the rods’ alignment and make any necessary adjustments.
Adjusting for Smooth Operation
Inspect the handle and locking mechanism for consistent performance. Apply a suitable lubricant to any moving parts to reduce friction and ensure smooth operation. Tighten any loose components, including bolts or brackets, and re-check the alignment to guarantee seamless functionality.
Secure All Fasteners
Review all fasteners, including nuts, bolts, and brackets, to confirm they are securely in place. Properly tightened fasteners will enhance the durability of the installation and prevent the mechanism from loosening over time. After making these final adjustments, the T-handle should be fully operational and securely installed.

Maintenance and Security Tips
Routine Maintenance
Routine maintenance is important to ensure the longevity and optimal performance of your T-handle lock. Clean the lock mechanism using a soft cloth every few months to remove dust and debris. Apply a light lubricant, such as silicone spray or graphite powder, to prevent rust and stiffness in the moving parts. Regular upkeep will help maintain smooth operation and protect the lock from environmental wear.
Security Best Practices
Enhance the security of your T-handle lock by adopting a few simple precautions. Always remove the key after locking to avoid unauthorized access. Periodically inspect the lock for signs of tampering, wear, or damage, and address any issues promptly. For additional security, consider pairing the T-handle lock with an interior latch or a sturdy padlock to create multiple layers of defense against potential intrusions. These practices can help ensure your lock remains secure and reliable over time.
Conclusion
Installing a T-handle lock is a straightforward process that significantly enhances garage security. Each step is crucial in ensuring the lock functions effectively, from the initial preparation of tools and materials to the precise installation and final adjustments. Understanding how to install t-handle garage door lock adds a layer of protection and provides peace of mind knowing your valuables are safe. By adhering to safety guidelines, conducting routine maintenance, and addressing wear or damage promptly, you can maximize the longevity and reliability of your lock. Secure your garage today for better protection and convenience.
I am Rick. I grew up helping my dad with his handyman service. I learned a lot from him about how to fix things, and also about how to work hard and take care of business. These days, I’m still into fixing things- only now, I’m doing it for a living.
I’m always looking for new ways to help people grow and develop. That’s why I have created this blog to share all my experience and knowledge so
that I can help people who are interested in DIY repair.