Installing a roll-up garage door is a practical and space-saving solution for your garage. These doors are designed to roll neatly into a coil above the opening, providing easy access while maximizing space efficiency. Whether upgrading your current door or installing a new one, this guide will walk you through the steps of how to install roll up garage door. With the right tools and preparation, you can complete the process with ease and confidence.
What is a Roll-Up Garage Door?
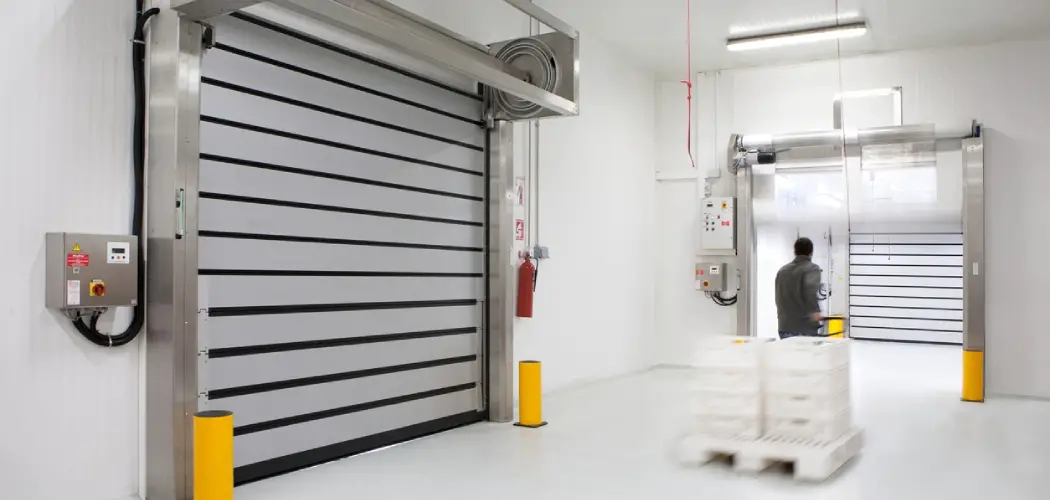
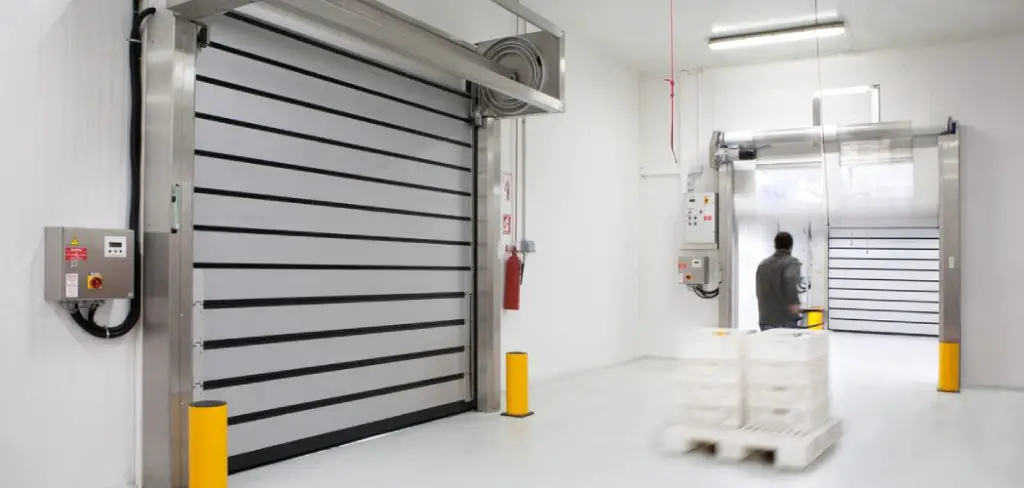
A roll-up garage door is a type of door designed to open vertically and coil into a compact roll above the garage opening. Unlike traditional sectional doors that take up ceiling space, roll-up doors are crafted from durable, narrow steel or aluminum slats that interlock to form a sturdy curtain. This design not only saves space but also makes them an excellent choice for garages with limited headroom or where ceiling space is used for storage. Roll-up garage doors are known for their durability, security, and low-maintenance features, making them a popular option for both residential and commercial applications.
Why Choose a Roll-Up Garage Door?
Roll-up garage doors offer a variety of benefits that make them a superior choice for many homeowners and businesses. One of their greatest advantages is their space-saving design. Unlike traditional doors, roll-up doors neatly coil into a compact roll above the opening, freeing up valuable ceiling space and allowing for more efficient storage or lighting placement. They are also incredibly durable, often manufactured from materials like galvanized steel or aluminum, which are resistant to rust, corrosion, and weather-related wear. Additionally, roll-up doors provide enhanced security due to their sturdy construction and interlocking slats, making it challenging for intrusions to occur. With low maintenance needs and a long lifespan, these doors are a cost-effective investment that combines functionality, durability, and style.
Tools and Materials Needed
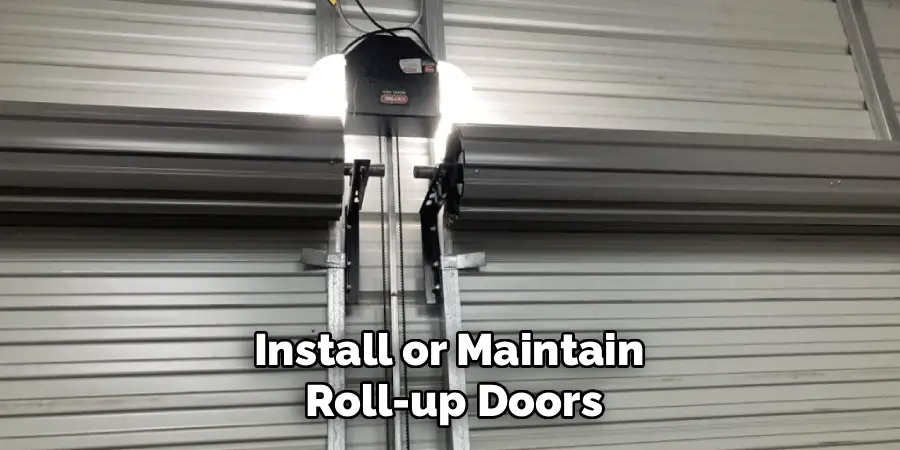
To install or maintain roll-up doors, you will need the following tools and materials:
- Measuring Tape: For precise measurements of the door opening and frame.
- Level: Ensures proper alignment and balance of the door during installation.
- Drill and Drill Bits: For securing brackets and hardware into place.
- Screwdrivers: Useful for tightening screws and making adjustments.
- Wrenches: To handle bolts and other fastening components.
- Anchor Bolts: Essential for securing the door frame to the wall or floor.
- Lubricant: Keeps moving parts like tracks and slats functioning smoothly.
- Protective Gear: Gloves and safety glasses to ensure personal safety during work.
- Cleaning Supplies: For removing debris or grease from the surfaces during maintenance.
- Replacement Components (if needed): Such as slats, springs, or locking mechanisms in case of repairs.
Making sure all these tools and materials are at hand will streamline the installation or maintenance process and ensure optimal performance of the roll-up doors.
10 Methods How to Install Roll up Garage Door
1. Measure the Garage Opening Accurately
Before installing a roll up garage door, the first and most critical step is to measure the garage opening accurately. Use a tape measure to record the width and height of the opening, along with the headroom (space between the top of the opening and the ceiling) and the side room (space between the sides of the opening and the walls). Roll up doors typically require more headroom than traditional sectional garage doors, so it is essential to ensure there is adequate clearance. These measurements will help you select the correct size door and ensure proper alignment during installation. Failing to measure accurately can result in ordering a door that does not fit or installing a door that operates poorly.
2. Prepare the Installation Area
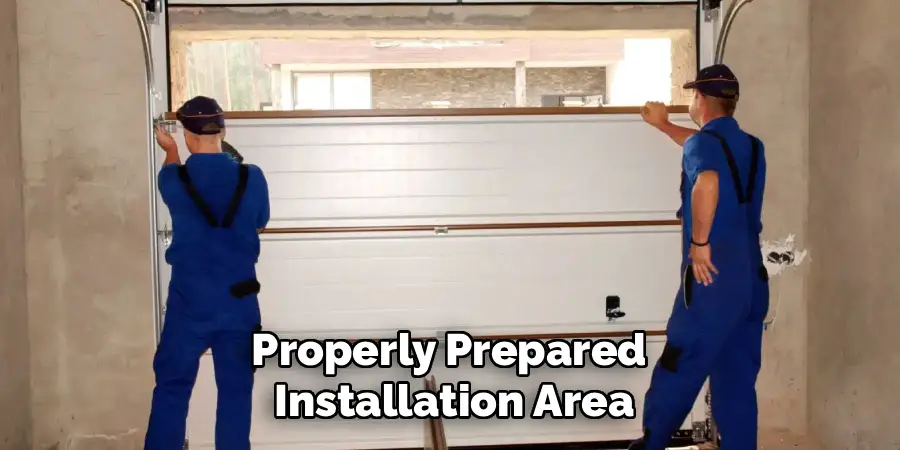
A clean, level, and properly prepared installation area makes the installation process much smoother. Start by clearing out any objects, tools, or clutter near the garage opening. Inspect the walls, ceiling, and floor to ensure they are structurally sound and free of cracks that could compromise the installation. It is also important to verify that the floor is level, as uneven surfaces can cause the door to bind or fail to seal correctly. If the floor is uneven, use a leveling compound or shims to create a balanced surface. Preparing the installation area beforehand eliminates unnecessary difficulties once the heavy door components are being set in place.
3. Unpack and Inspect the Roll Up Door Components
Once the roll up garage door is delivered, carefully unpack all the components and lay them out in an organized manner. Common parts include the curtain (the rolling sheet of the door), the barrel or drum, tracks, brackets, springs, and fasteners. Inspect each piece for any damage that might have occurred during shipping. Even a slight bend or dent in the curtain or track can affect the smooth operation of the door. By ensuring all parts are present and in good condition before beginning, you prevent delays and complications during the actual installation process.
4. Install the Guide Tracks
Guide tracks are essential for directing the curtain of the roll up garage door as it moves up and down. Position the guide tracks on either side of the garage opening, ensuring they are perfectly vertical and securely fastened to the wall. Use a level to confirm accuracy before drilling pilot holes and tightening the bolts. Misaligned tracks can cause the curtain to jam or wear unevenly over time, so precision in this step is crucial. Once the tracks are secure, double-check their alignment by comparing both sides to make sure they are parallel. This sets the foundation for smooth operation of the door.
5. Mount the Brackets and Drum Assembly
The brackets and drum assembly form the core of the roll up door’s operation. Begin by installing the mounting brackets on both sides of the opening, making sure they are aligned and secured firmly to the wall or header. Next, lift the barrel or drum assembly into position and seat it into the brackets. The drum holds the curtain and houses the spring mechanism that allows the door to roll up and down efficiently. Because this step involves heavy lifting, it is advisable to have at least one additional person assist with positioning the drum. Secure it tightly to prevent any shifting once the curtain is attached.
6. Attach the Curtain to the Drum
With the drum in place, the curtain of the roll up door can now be attached. This process typically involves feeding the top of the curtain into the drum’s slot and securing it with fasteners provided by the manufacturer. Once attached, carefully unroll the curtain downward into the guide tracks, ensuring that it slides smoothly without catching or binding. This step requires patience and attention to detail, as improper alignment of the curtain at this stage can result in uneven rolling and long-term operational issues. When installed correctly, the curtain should move easily within the tracks and rest evenly along the bottom of the garage floor.

7. Secure and Adjust the Spring Tension
Spring tension is one of the most critical aspects of a roll up garage door installation, as it controls how easily the door can be lifted and lowered. Most roll up doors use torsion springs within the drum, which need to be tightened to provide proper counterbalance. Using the manufacturer’s instructions, adjust the spring tension gradually, testing the door’s movement after each adjustment. The goal is to achieve a balance where the door does not slam shut or fly open uncontrollably. Because springs are under high tension, this step must be performed with extreme caution. If unsure, it is best to seek professional assistance for spring adjustments.
8. Install the Bottom Bar and Weatherstripping
To ensure a secure and sealed installation, attach the bottom bar and weatherstripping to the base of the curtain. The bottom bar adds weight, helping the door close more firmly, while the weatherstripping prevents drafts, dirt, and pests from entering the garage. Use screws or fasteners provided to secure these components in place. Check that the weatherstripping makes consistent contact with the garage floor, even if the floor is slightly uneven. This small detail not only improves energy efficiency but also prolongs the life of your garage’s interior by keeping out moisture and debris.
9. Add the Locking Mechanism or Opener
Once the roll up garage door is functional, it is time to add the locking mechanism or opener system. Many roll up doors come with manual slide locks that can be installed at the bottom of the curtain for security. Alternatively, you may opt for a motorized opener that allows the door to be operated with a remote control. Follow the instructions provided with the opener to mount the motor, connect the drive system, and integrate safety features such as auto-reverse sensors. Whether manual or automatic, ensuring the locking system is properly installed guarantees both security and convenience.
10. Test and Fine-Tune the Door Operation
The final method involves thoroughly testing the door’s operation to ensure everything works smoothly. Roll the door up and down several times, checking for any sticking points, uneven rolling, or gaps along the edges. Listen for unusual noises that may indicate improper alignment or insufficient lubrication.
If necessary, make fine adjustments to the track alignment, spring tension, or weatherstripping until the door operates seamlessly. Testing the door thoroughly before finishing ensures long-term reliability and prevents issues that could arise shortly after installation. Once satisfied, apply a light coat of lubricant to the moving parts for smooth operation and reduced wear.
Conclusion
Installing a roll up garage door is a detailed process that requires precision, patience, and attention to safety. Follow these simple instructions outlined in this blog post about how to install roll up garage door, and you’ll be able to get the job done with ease.
I am Rick. I grew up helping my dad with his handyman service. I learned a lot from him about how to fix things, and also about how to work hard and take care of business. These days, I’m still into fixing things- only now, I’m doing it for a living.
I’m always looking for new ways to help people grow and develop. That’s why I have created this blog to share all my experience and knowledge so
that I can help people who are interested in DIY repair.