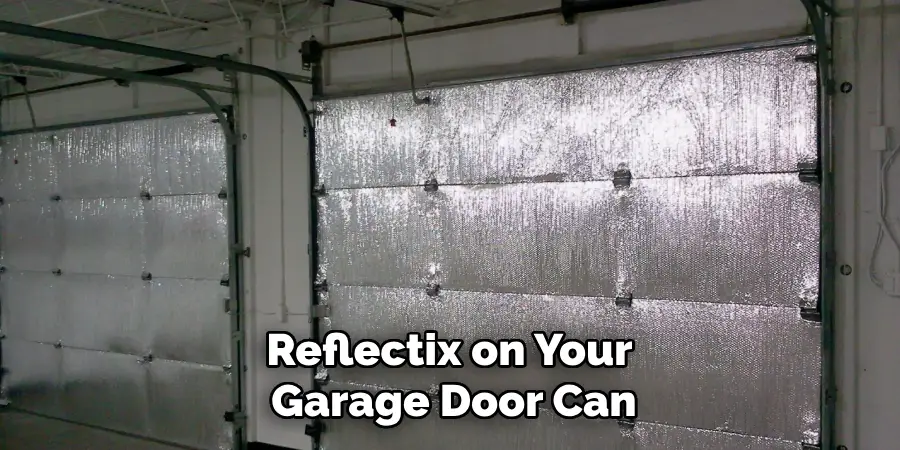
Reflectix is an innovative insulation material that can significantly improve the energy efficiency of your garage. Properly installing Reflectix on your garage door not only helps keep the temperature more stable throughout the year but also contributes to lowering energy bills by reducing the need for heating and cooling. In this guide, you will learn the step-by-step process of how to install
reflectix on garage door, ensuring that your garage remains comfortable and energy-efficient. Whether you use your garage for parking, storage, or as a workspace, adding Reflectix insulation is a practical solution worth considering.
Benefits of Installing Reflectix on Garage Doors
Installing Reflectix on your garage door can yield numerous advantages. First and foremost, it enhances thermal insulation, helping to maintain a consistent temperature within your garage, regardless of outdoor conditions. This is especially beneficial in extreme climates, as it prevents excessive heat from entering during the summer and minimises heat loss in the winter. Additionally, Reflectix acts as a radiant barrier, effectively reflecting heat away from the space, which can contribute to lower energy consumption and reduced utility bills.
Moreover, a well-insulated garage can improve the comfort level of adjacent rooms by preventing drafts and temperature fluctuations. It also protects stored items from heat damage and condensation, making it ideal for storing sensitive materials. By installing Reflectix, you also contribute to a more sustainable living environment, as reduced energy consumption leads to lower carbon emissions. Overall, the benefits of Reflectix insulation go beyond mere comfort, creating a more efficient and eco-friendly garage space.
Tools and Materials Needed
To successfully install Reflectix on your garage door, you’ll need to gather a few essential tools and materials. Here’s a list to help you get started:
Tools
- Measuring Tape: For accurately measuring the dimensions of your garage door.
- Utility Knife: To cut the Reflectix to the required size.
- Scissors: An alternative for cutting Reflectix, especially for smaller adjustments.
- Straight Edge/Ruler: To guide your cuts for a clean edge.
- Staple Gun or Double-Sided Tape: For securing Reflectix to the garage door.
Materials
- Reflectix Insulation Roll: The primary material, which comes in various thicknesses and sizes, suitable for your garage door’s dimensions.
- Foam Board (optional): For added insulation and rigidity if needed.
- Weather Stripping (optional): To enhance sealing and insulation around the edges of the garage door.
With these tools and materials on hand, you’ll be well-prepared to begin the installation process and improve the energy efficiency of your garage.
10 Methods How to Install Reflectix on Garage Door
1. Understand the Benefits of Reflectix Insulation
Before you begin the installation process, it’s important to understand why Reflectix is a beneficial choice for insulating your garage door. Reflectix is a reflective insulation material that reduces radiant heat transfer, helping to keep your garage cooler in the summer and warmer in the winter. It’s lightweight, easy to install, and highly effective in improving the energy efficiency of your
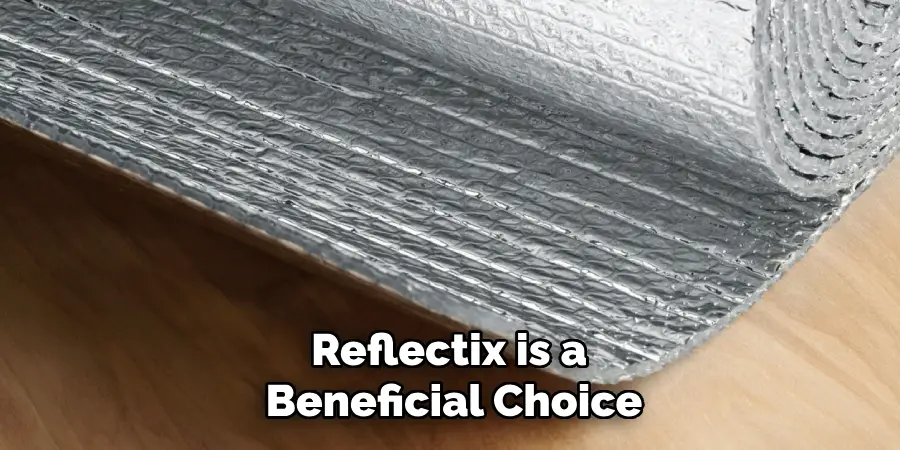
garage. Knowing the benefits of Reflectix will give you the motivation and confidence to install it correctly, ensuring that you maximize its potential to create a more comfortable and energy-efficient garage space.
2. Gather Necessary Tools and Materials
For a smooth and efficient installation process, it’s essential to gather all the necessary tools and materials before starting. You’ll need a roll of Reflectix insulation, a utility knife or scissors, a tape measure, a straight edge or ruler, adhesive (such as double-sided tape or spray adhesive), and safety gear like gloves and safety glasses. Having all your tools and materials ready and within
reach will help you avoid interruptions during the installation process. This preparation will also help ensure that the installation is completed efficiently and effectively.
3. Measure the Garage Door Panels
The first practical step in the installation process is to measure the individual panels of your garage door. Use a tape measure to determine the height and width of each panel. It’s important to measure each panel separately because garage door panels can sometimes vary slightly in size. Accurate measurements are crucial because they will guide you in cutting the Reflectix
insulation to the correct size. By taking precise measurements, you ensure that the Reflectix panels fit perfectly, which is essential for optimal insulation performance.
4. Cut the Reflectix Insulation to Size
Once you have your measurements, the next step is to cut the Reflectix insulation to fit each garage door panel. Lay the Reflectix roll on a flat surface, and use a straight edge or ruler to mark the measurements you took earlier. Carefully cut the Reflectix using a utility knife or scissors. It’s important to cut each piece slightly smaller than the actual panel size to allow for easy
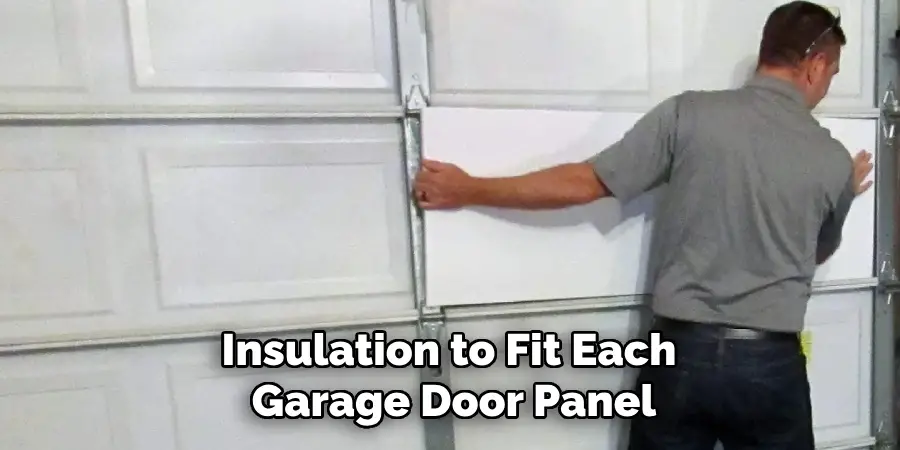
installation and to avoid any buckling or warping. Properly cutting the Reflectix to size ensures that it will fit snugly within each panel, providing a clean and effective insulation layer.
5. Clean the Garage Door Panels
Before installing the Reflectix, it’s important to clean the garage door panels thoroughly. Use a mild detergent mixed with water to wipe down the surface of each panel, removing any dust, dirt, or grease that could interfere with the adhesive. After cleaning, allow the panels to dry completely. A clean surface is essential for ensuring that the Reflectix adheres properly and remains in place
over time. By cleaning the panels, you create a solid foundation for the insulation, which contributes to its overall effectiveness and durability.
6. Apply Adhesive to the Garage Door Panels
With the panels clean and dry, the next step is to apply adhesive to the garage door panels. Depending on the type of adhesive you’re using, this could involve spraying an even coat of adhesive onto the panels or applying double-sided tape around the edges and in the center of each panel. Ensure that the adhesive is evenly distributed to prevent the Reflectix from sagging or peeling
away over time. Proper application of adhesive is critical to the success of the installation, as it secures the insulation firmly in place, enhancing its performance.
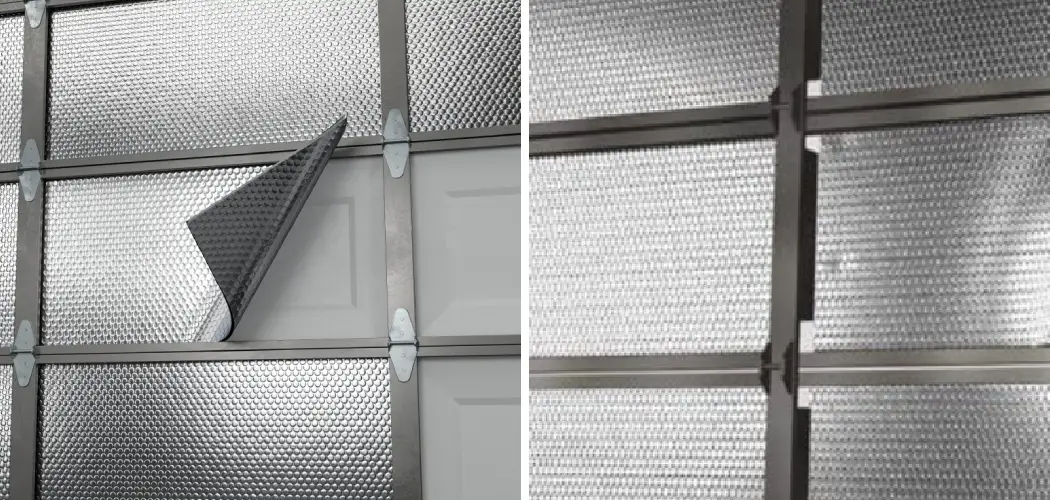
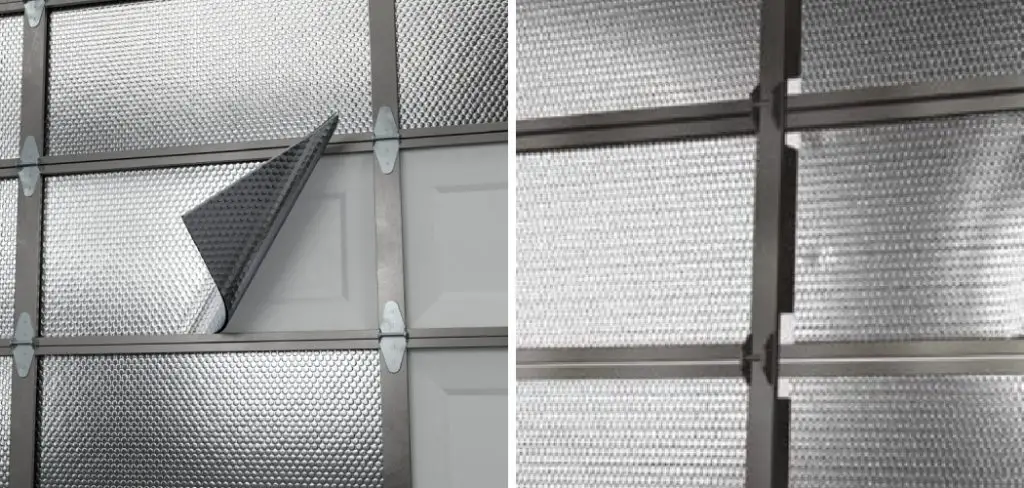
7. Attach the Reflectix to the Panels
Now that the adhesive is applied, carefully press each pre-cut piece of Reflectix insulation onto the corresponding garage door panel. Start by aligning the Reflectix with the top edge of the panel, then press it down firmly across the entire surface, smoothing out any wrinkles or air bubbles as you go. Ensure that the Reflectix is firmly attached to the adhesive, creating a tight seal
against the panel. Attaching the Reflectix correctly is key to achieving a smooth, professional-looking installation that maximizes the insulation’s effectiveness.
8. Seal the Edges and Gaps
After installing the Reflectix on each panel, inspect the edges and any potential gaps between the insulation and the panel. To further enhance the insulation’s effectiveness, consider sealing the edges with foil tape. This not only secures the Reflectix further but also helps to create a continuous barrier that minimizes heat transfer. Sealing any gaps ensures that the insulation performs
optimally by preventing air leaks and enhancing the overall energy efficiency of your garage door. Proper sealing is a small but crucial step that significantly improves the results of your installation.
9. Test the Garage Door Operation
With the Reflectix installed and all edges sealed, it’s important to test the garage door’s operation. Open and close the door several times to ensure that the insulation doesn’t interfere with the door’s movement or cause any operational issues. Check that the insulation remains securely in place and doesn’t shift or detach as the door moves. Testing the garage door’s operation
ensures that the installation has been successful and that the Reflectix will not cause any functional problems with the door. This step is essential for maintaining both the insulation’s integrity and the door’s performance.
10. Perform Regular Maintenance
After the installation is complete, it’s important to perform regular maintenance checks to ensure that the Reflectix remains in good condition. Periodically inspect the insulation for signs of wear, detachment, or damage, especially after extreme weather conditions. If you notice any issues, such as peeling edges or loose panels, address them promptly by reapplying adhesive
or replacing damaged sections. Regular maintenance helps to preserve the insulation’s effectiveness over time, ensuring that your garage remains energy-efficient and comfortable. By staying vigilant with maintenance, you extend the lifespan of your Reflectix installation and continue to enjoy its benefits.

Conclusion
In conclusion, insulating your garage door with Reflectix is a straightforward yet highly effective method to enhance energy efficiency and maintain a comfortable environment. By following the outlined steps—measuring, cutting, cleaning, applying adhesive, attaching the insulation, sealing edges, testing operation, and performing regular maintenance—you can achieve a properly
insulated garage door that minimizes heat transfer and reduces energy costs. Thanks for reading, and we hope this has given you some inspiration on how to install reflectix on garage door!
I am Rick. I grew up helping my dad with his handyman service. I learned a lot from him about how to fix things, and also about how to work hard and take care of business. These days, I’m still into fixing things- only now, I’m doing it for a living.
I’m always looking for new ways to help people grow and develop. That’s why I have created this blog to share all my experience and knowledge so
that I can help people who are interested in DIY repair.